Talos. Assembled. Will code and test tomorow…
8 Likes
so the skateboards complete, time to finish this one, completed final step, soldering on the reader, discovered a fault when sending code to it, it kept connecting and disconnecting via usb… wtf…
so i started probing a blank pcbs and found no errors were found, one the assembled unit i found a short between 3v3, and gnd, but only when powered via mains (no short found on 12v vin.) so im assuming its the cap on the 3v3 side of the buck converter that is shorting, and i have no chance of repairing it as its the filling on a pcb sandwich, so ill need to build another…
see ya in a few days. 
4 Likes
Built another this morning to see if the issue is repeable. No luck… i managed make a fùlly working version instead… Probably a ghost in the machine…
Things left to do… add the new Ui… and redoo the case…
4 Likes
ok… sorry started doing side quests to level up instead of grinding through story mode… so yeh… the new UI is done and works and is Glorious. few little tweeks with scaling and those red x’s and a reverse motor check. but its done,

this is acsessed by shorting 2 pins with the jumper provided and pressing the reset button, to close this UI the device just needs to be reset without the jumper.
as you can see we have 3 users, and 3 redacted ui’s (2 x4b , 1x7b) the can be added below and removed by clicking the X.
final mission, this bastarding case…
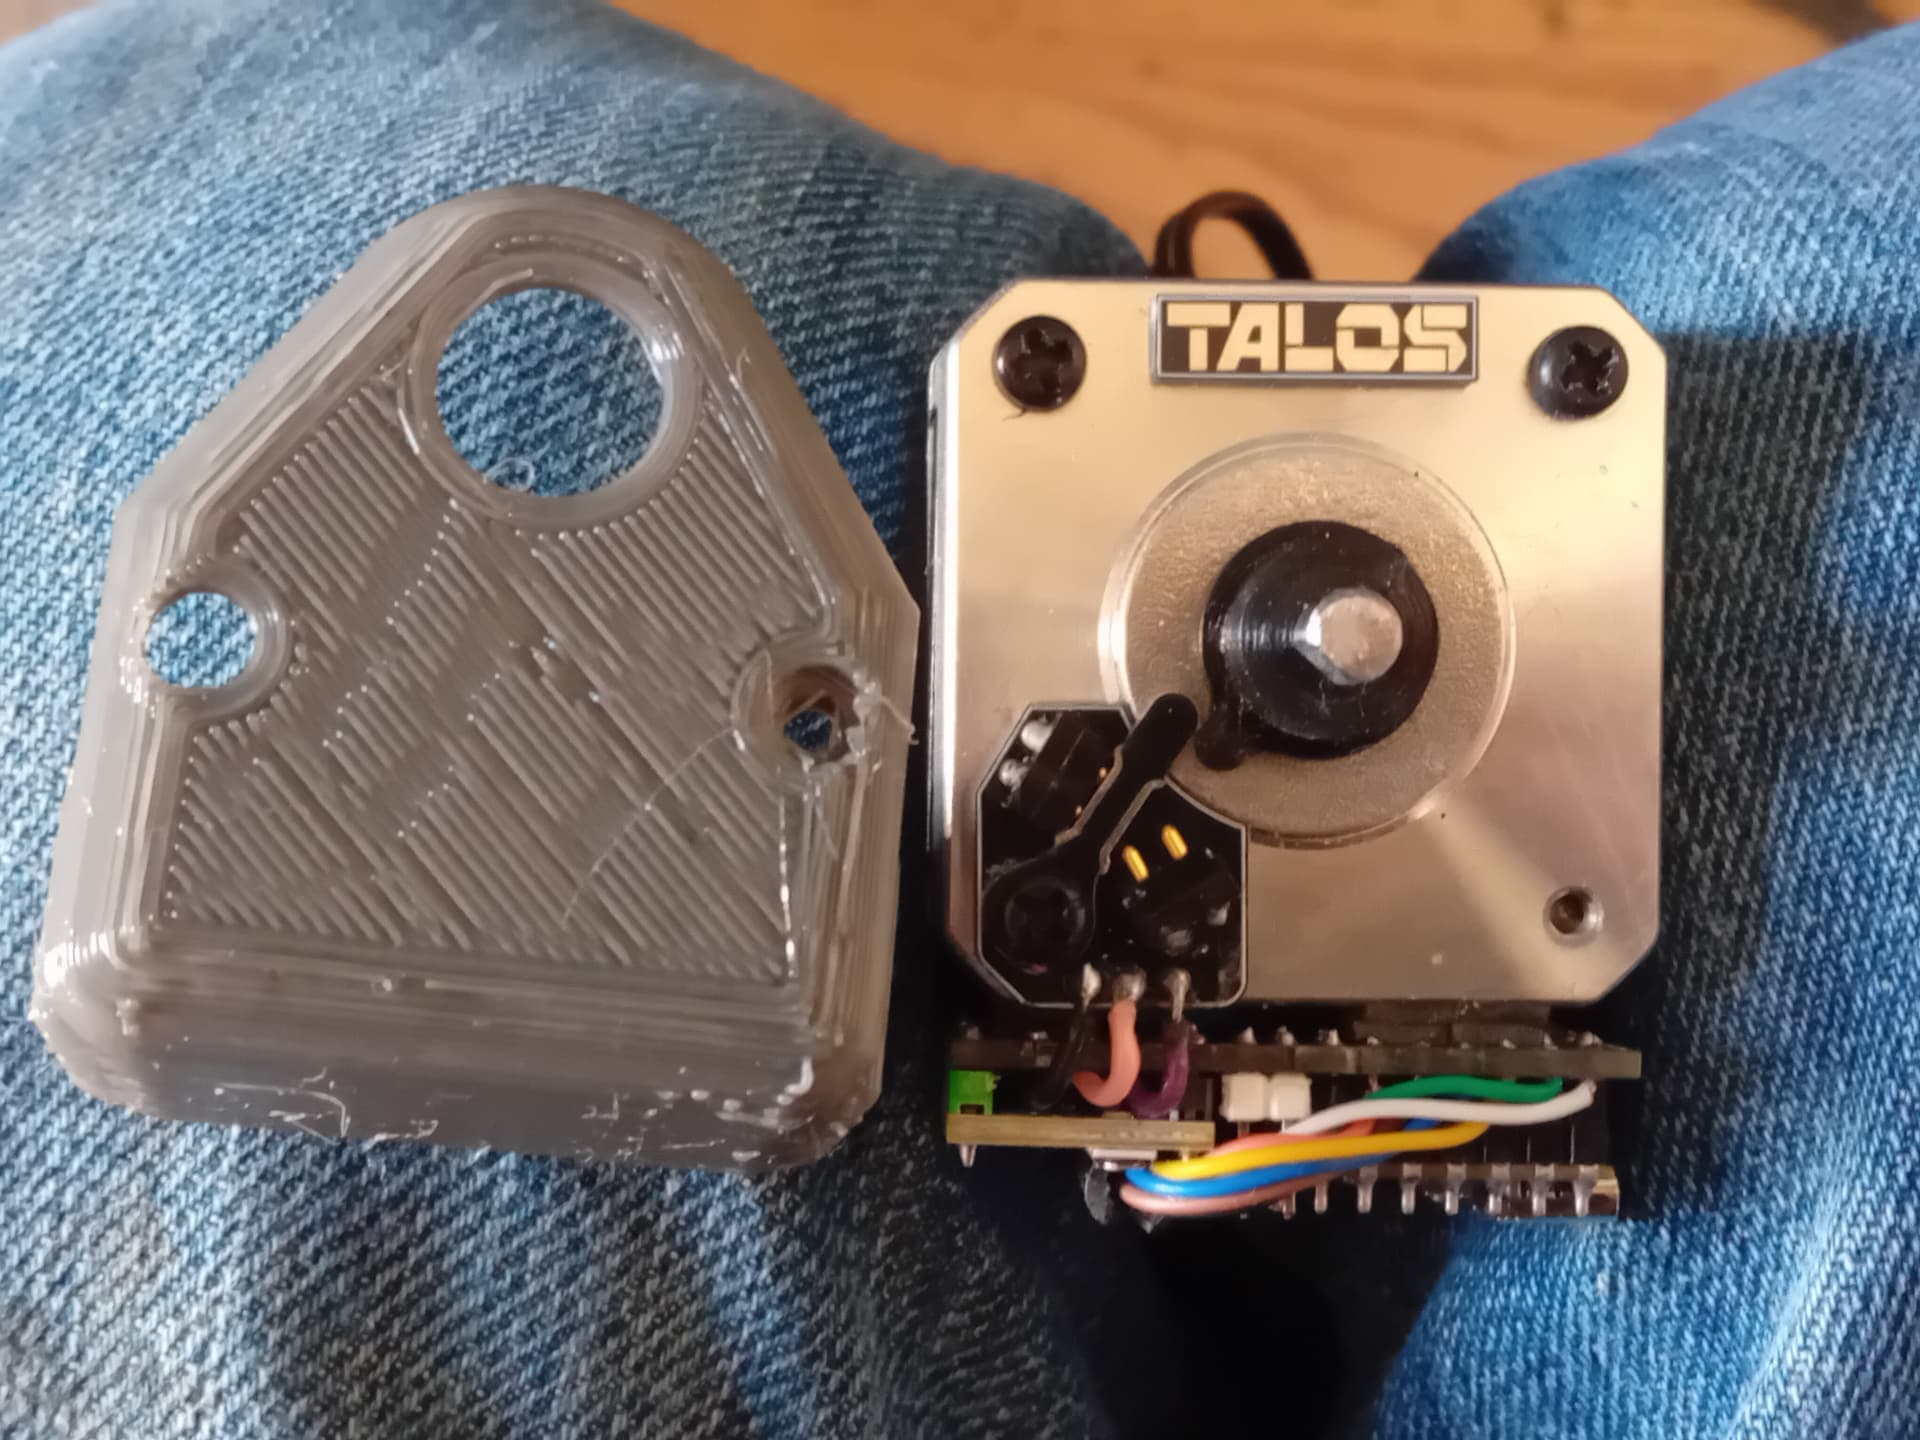
ive requested asistance from the 3d printing thread, hopefully some one can knock up something that looks pretty and actually fits 
2 Likes
ill also make some attempt to better calibrate my printer. instead of relying on the same default petg cura profile i got off the web.
1 Like
little update, my lathe guy is getting divorced, so will no longer have access to his workshop for the foreseeable future, he managed to lathe the coupler’s to the correct diameter, but has not added the collars or the slot to them so it looks like i will need to print a jig to accurately do the final adjustments. Just a tube with a hacksaw holder. Then ill spin the coupler to cut the collar. Then a different jig for filing the slot. (This is only needed for the uk eurocylender lock barrel. )
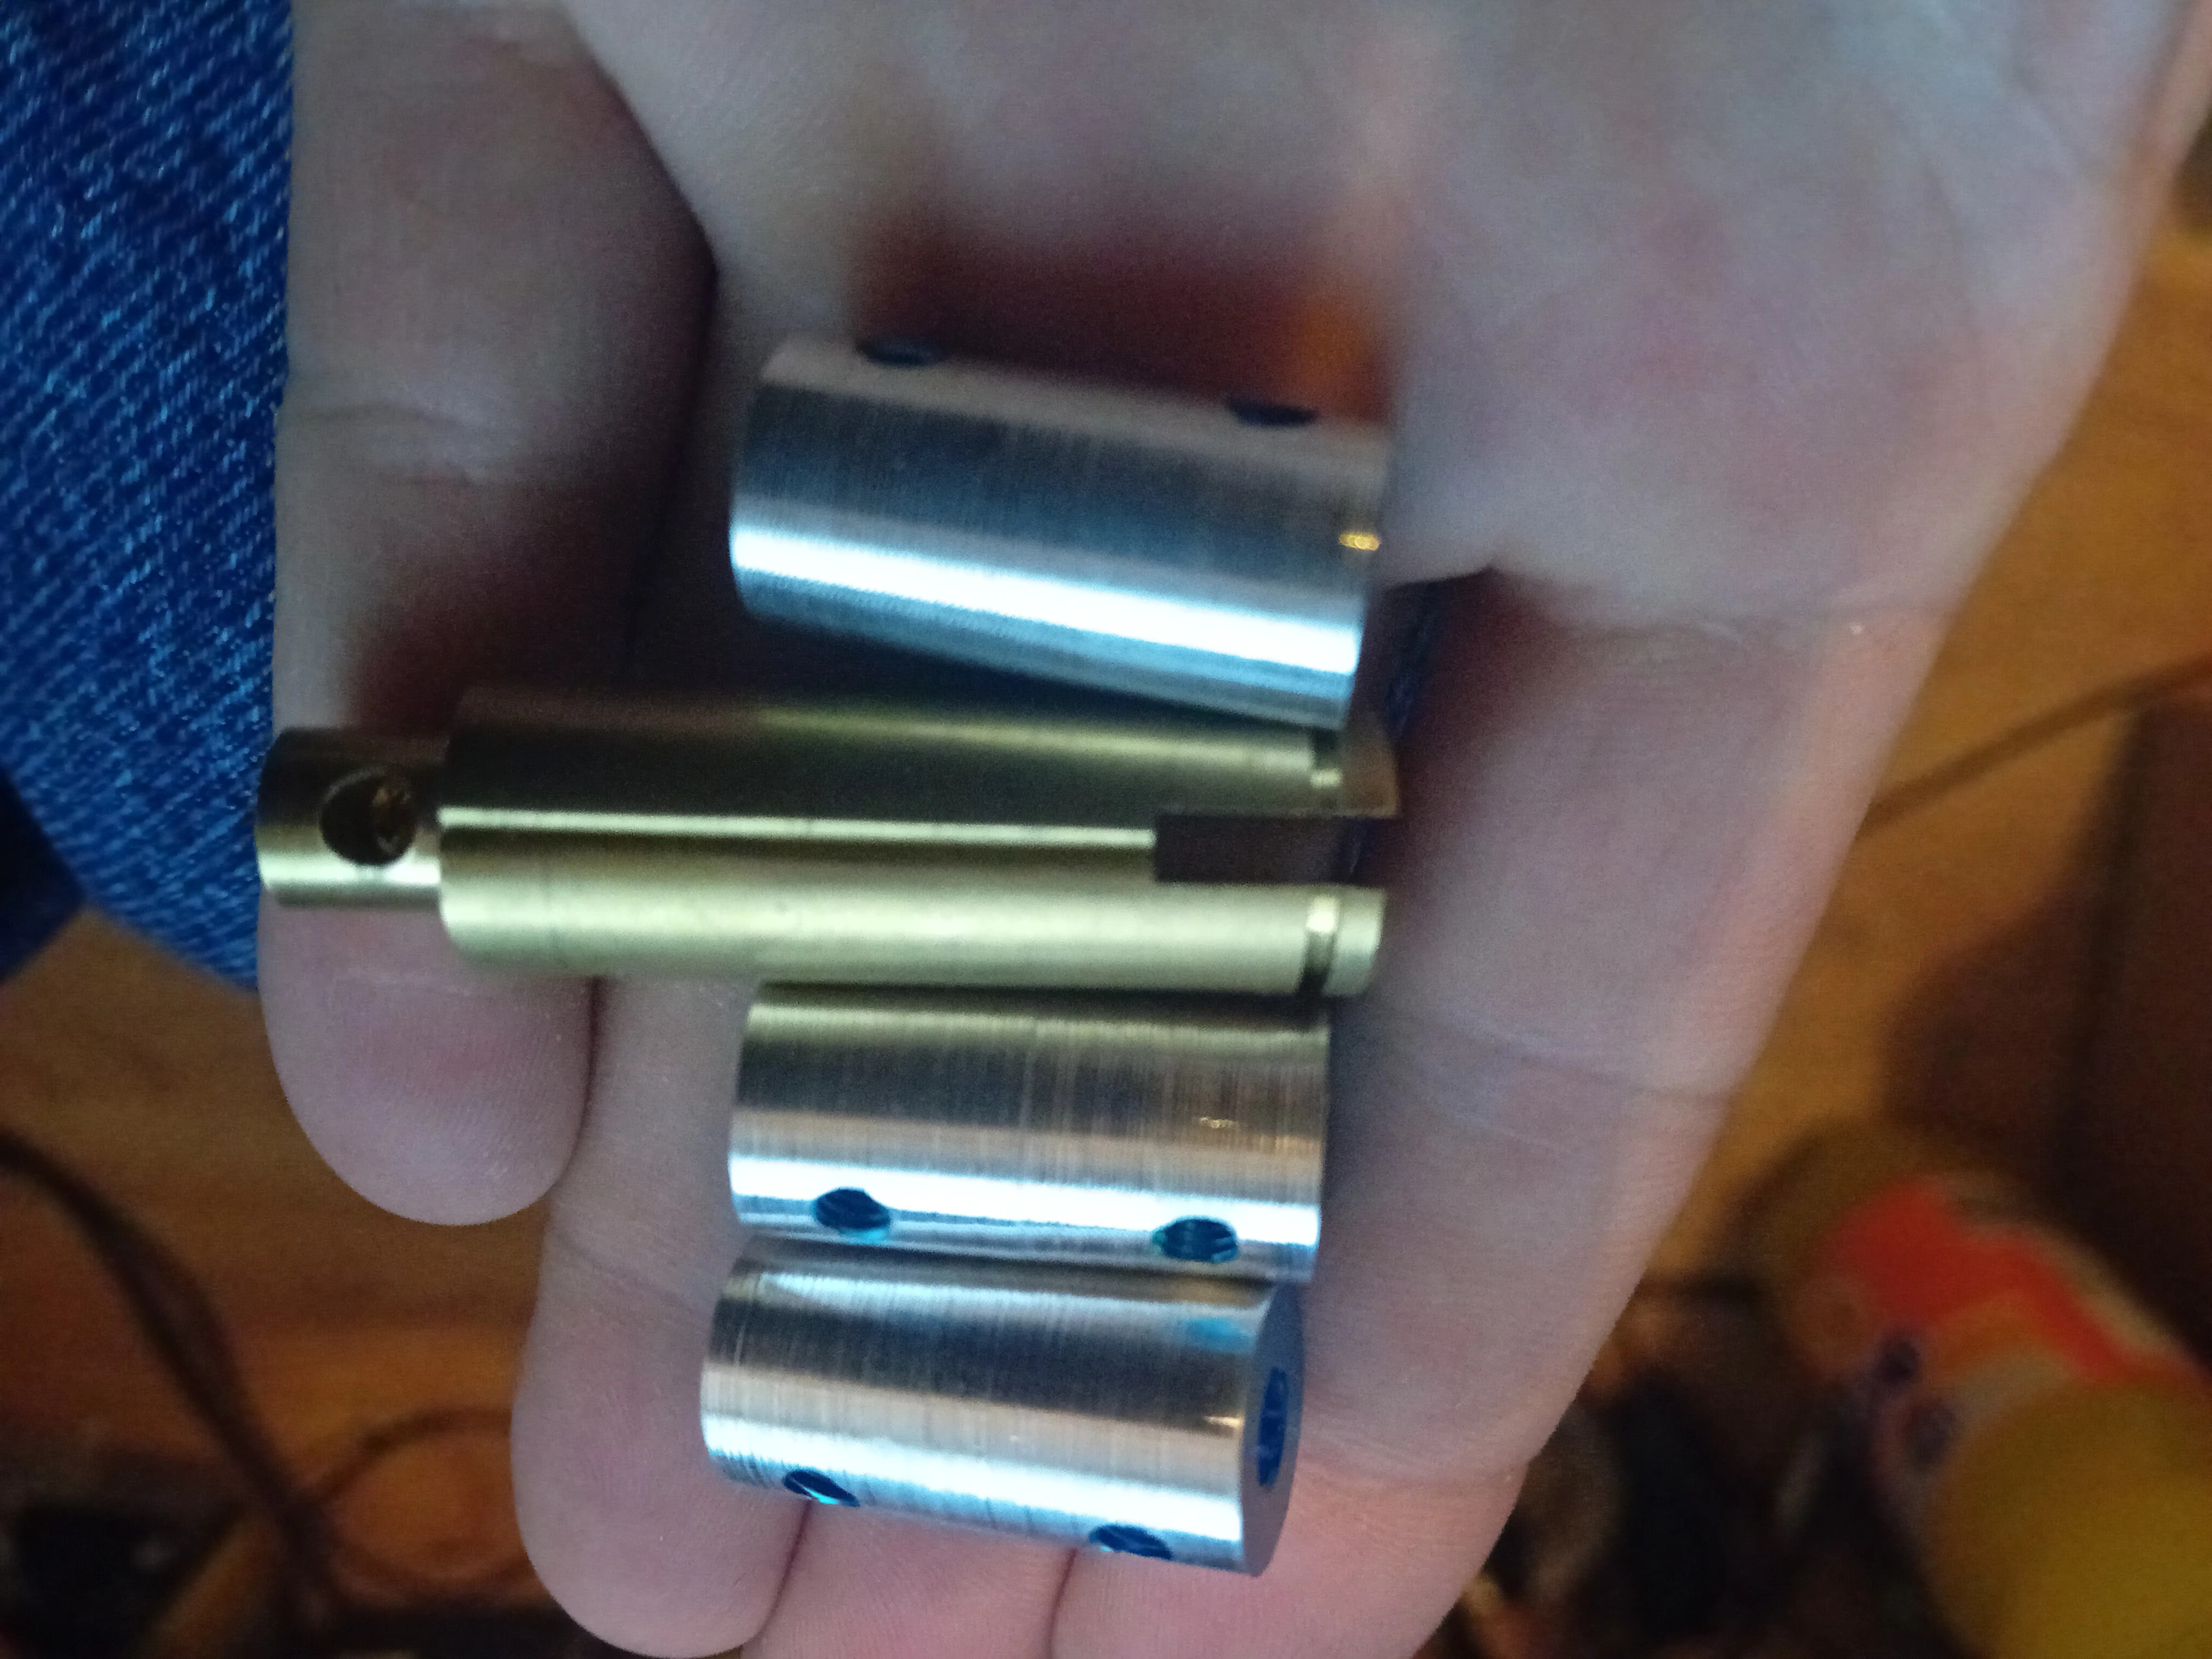
In other news. Ive not done any more to the case. Ive been balls deep trying to cut those bloody gems.
3 Likes

the rains are coming so its time to finally finish this lock we started last year,
so chimp whats left to do…
1.print a case….
2.ask donfire nicely (after his holidays) to add a button to the code. that changes the default locking direction,(doors lock different ways, clockwise, anti clockwize)
i may redesign the case today….
edit: turns our past chimpo had already redesigned the case. it looks pretty good,tis a bit square… if its the right size/fit is for future chimpo to decide…
im also gona make a presentation board so the lock and and reader are on the same side, its made from an old tea tray that im currently dremmeling into shape lol brb…

Things are going well. Past chimpo has done alot of the leg work but by the looks of things . Couldn’t be arse to finish… so we shall do that
Here’s the first draft of the case. Funny enuff it all seems to fit. And there’s plenty of space for sleak curves.
the demo board is nearly complete. I had to print bits for it to fit nicely. But now I have a solid base to play on…

The case will need to be 2 parts a base that attaches the motor to the door. And the top case that hides everything.
Edit: I can see why past chimpo didn’t finish. It’s all the fiddly work. Everything needs tweeking. Thanks past chimpo… none the less things are going well. I have made the motor mounts and waiting for them to print I hope they fit. Ibe also done 90% of the case. But adding curves and bevels to a 100 shape deep object in tinkercad is a ballake… but ill get there.. I’m hoping to have something to show by this evening…
It’s end of day.. I just have to solder the reader back on. And it should all work…
5 Likes
Love hearing others use Tinkercad. Such an amazing tool for projects!
1 Like
it really isnt…tinkercad like using lego for gynocology. it will do… but its not quite right,
im just too stubborn to learn a new software,
4 Likes
All done on my end. All works. And i must say looks pretty… and its ready for install. Donfire will add the button at his earliest convenience… may install it Sunday…
Side note the ‘midwest gadget’ makes gettin a read a pleasure. Its just stuck on the reader case for now. But wow. What a difference.

6 Likes
Me too. It’s definitely not perfect but it gets the job done without having to spend hours learning some new software in 3d modelling 
If you find a new modelling software that isn’t a nightmare to get started let me know. I’ve made some pretty intricate parts with Tinkercad alone - but it did also take me days of absolute torture to get to that point lol
Love this project by the way - looks really good!
2 Likes
Yeh I need a spair week to learn fusions basics… n I just can’t be assed. Lol. Thanks for the compliment. Necessity is the mother of all invention.
2 Likes
SolidEdge is usable IMHO. The worst CAD software is FreeCAD, I’ve only been able to model one part with it…
1 Like
If I get bored enough. I’ll re do the case.
Back to the tamagotchi next… that just needs a few tweeks to its code values… and a case needs printing. Chaos will do they artwork when they find the time. I’m excited to see what they will produce.
Final thoughts… it Could be smaller. It could be neater… The wireless user manager is a game changer. I’m happy with it. Next time I touch this project is to make a smt all in one solution.
I’ll make everything available below. The code ,pcb and the stls. - (when I can) if you choose to diy this I wish you luck.
Is there anyone here with “ take it to market” experience… I’d love to know what involved for the next step? Or do I approach a company?
2 Likes
Let’s chat
4 Likes