Yes I have. I’ve done a lot of Arduino RFID installs.
Buy any RFID reader on Amazon that supports the Wiegand protocol that is compatible with 13.56MHz RFID. The Wiegand protocol will work on two Arduino GPIO inputs.
Note that the Wiegand protocol is 5 volts. This will work natively on any 5 volt Arduino. Most 3.3V boards can’t accept it without conversion. ESP32 has been known to “unofficially” accept 5V on its GPIO inputs, but I never rely on this (I just stick to 5 volt Arduinos for this).
That new Arduino Uno R4 is a pretty good option because it has native 5 volt I/O, but also has the option for WiFi if you want it to communicate.
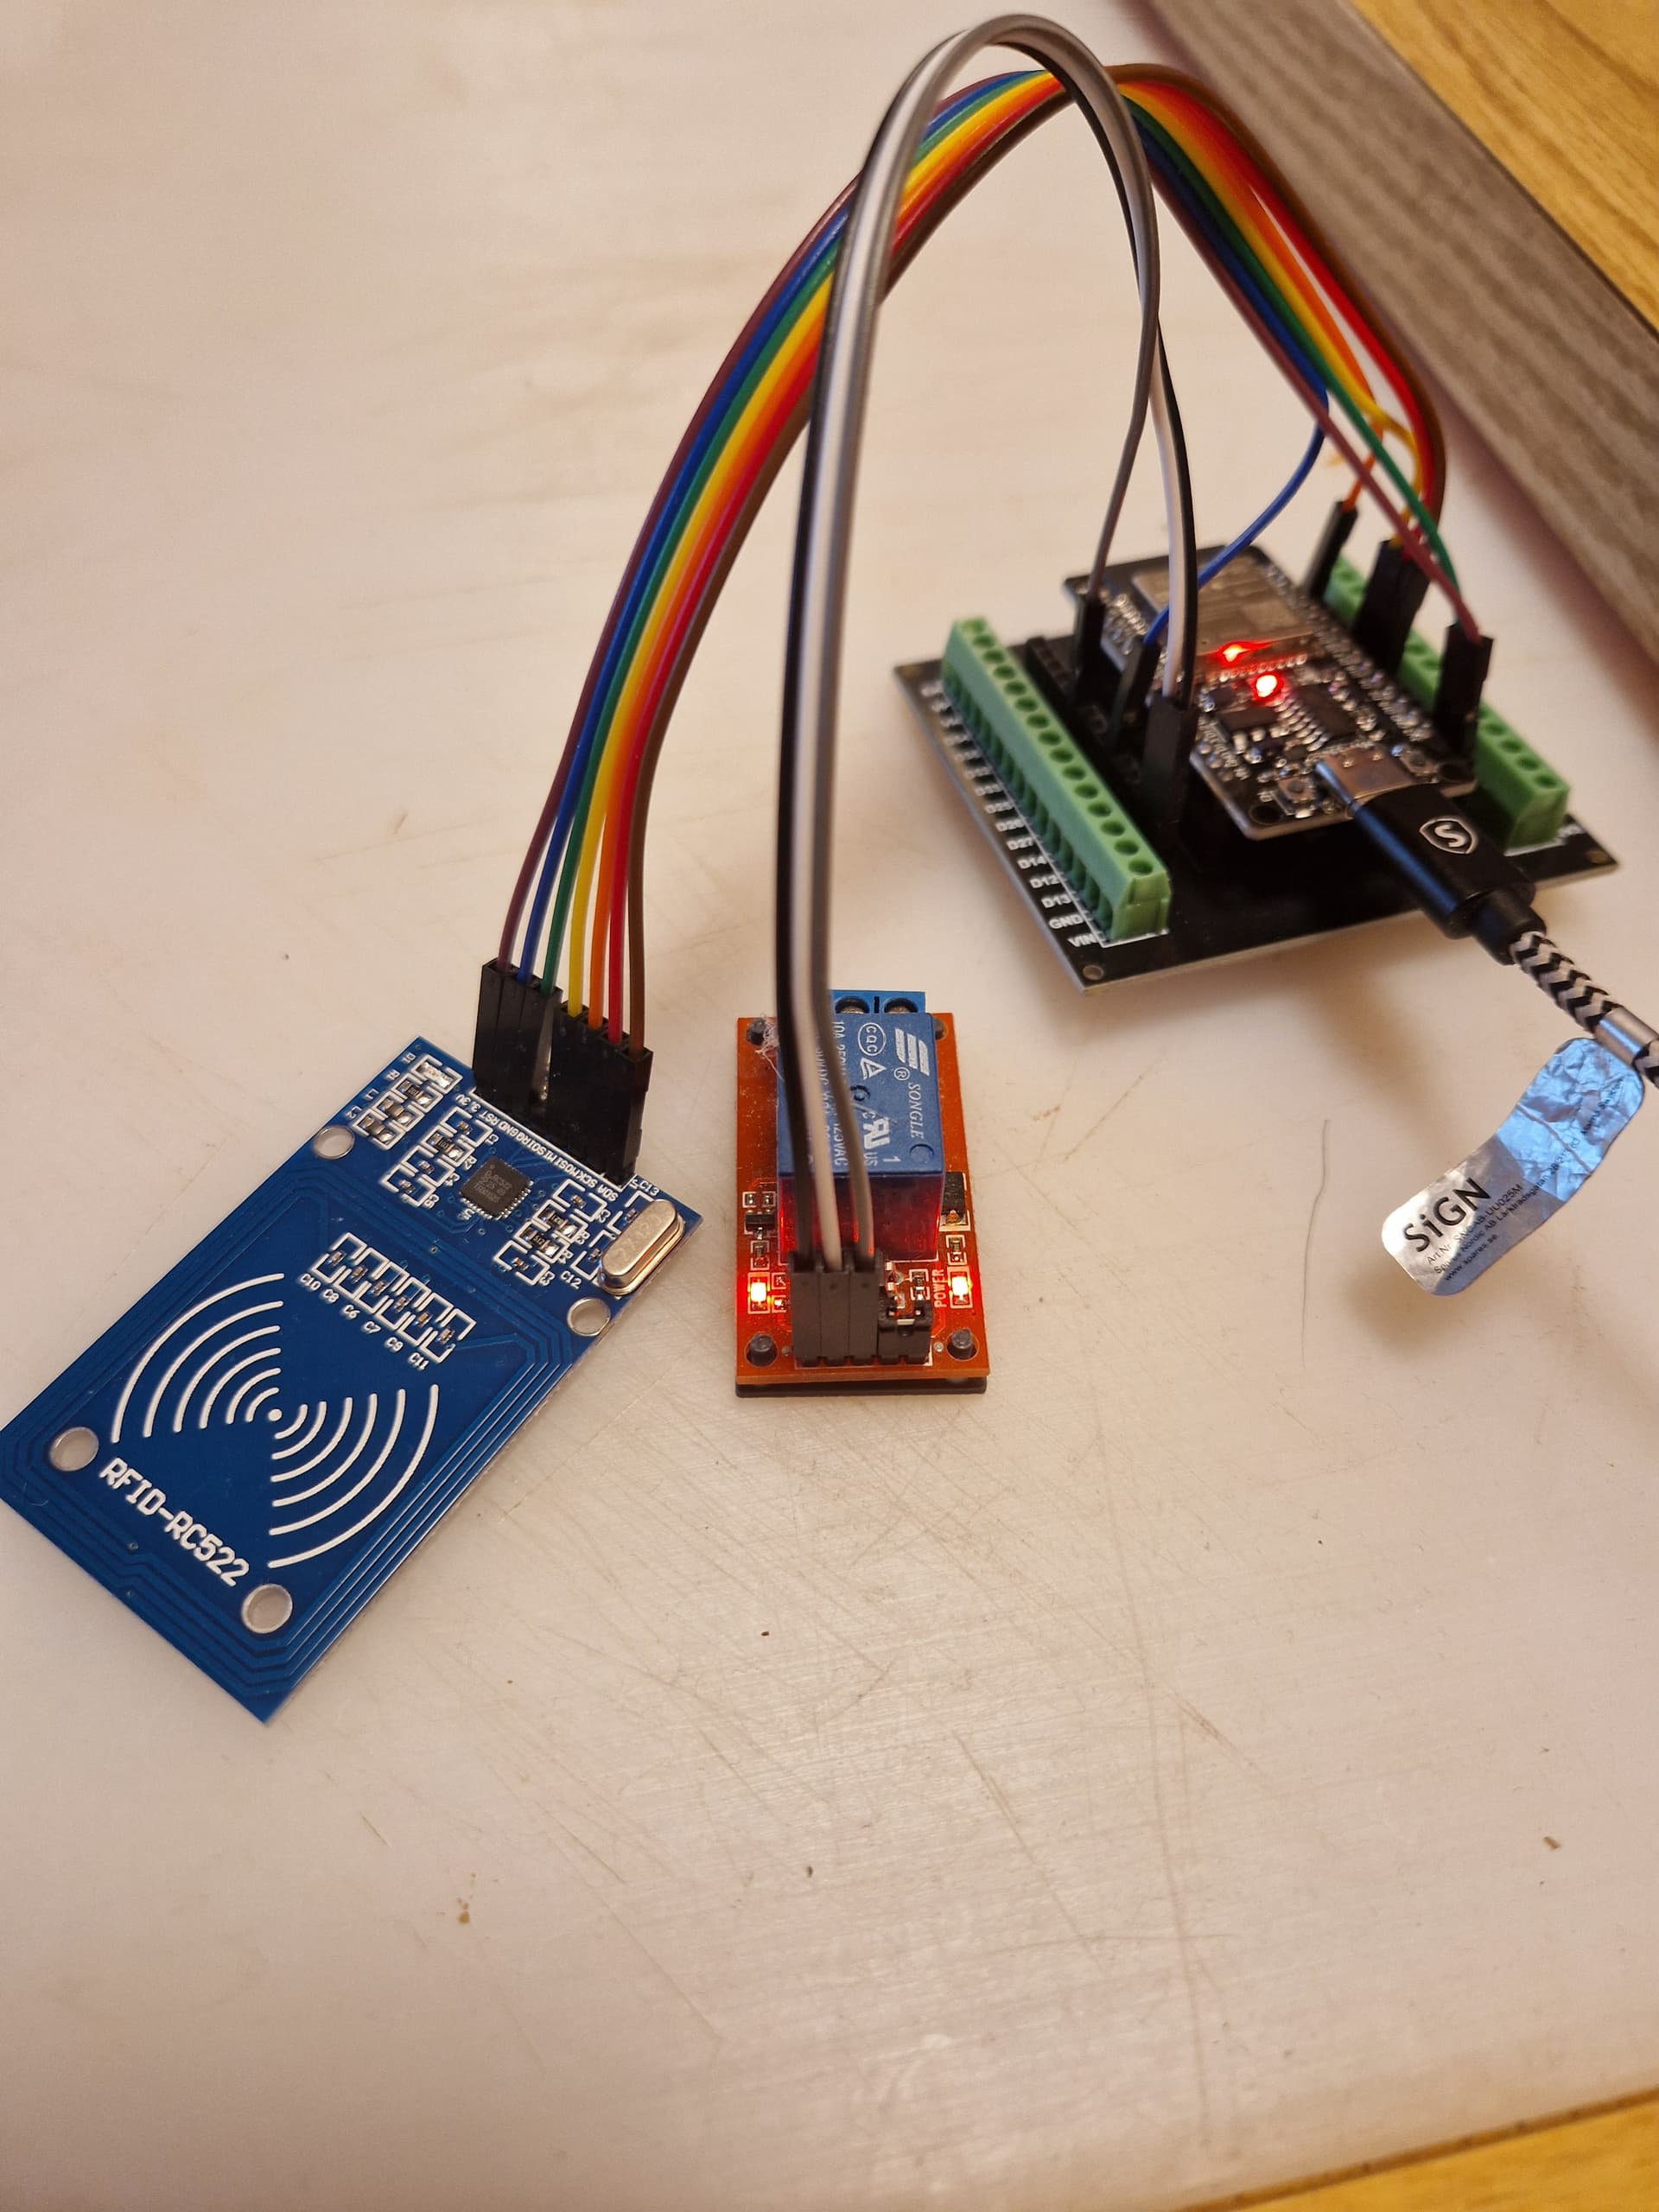
Otherwise if you want to go minimal and talk with a Wiegand RFID reader, it would be a knockoff Arduino Nano plus one of those relay units depicted in the OP.
Spoiler, you’ll want to connect the D0 and D1 pins of the RFID reader, to pins 2 and 3 of the Arduino Nano (since these pins are the easiest for attaching “interrupts”… this is the simplest way to reliably receive messages in an Arduino using the Wiegand protocol.)
The protocol is very simple. It will transmit a series of pulses (typically 26 or 34) whenever a card swipe occurs… the D0 wire gets a pulse for a 0 bit, and D1 gets a pulse for a 1 bit… all of the pulses arrive in a fraction of a second. you simply decode the pulses and you’ll get the card number. Using “attach interrupt” to detect pulses instead of polling the pins, eliminates the chance of missing a wiegand pulse by not polling fast enough.
after you get a card number, the simplest thing to do is compare it with a hardcoded card number, and if it matches, open sesame for 1-3 seconds on whatever pin the relay connects to.
I don’t think the size of the reader matters so much as what the distance will be between your implant and the reader.
My favorite SMALL reader is the Drexia ones. They are tiny enough you can use a forstner drill bit to set them flush into furniture. Drexia’s readers come in multiple interface options but the most flexible interface option with an Arduino is going to be the RS232 version (not the “iButton”, “1-wire” or Wiegand versions) because you will get the maximum number of unique digits from the implant per scan, and it’s the simplest to read on an Arduino. Your best connection on a classic Arduino Nano or classic Arduino Uno is to wire the data pin to pin 8 and use “AltSoftSerial”, or if using the Arduino Uno R4, to pin 0 and use “Serial1”.
Here’s a link to a seller I’ve purchased from the past iButtons by TimePilot: RFID Readers scroll to the bottom of the page for the 13.56MHz readers.
Also to answer whether LF/HF is better… LF has better range…
If you already have the implant, the reader you select must match your implant… the wrong one won’t respond at all.
If you have a dual implant like the combined NeXT implant that has both 125KHz T5577 (LF) chip as well as a 13.56MHz (HF) chip in the same implant… then you have the option of using either kind of reader.
I’ve been tinkering with RFID readers myself, and I’ve found the PN7150 to have a decent range, typically around 5-10 mm, similar to the PN532. As for LF readers like the DT 125kHz DIY circuit, they tend to have a bit more range, especially for implants. Your test build sounds interesting with the Rc522 and Esp32 combo. How’s the coding experience been for you with Arduino? I’ve been playing around with similar setups for different projects.
I have used the readers from id-innovations
And very happy about them good read range for x-series +/- 20mm
Created my own antenna’s and got up to 40mm with the id-3