I thought I would throw together a quick HOW TO for the VivoKey APEX in hopes of helping out any new ![]() APEX adopters
APEX adopters
Included in this guide:-
- What Apps to download ( android, but iOS will be the equivalent )
- How to enroll applets on your APEX
- How to set-up your App to work with your APEX
For this, I thought I would start with an easy one, because the principle is the same to set up the others, although the use will be different
VivoKey Authenticator
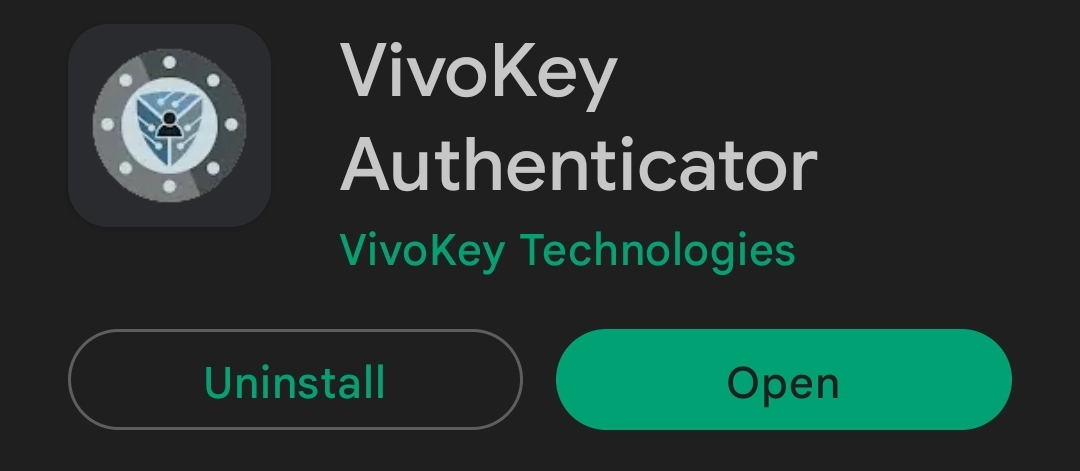
If you are familiar with Google Authenticator, you will easily transition to VK Auth.
When prompted or offered to add 2FA to a webpage or similar
Grab yourself the following 2 Apps
https://play.google.com/store/apps/details?id=com.vivokey.vivoauth&hl=en&gl=US
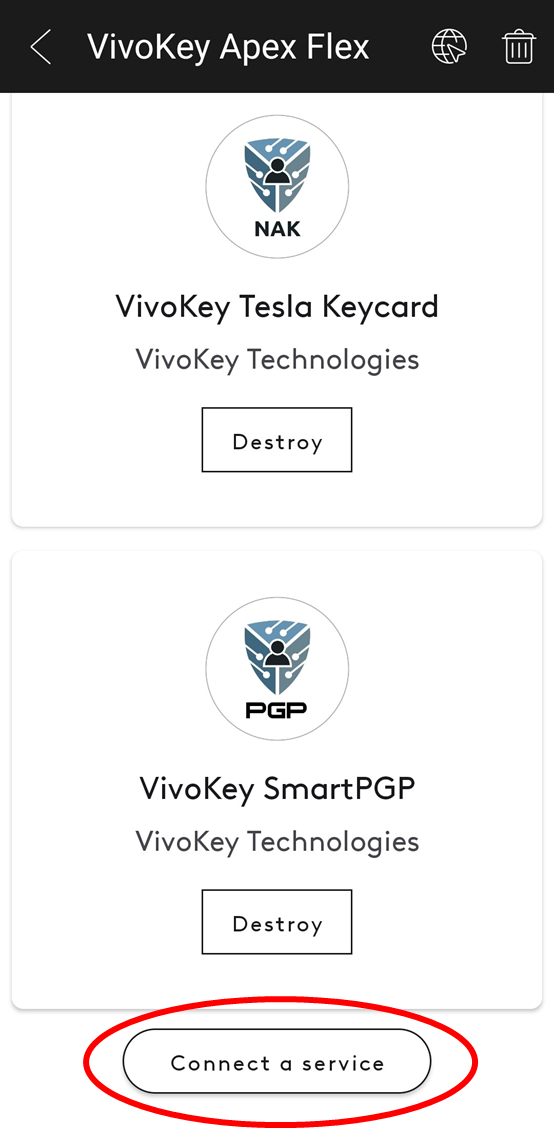
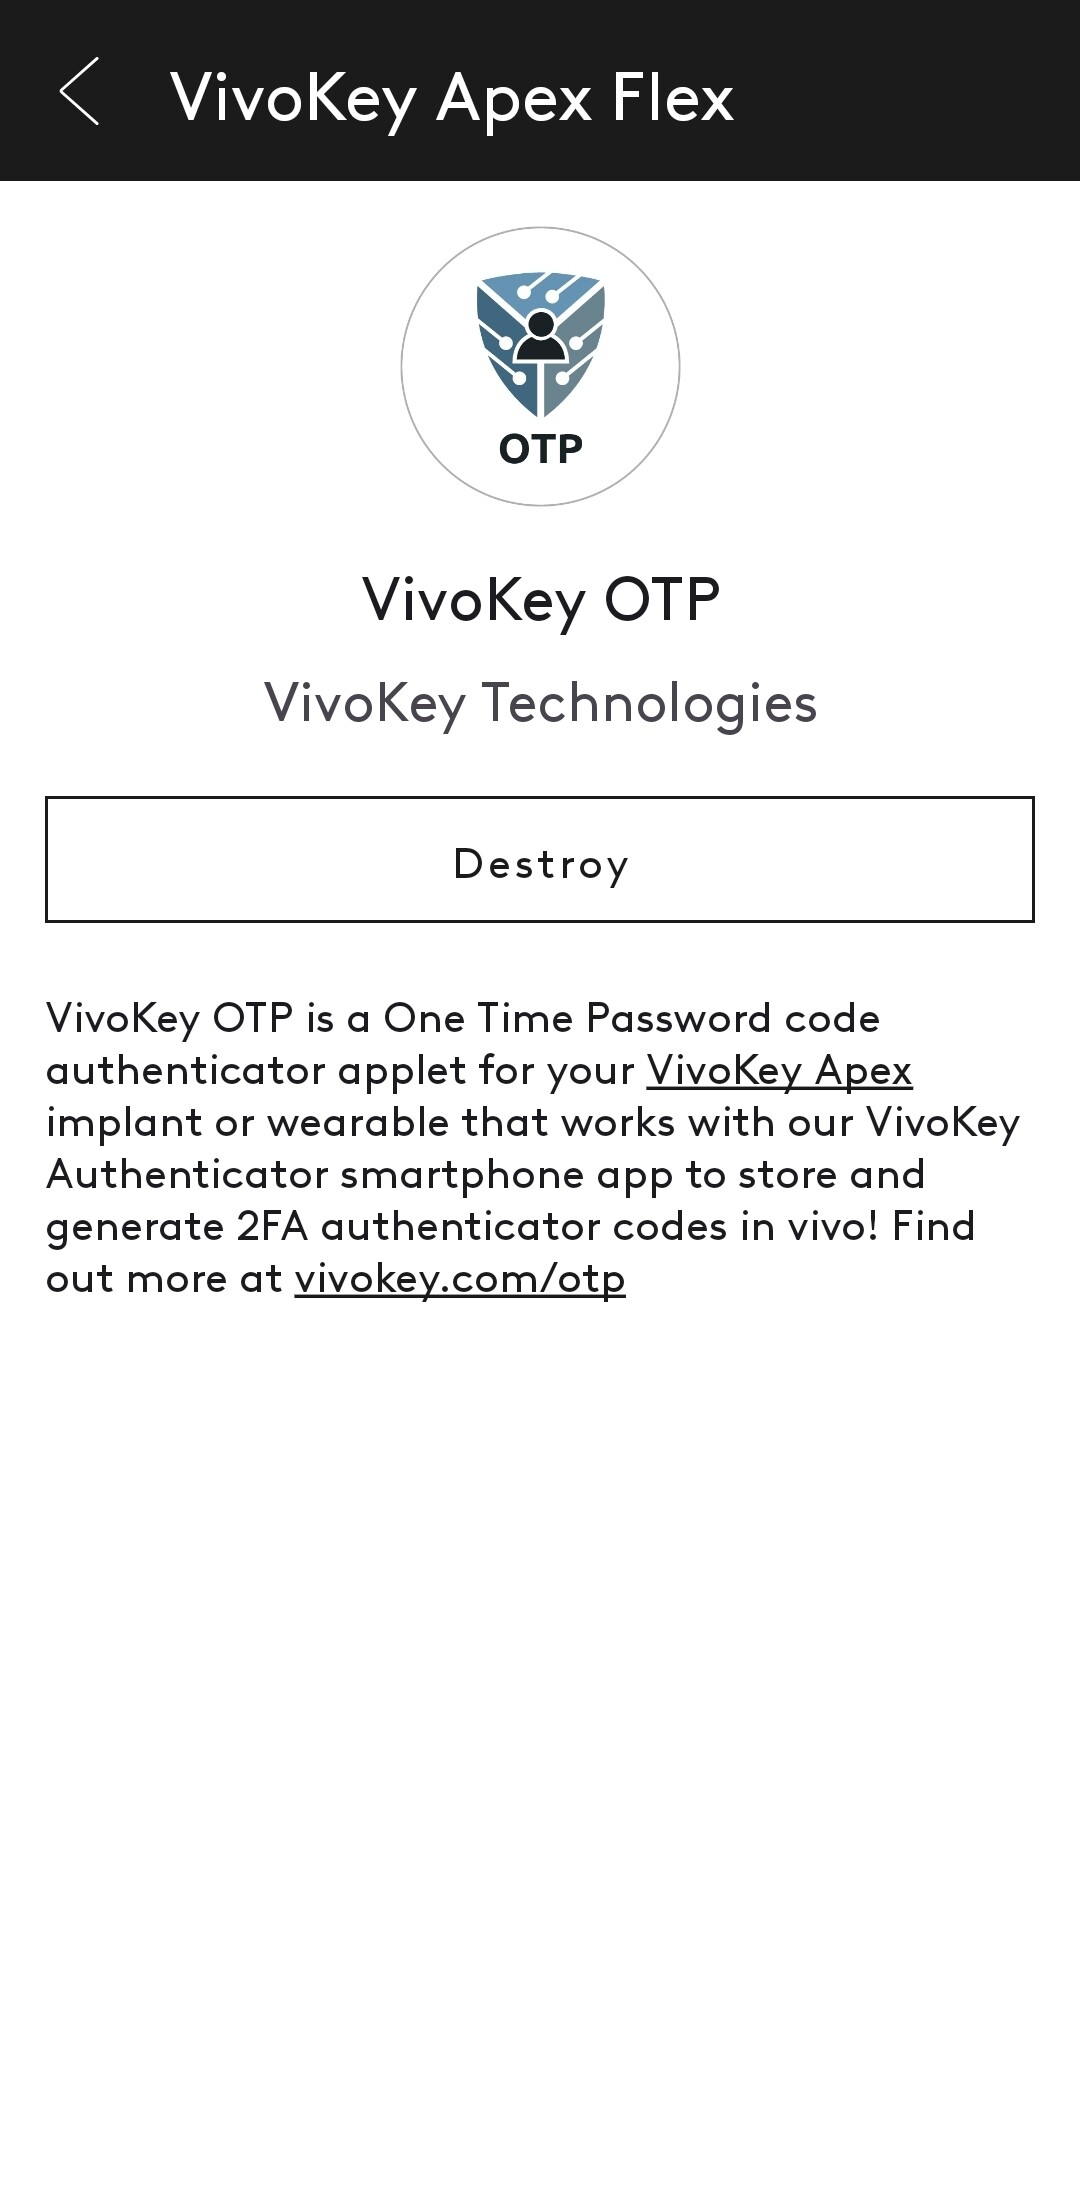
PART 1 -VivoKey OTP
Open 
-
Select “Connect a Service” to see available applets
-
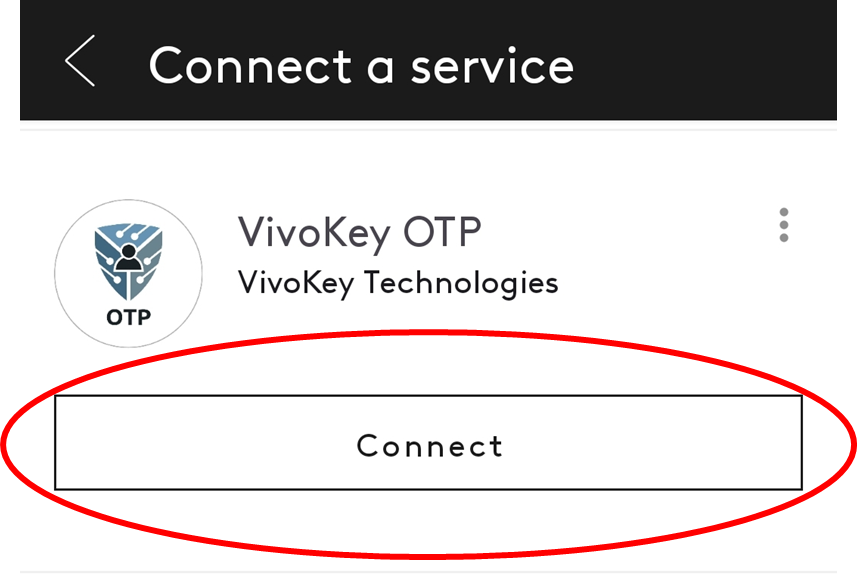
Find Vivokey OTP applet, select connect
-
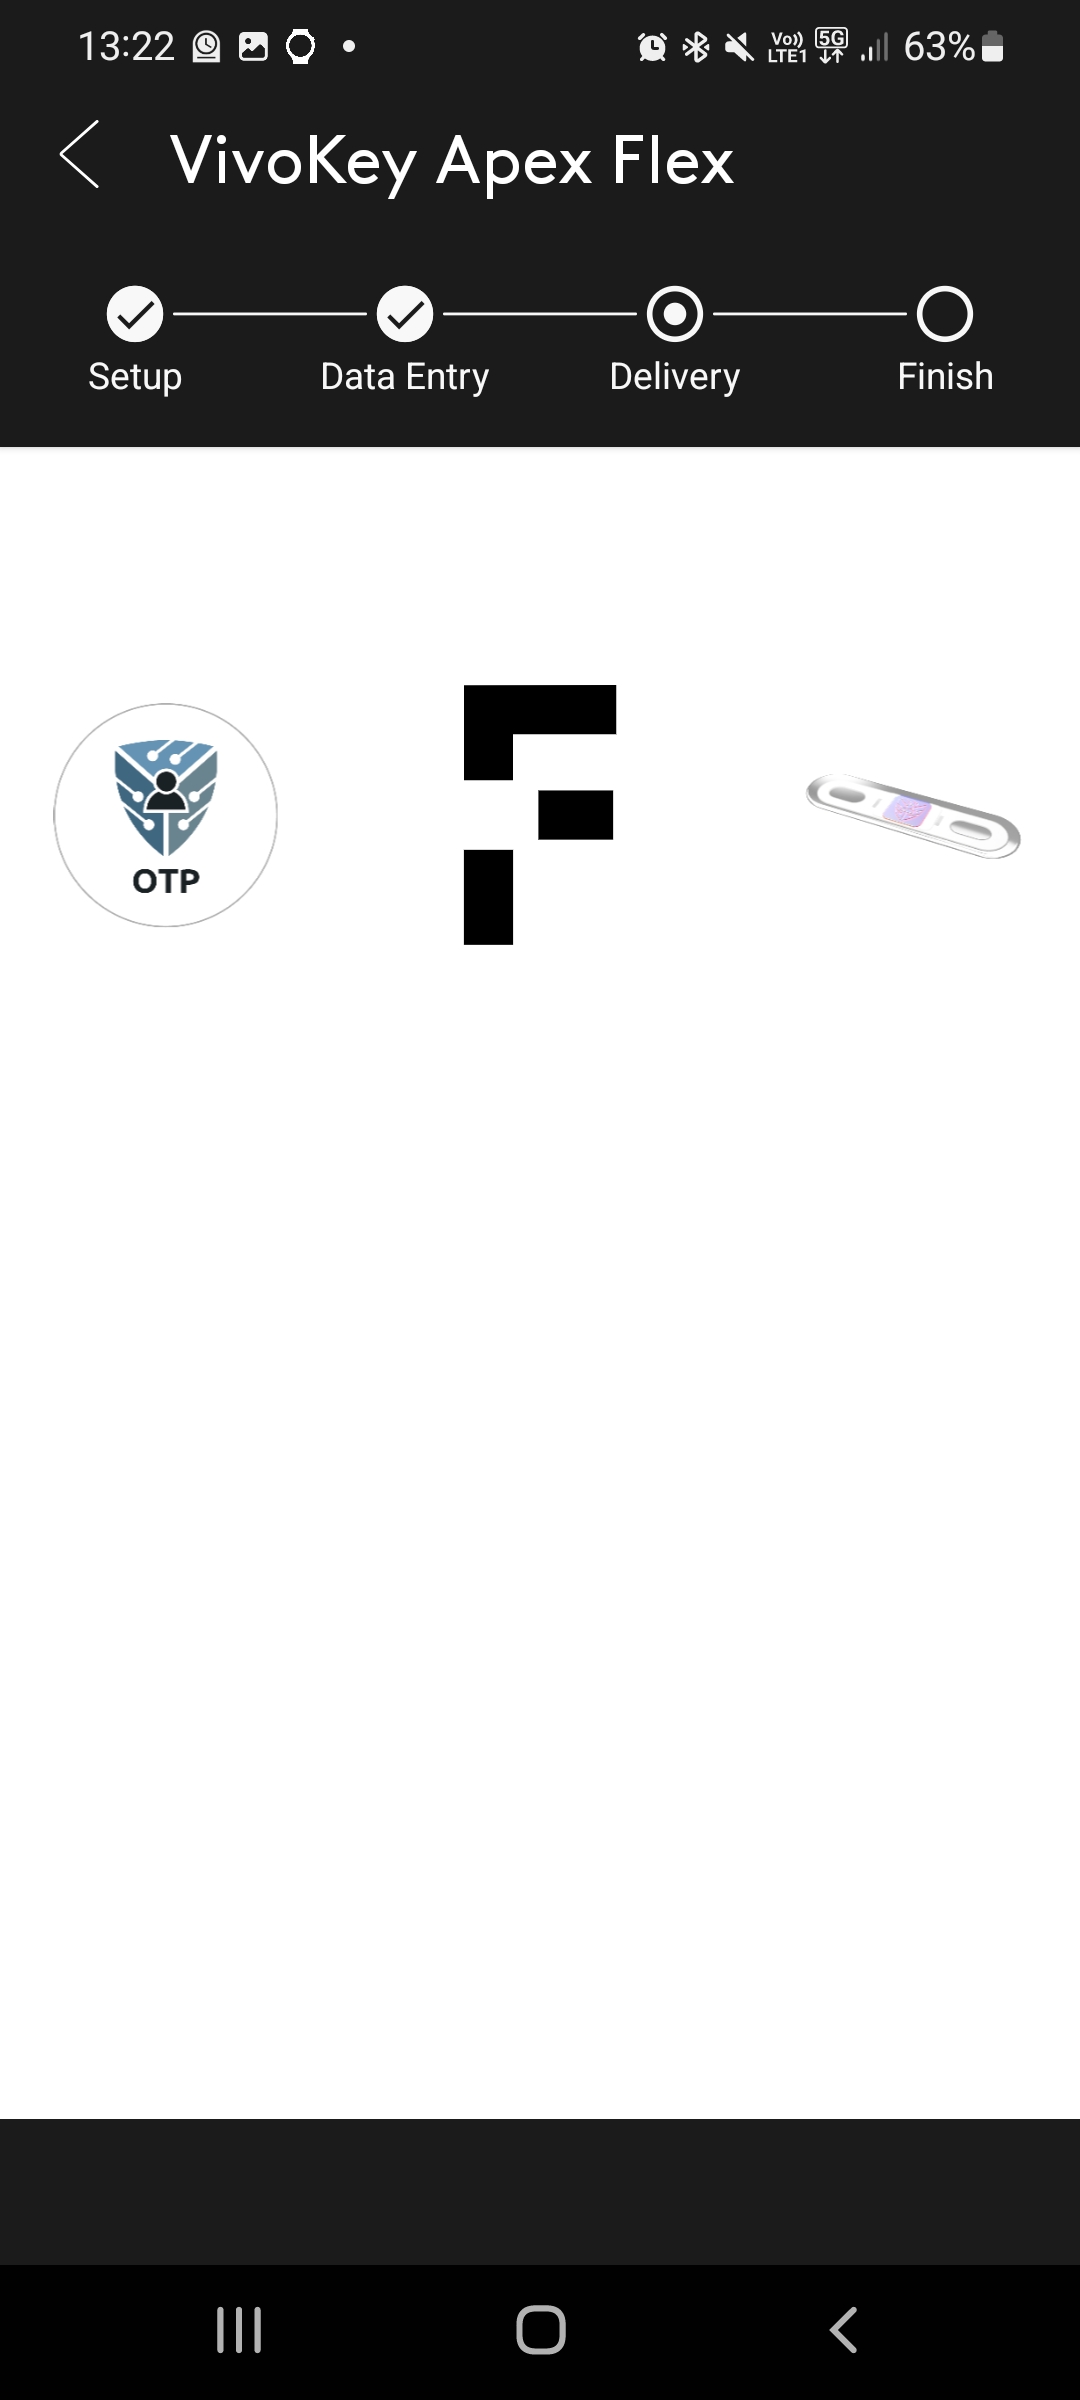
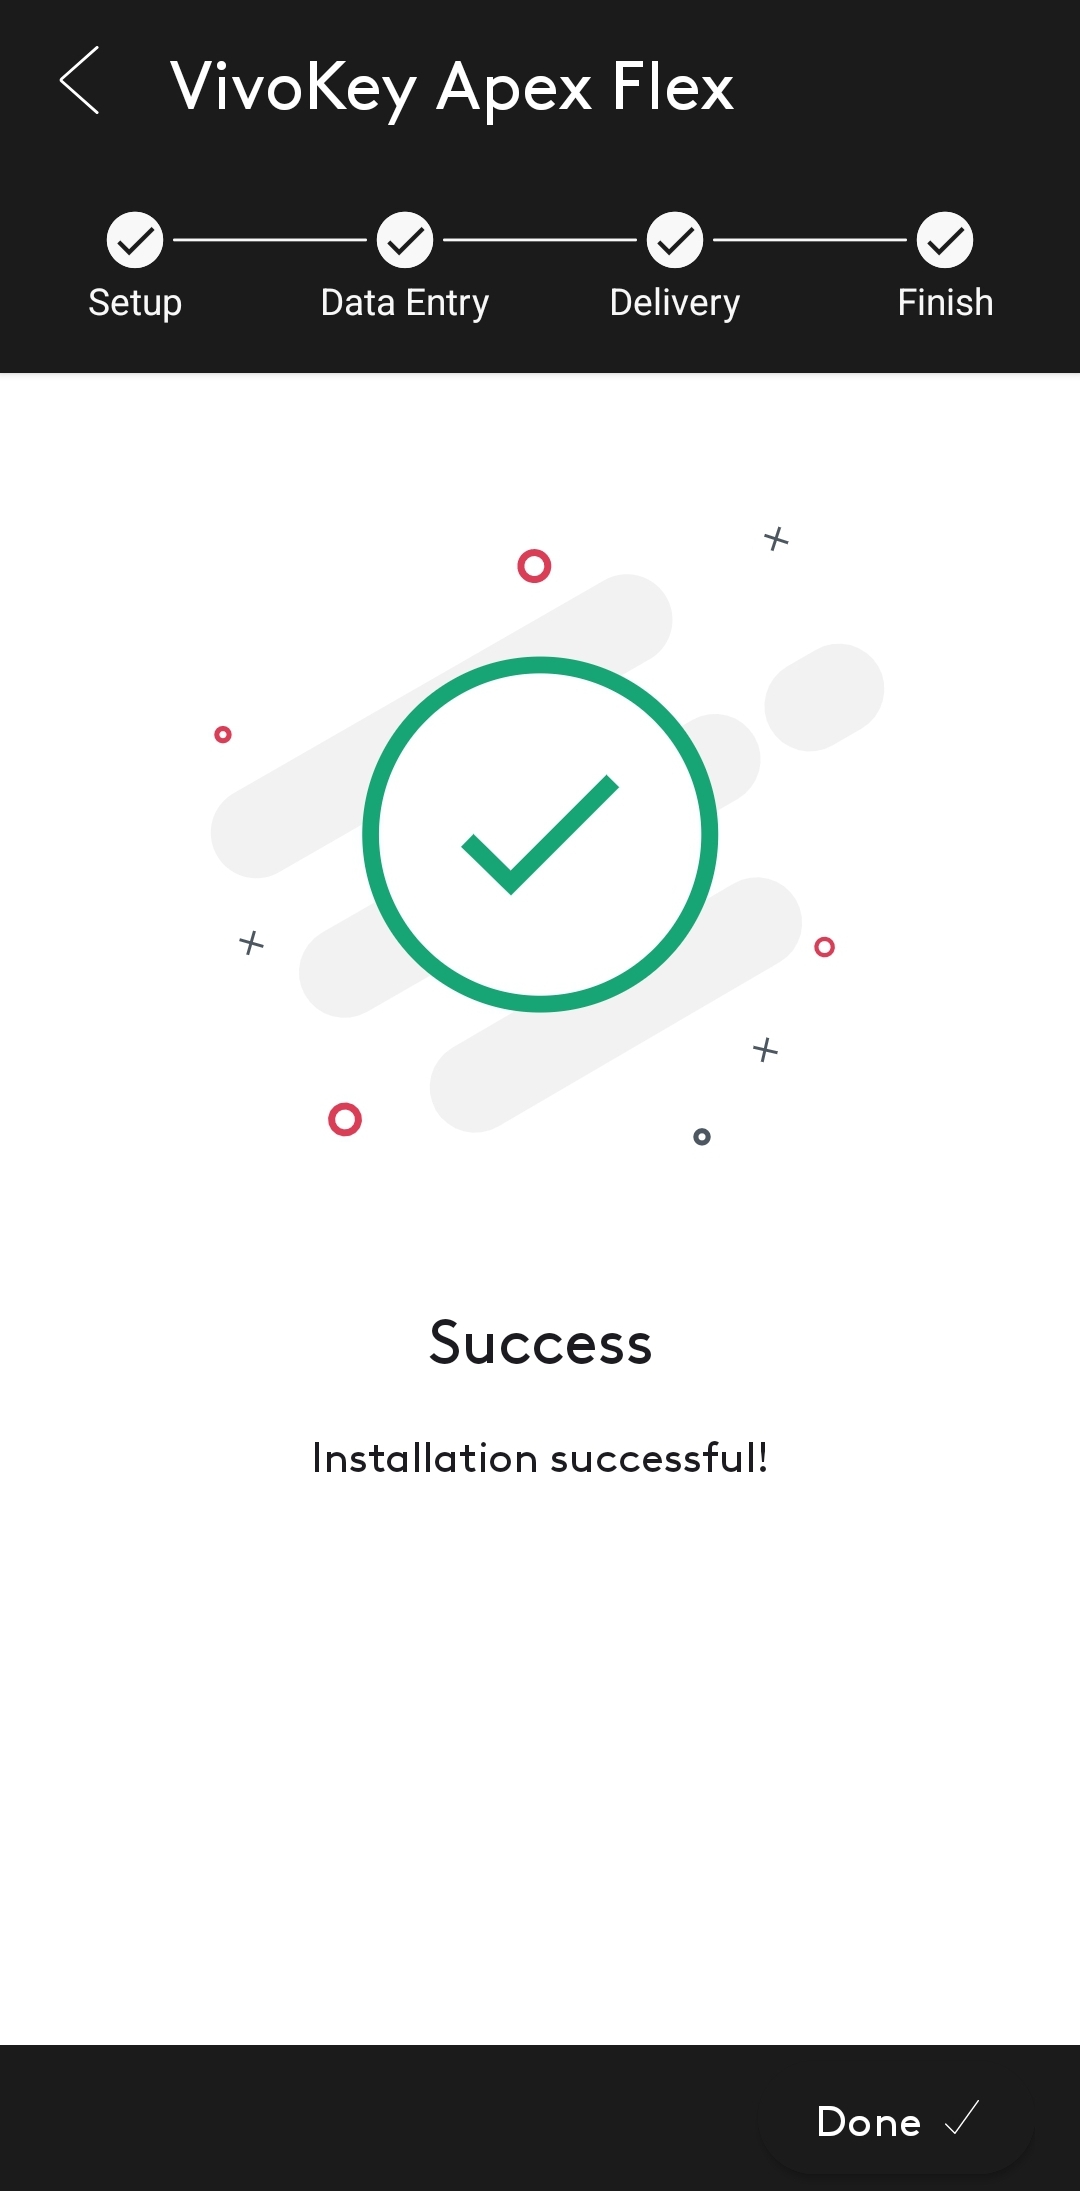
You will be prompted to scan your APEX
-
Hold still until your applet is installed
SIDE NOTE:
- If you want to remove an applet, simply select destroy and scan your APEX
PART 2 - VivoKey Authenticator
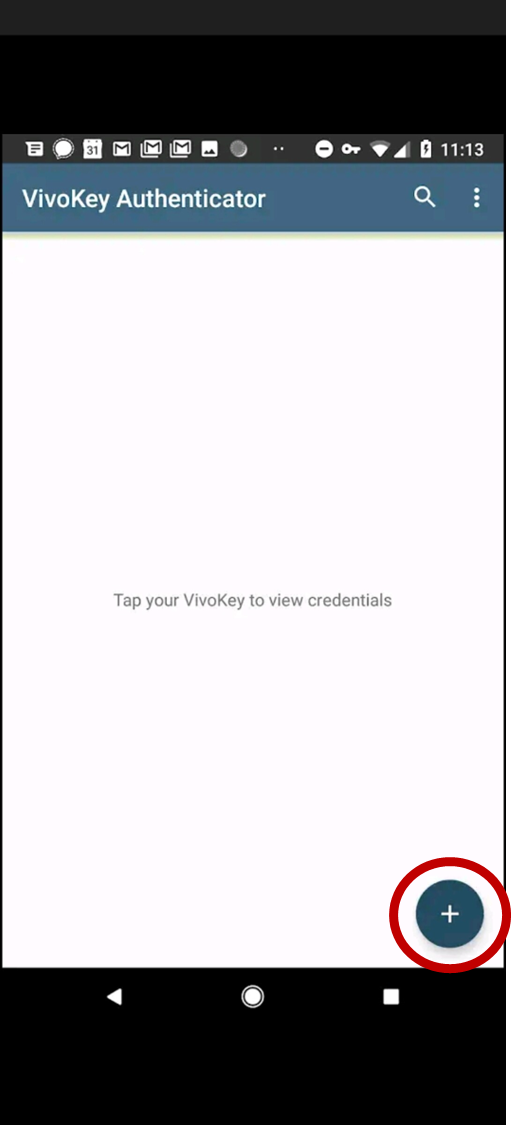
Open Up
-
Press the plus
-
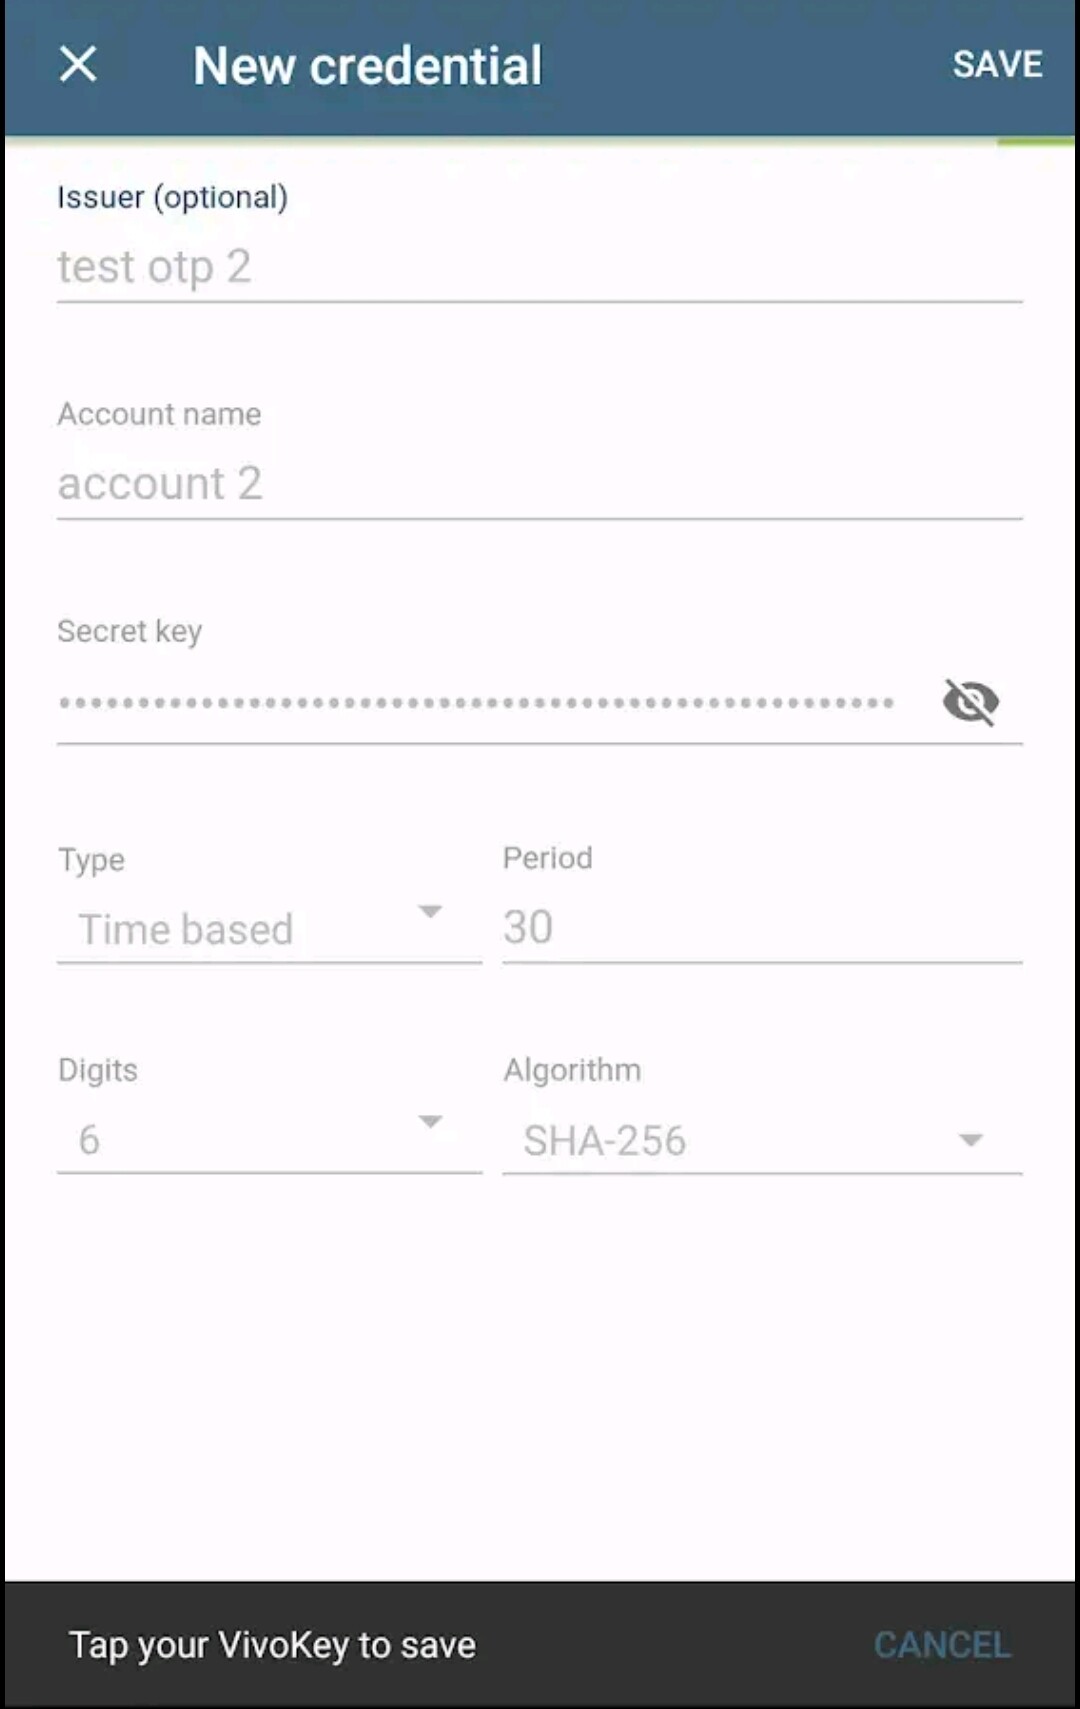
Select “SCAN QR-CODE” or “MANUAL ENTRY”
** If “SCAN QR-CODE”, the SCAN QR and then Scan your APEX
** If “MANUAL ENTRY” -
Name it suitably ( see example below ) for your 2FA webpage etc.
-
Add a password, which needs to be 8 characters (No Uppercase, Numbers or Special characters required)
-
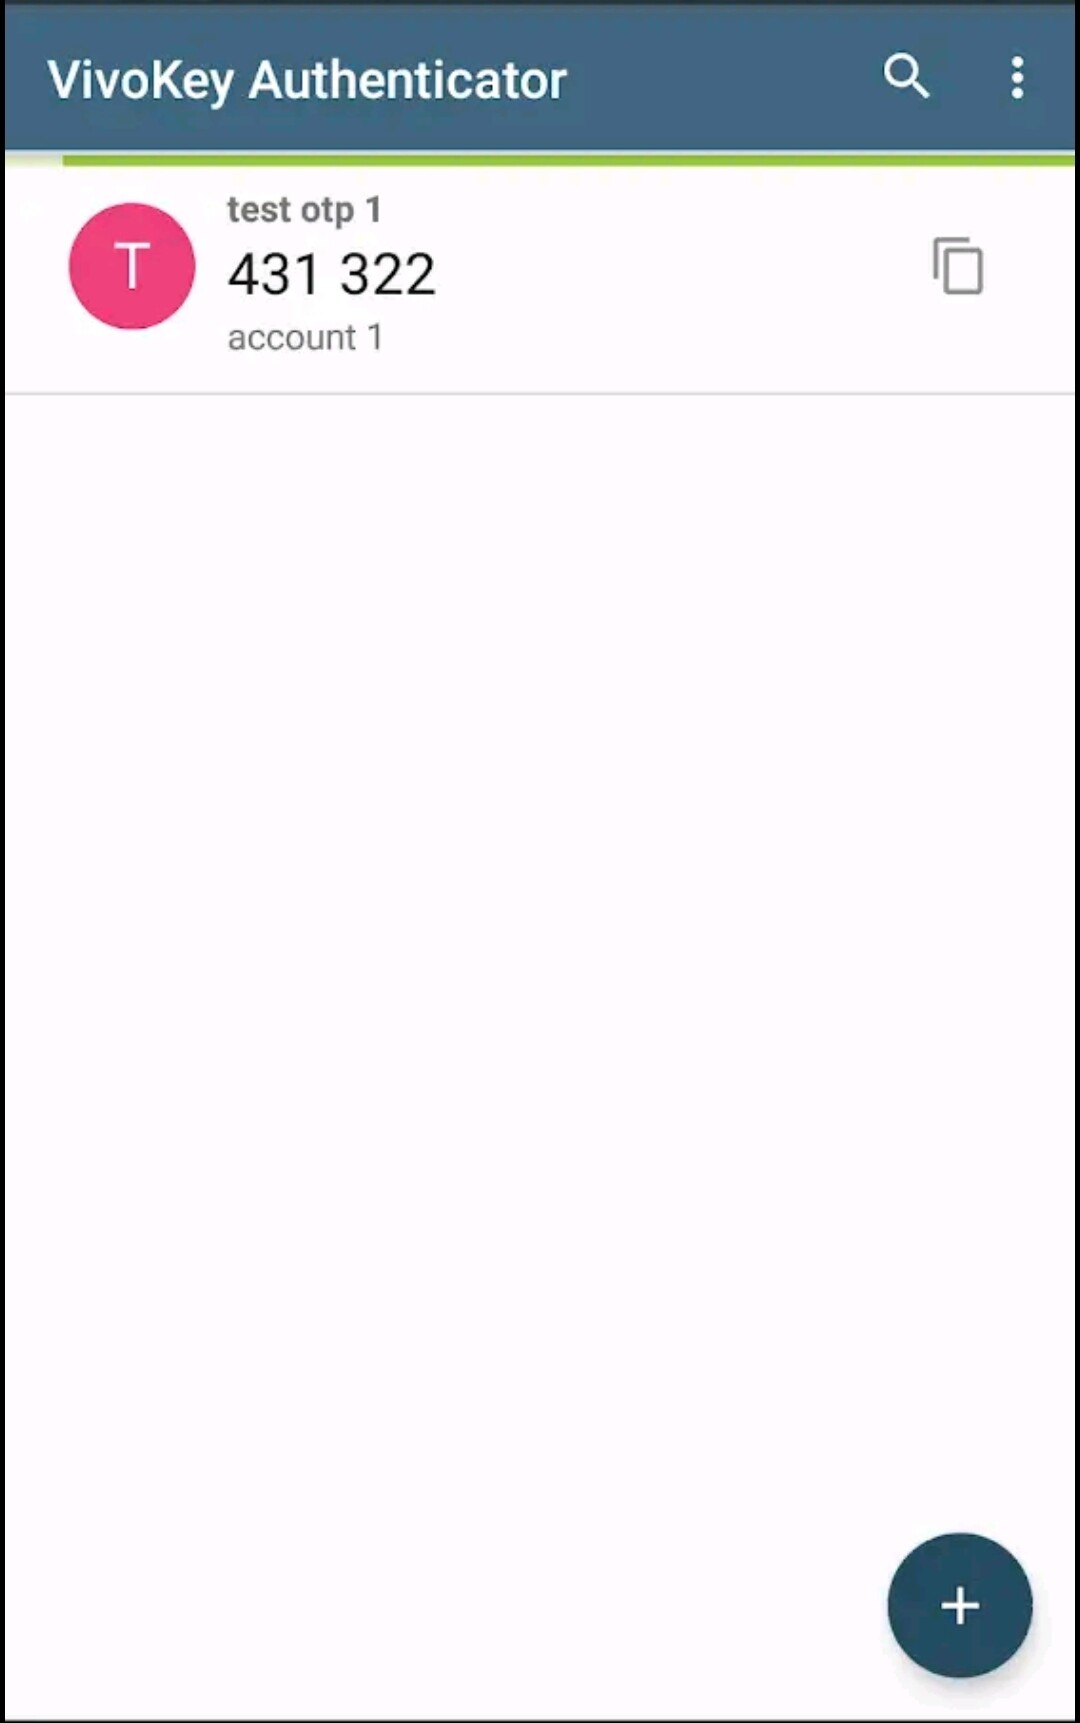
Tap APEX to save, and you will be presented with the following
-
The green time bar takes / lasts for 30 seconds ( In the example settings above, which can be changed ) Use the generated key to acces your 2FA Webpage etc.
-
If it expires, simply scan your APEX again to get a new key
-
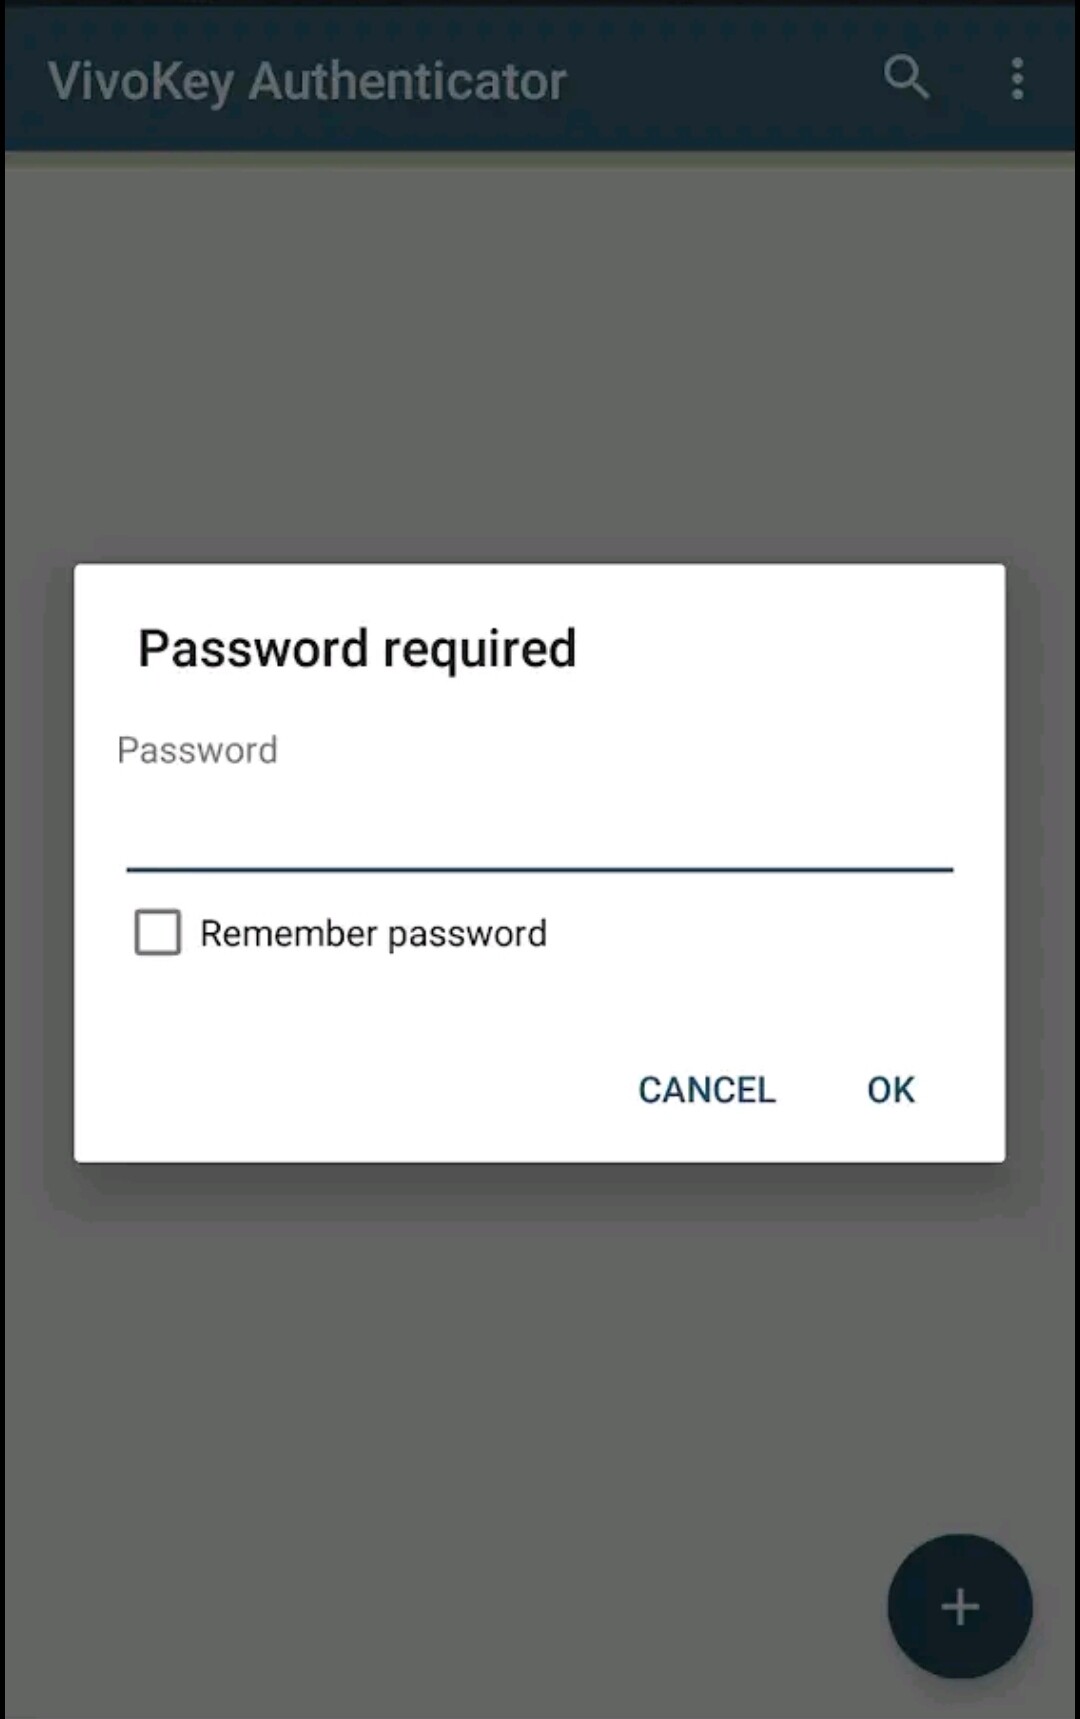
Passwords - Self explanatory
-
Passwords can be changed if required
** if you want to change the password, got to the menu topr right, tap, change password, put in old password, put in new password, scan Apex - DONE -
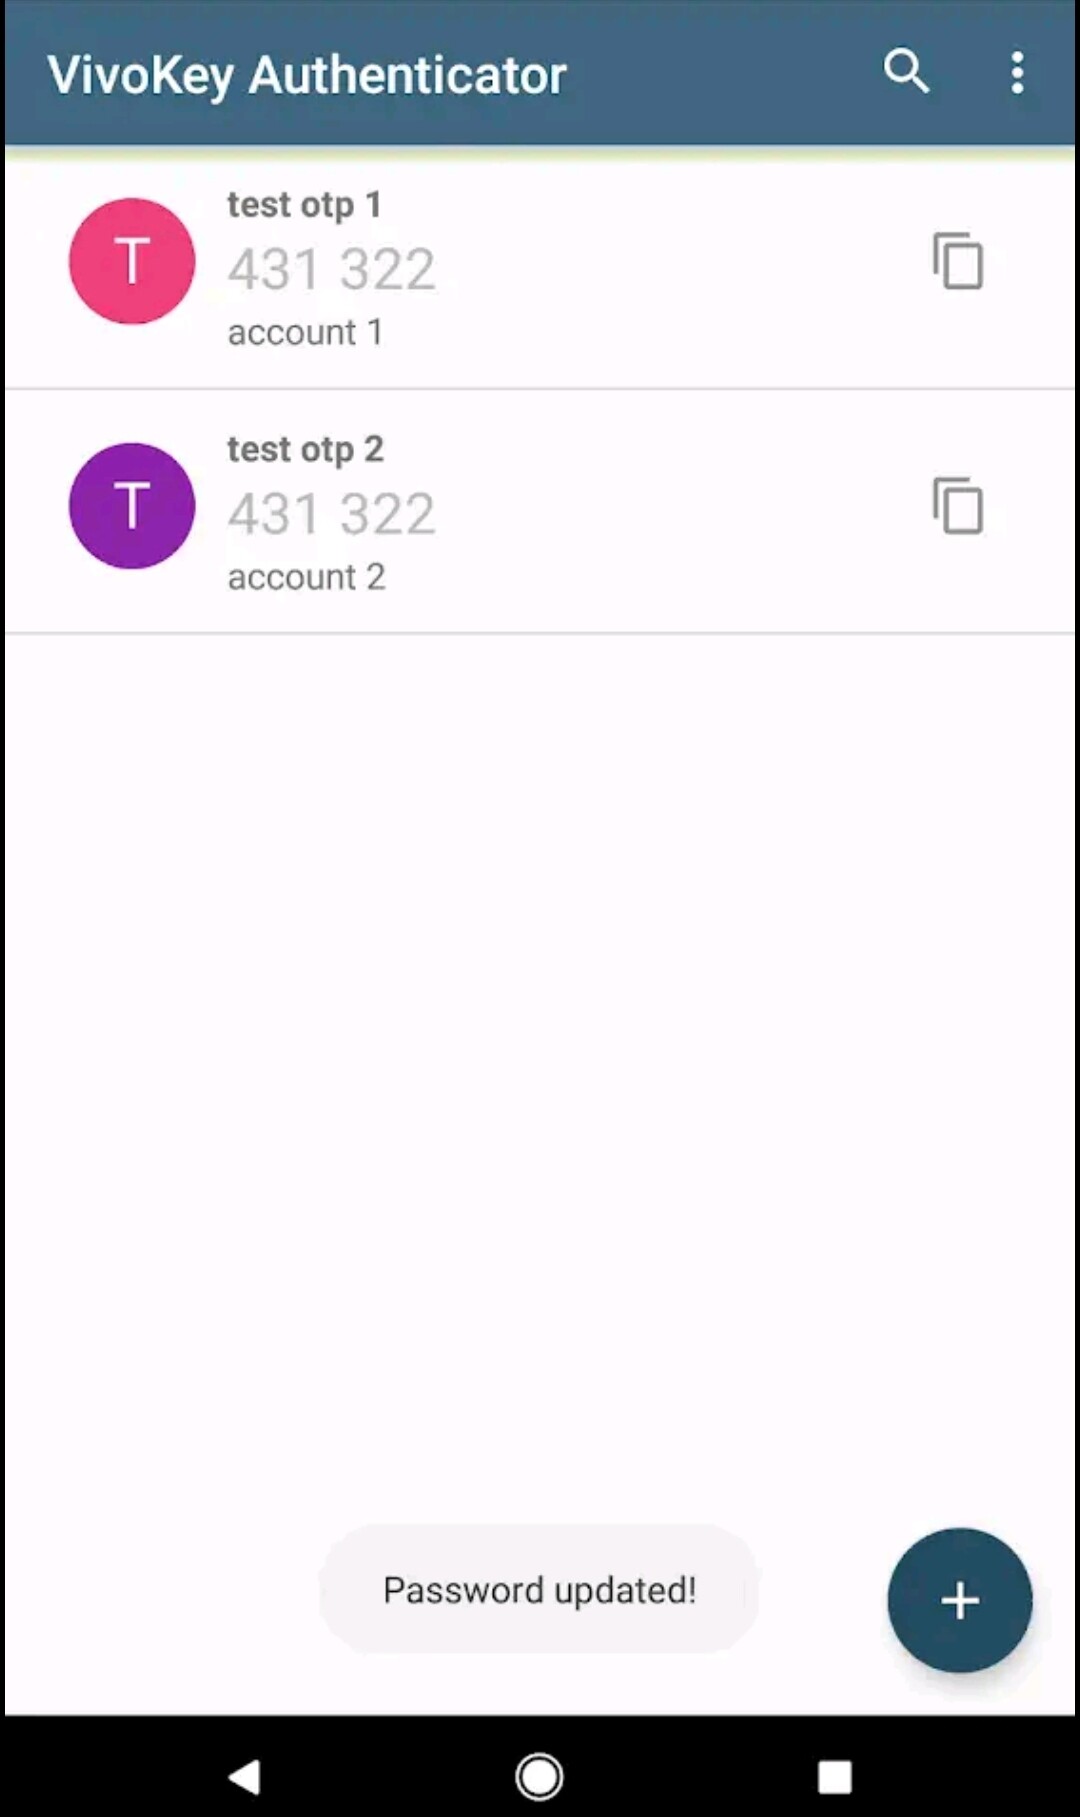
if / when another Authenticator is required, simply repeat the process and name accordingly

That’s about it, I hope this is of use to someone