Hi everyone! I’m new on the forums, but I’ve been a fan from afar of dangerous things for a long time now. Last year I met a handful of folks online who renewed my interest in implantable tech, and I bit the bullet a month or two ago and installed a NExT at L0. I have since installed two other of these wonderful products and have hopes to do a couple more… but let’s talk about the NExT for now. (:
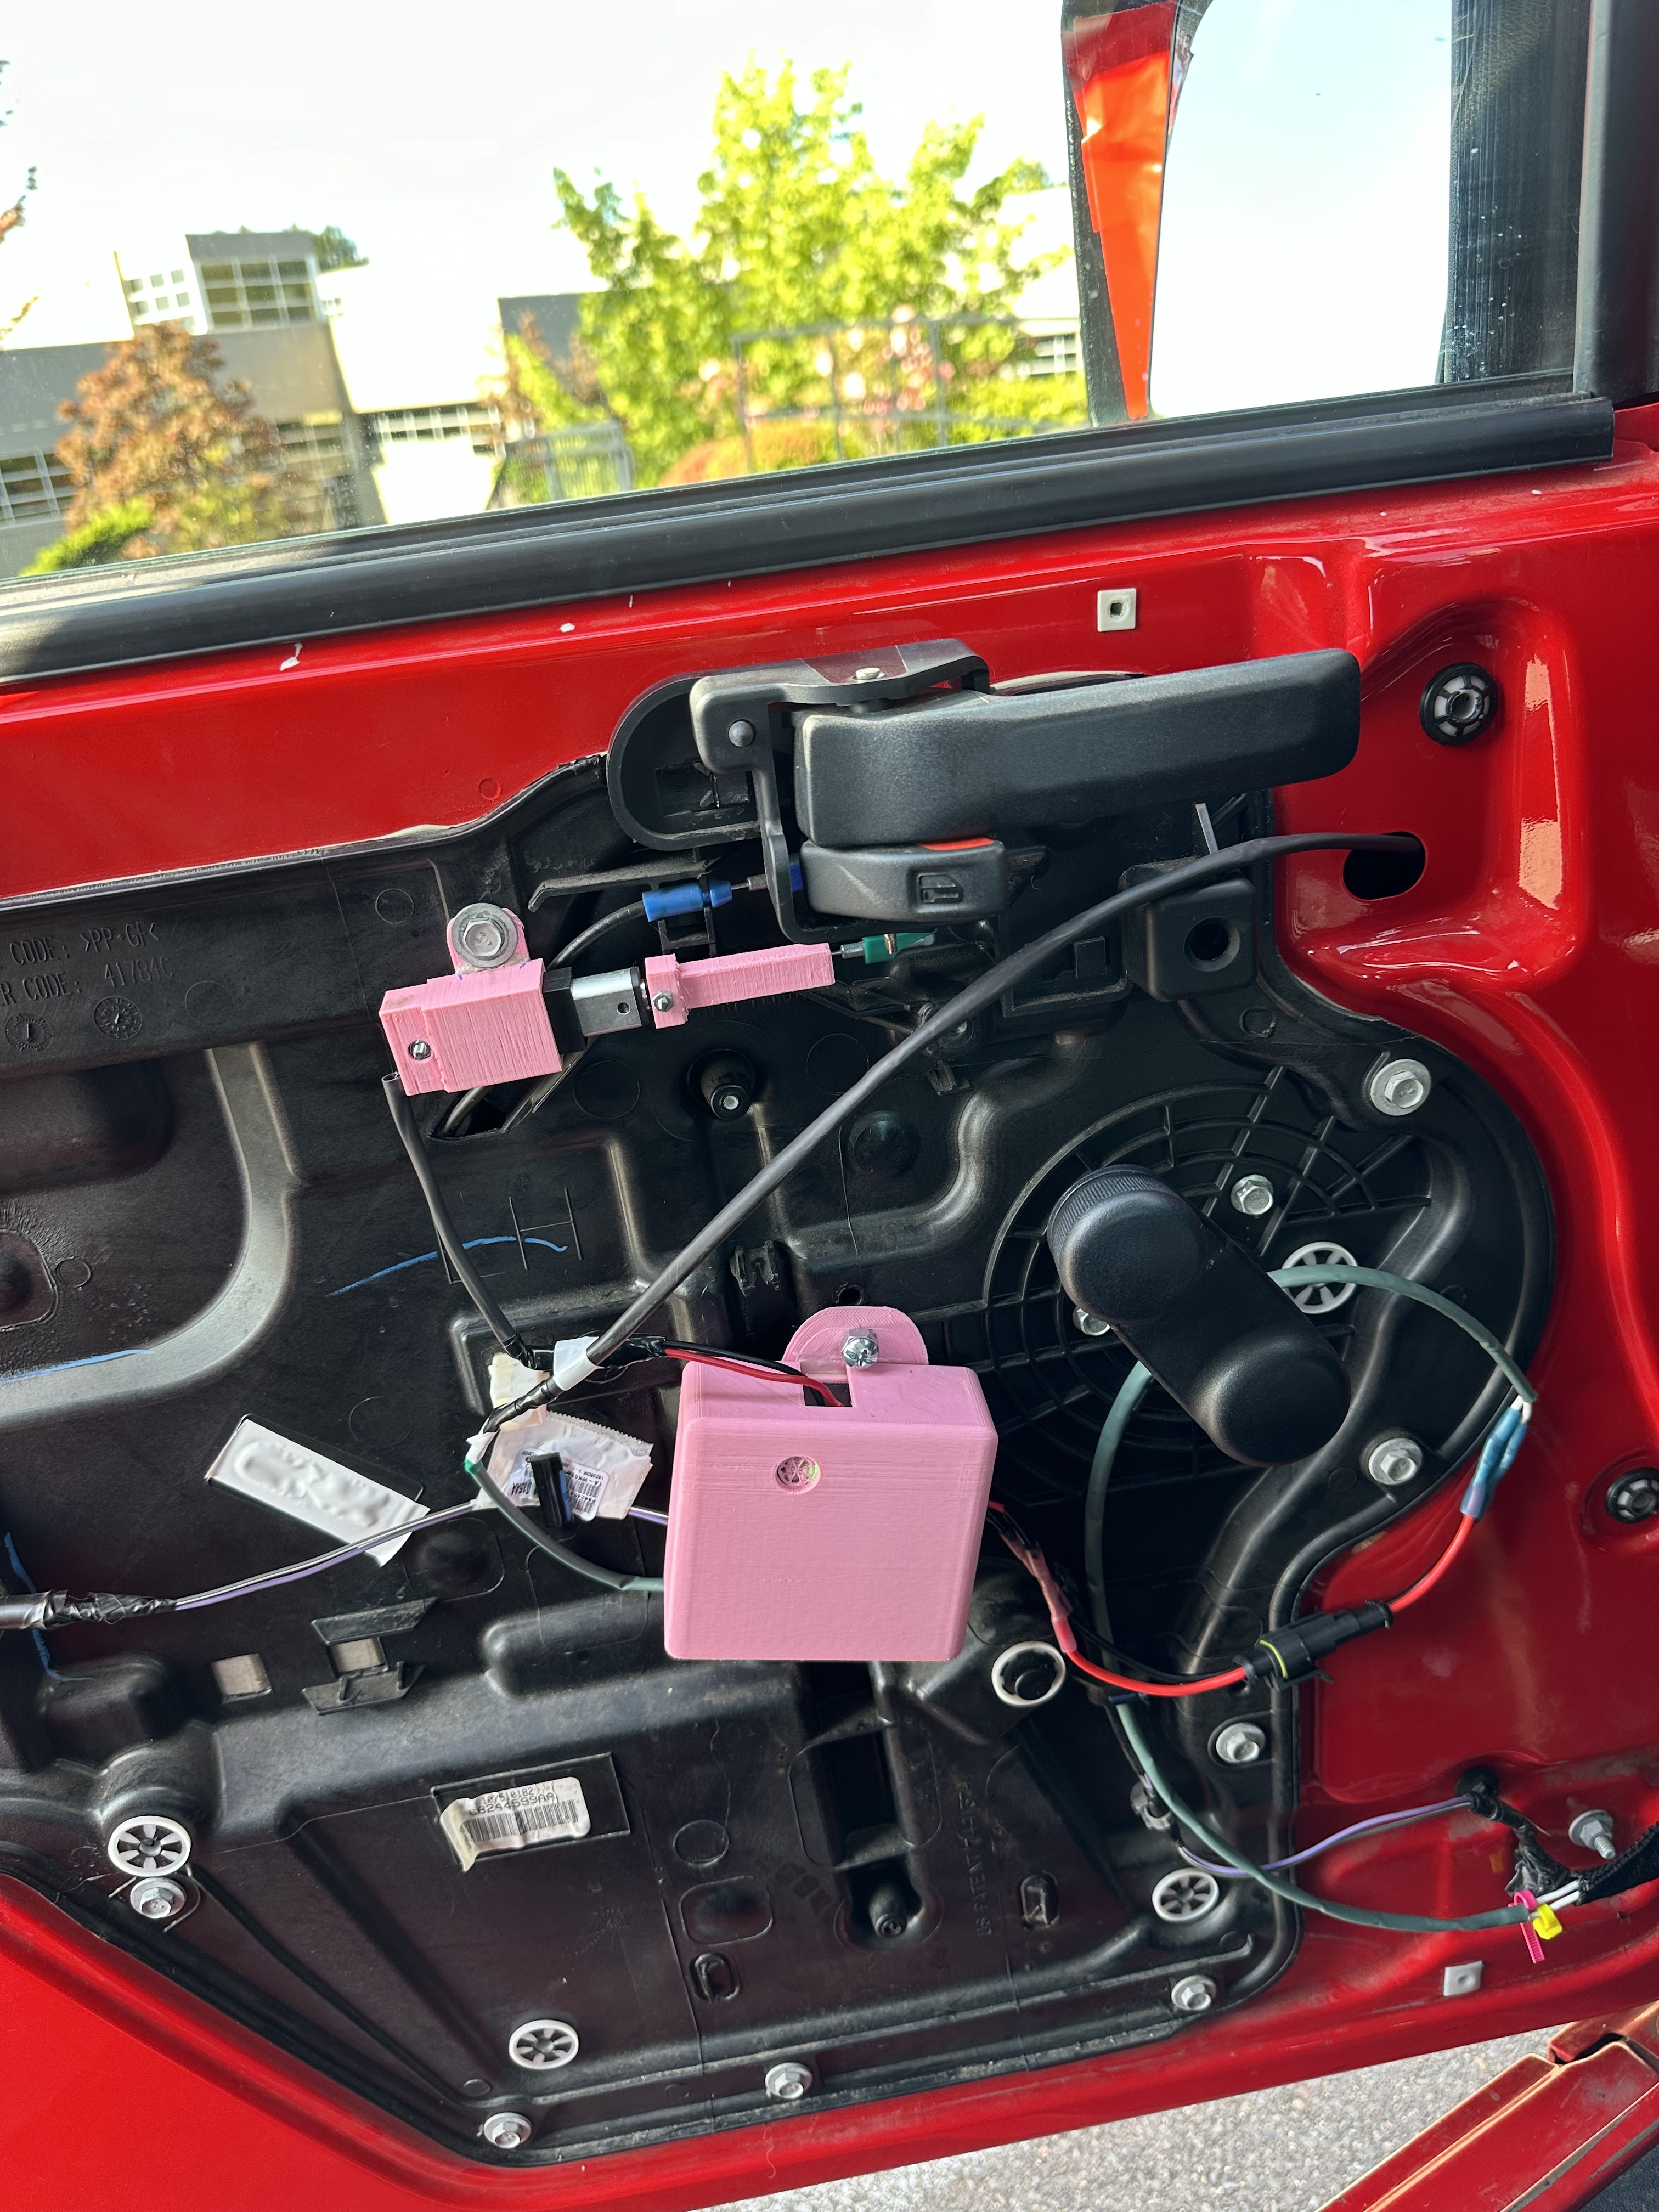
As my NExT was healing, I worked on an access system for my 2015 Jeep Wrangler JK (I know, I know, but I love it). The Jeep was incredibly low-tech when I acquired it — crank windows, no power locks — and this turned out to be advantageous during the build, as it left plenty of space in the door panel to accommodate the xAC and meant that the existing lock mechanism didn’t have to be modified in any way.
My formal education is in biology, so unfortunately I can’t draw a very good circuit diagram, however the basic gist of the system boils down to:
- xAC
- bidirectional motor driver module
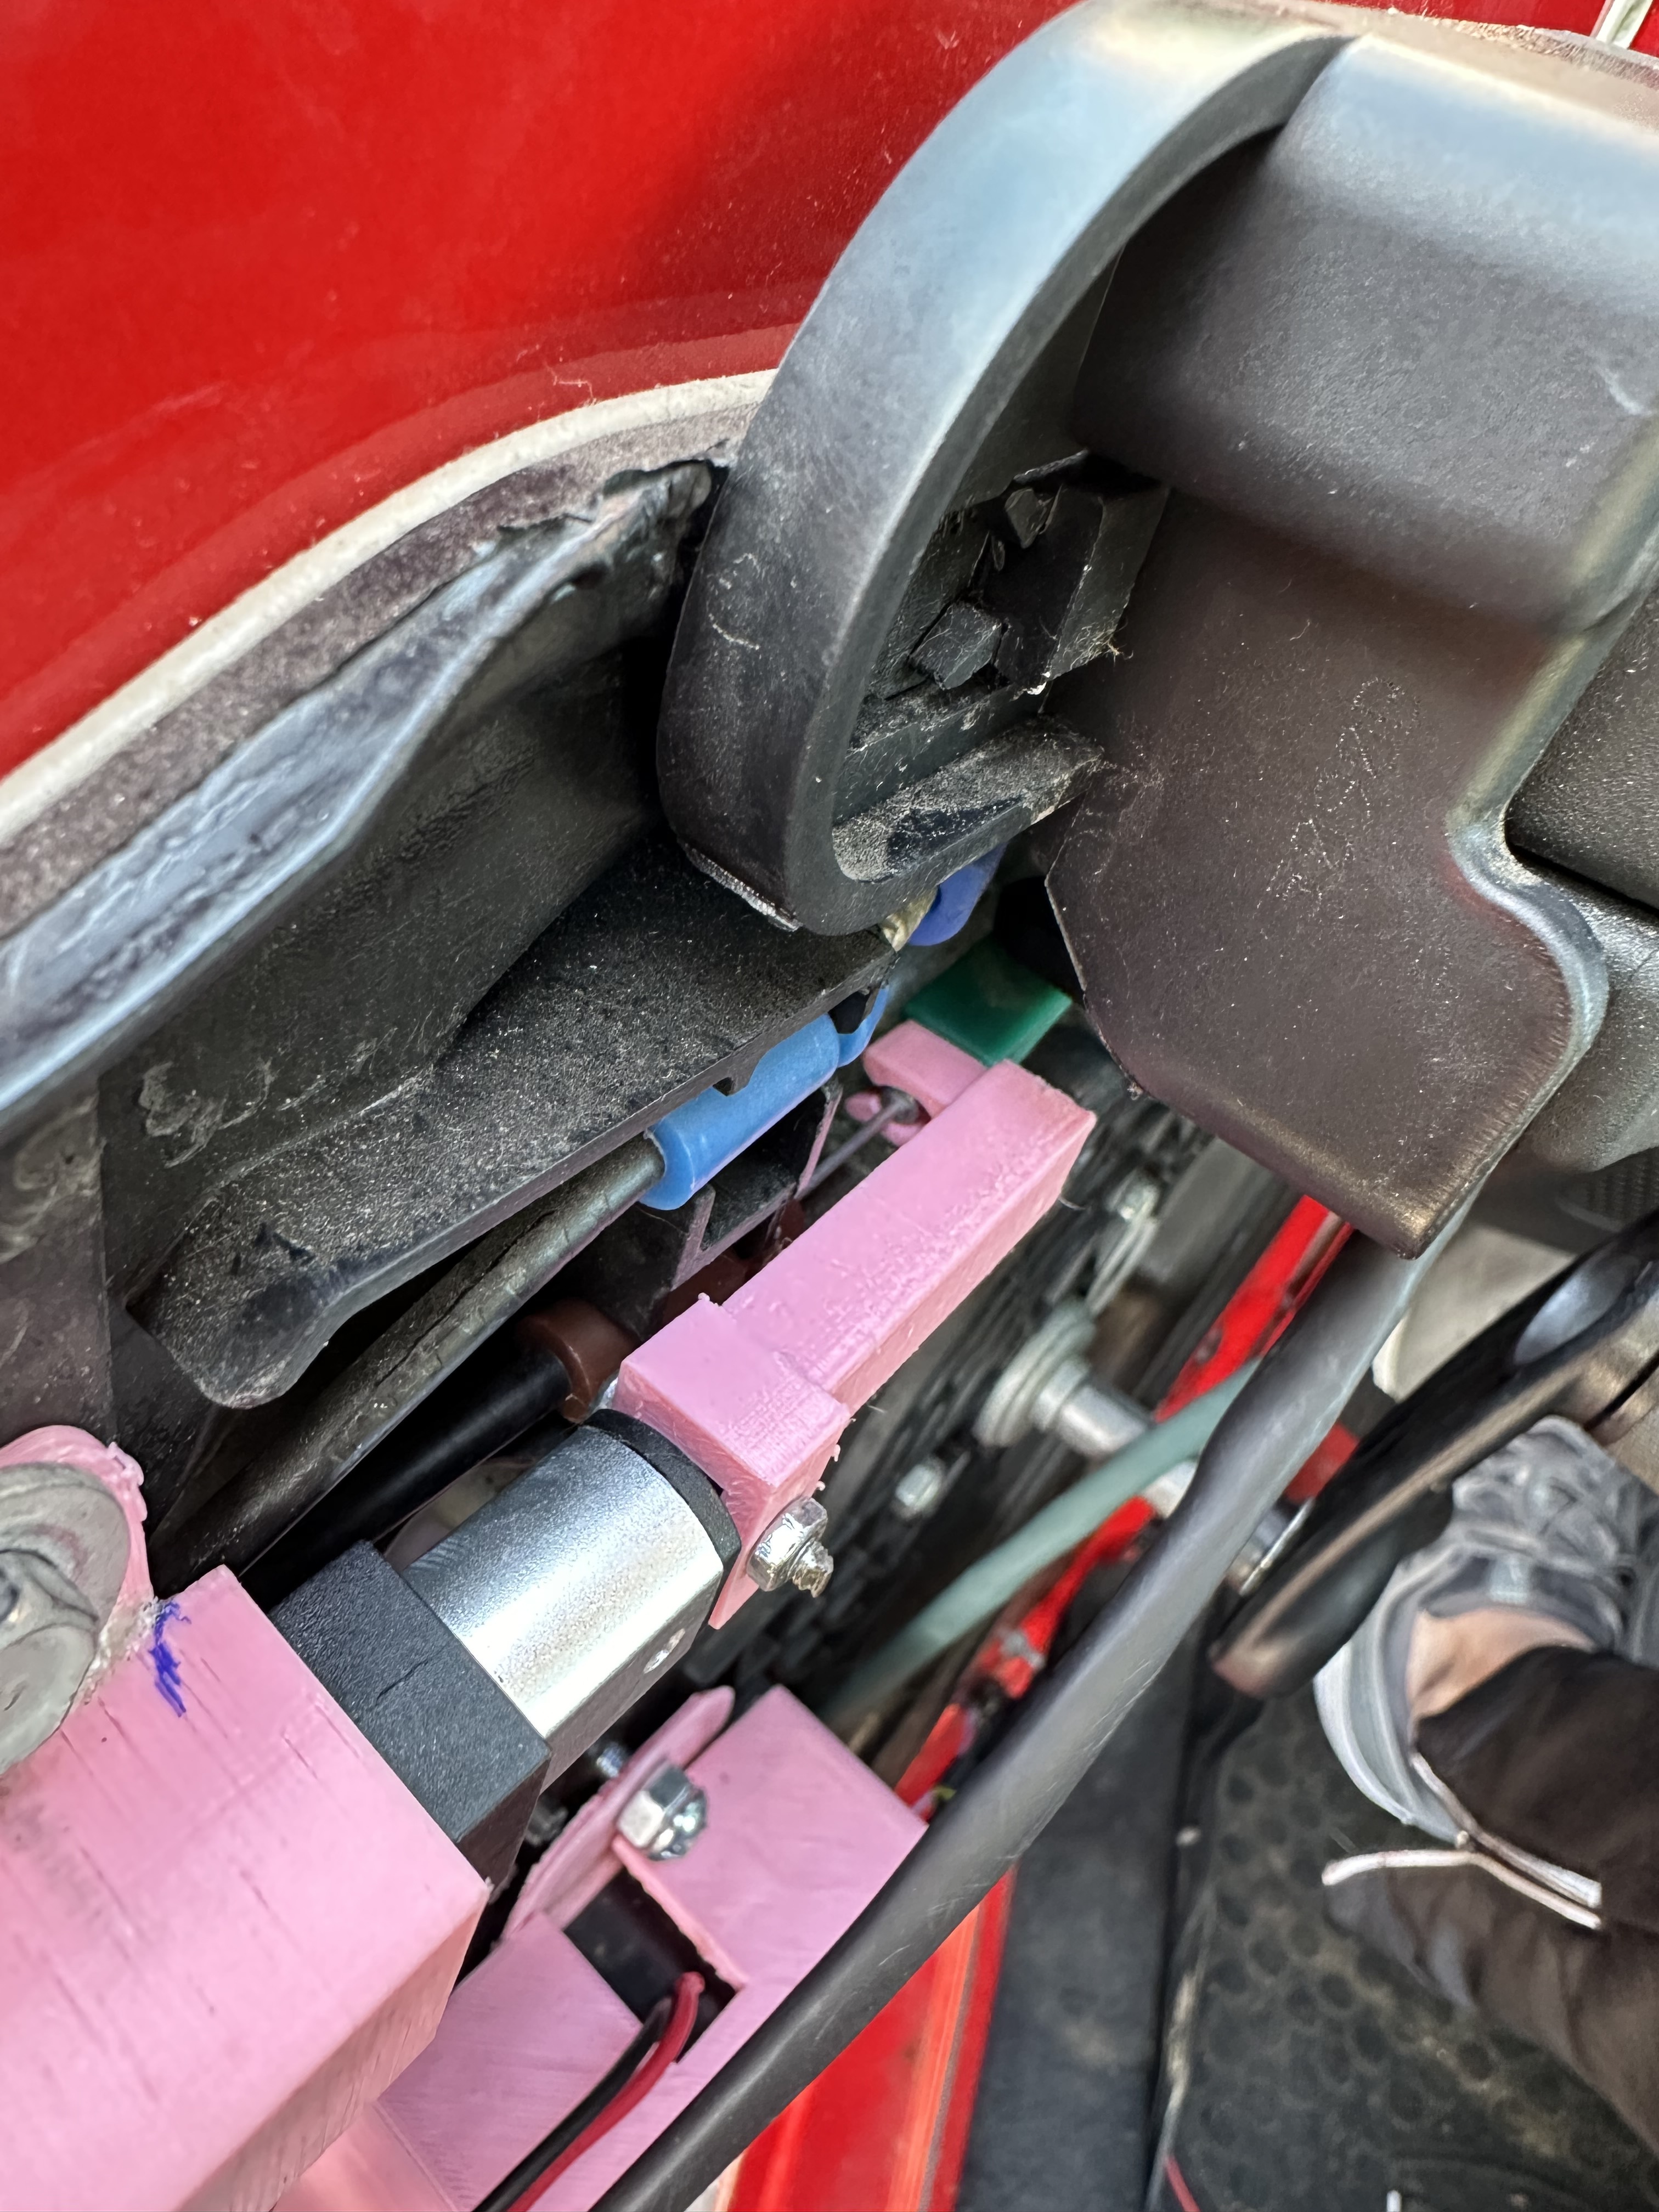
- linear actuator with end stop switches
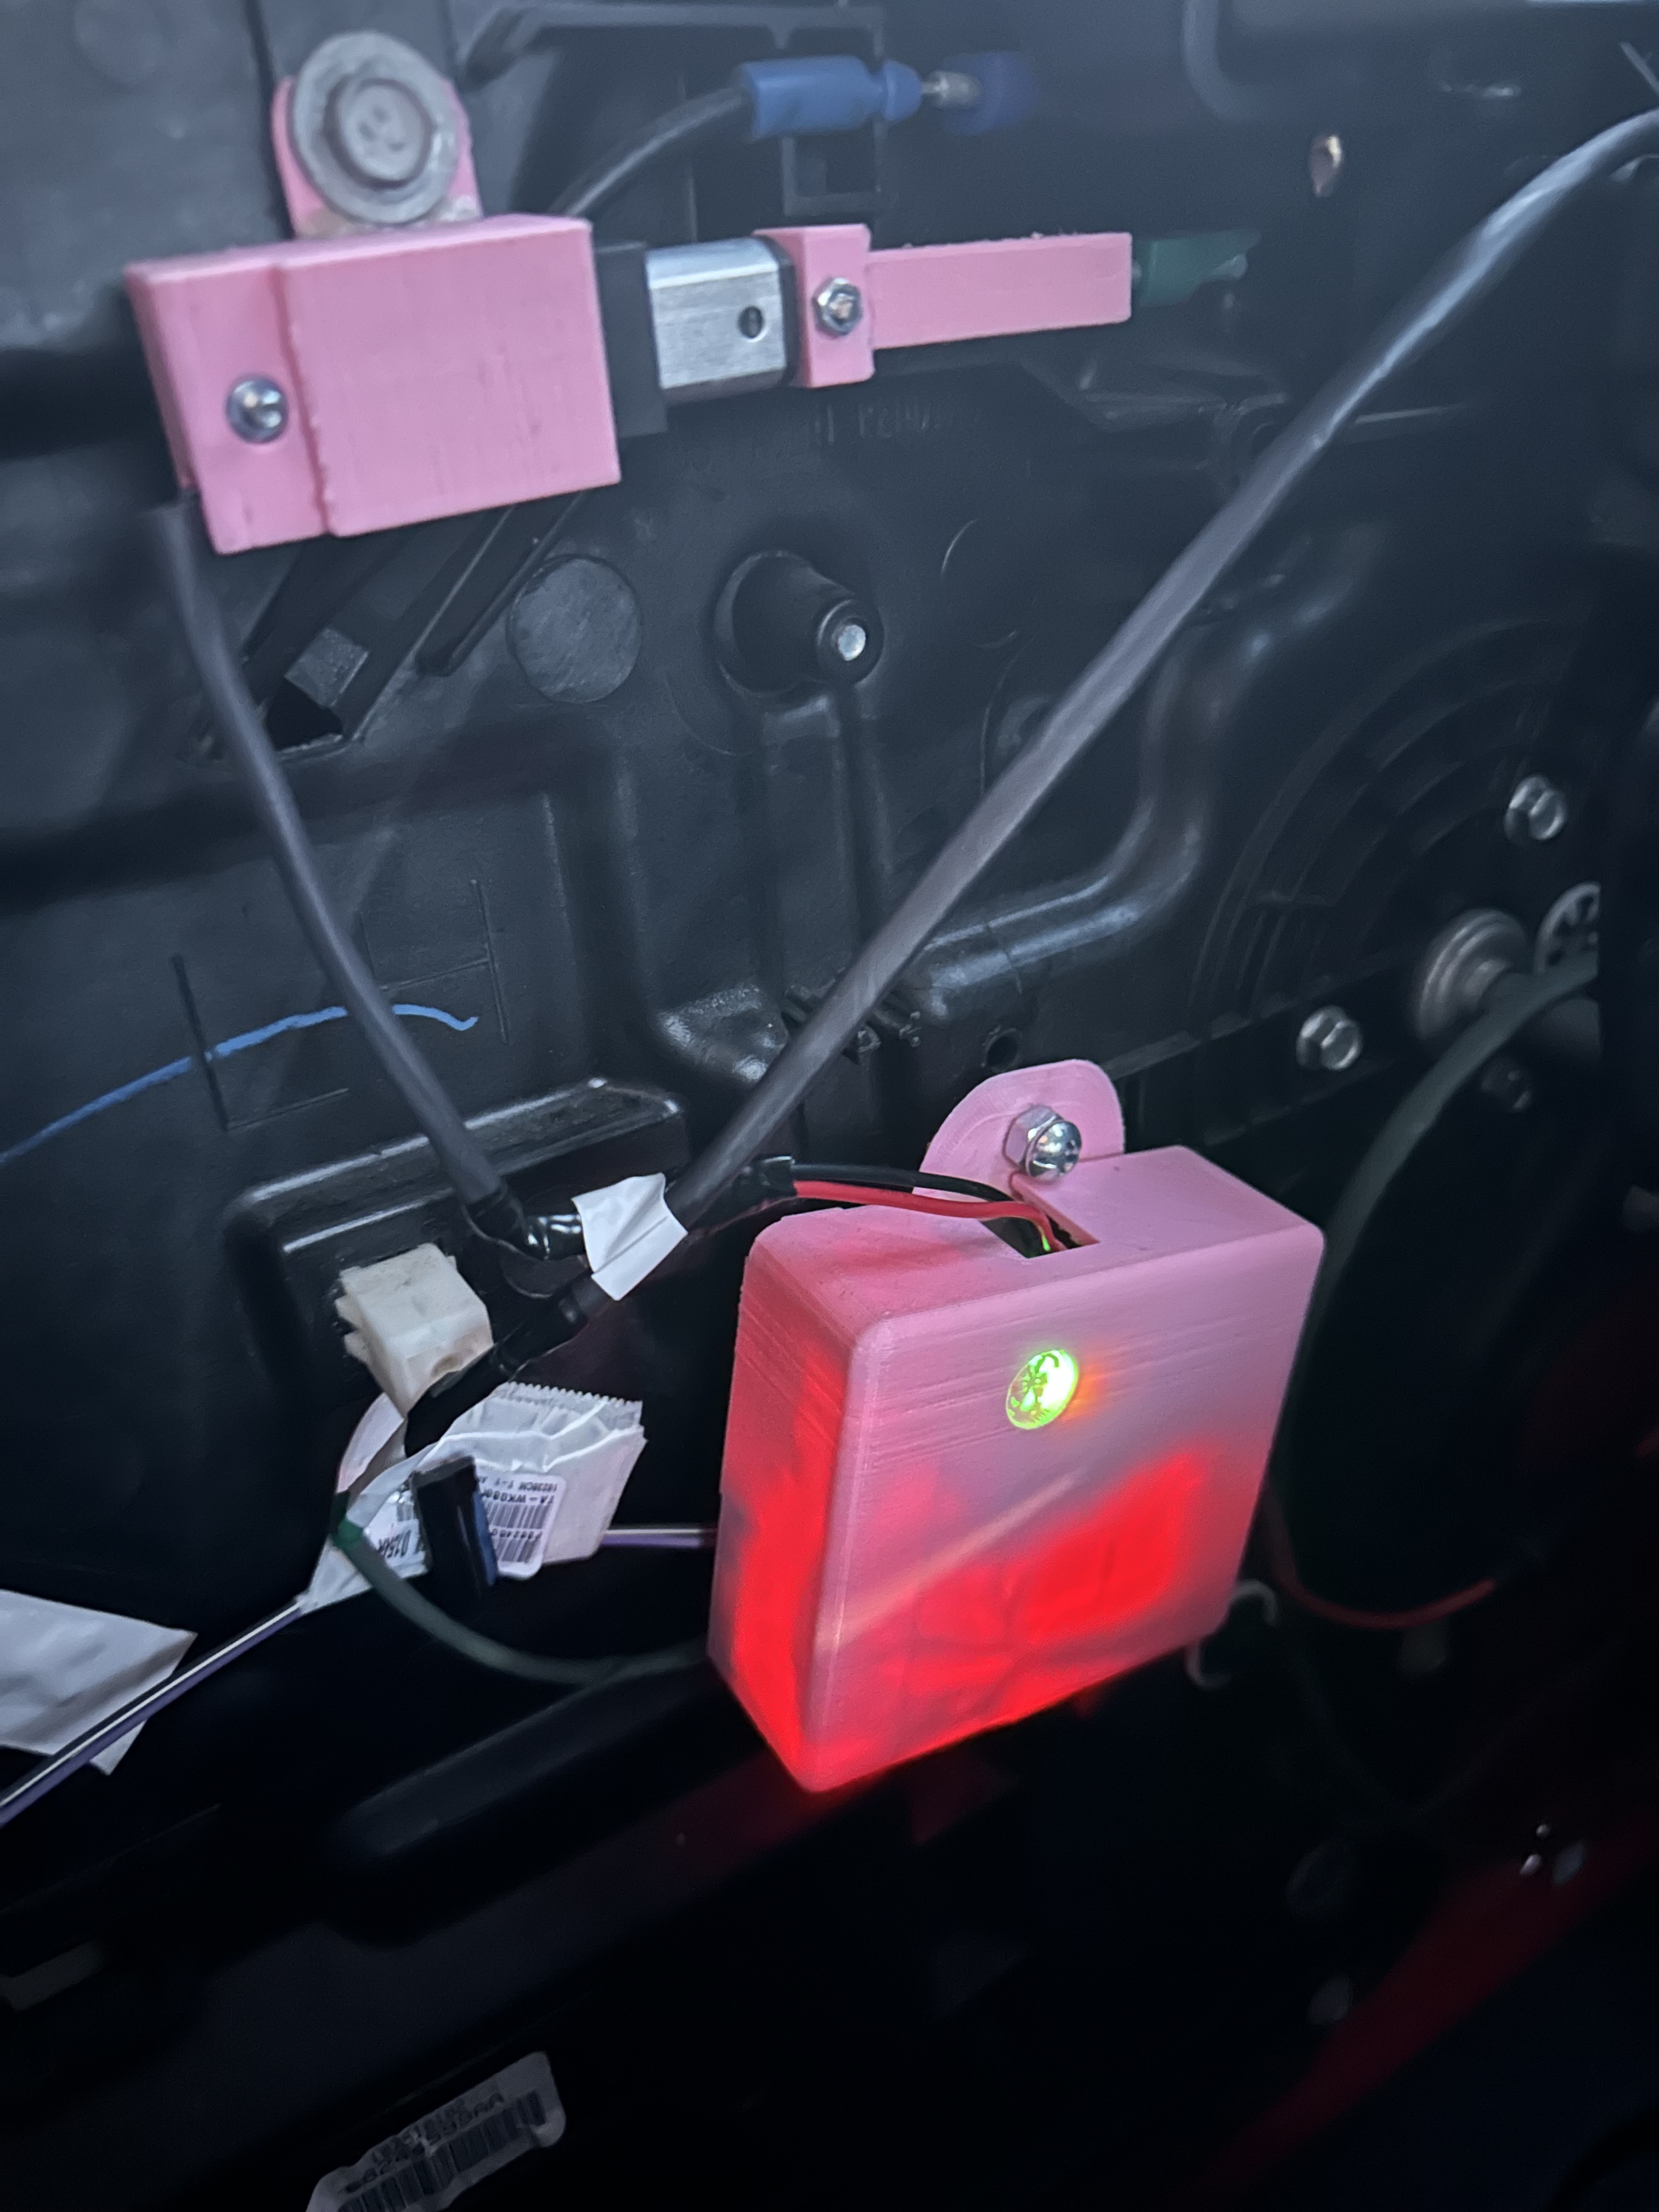
- 3D printed, metal, and composite fittings to fix the boards in place and interface with the Jeep’s lock mechanism
The module (I have been calling it NExT_JK) only actuates the driver side door (I may develop another system which actuates the passenger door and back gate), so that is where it’s located. I didn’t add any holes to the vehicle, I simply found existing, unused holes to bolt the necessary pieces into the door.
From the core of the module (which contains the xAC and motor driver boards), I ran power wires under the dash to the passenger side of the vehicle, through the firewall and to the distribution box. In the box, I found an unused, non-switched (has power when the car is off), 10A fuse, and used a simple adapter to plug the module into it so I didn’t have to remove the entire box. I should also mention that I installed a generic plug interrupt between the module and the box so that I could remove it from power before fiddling with the fuses.
The linear actuator has a very small throw — maybe 3-5cm, so I 3D printed a small end effector to both interface with the lock and distance the actuator from the cluster of components surrounding the lock and handle. The end effector and throw pattern relative to the xAC’s status enable the system to ONLY UNLOCK, and not constrain any other actions that the mechanism can already do. This means that I can still manually lock and unlock the door from inside and outside the vehicle, so someone without my implant code (a mechanic or something) could use the vehicle without even knowing the module is there. (:
The final component, the antenna, is located in the plastic housing of the side mirror. It can be scanned from multiple angles and is actually quite ergonomic to utilize. I originally simply duct taped it there while I was testing designs, but one of the finishing touches I intend to do is a weatherproofing/camouflaging silicone casing to adhere it there instead.
Thank you all for reading and for hosting this community!! I hope you found this informative or at the very least fun to read (:
I’ll try to include some media below as well showing the system without the door panel attached, although I can’t say the project is too visually stunning (except for when it’s dark and the lights are flashing hehe). Let me know what you think! I’m a bit of an electronics (and automotive) noob, so if you have any crit I’m happy to field it.
See ya next time — lem0n
###############################