Howdy.
Few questions, do you run your printer software to the raspberry as well ?
My home setup looks like so.
“Router” which is actually a access point with nat, but let’s call it router for ease of use.
Then I have a raspberry pi running https://dietpi.com/
Dietpi has great interface for setting up bunch of stuff. I am not a fan of openvpn. I use wireguard instead. I do port forwarding to the raspberry. On it the vpn has it’s own NAT.
Things usually looks like so, you have ISP, which gives your router ip address via DHCP. DHCP has one thing called lease time, and when lease time expires, you receive a new public ip address. If that’s the case with you, you would need to setup a dns name via dynamic dns service. Which means, when your isp rotates your public ip, you will still be able to connect to the vpn concentrator current address.
Next would be the port forwarding. You need tell your router to forward certain port to the port and address on which the vpn service is running. Also you need to specify if this is going to be UDP, TCP or both. @StarGazer1258 gave pretty good explanation.
What you’re showing on the screenshot is the config of the vpn. It doesn’t matter what VPN subnet address space you choose(should not overlap with the network of the router) or what size(/24 aka 255.255.255.0 is fine)
What options do you have in this Client Access dropdown?
One last thing, I never ever ever paid for vpn services. This for me is extremely bad idea, paying to get man in the middle (ugh ugh) no thanks. Also I am trying to restrict as much as I can. All interfaces are accessible when I am connected to the vpn, and nothing except the vpn is facing internet. This will save you a lot of headache in a long run.
Spot on. When I said /24, I was using network lingo for 255.255.255.0.
For the curious
ELI5 (hopefully) explanation:
Under the hood, every subnet mask, or any IP address for that matter, is actually a 32-bit binary value. One could theoretically represent the address as a 32-bit unsigned integer, but that would require us to remember a number between 0 and 4,294,967,295 which is stupid, so we dont. Instead, we break up the the binary value into four sections with 8-bits each, called “octets.” Then, to make it easier for our feeble human brains to remeber, we represent each octet as an 8-bit unsign int. This way, we only have to remeber 4 numbers ranging from 0 to 255. Much better.
Thus:
11111111111111111111111100000000
becomes
11111111.11111111.1111111.00000000
becomes
255.255.255.0
Again, this is just for our mushy brains to comprehend better, under the hood, all of this is still just one big 32-bit binary value.
Recall that I said an IP address is a 32-bit binary value as well. this means that your 192.168.0.132 is actually 11000000101010000000000010000100. Only part of the binary value actually identifies the host, however. The rest is used to identify the network that the host belongs to. To signal to the device which network (aka subnet) that it belongs to, we use a subnet mask to “mask out” which bits identify the network. Too keep a long explanation brief, using a 255.255.255.0 sunet mask will tell the device that the first three octets identify the network, and the final octet identifies the host.
Now, in everday network guru use, saying “two-fifty-five, two-fifty-five, two-fifty-five, zero” all the time gets quite tiresome. So, we abbreviated all of the useful subnet masks into one sliding scale, called Classless Inter-Domain Routing (CIDR, pronouced like your favorite adult apple juice). Basically, we realized that while you can theoretically flip any of the bits in a subnet mask to represent network bits, no sane person ever would, and we’d still have plenty of options for networks if we ignore the nasty options. So instead, we agreed that all subnet masks shall consist of contiguous bits starting from the left. The number of bits from the left that constitute the subnet mask are counted and become the CIDR notation for that mask.
Thus:
11111111111111111111111100000000 OR 255.255.255.0
becomes
/24
^ Don’t click on that, I got rambly again ![]()
Anyways, since you use 192.168.0.0/24 for you main network, I would suggest something like 192.168.10.0/24 or 192.168.100.0/24 for your VPN subnet.
In that form put:
VPN Subnet: 192.168.10.0 (or 192.168.100.0)
Netmask: 255.255.255.0
Client Access: Internet and Home Network
I liked the rambly bit. I knew /24 but never bothered to look up how it became that. Thanks!
Former network engineer, sysadmin, and SRE here. Still in the industry just got “cloud” in the title these days. There’s some good information here, but personally I would avoid anything involving port forwarding or setting up a VPN on your home router.
My preference for this kind of situation is something like Tailscale or ZeroTier. Both have very impressive free tiers, and have clients that should be able to run directly on your Raspberry Pi and most mobile devices without any changes to your existing network or router.
Searching “tailscale octoprint” seems to give at least one step by step video tutorial, which is bound to explain it better than I could. I highly recommend giving it a try as these services remove a lot of the hurdles of traditional VPN setups.
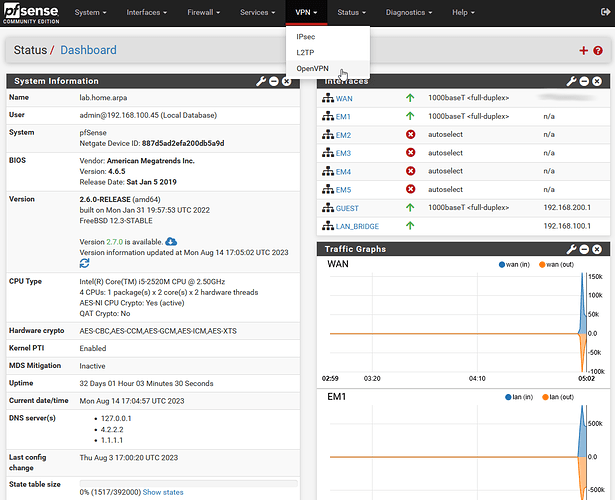
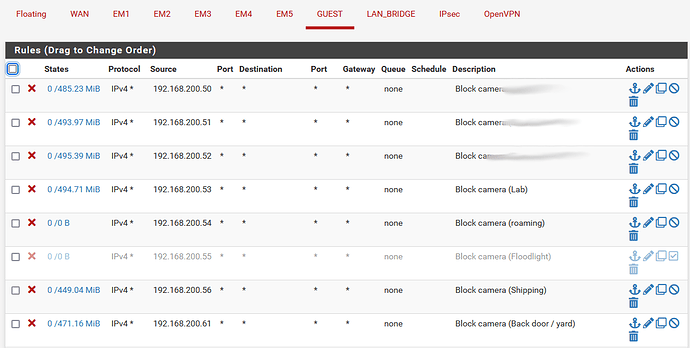
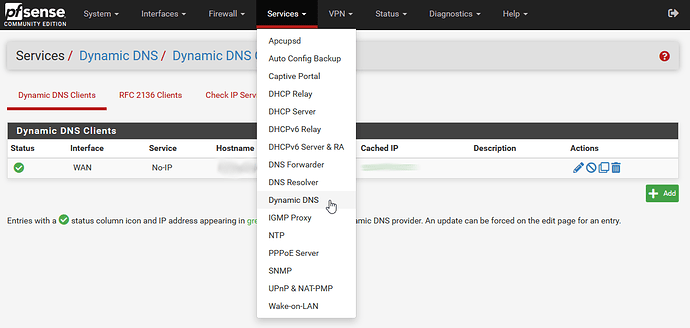
I just have to throw a hat in the ring for pfSense with OpenVPN… I’ve been running the free community version of pfSense on basic SBC and mini hardware platforms since 2007. The OpenVPN server is built in as an option and there are plugins / extensions / packages to extend pfSense functionality even further if you want. For example, there is an OpenVPN client export utility you can install that adds easy to export client configuration files you can download with a click. Now for some screenshots…
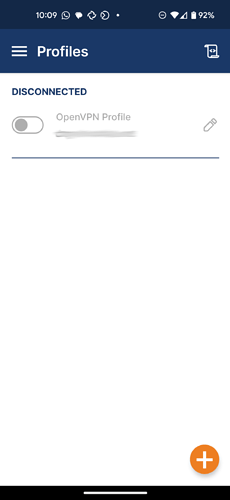
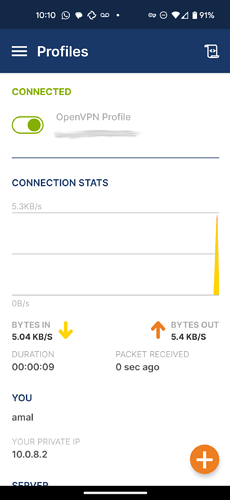
Once you import the client config file into the OpenVPN client for Android or whatever, then you just literally flip the switch to connect your phone to your internal network over the VPN;
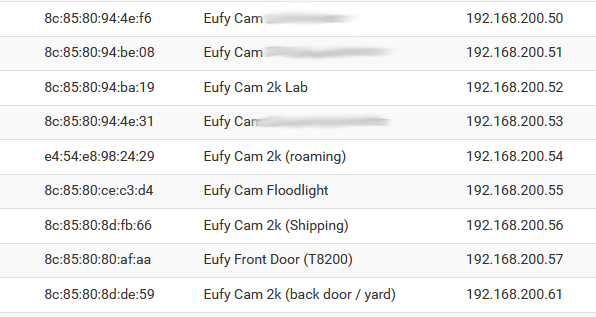
I use this all the time to access my Chinese made Eufy cameras via RTSP because I block their ability to call home using pfSense’s firewall, so the only way to see what’s going on with them is to connect my VPN and then use an app like tinyCam Pro or something similar… or you could use a full on NVR to pull in the RTSP streams from the cameras and use the NVR cam app over the VPN.
Expanding on the firewall thing… basically you set up your cameras, get the MAC addresses of each one, then configure the pfSense DHCP server to hand out specific IP addresses to each of the cameras… this means each camera will always have the same IP address and gateway settings each time it connects to your wifi to get on the network.
Now that you know and control which IP addresses the cameras are going to get on your local network, you can set firewall rules for each camera so they can’t talk to China or the internet in general.
To solve the static IP address thing, don’t bother with a static IP from your ISP… no need… pfSense has you covered here too… just get a free dynamic dns service like no-ip or something similar (usually have 1 free host name) and configure pfSense to keep it updated. It will make it so you can connect your VPN to a host like myhouse.no-ip.blah or some name like that, and it will always point to your current public IP address, thanks to pfSense keeping it updated and current.
+1 for zerotier. I’ve been using it for a while and it’s been great. Tailscale is definitely more user friendly, but zerotier allowed me to run it alongside Mullvad VPN on Windows whereas I couldn’t on Tailscale.
Another solution could be to use the playit.gg tunnel. You install an agent on the RPi, then go out to the url to link it to your account, (you don’t need an account, you can run as “guest” if you’re just testing,) https://playit.gg/
Then you setup your tunnel. People mostly use it for video games, but you can also use it for ssh or http stuff. You can look on YouTube for how to setup a tunnel for ssh and apply it to OctoPrint.
It’s also, 100% free.
I’ve actually abandoned VPN for cloudflares tunnel service. Prior I was using openvpn but cloudflares just made it so simple
