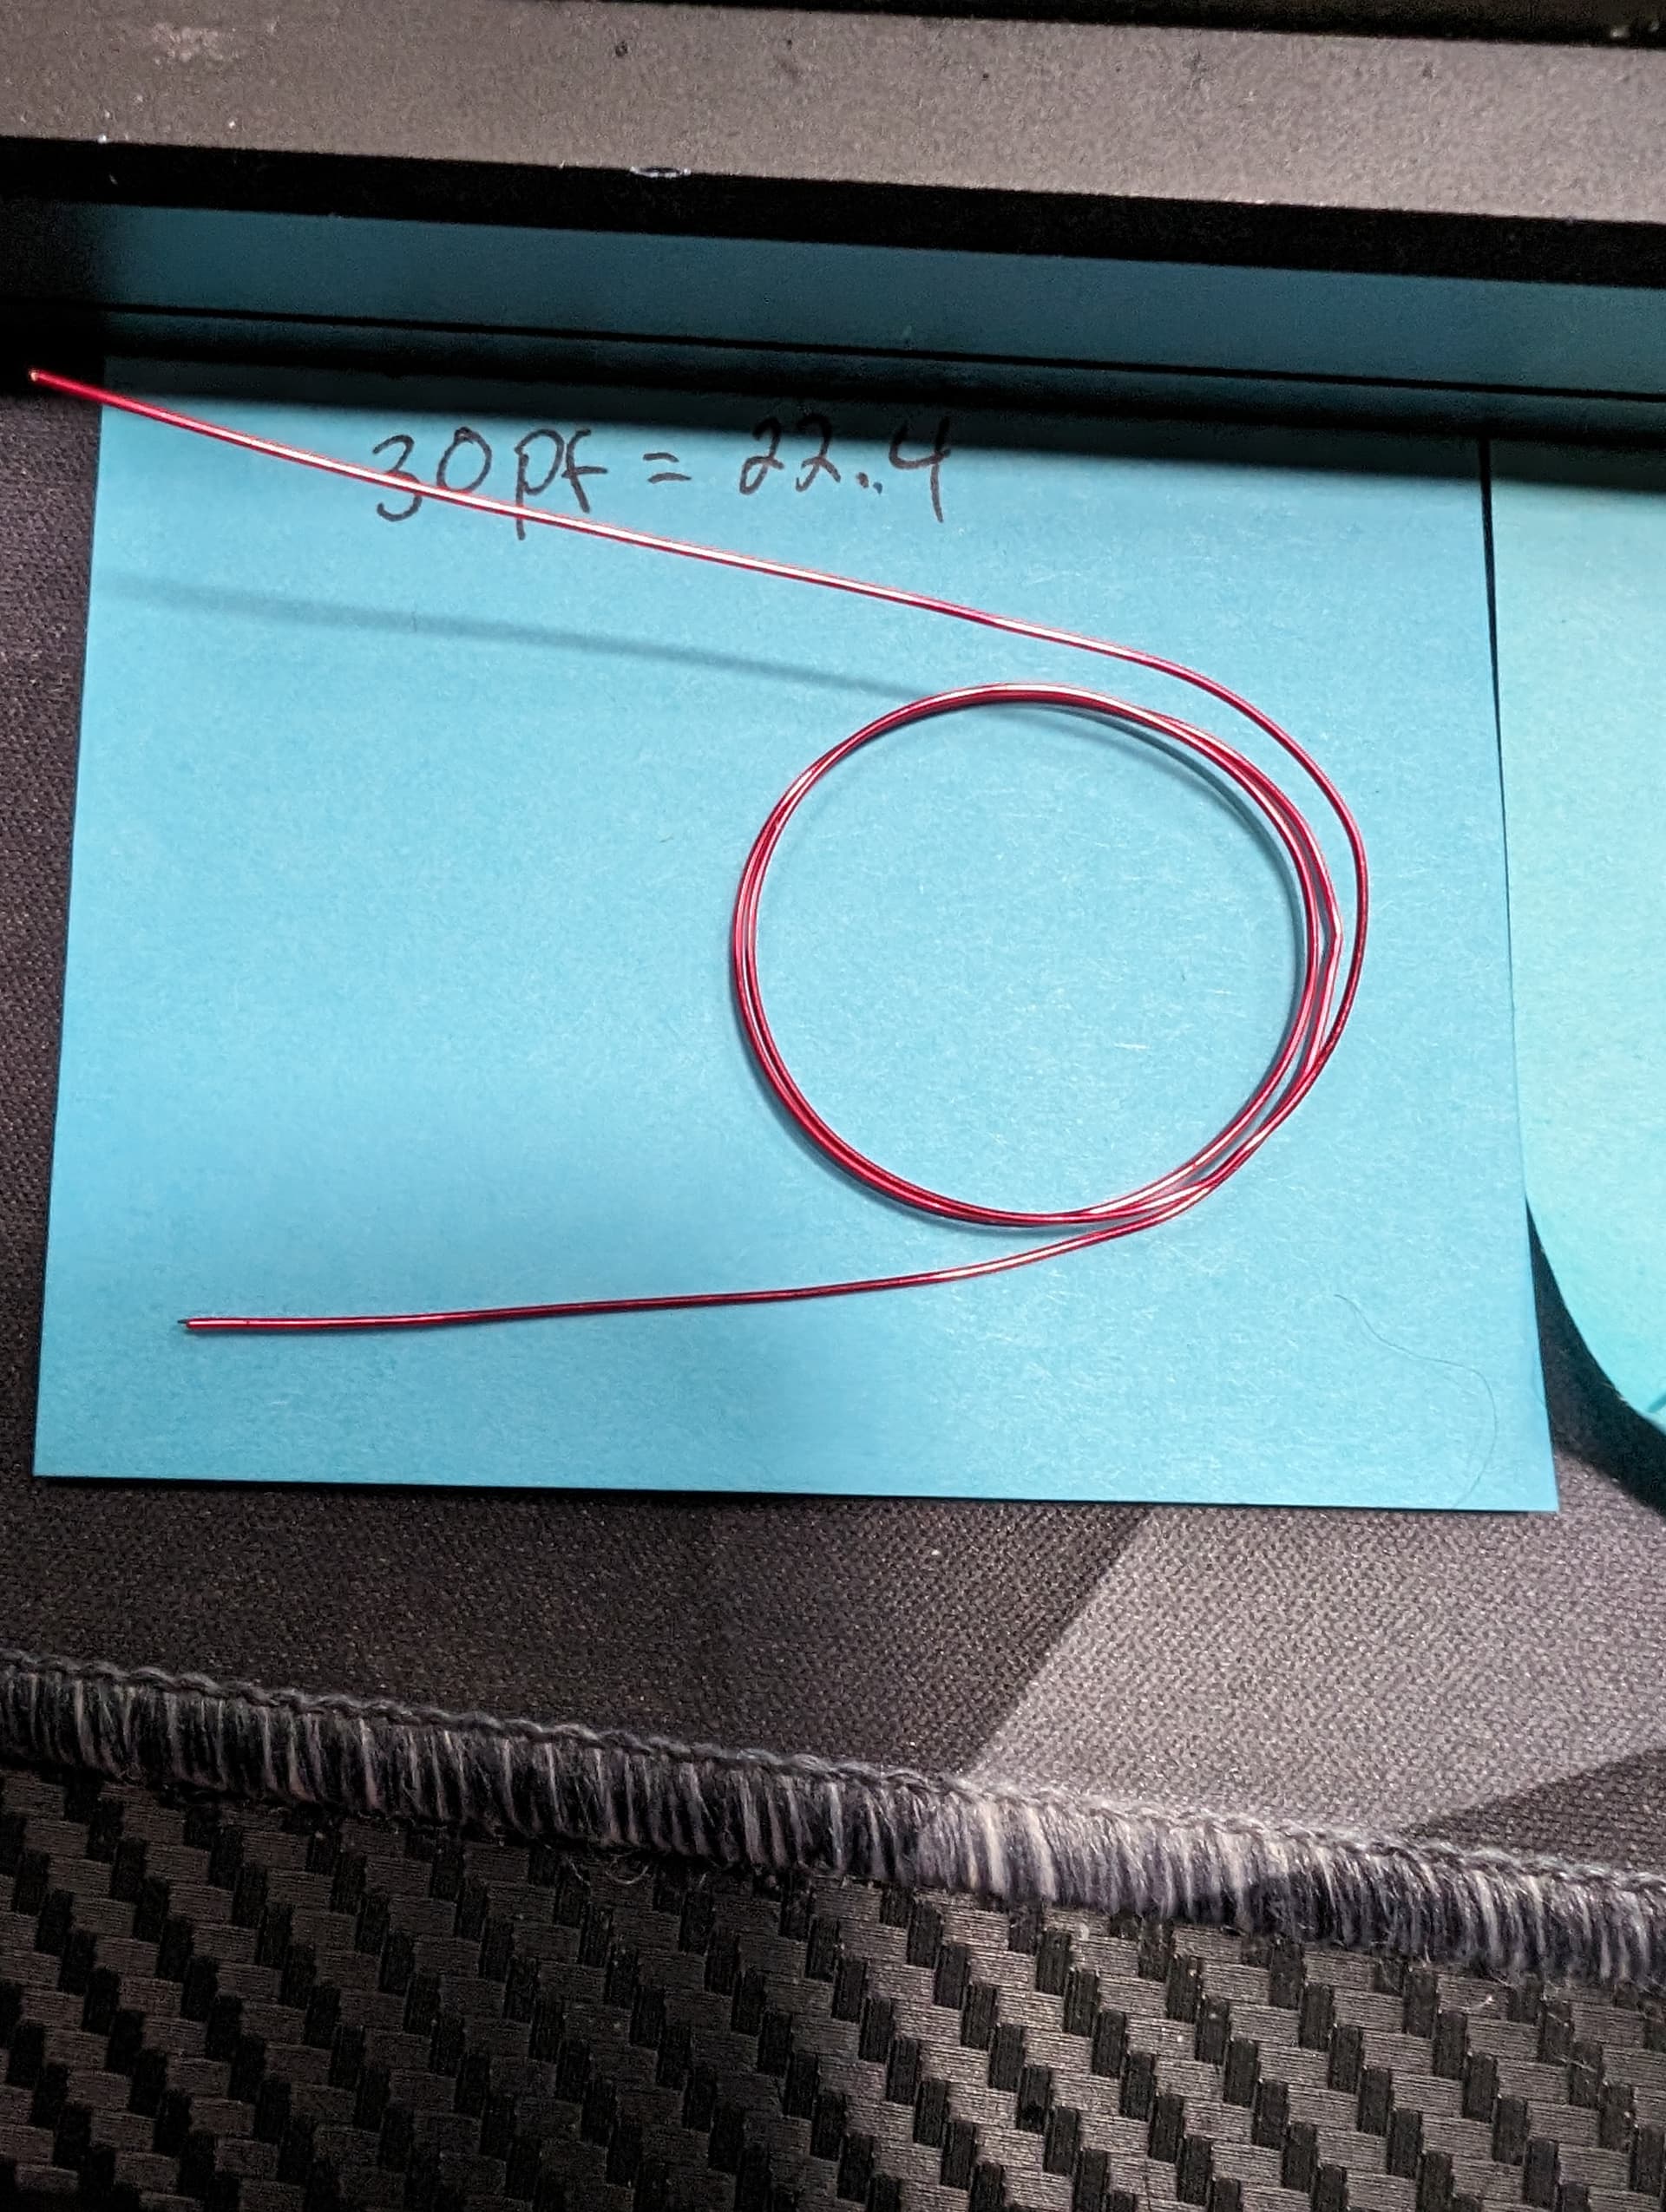
when i made mine i did it with 24awg. When converted out of freedom units that is .25. I used enamelled wire because i have a ton on hand but you could technically use any wire.
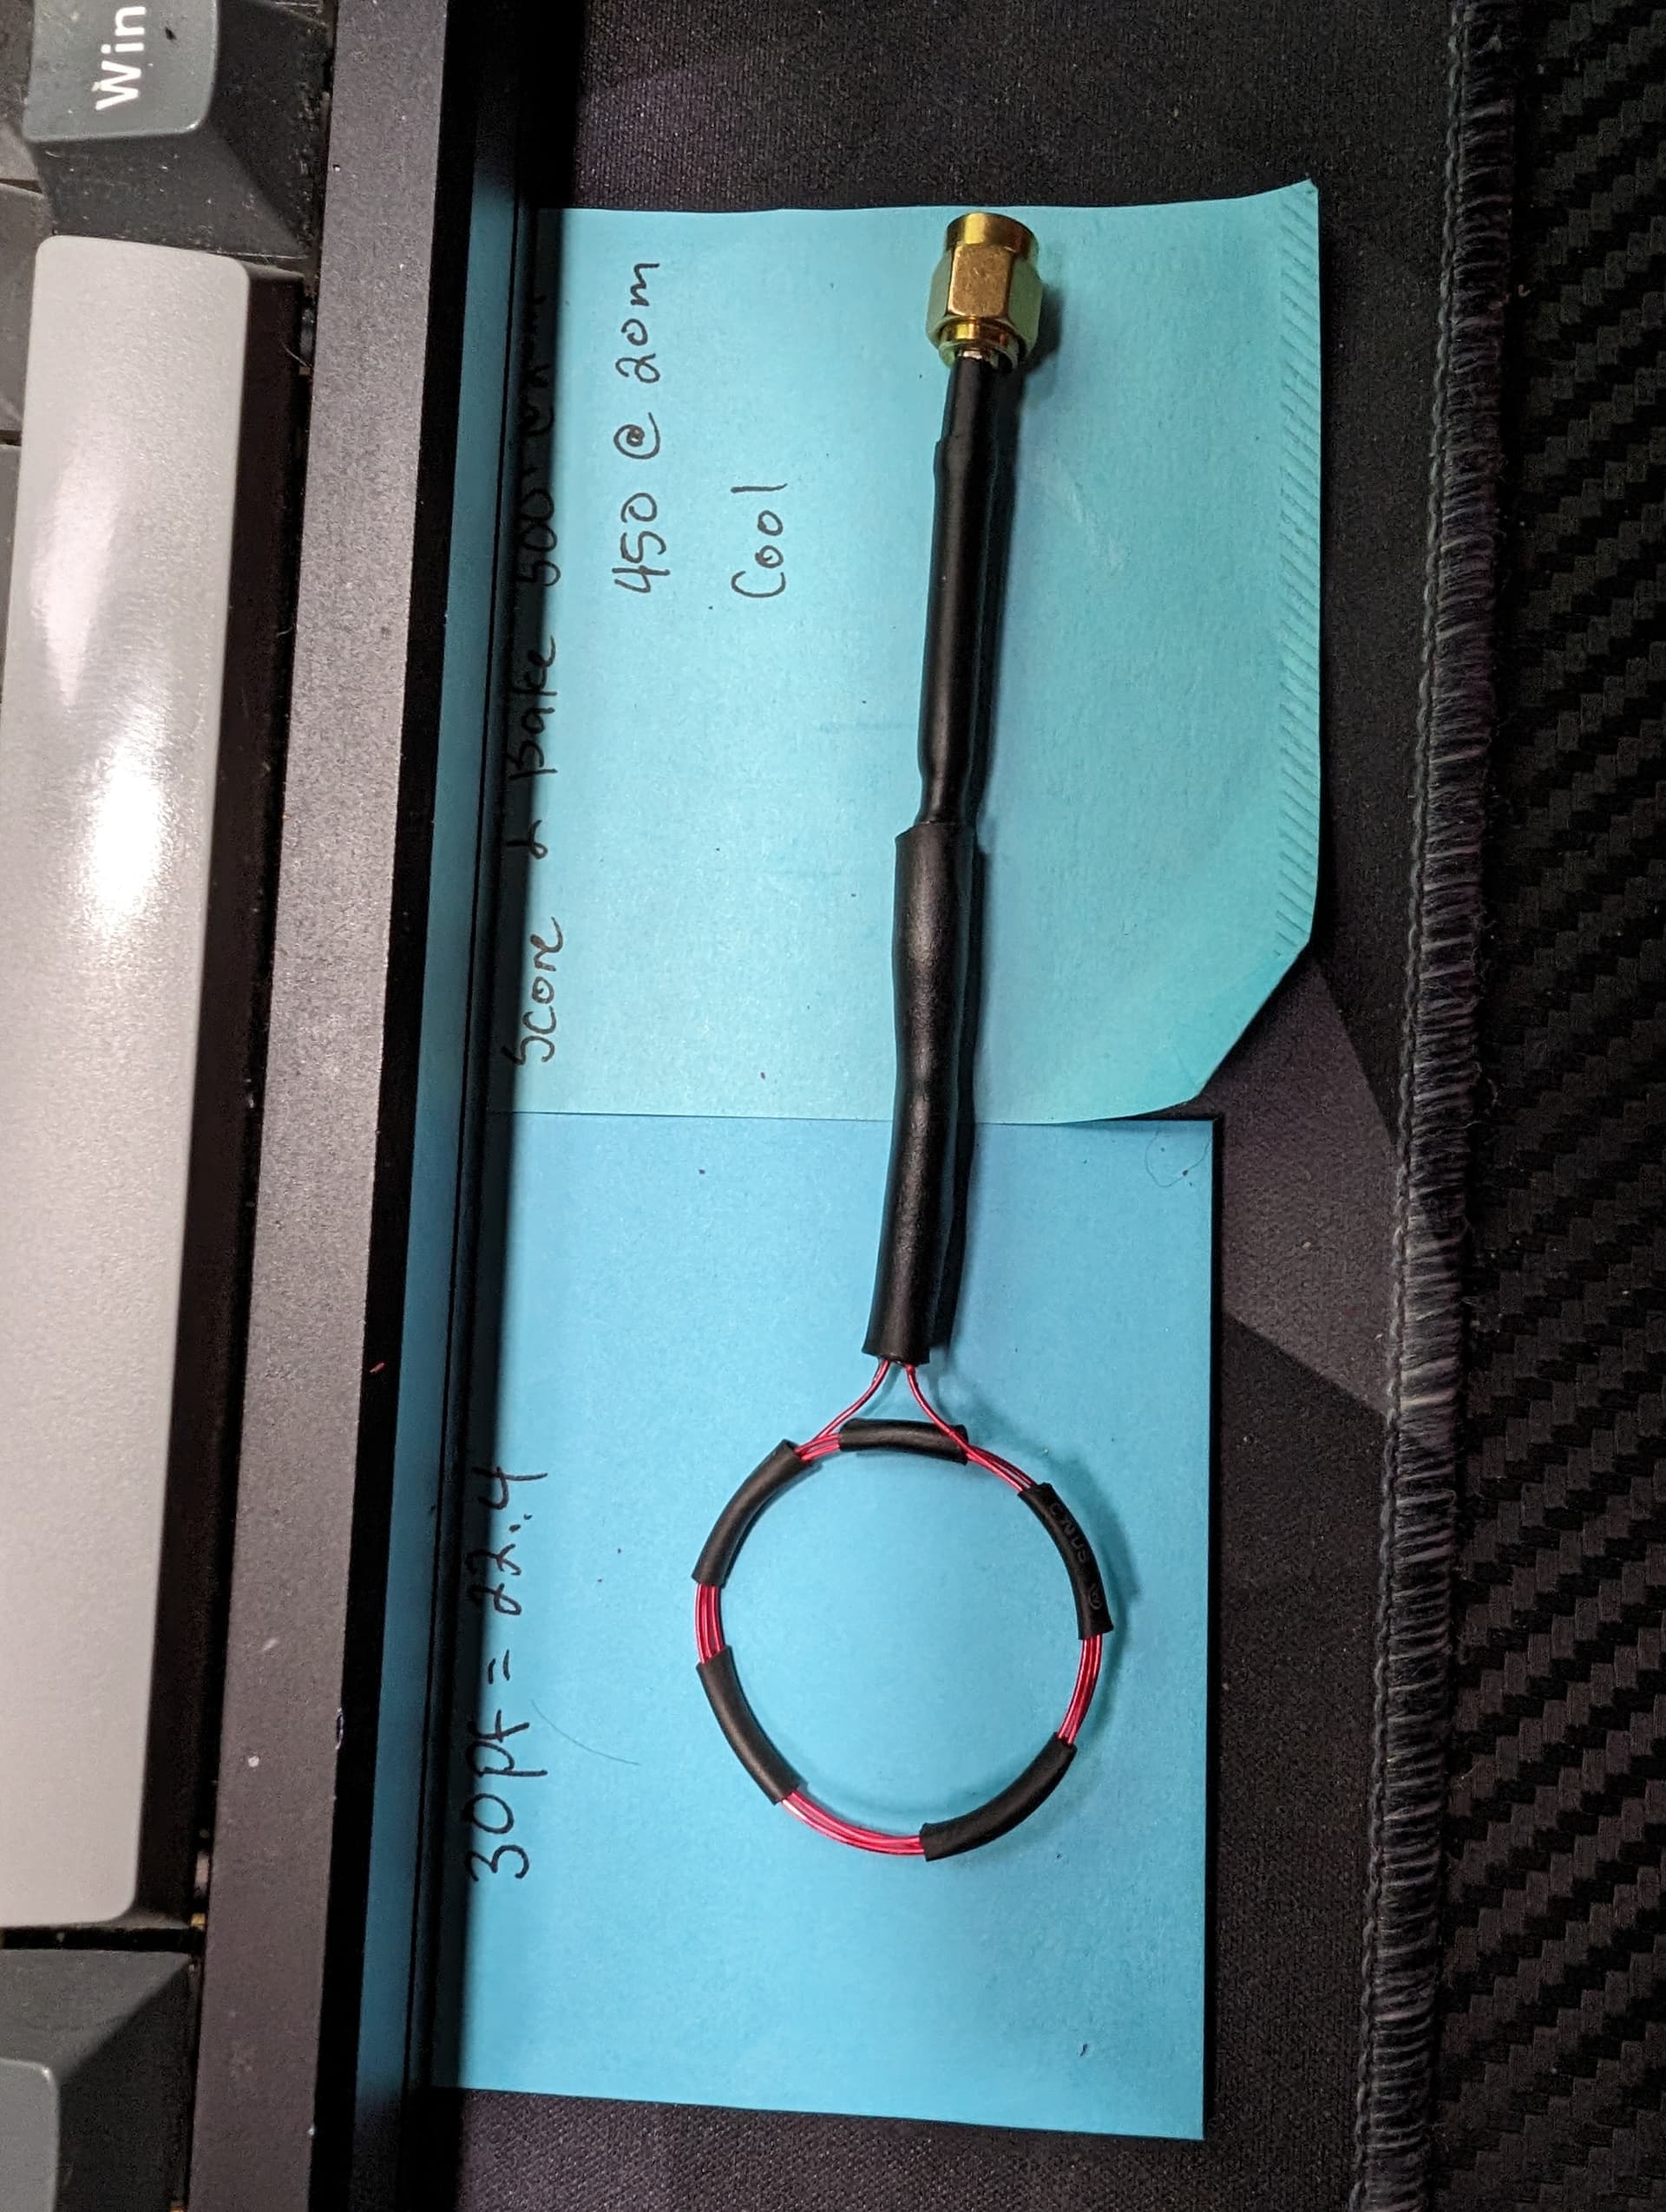
You just need to create a loop from the ground to the positive pin of the SMA adapter. The diameter of the loop doesnt matter too much but if it is around the same diameter of the coil you are measuring youll see deeper readings(learned this ysterday in talking to Satur9).
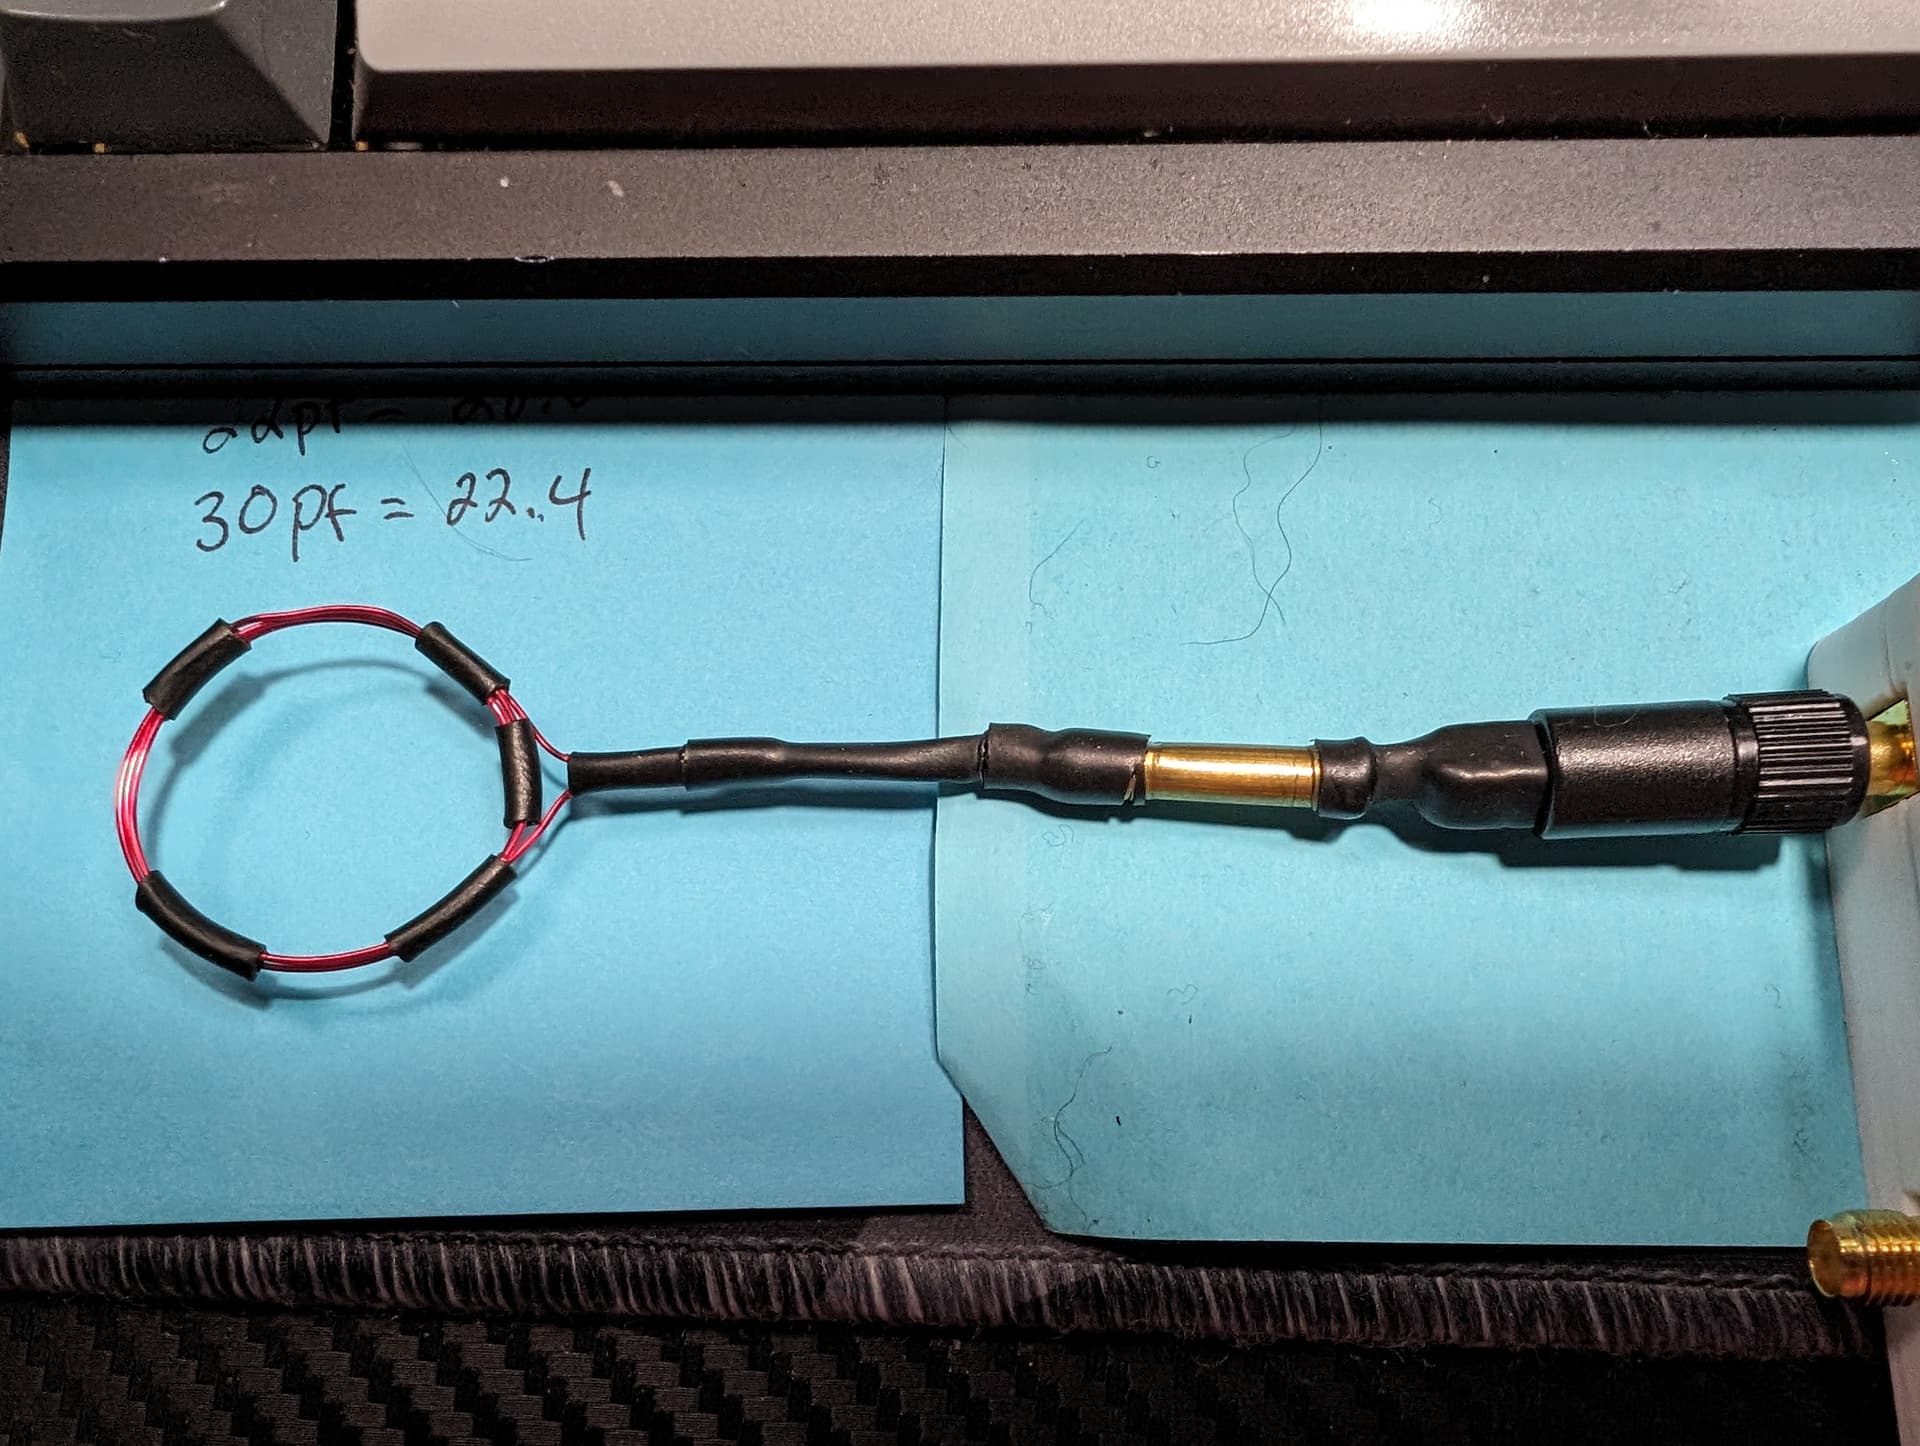
When i made mine i made it from the antenna off of a NRF52 and originally used wire from a twisted pair of cat5. which worked but ended up breaking on me and i had to redo it. So when i remade it i reinforced the contraption with heatshrink.
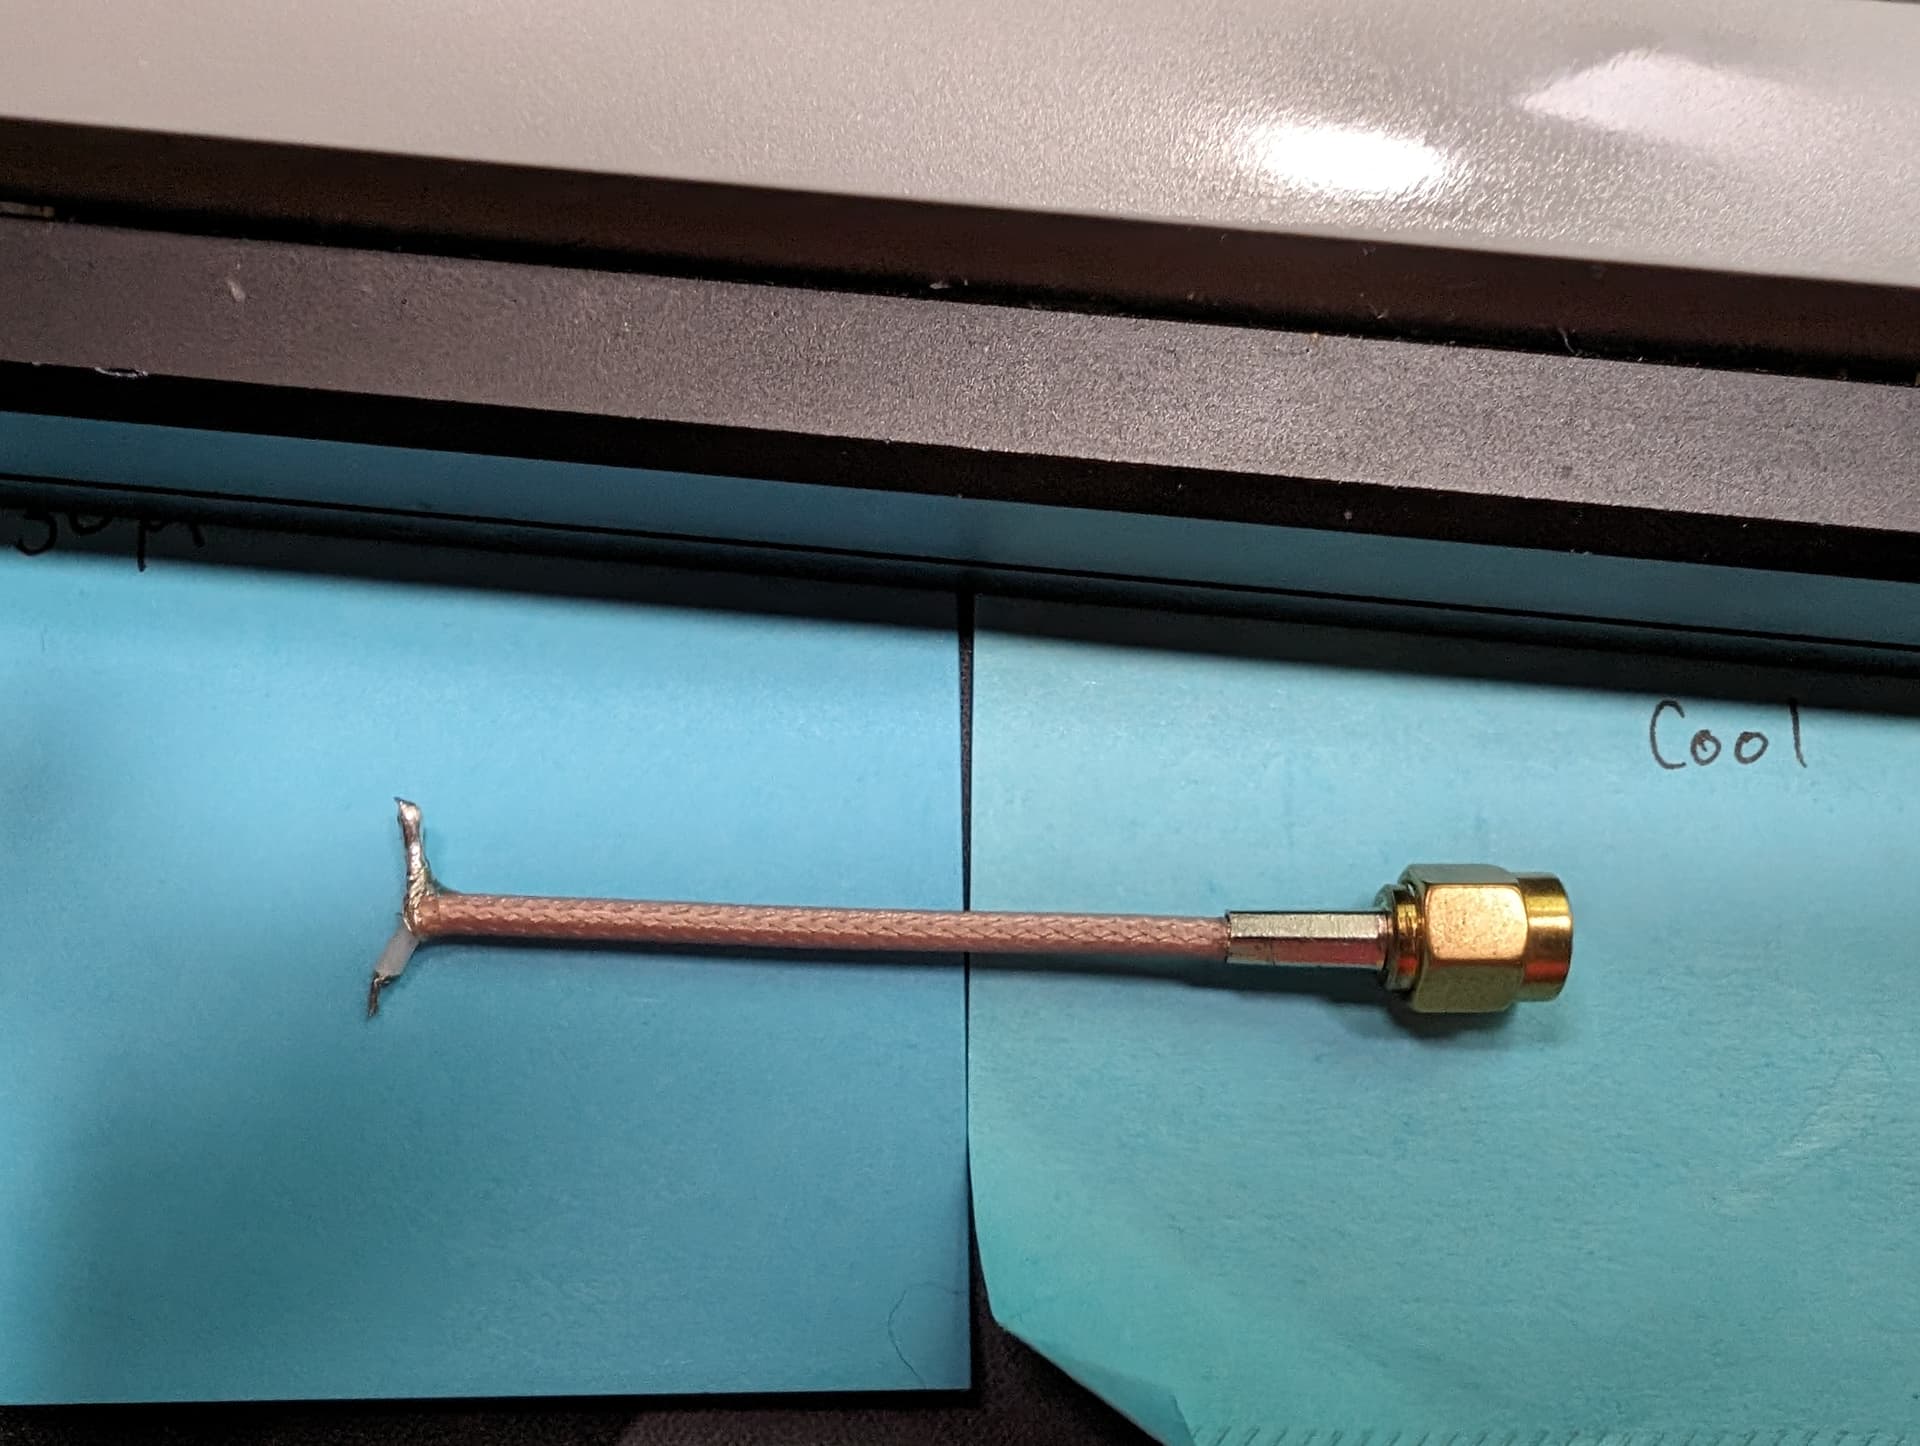
I had the same struggles as Pilgrim getting solder to stick to the groundplane of the old sma antenna. scraping the bronze and cleaning with flux helped. you could get the same results with alcohol if you dont have flux on hand.
i planned on making another so i can do a quick build guide if you dont have an antennae to start from you can actually use one of the leads that comes with the VNA to make this. Youll just lose your ability to calibrate the thru component.
You basically just need a sma connector. I have a ton of these from building Antennae for my LoRa devices. these are actually easier to solder to because you can just stripback the shielding.
Cut an end off and strip back the shielding. Separate the ground shield from the dielectric insulator and strip that back to the Inner conductor. You want to tin both tips, it saves you time later and helps the heat shrink not shrink if you’re fiddling with it with your heat-shrink in place. You want your Inner conductor wire to be longer than your ground plane so when soldering they are kind of stepped. Ill be cutting back the ground shield later
I going to use 24ga magnet wire because i have a ton, but any can be used. cut enough to make two loops. Find something Round and wrap your wire. I used a screwdriver.
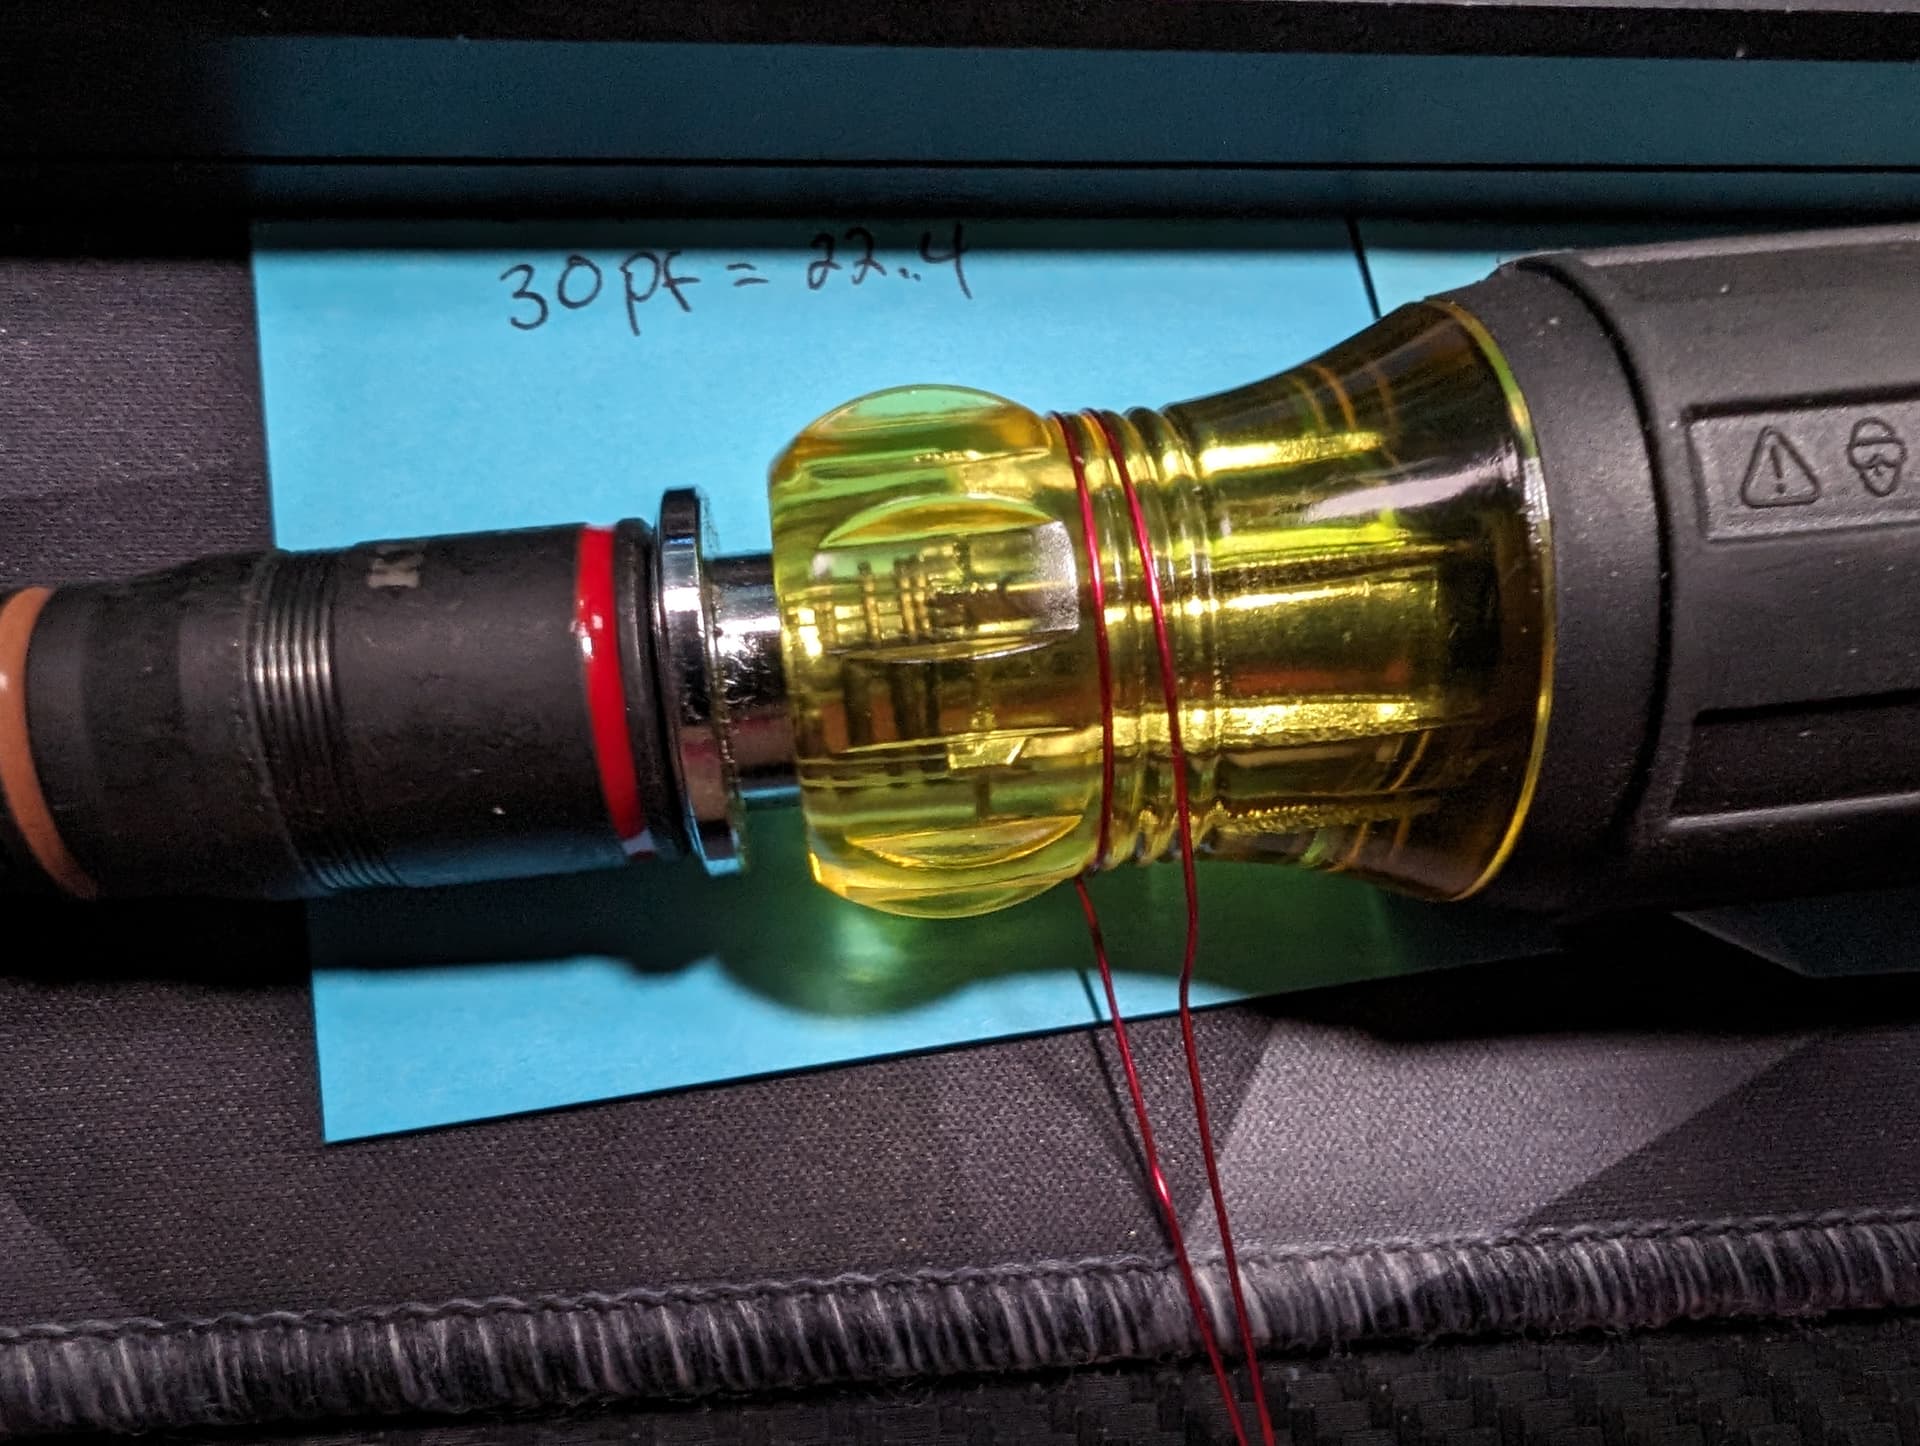
Add in your heat shrink
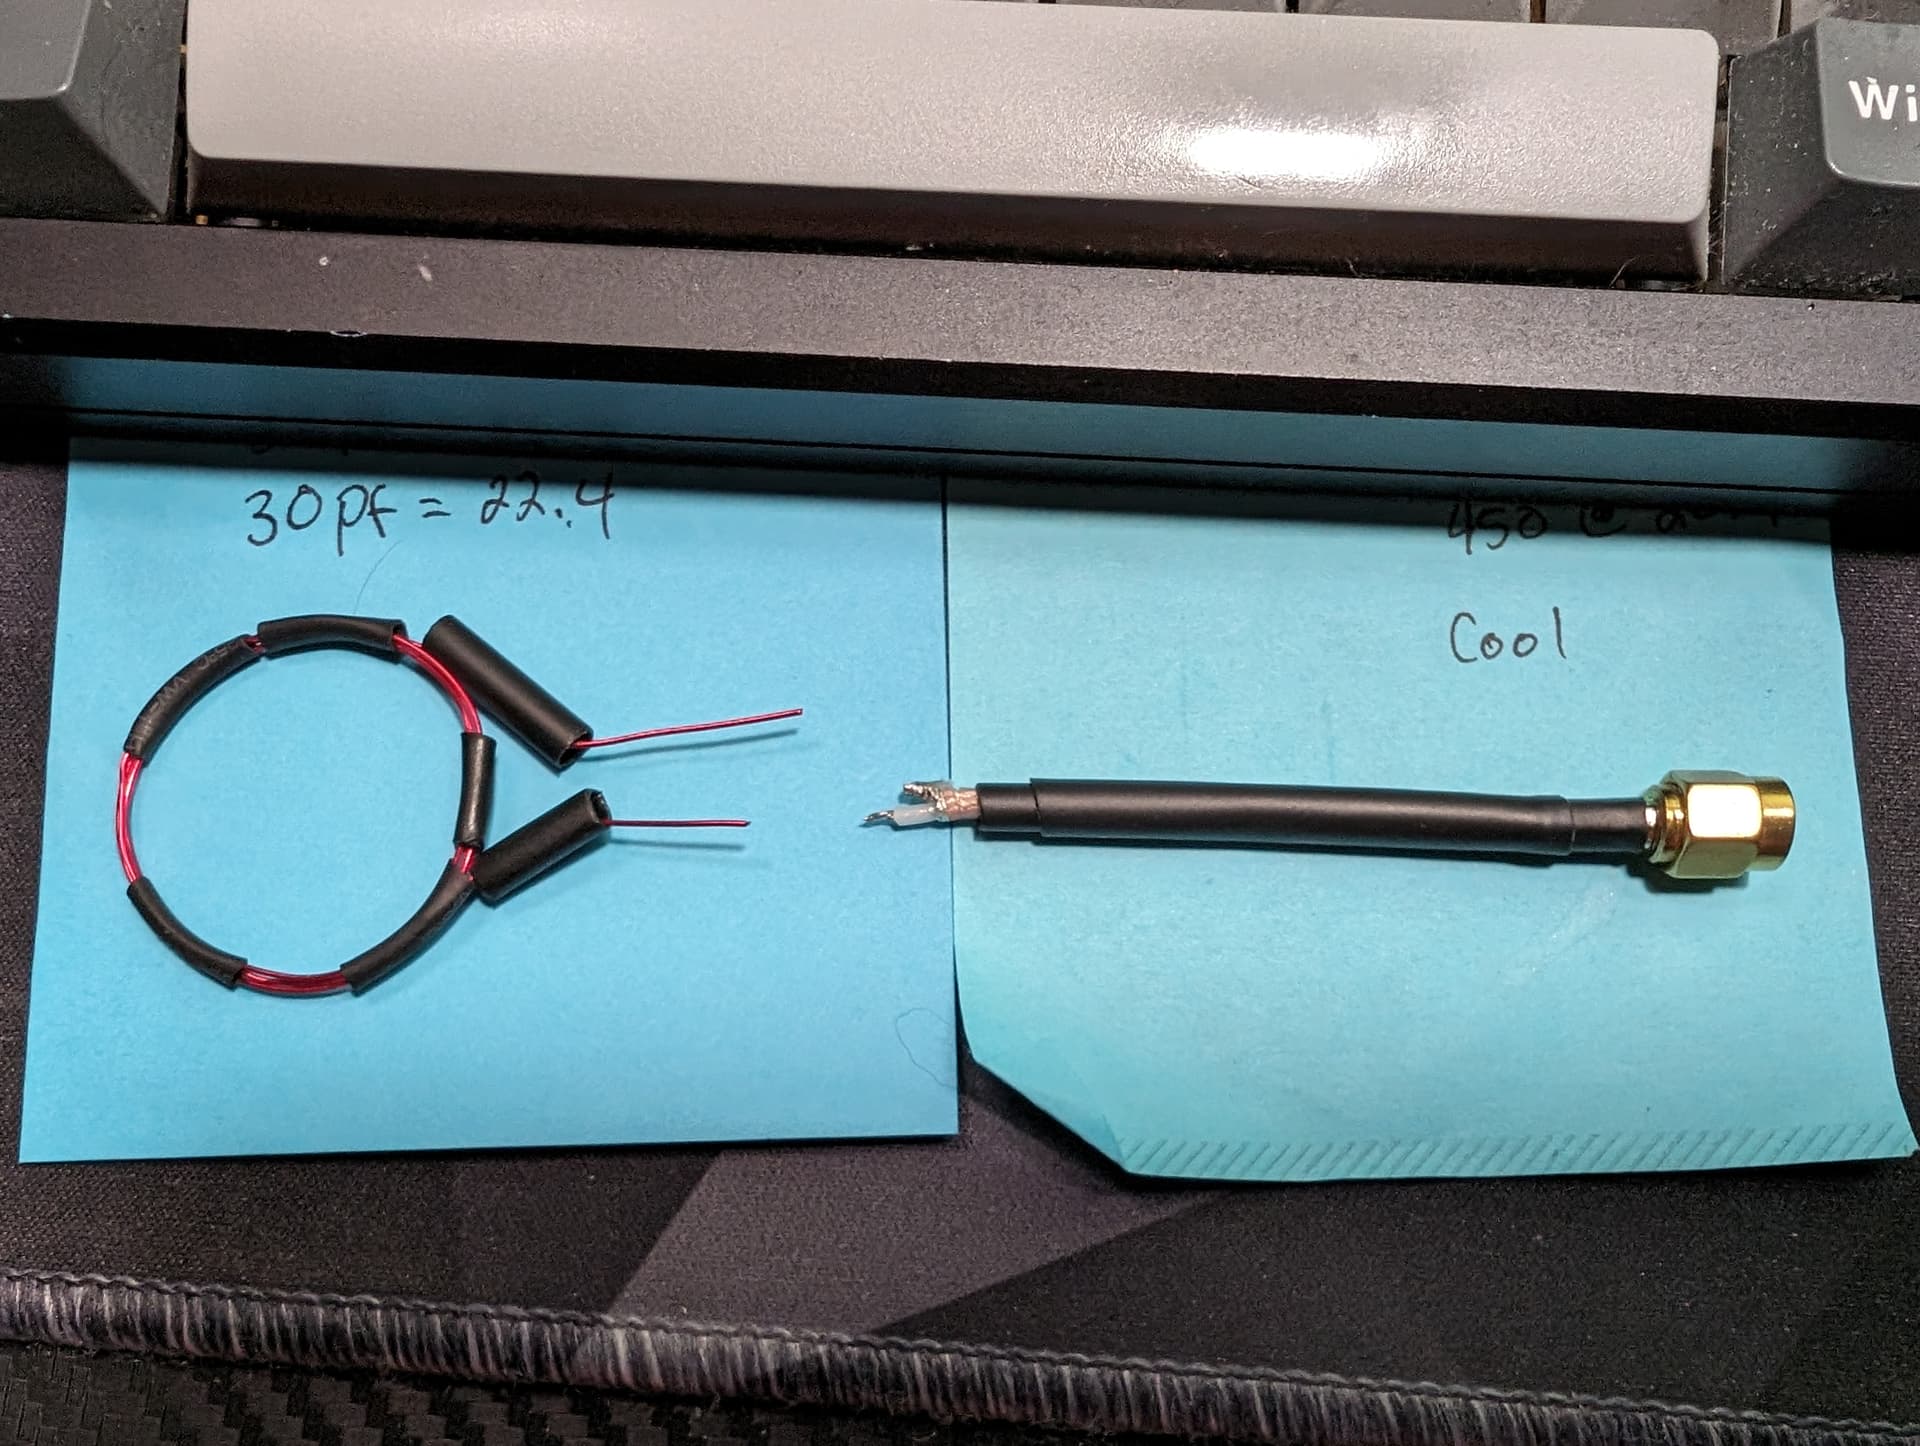
Solder and shrink
Test and make yourself a coffee.
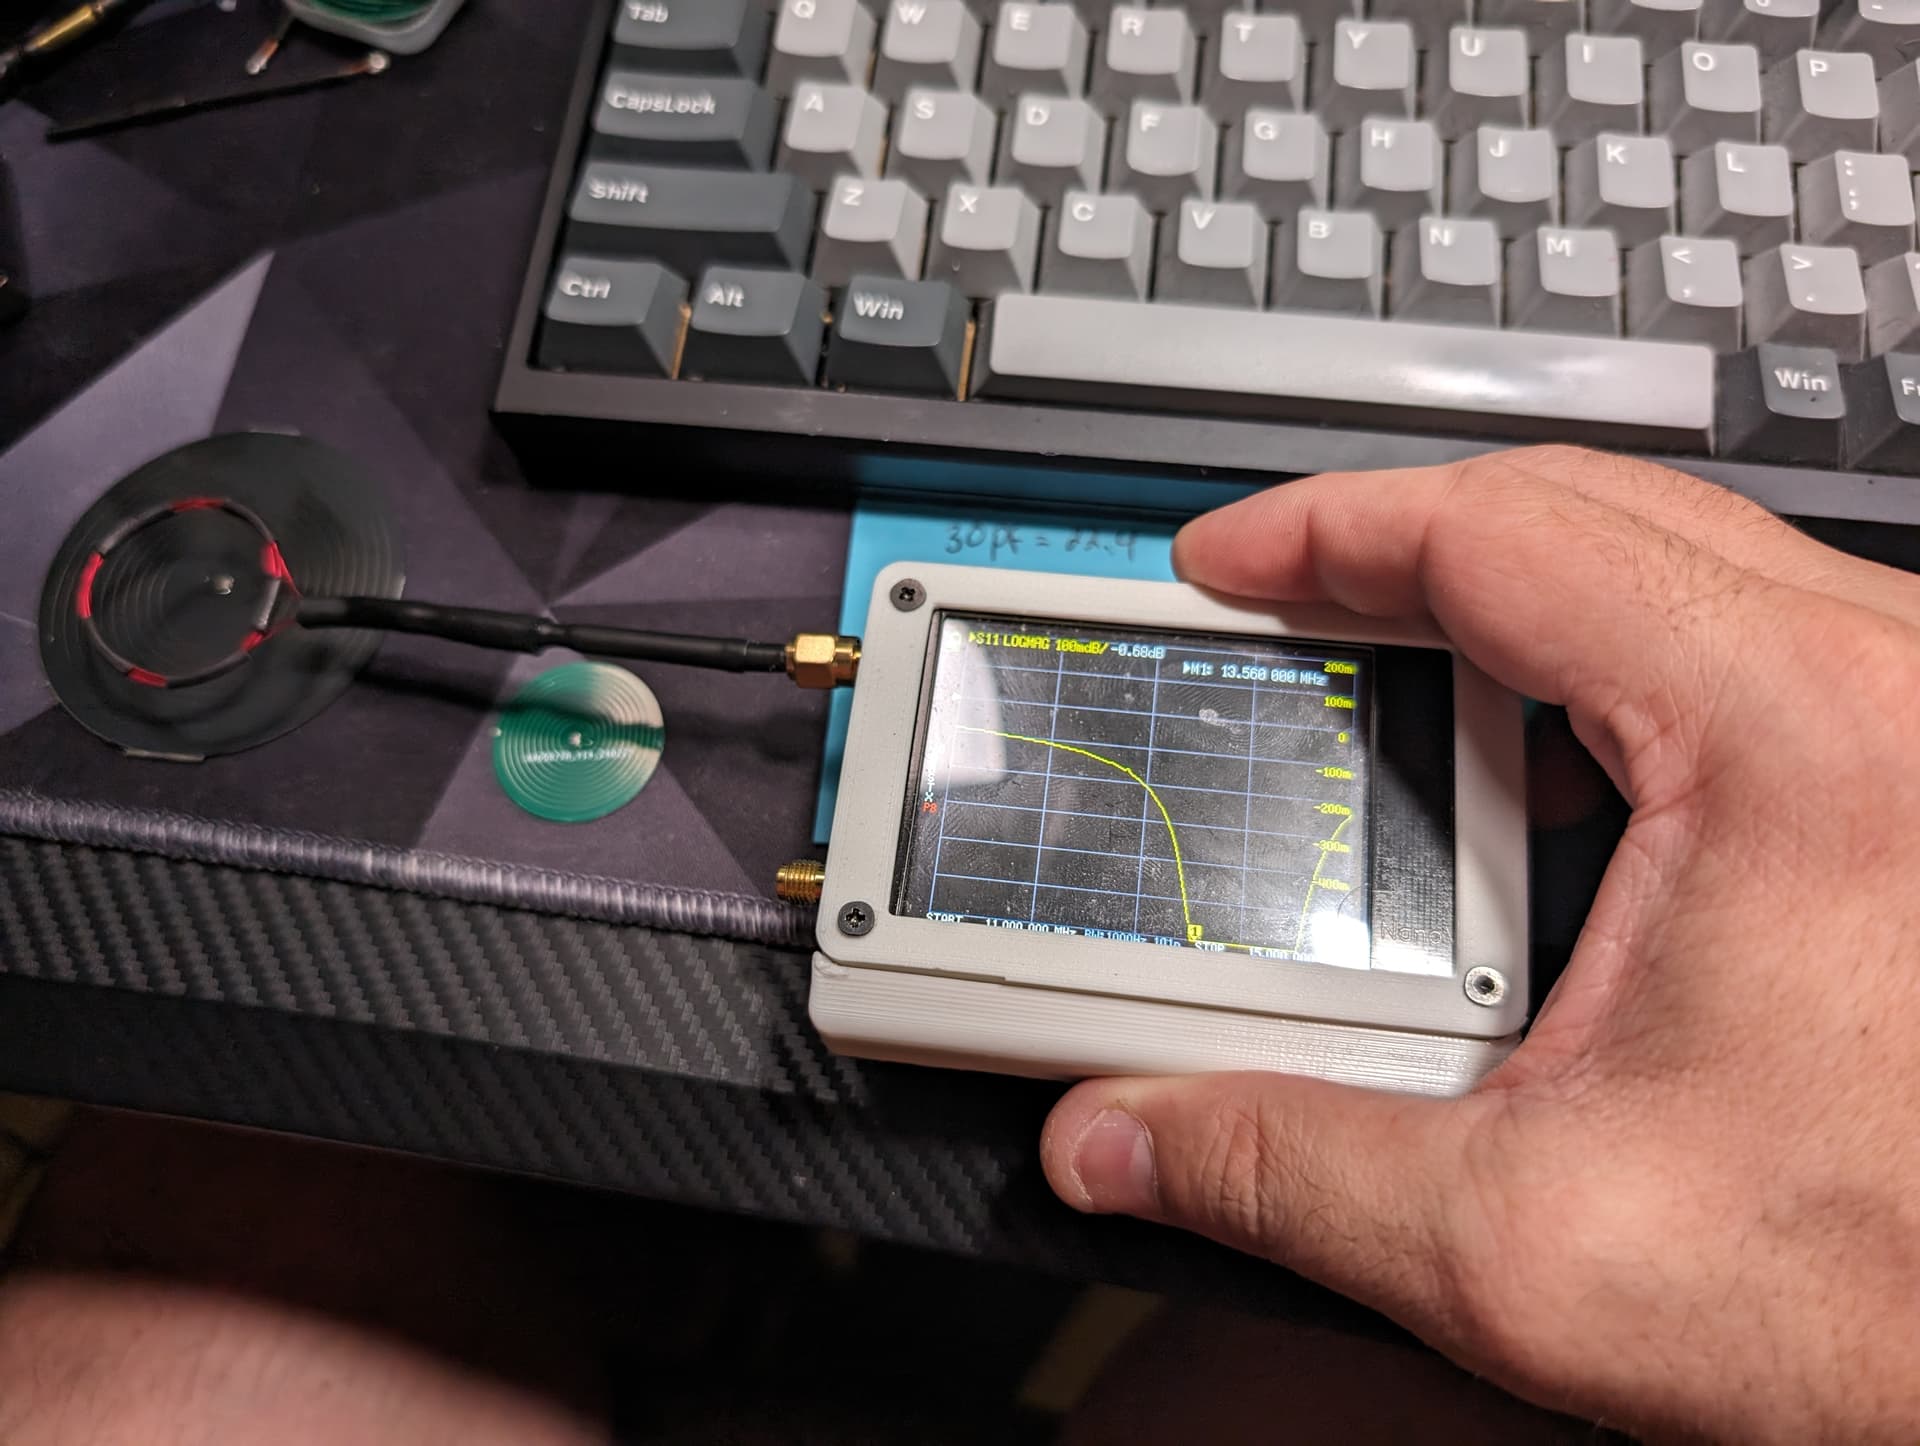
Ill also add… the UI interface for the VNA isnt (to me) the most intuitive. it took a lot of reading other forums to understand the settings and even the settings tree. There are also a ton of other features that i am incredibly unfamilar with even being a licensed HAM. I found that having the onscreen computer component helped me navigate and understand the menu structure a bit easier as well as provide a a great monitor for the device.
Also there has been an influx of poorly made china vna’s i would reccomend updating the firmware as mine was 10 or so major releases old. i noticed this was needed for mine as while following youtube guides and even Satur9’s guide my UI was much different than his and i couldnt follow along. the update process is not for the faint of heart.
Official documentation gave me a lot of fits. However i found this guide
Since i am a mac user i used the issues i had here to spin up a VM and install windows 10 just to update the vna.