VNA Set Up and Antenna Mod

Preamble

So I decided to make this to share what I learnt from 2 very helpful community members.
@Satur9 and @Hamspiced

They have far more knowledge than I and this Mini Project was built on the shoulders of giants.

Again, I am simply the monkey on the Tools and tappity tapping on a keyboard

image
I know a chimp is an ape, not a monkey

With @Hamspiced’s NFC antenna amplifier/Resonance Circuit V1
I was lucky to get some of these V1s, and some without antennas attached, so I needed a way to tune the antennas I am going to attach.

BUY IT

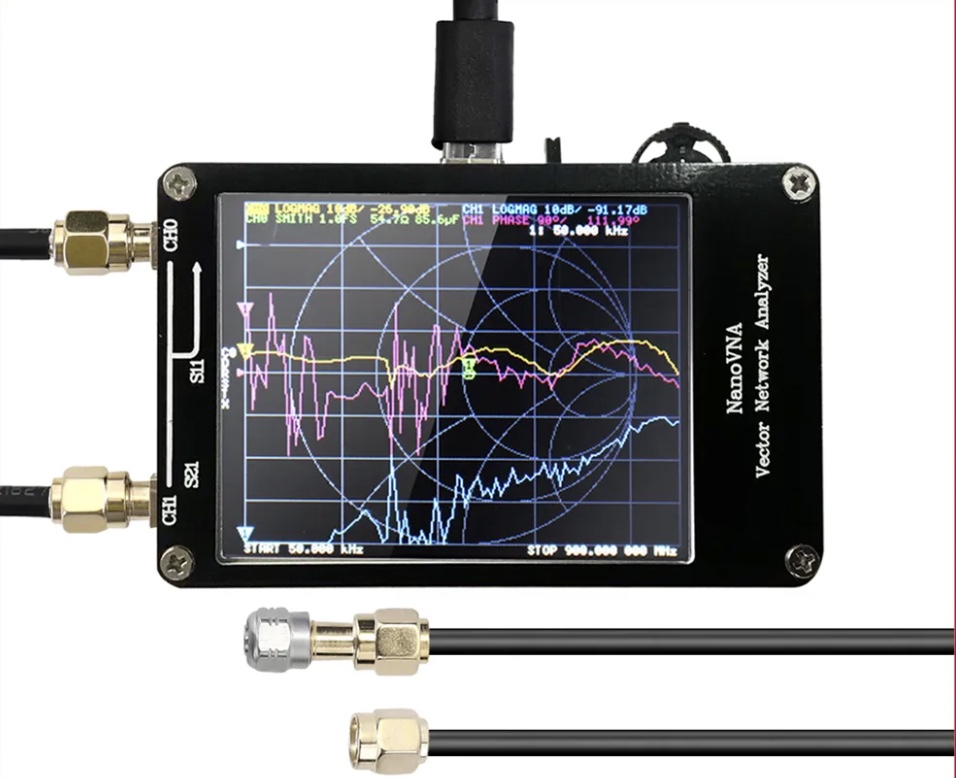
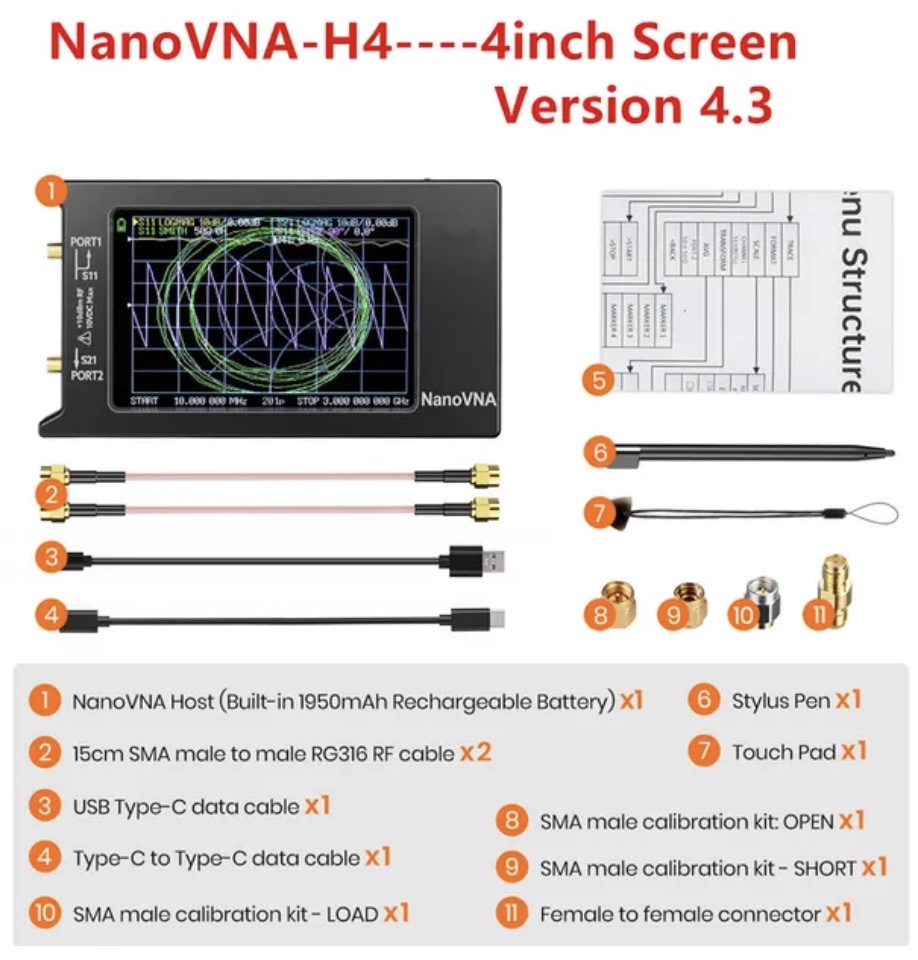
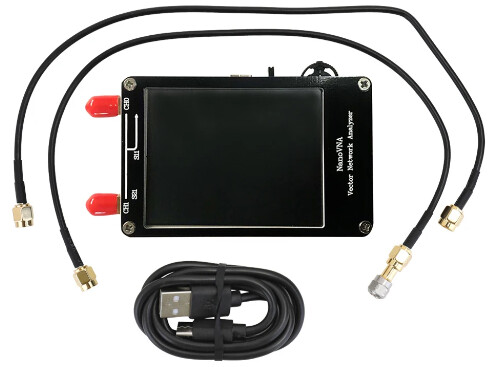
So I grabbed myself a VNA
AliExpress link

ANTENNA

It does not come with an antenna, just what it shows in the Pics

image

So I had to make one.

FOLLOW @Hamspiced FAR BETTER GUIDE A FEW POSTS DOWN, LINK

What I used:
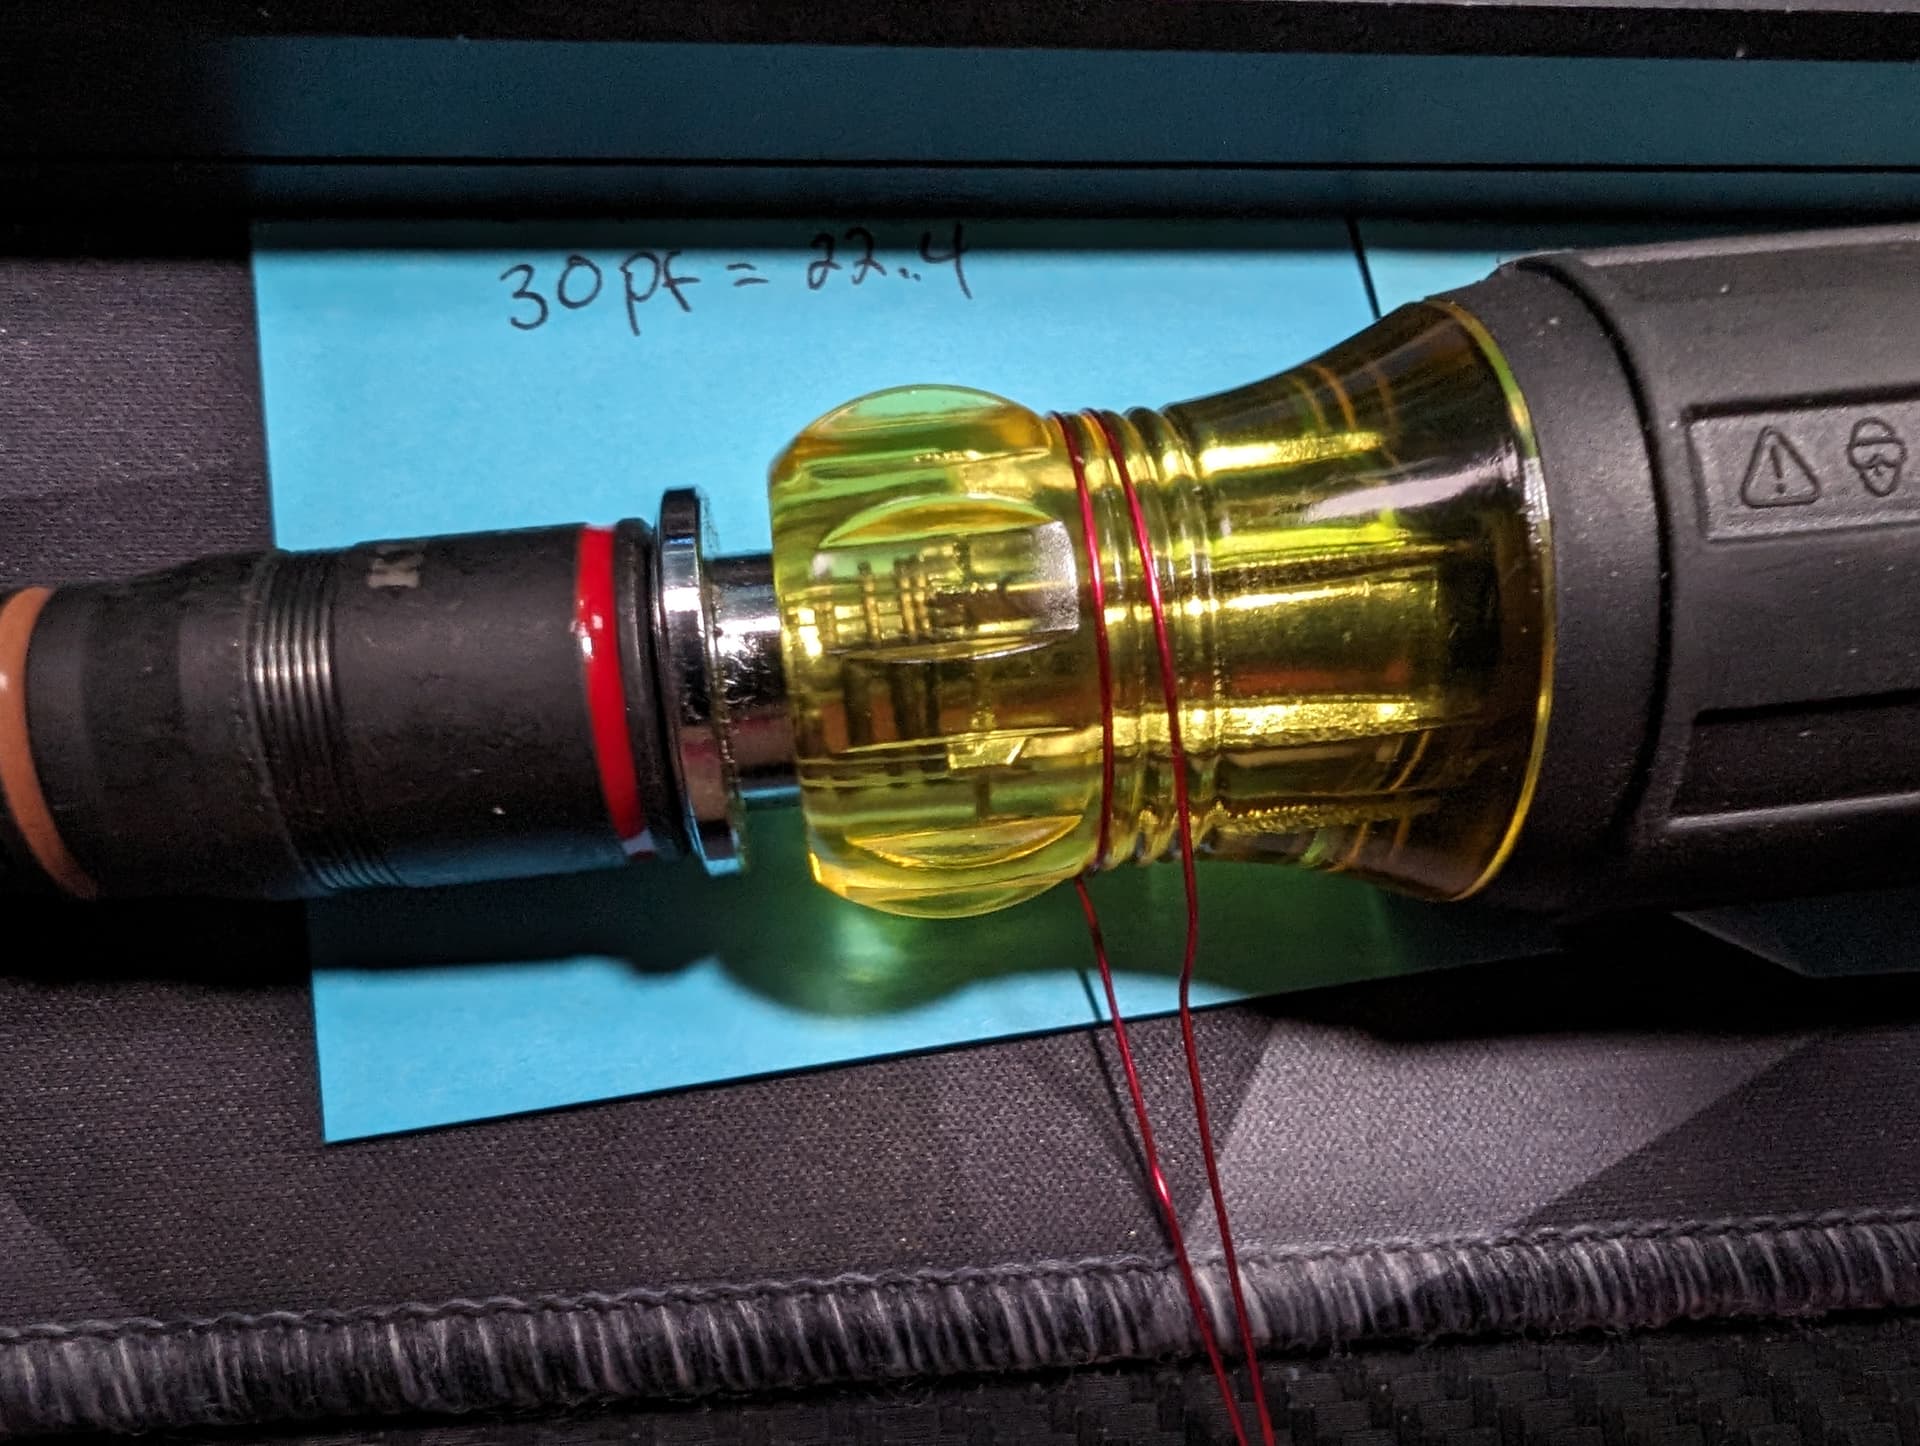
UHF Radio antenna ( With an SMA connector ) - There are other options, a WiFi antenna etc.
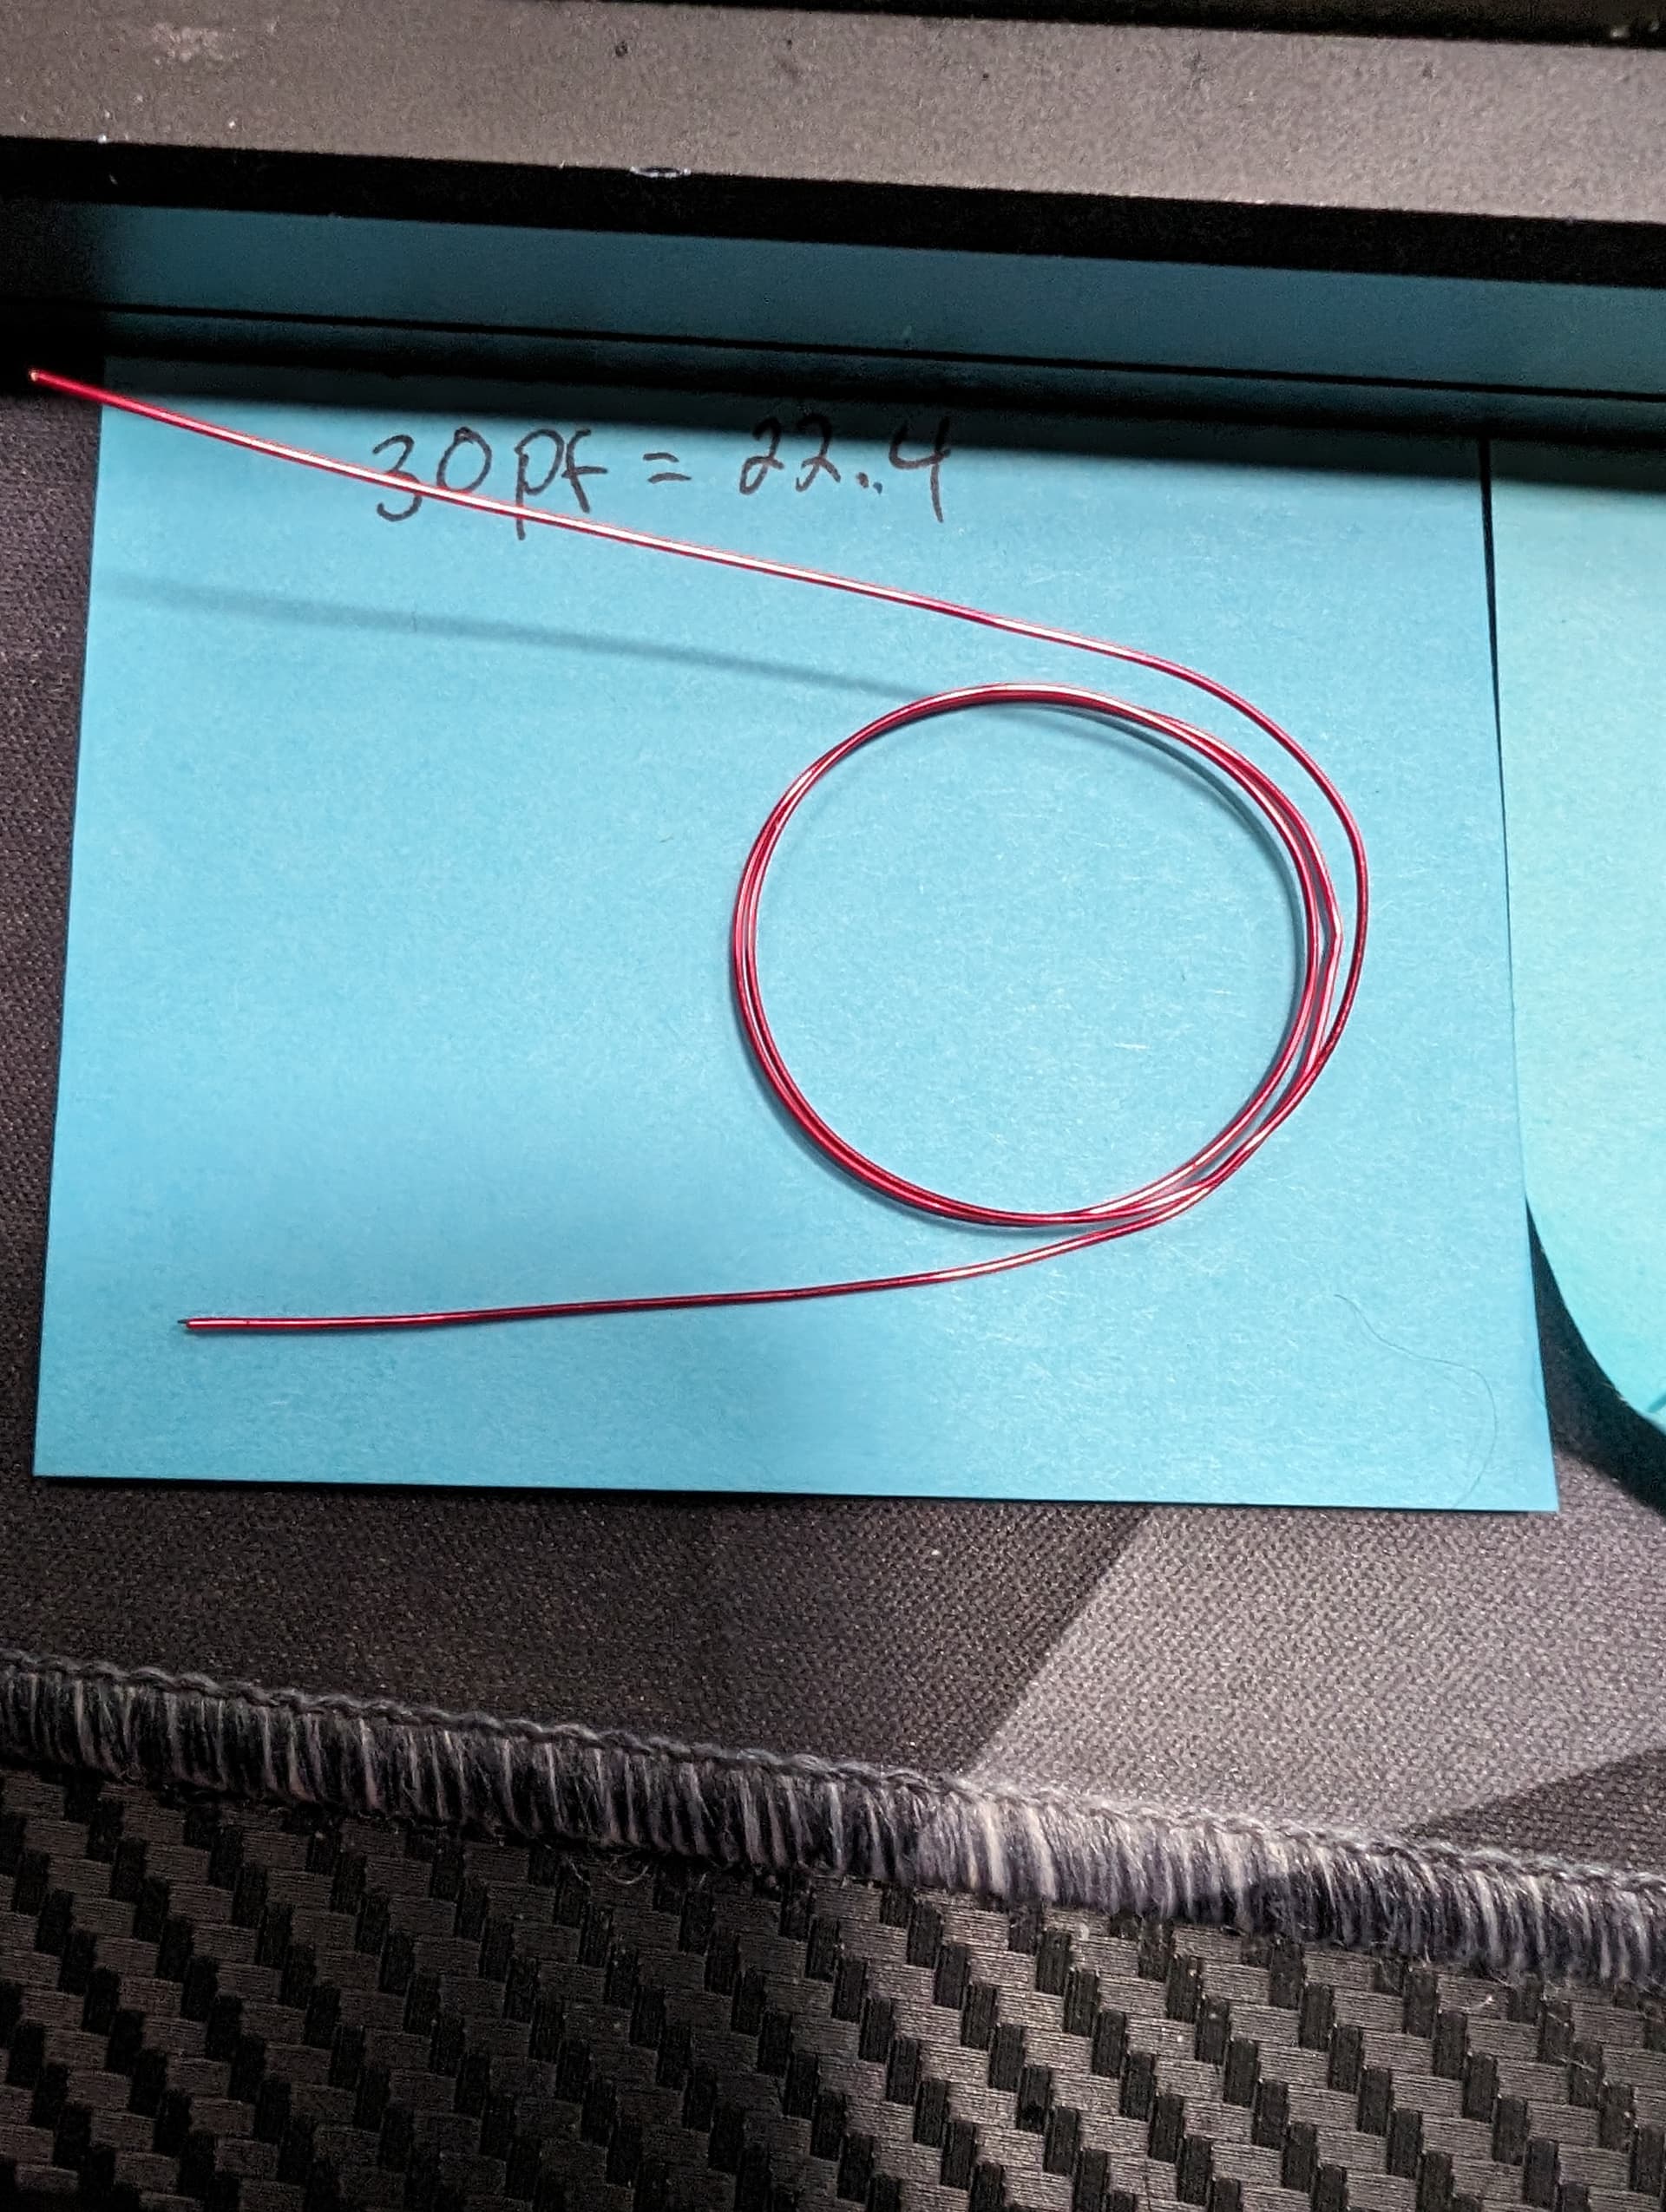
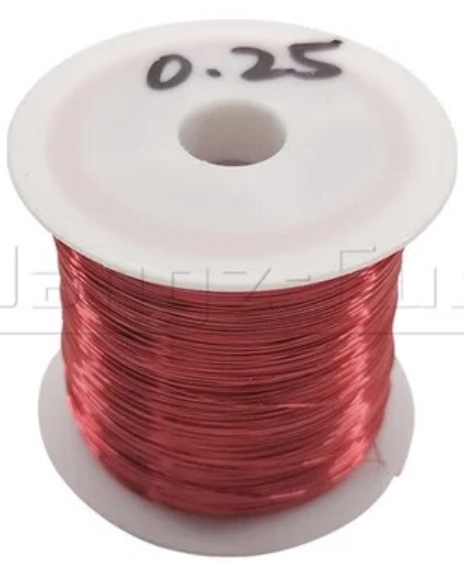
Magnet Wire ( Not sure of the gauge, but as it looks in the photo below )

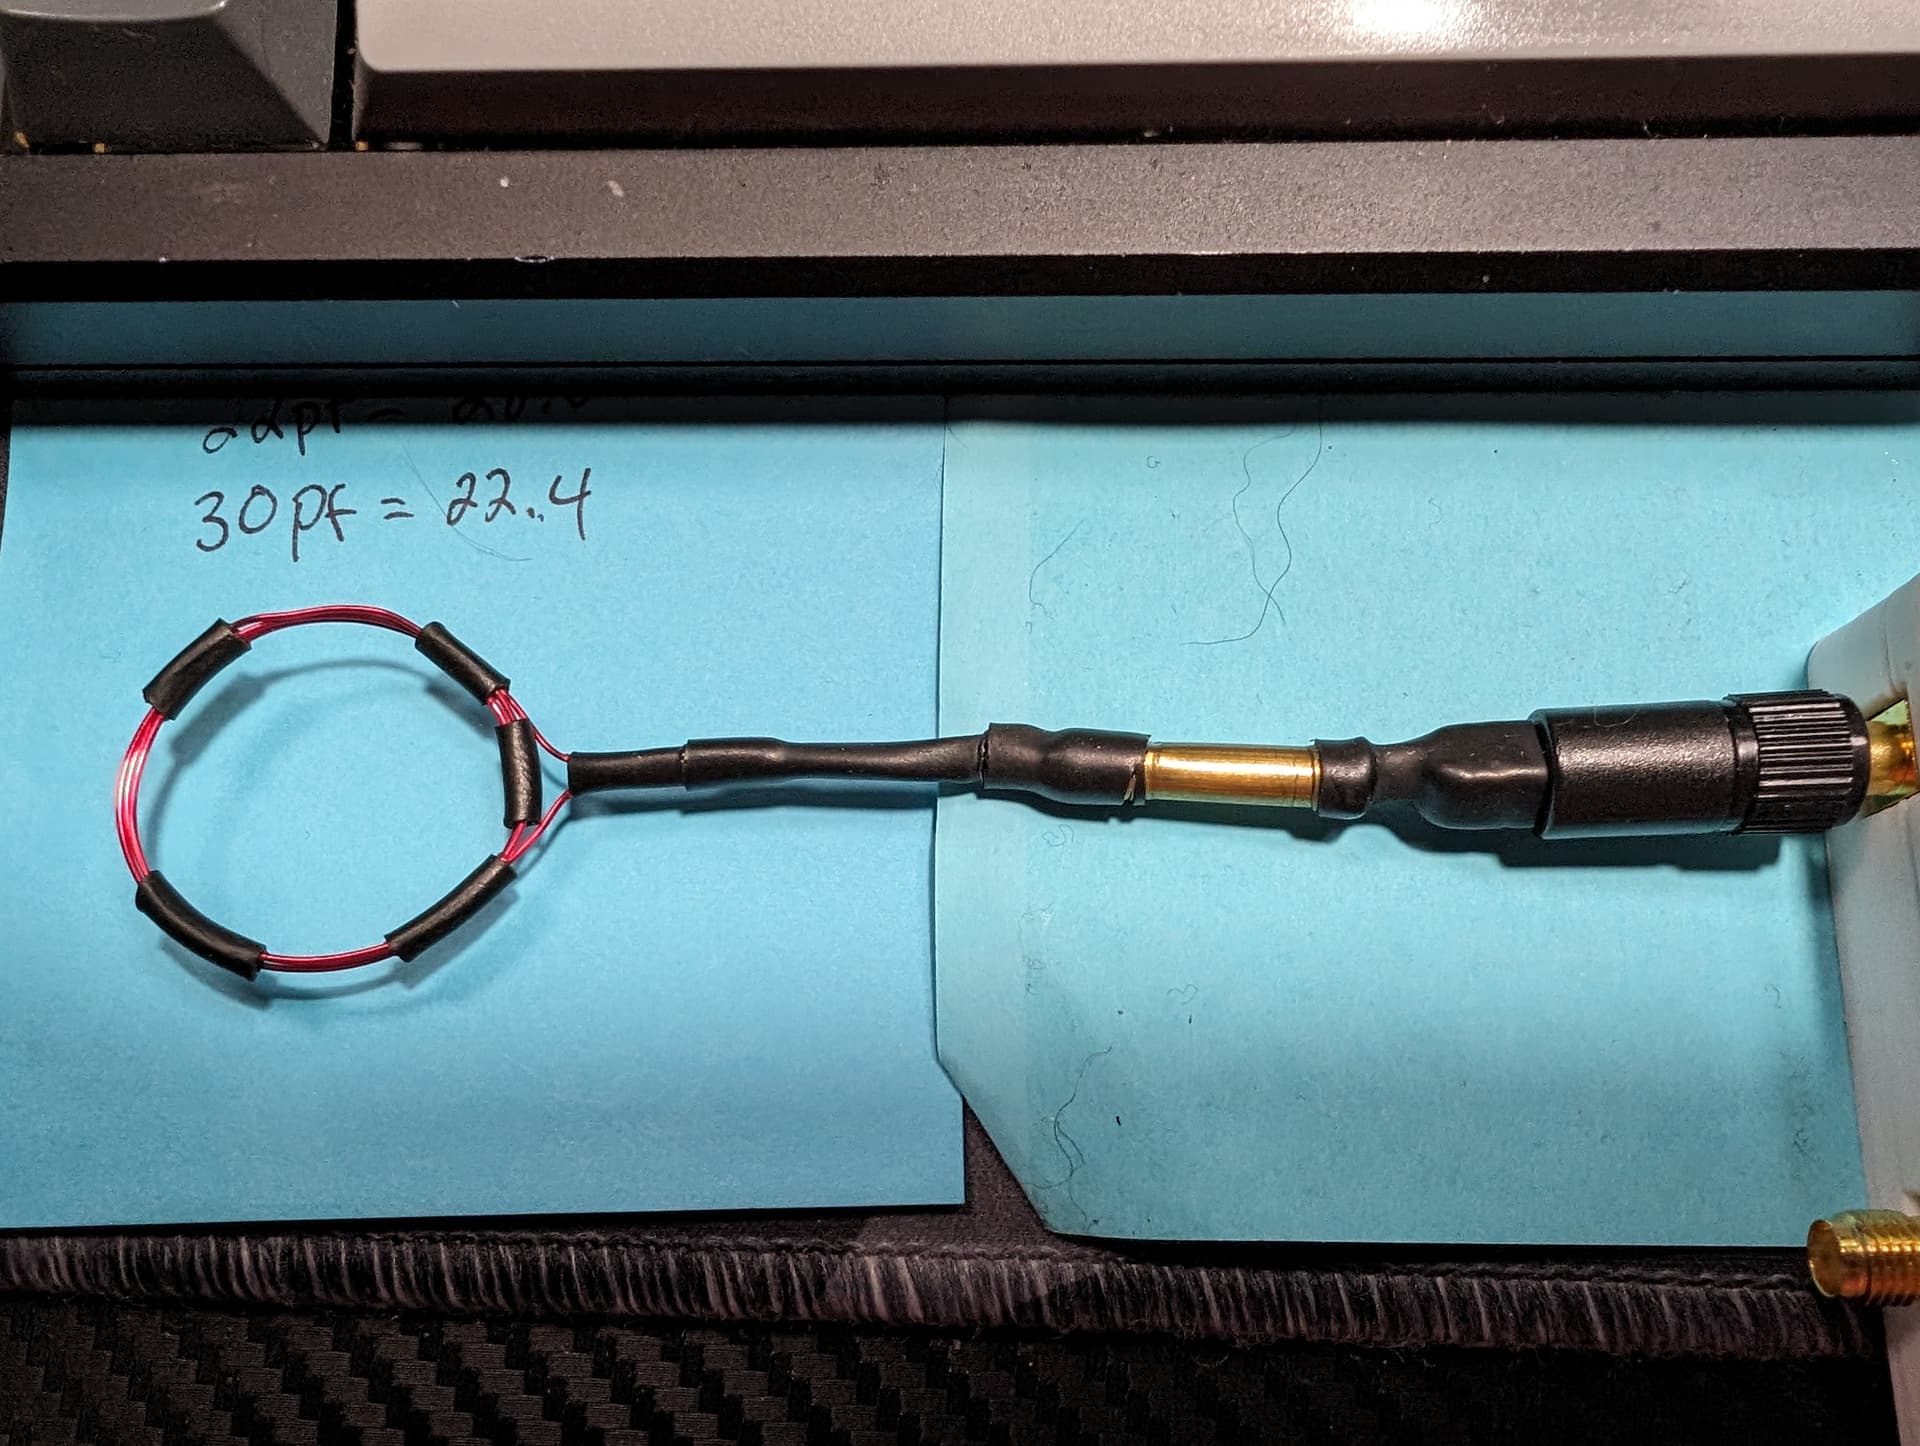
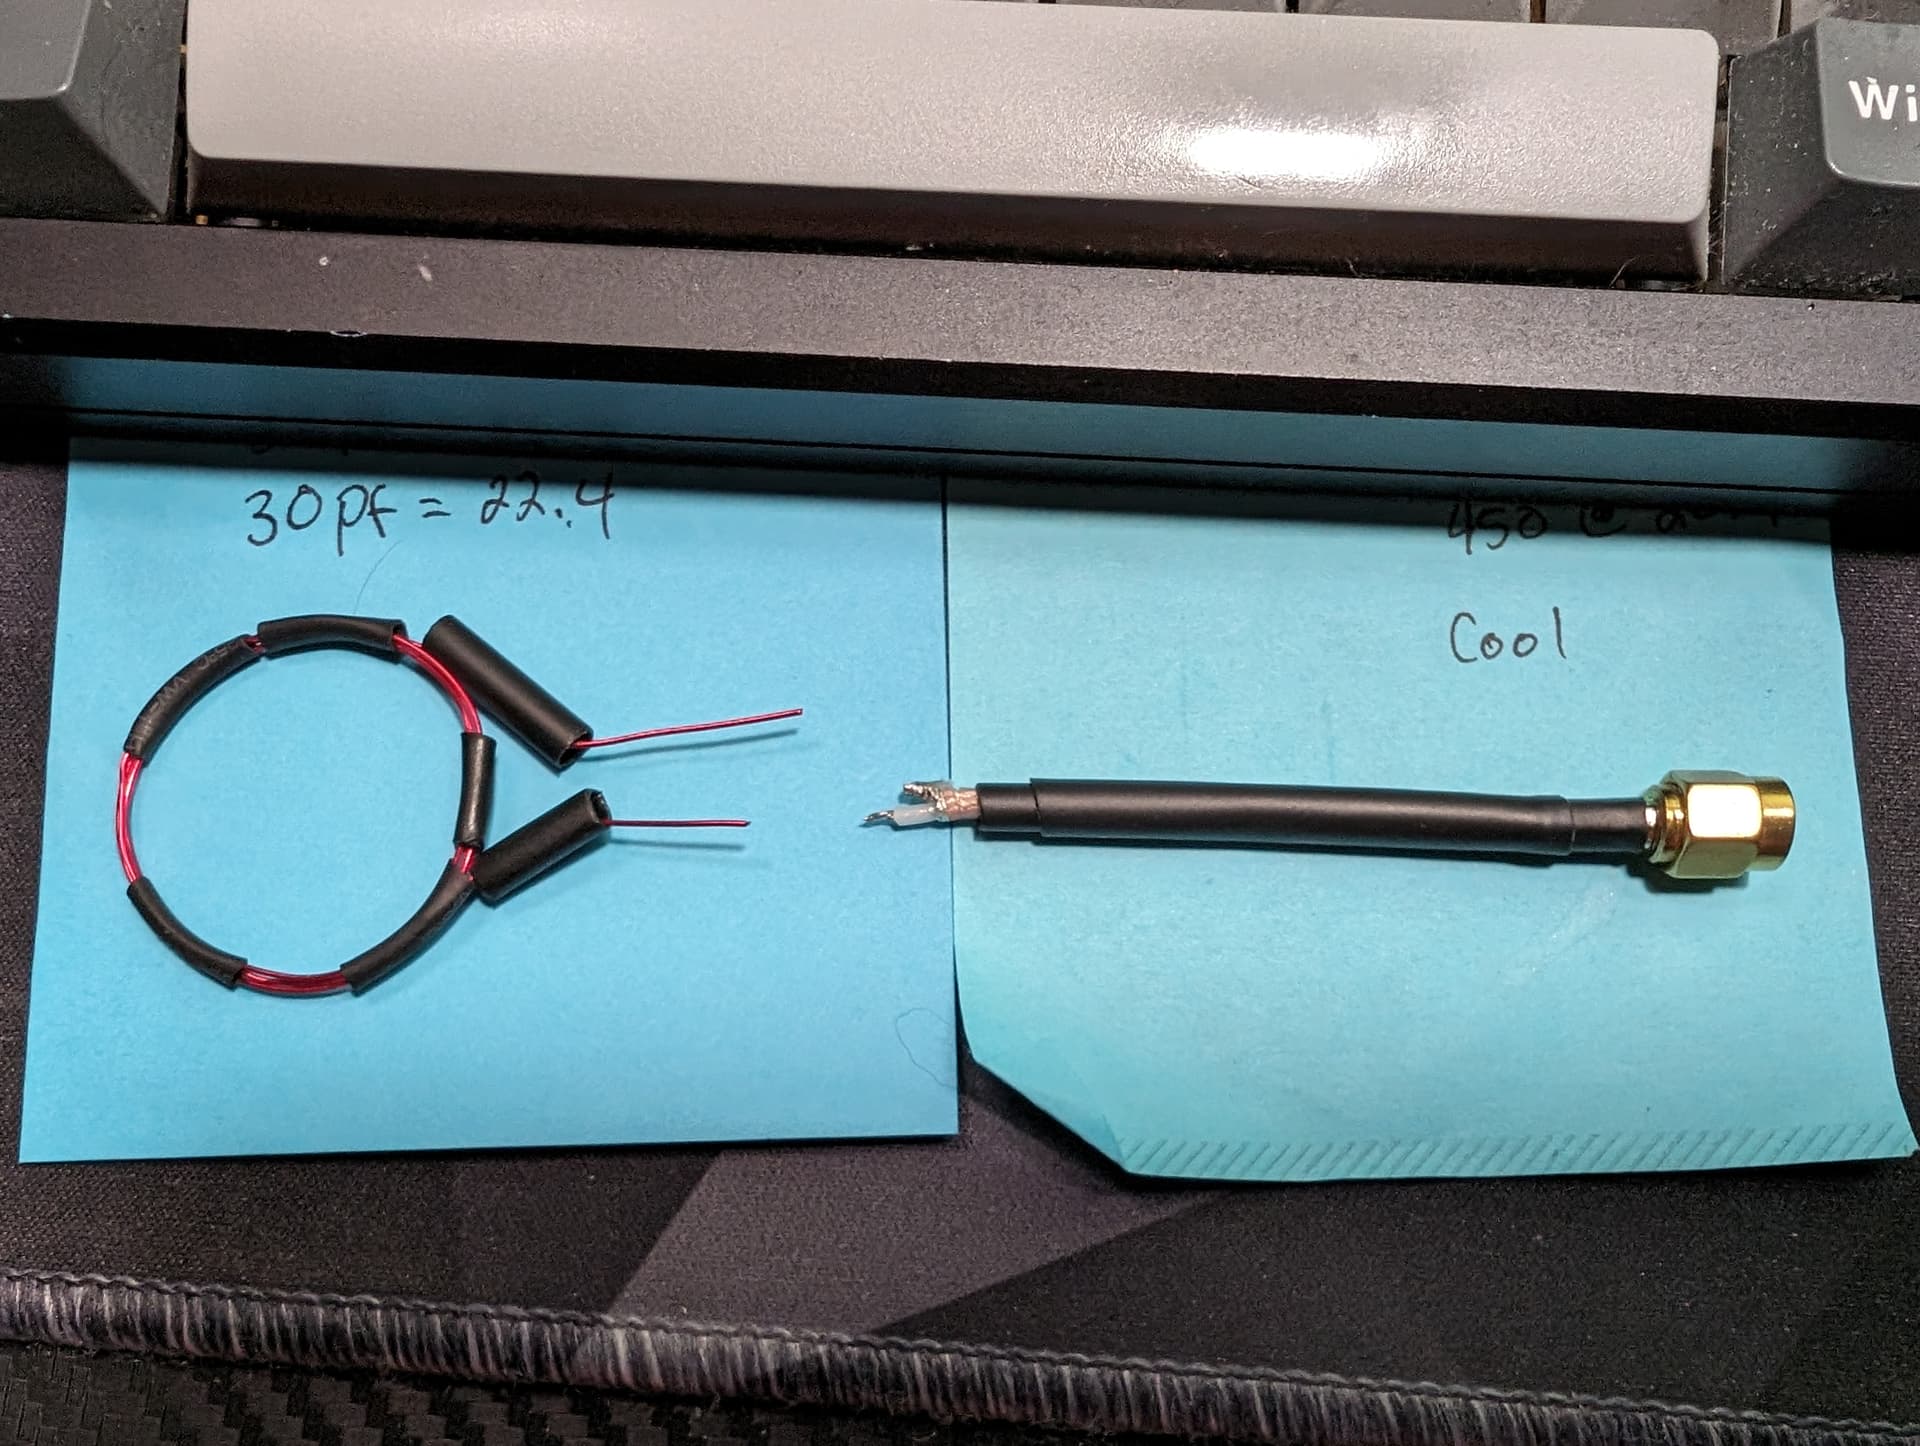
This is what it looked like ( Sorry, no proper build photos )

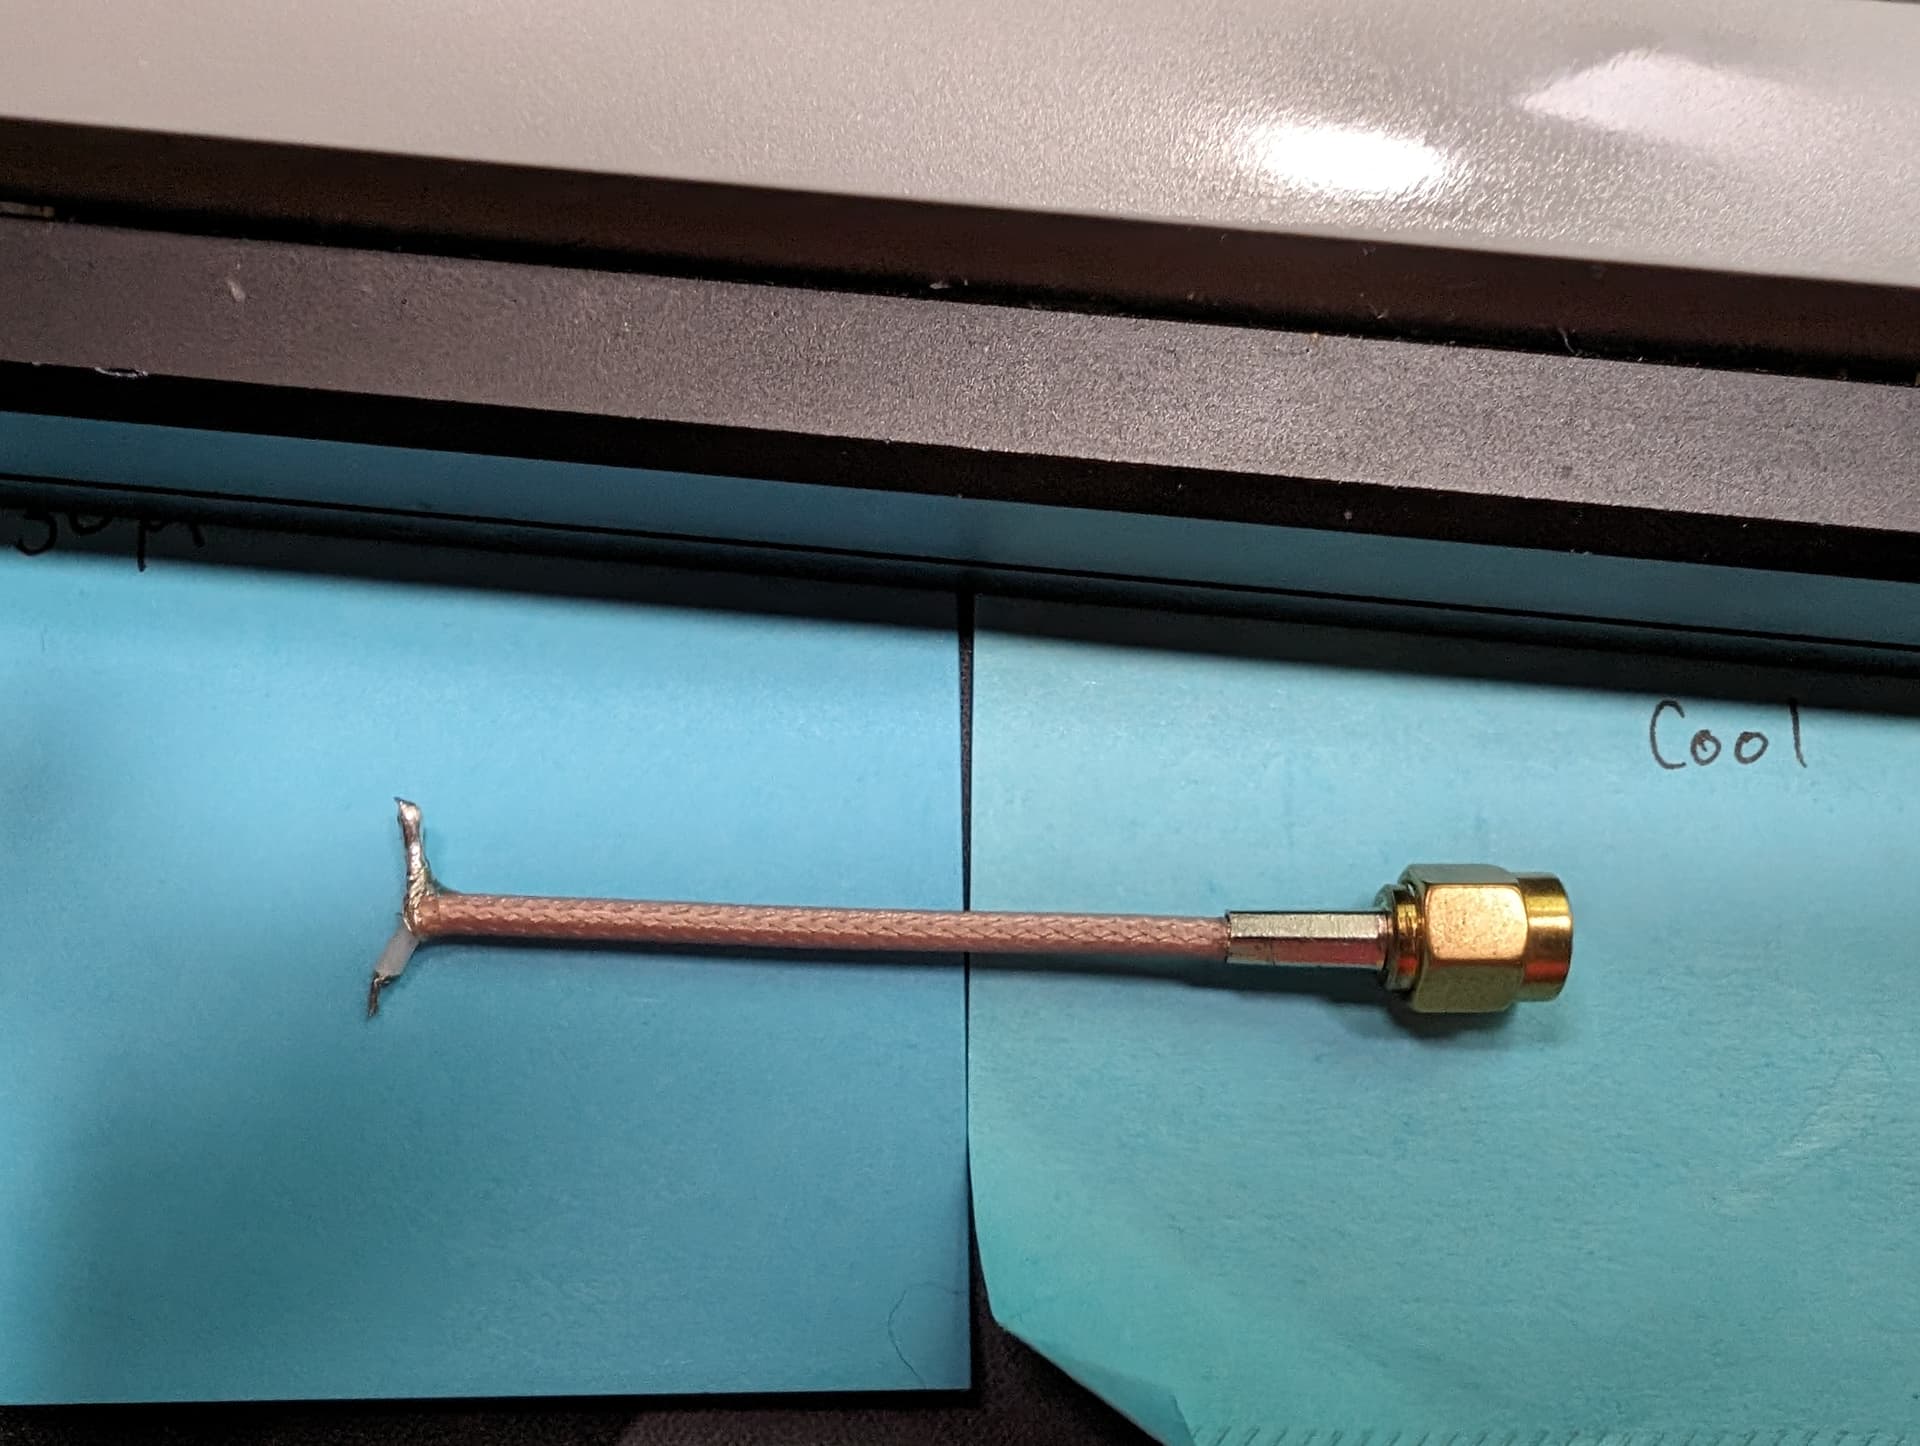
I chopped the end off to see what I was dealing with

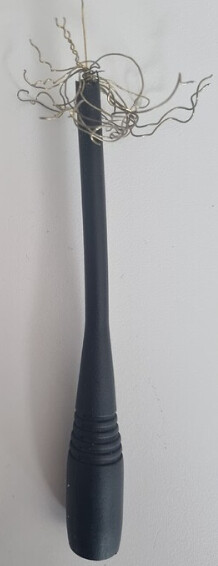
I untwisted it to find the centre core.
There was a thin strand. ( I expected thicker )

I stripped all of the insulation off

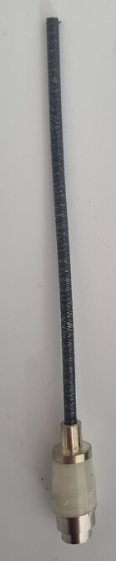
Then chopped some other shit off

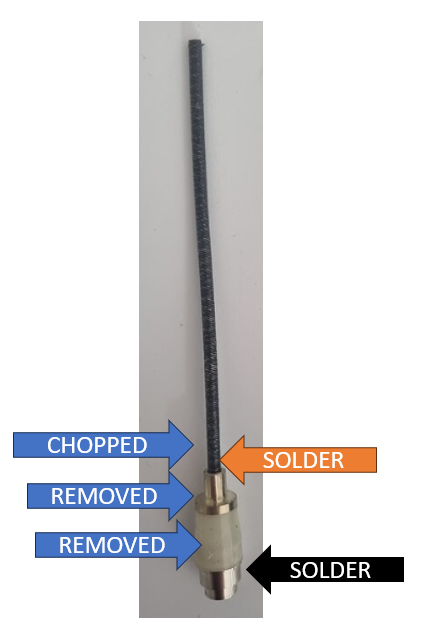
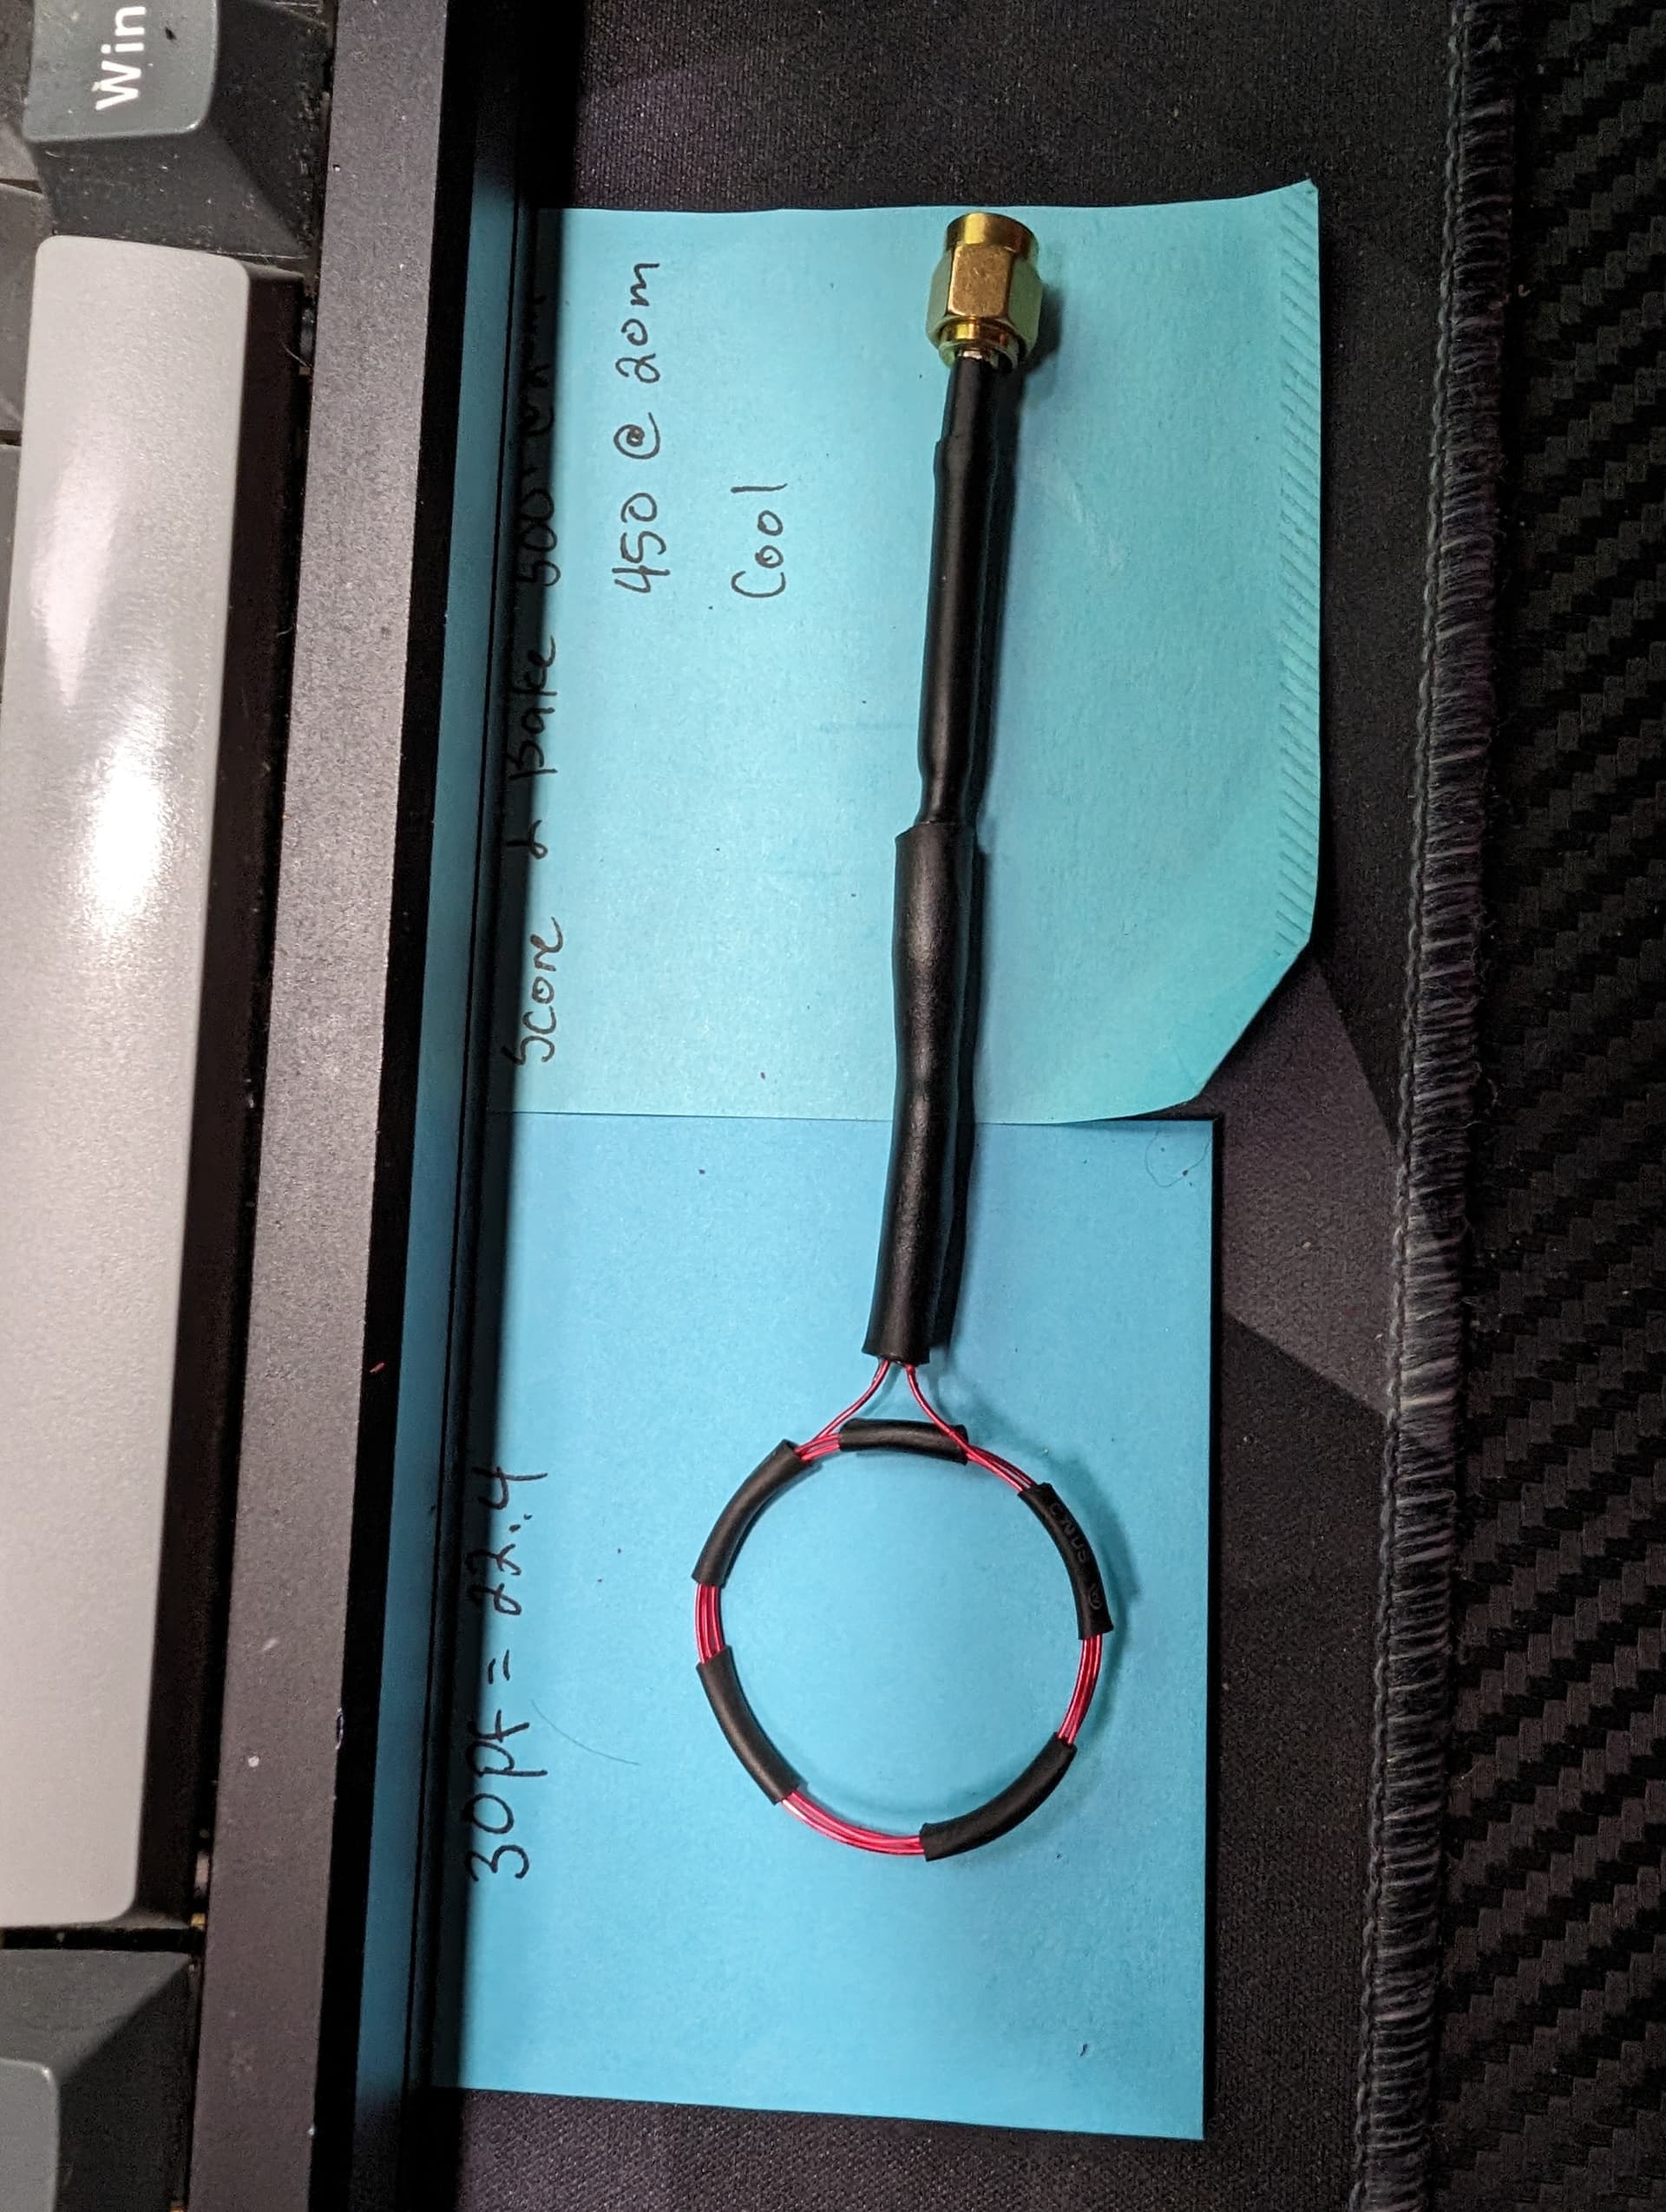
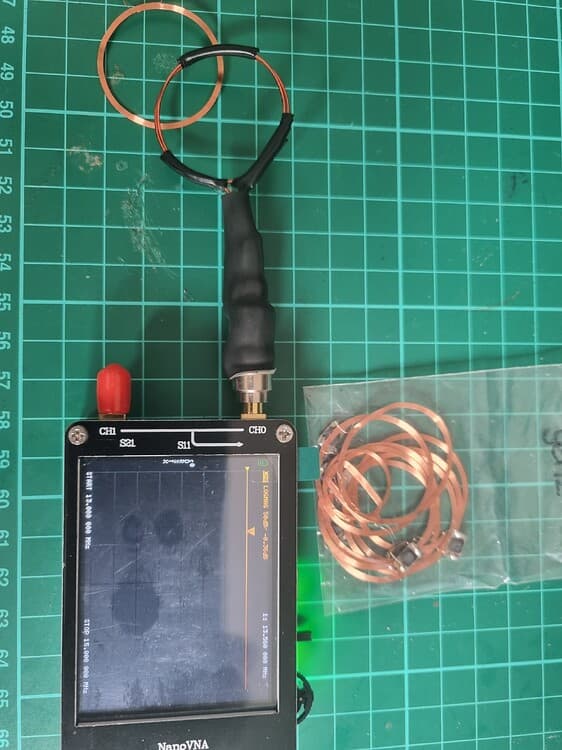
I wrapped magnet wire in a loop twice ( my loops were approximately 30mm ) and either end are soldered to the ground and positive.
I should have prepped the ground collar better, but I managed to get the solder to “stick” anyway
I slipped some heat shrink over it all, and this is what it looks like

SOFTWARE

NOW WE NEED TO SET UP THE SOFTWARE

I watched @Satur9’s very detailed video and followed that through

A couple of key points from the video

  • Set the range to 13MHz to 15MHz

  • Select to display a single trace

  • Set the scale from 1-3 ( different from @Satur9’s video, but the firmware looks different )

Then, From @Hamspiced
Save that setup

Cal>save>save 0

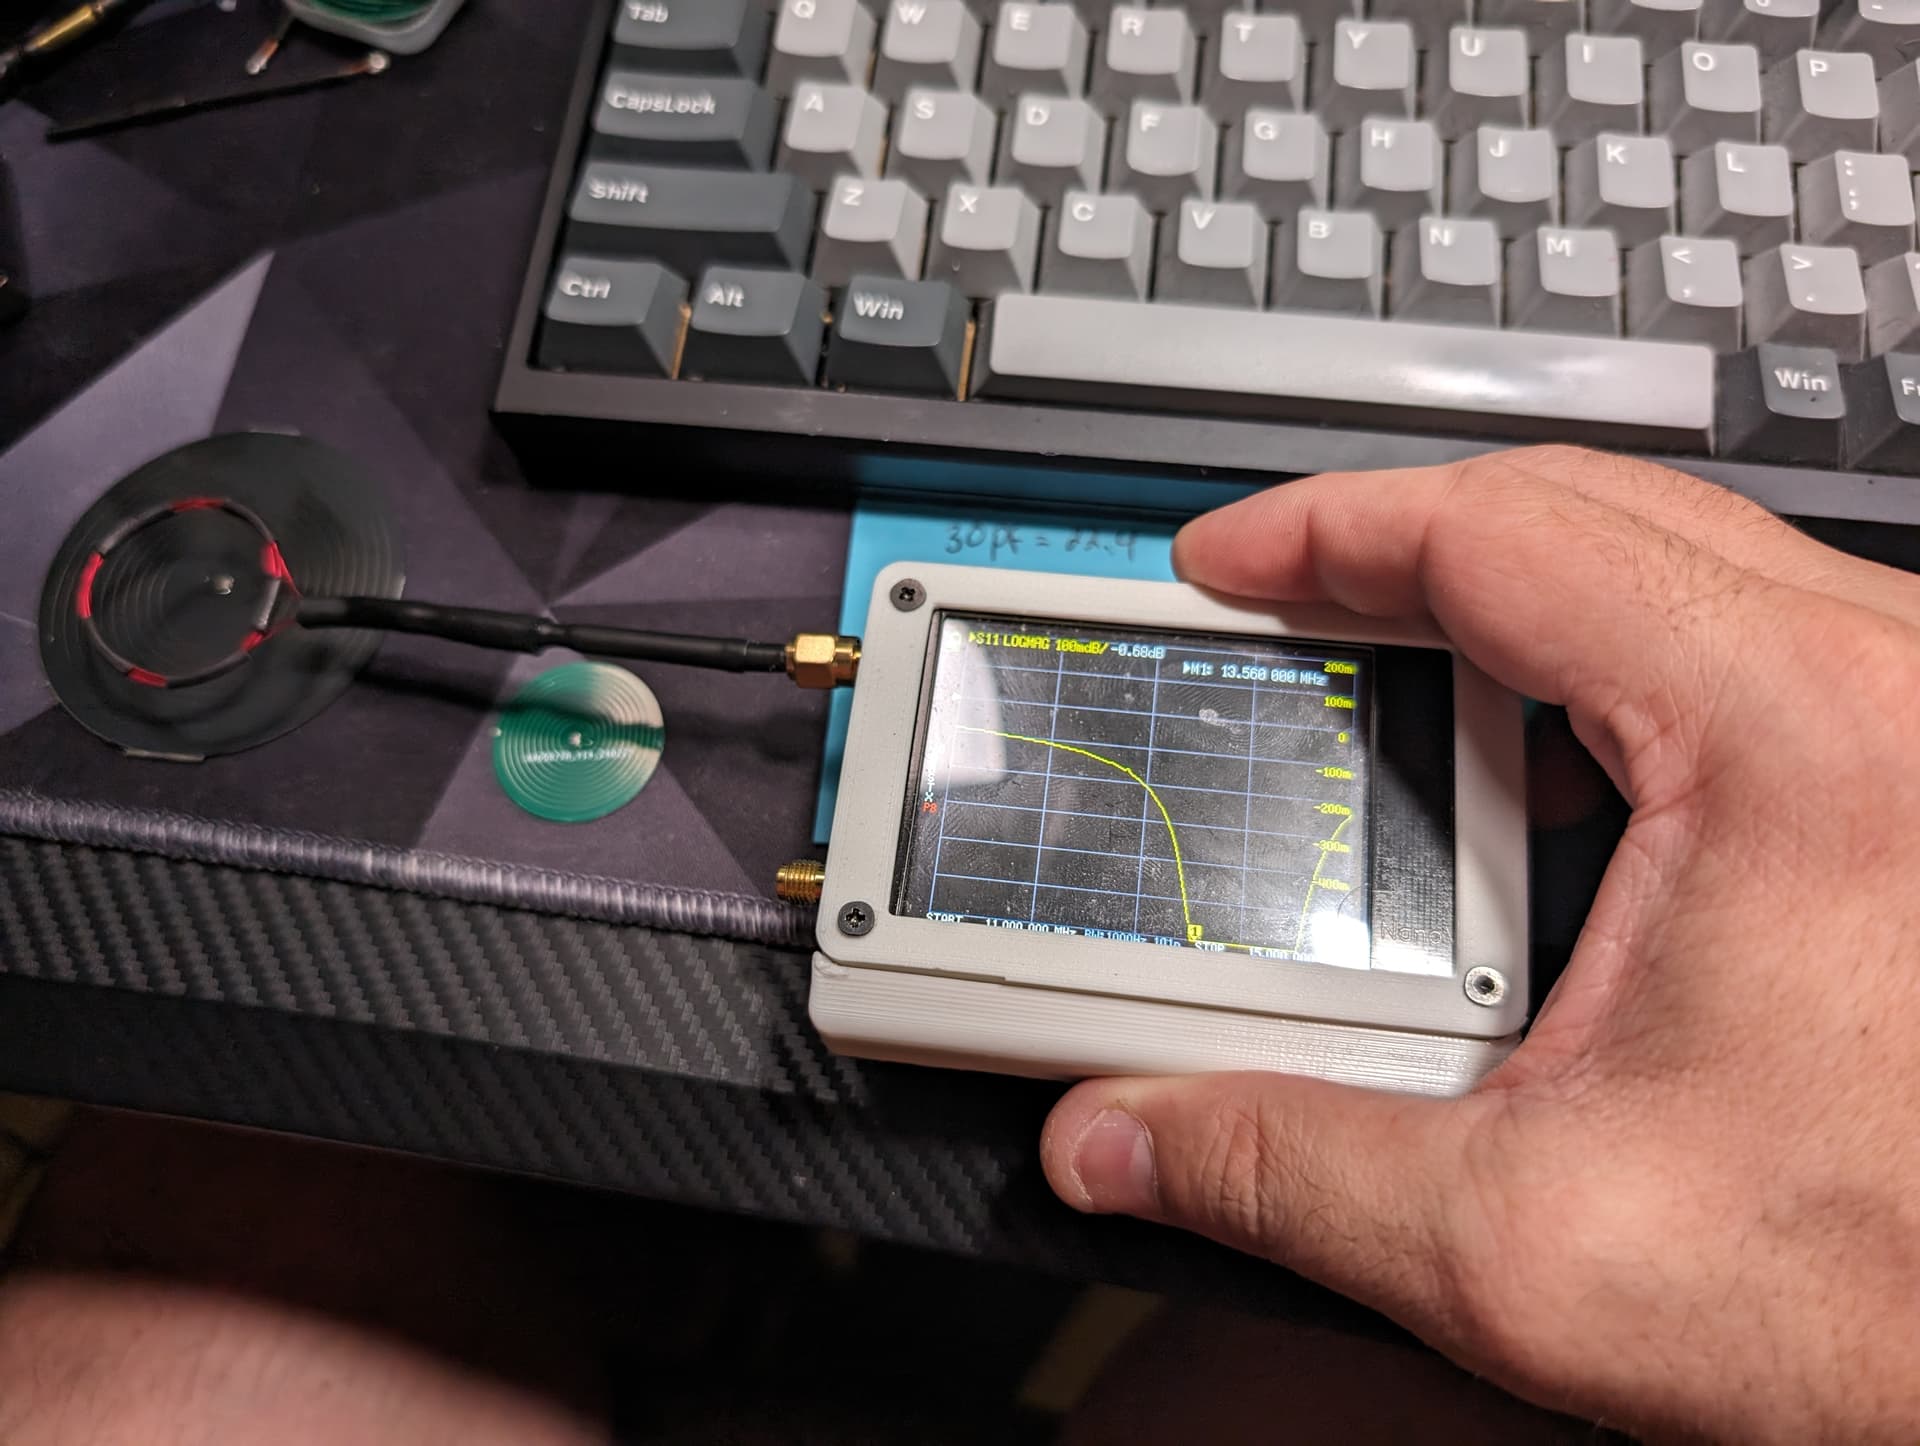
LET’S TEST THIS THING


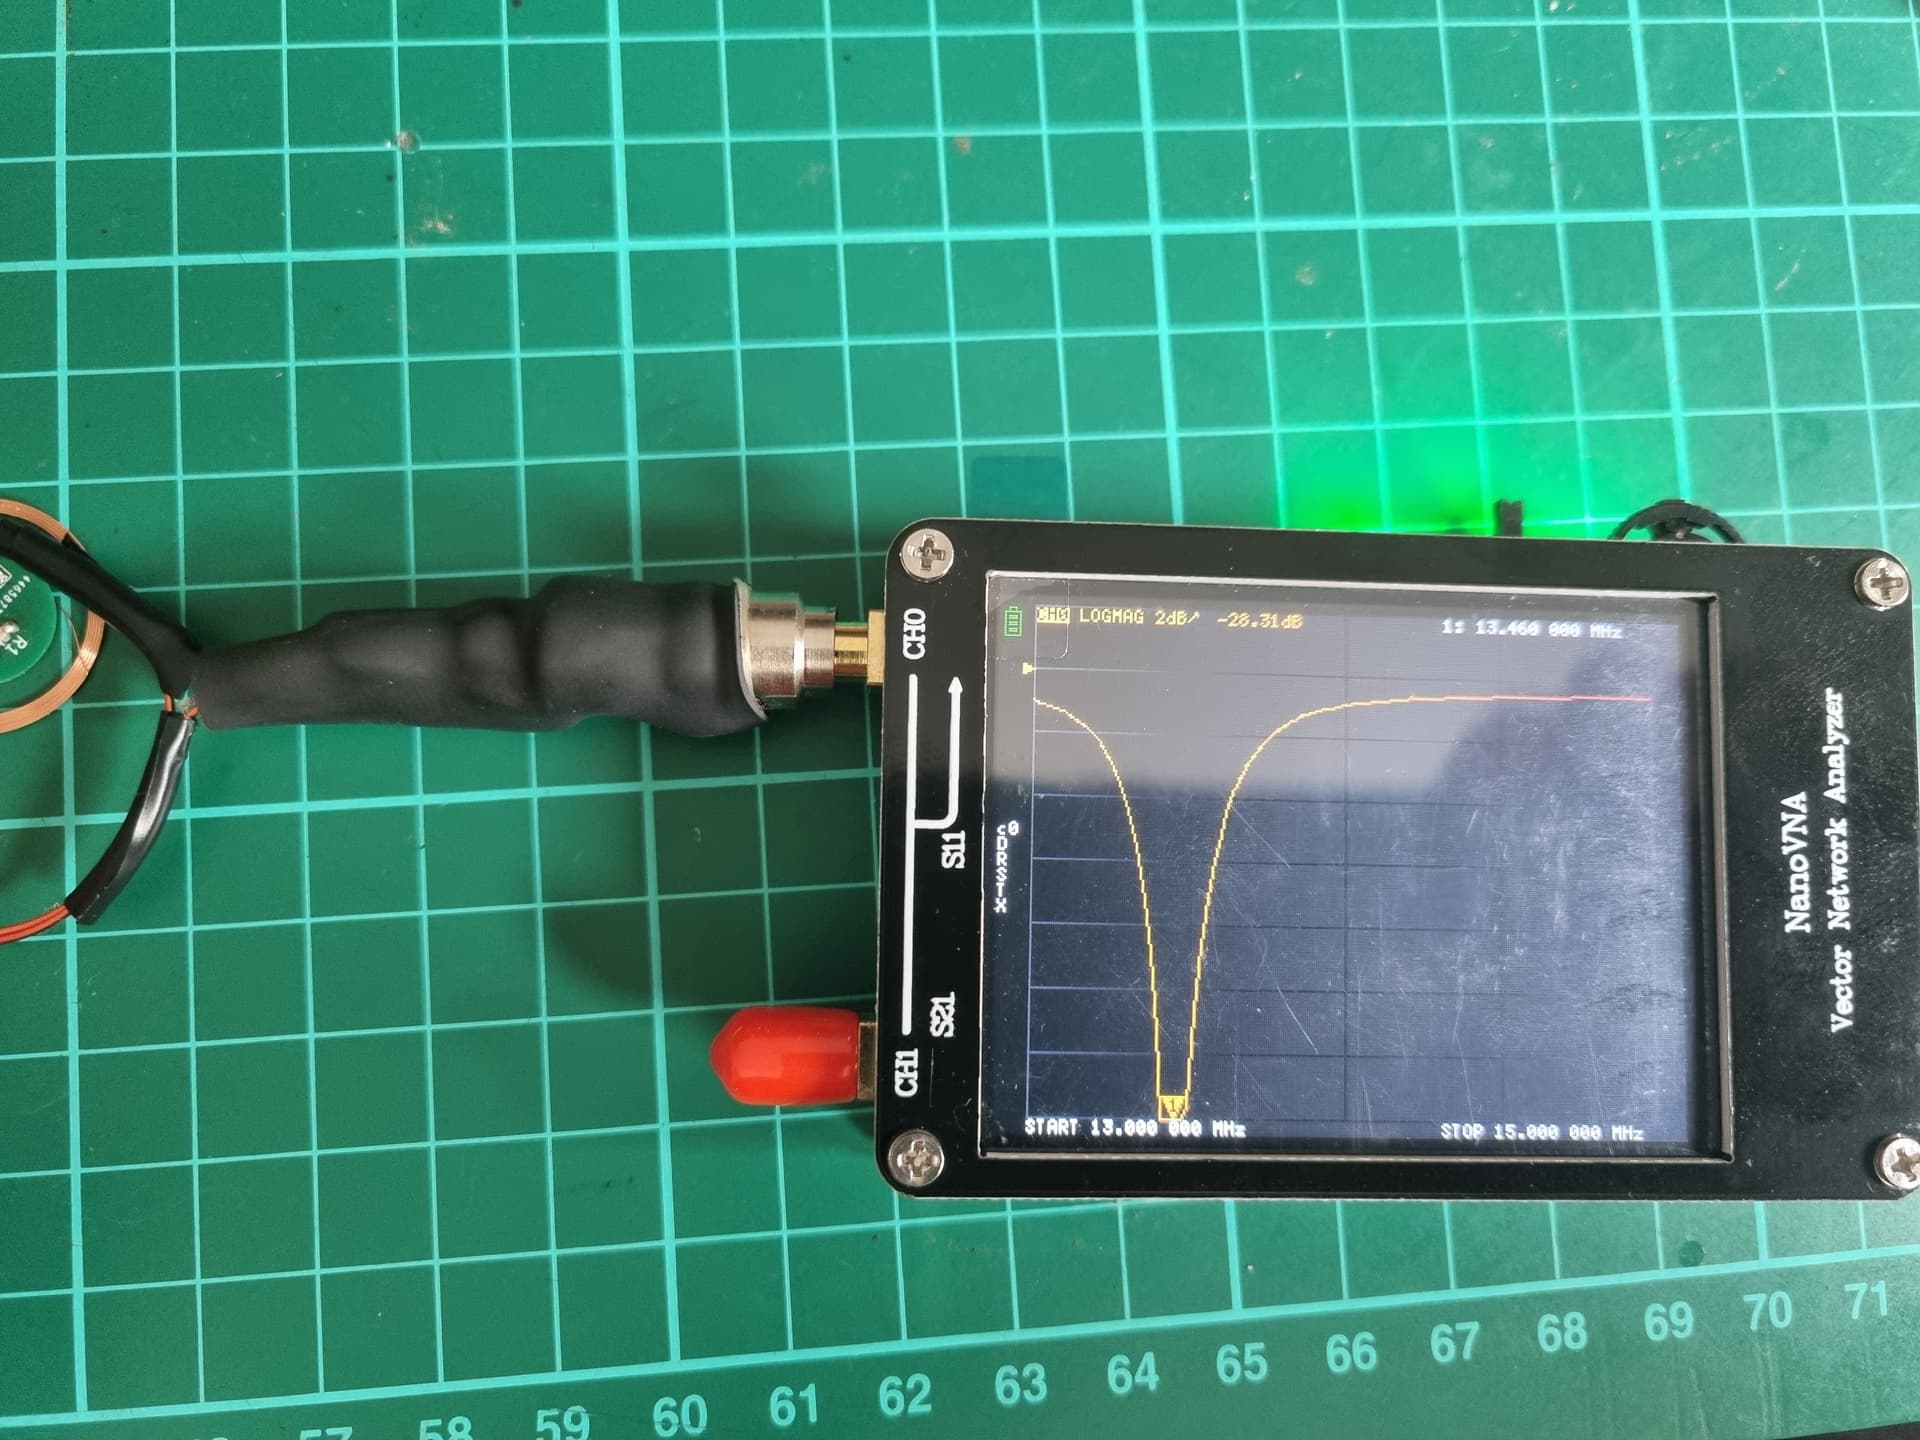
according to my uncalibrated VNA, 13.46 for @Hamspiced’s V1 That’s pretty close, to 13.56MHz

I trust @Hamspiced’s NFC antenna amplifier/Resonance Circuit V1 to be tuned perfectly

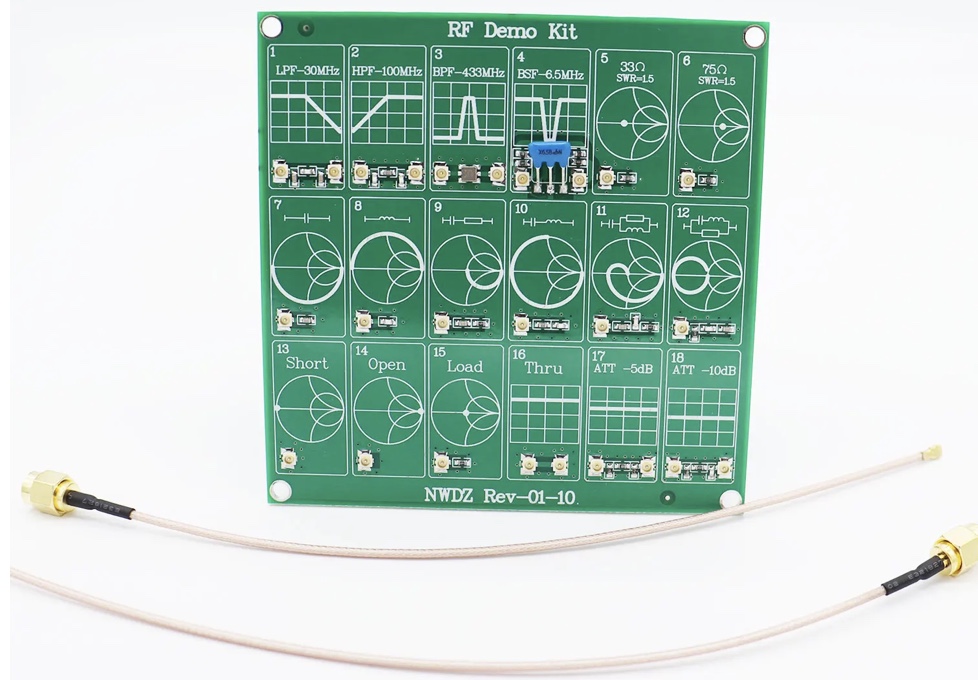
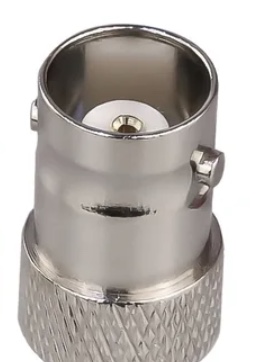
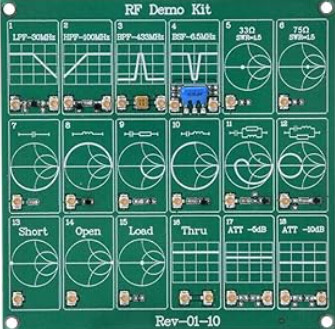
@Hamspiced suggested I should get a calibration board like this.
image

PURCHASE LINK

EXTRAS

@Hamspiced
also sent me a 3D print case file
NanoVNACase.zip (98.6 KB)

All that, just to say, I hope this helps others in the future, and a BIG thanks to @Hamspiced and @Satur9

6 Likes

Great write up. Wish this existed when I first got mine because I watched Satur9 video about 5 times before I realized I could save the preset.

You don’t need the calibration board. It’s just convenient. The vna will come with different loads to use and you can calibrate it with those. The board just makes it really quick and easy to do.

4 Likes

OR
use a perfectly tuned @Hamspiced V1 as the calibration tool

2 Likes

Fascinating! Gotta do this.

I’m filling my Aliexpress cart now. What’s a good thickness for the magnet wire? They have 0.1mm to 1.2mm. Enamelled presumably?

2 Likes

when i made mine i did it with 24awg. When converted out of freedom units that is .25. I used enamelled wire because i have a ton on hand but you could technically use any wire.

You just need to create a loop from the ground to the positive pin of the SMA adapter. The diameter of the loop doesnt matter too much but if it is around the same diameter of the coil you are measuring youll see deeper readings(learned this ysterday in talking to Satur9).

When i made mine i made it from the antenna off of a NRF52 and originally used wire from a twisted pair of cat5. which worked but ended up breaking on me and i had to redo it. So when i remade it i reinforced the contraption with heatshrink.

I had the same struggles as Pilgrim getting solder to stick to the groundplane of the old sma antenna. scraping the bronze and cleaning with flux helped. you could get the same results with alcohol if you dont have flux on hand.

i planned on making another so i can do a quick build guide if you dont have an antennae to start from you can actually use one of the leads that comes with the VNA to make this. Youll just lose your ability to calibrate the thru component.

You basically just need a sma connector. I have a ton of these from building Antennae for my LoRa devices. these are actually easier to solder to because you can just stripback the shielding.

Aliexpress

Amazon

Cut an end off and strip back the shielding. Separate the ground shield from the dielectric insulator and strip that back to the Inner conductor. You want to tin both tips, it saves you time later and helps the heat shrink not shrink if you’re fiddling with it with your heat-shrink in place. You want your Inner conductor wire to be longer than your ground plane so when soldering they are kind of stepped. Ill be cutting back the ground shield later

I going to use 24ga magnet wire because i have a ton, but any can be used. cut enough to make two loops. Find something Round and wrap your wire. I used a screwdriver.


Add in your heat shrink

Solder and shrink

Test and make yourself a coffee.

Ill also add… the UI interface for the VNA isnt (to me) the most intuitive. it took a lot of reading other forums to understand the settings and even the settings tree. There are also a ton of other features that i am incredibly unfamilar with even being a licensed HAM. I found that having the onscreen computer component helped me navigate and understand the menu structure a bit easier as well as provide a a great monitor for the device.

Also there has been an influx of poorly made china vna’s i would reccomend updating the firmware as mine was 10 or so major releases old. i noticed this was needed for mine as while following youtube guides and even Satur9’s guide my UI was much different than his and i couldnt follow along. the update process is not for the faint of heart.

Official documentation gave me a lot of fits. However i found this guide

Since i am a mac user i used the issues i had here to spin up a VM and install windows 10 just to update the vna.

2 Likes

I was going to mention that RF connectors are available and that you need a crimper for them. And then I remembered why my crimper is still in another country… You get what you pay for with cheap specialized tools.

2 Likes

Great write up @Hamspiced
I’ll add a link of your write up to my original post

I concur.
It’s not the worst, but it’s not great either.

I actualityfound it pretty easy…I simply asked YOU :rofl:

The navigation wheel on the side is a clever little design but I stopped using it in favour of the touch screen.
It’s far easier, and even easier again with some form of stylus.
My fingers are slightly too big to be super accurate

VNA POV

f39162aa-118a-412a-a262-fe8323f05ab2_text

1 Like

My cart is nearly ready:
.25mm wire


Calibration board

I thought I could use one of these to make the antenna connector

I have two choices for the VNA itself. The first is only €26 with the introductory discount

The second has more accessories and claims to be the “updated 2022 version” and costs €46

What are your thoughts?
Is there anything missing from my cart for this project? and given that I will only get the introductory offer once, can you think of any other projects or basic equipment for RF electronics that I could add?

2 Likes

Go big

That vna is nice. Where are you getting it so cheap?

What does the other end of that sma look like?

Rather than getting a solder ready sma connector it’s honestly easier to bastardize a small cable. Running that thin gauge magnet wire to the solder points is going to make it really flimsy.

1 Like

Uhoh… Maybe you, me and my credit card is a dangerous combination. :metal::sunglasses: :rightwards_hand: So while you’re on that wavelength do you have any other basic RF projects or equipment I could be shopping for?

Where are you getting it so cheap?

Aliexpress as part of their introductory offer.

What does the other end of that sma look like?

BNC female:
Screenshot 2024-03-09 at 23.23.03

Rather than getting a solder ready sma connector it’s honestly easier to bastardize a small cable.

Any short and robust SMA cables that would be good for the job come to mind?

1 Like

Yeah I wouldn’t bother with bnc adapters unless you have a use for it.

Any sma female cable will work but look for the ones that are not black thin cables. The thicker orange looking ones are great for this as they are more rigid.

I have a bunch of small projects I work on simultaneously. Gimme some time and I’ll list a few for you

That would be fantastic, thanks.

I found these:

A 20cm one would make two antennas.

Thicker the better?

Did you mean female SMA? I thought it was male like the ones in this pic.

Rg316 would likely be perfect.

Yeah I suppose these are the male ends. You’re correct.

1 Like

The terminology used in the industry to clear up this confusion is jack and plug.

3 Likes