ah so it was extracted directly to your Downloads folder, which is really a path like C:\users\youraccount\Downloads … not a good spot for this.
Start over.
Create a folder off C:\ called ProxSpace and extract the .7z file contents there, then run runme64 from in there.
To run it, instead of clicking on it, try opening a CMD window first… this is a command shell for Windows and it’s from this shell you launch ProxSpace to enter the proxspace linux pseudo-shell environment, and inside that pseudo-shell environment you run the proxspace client.
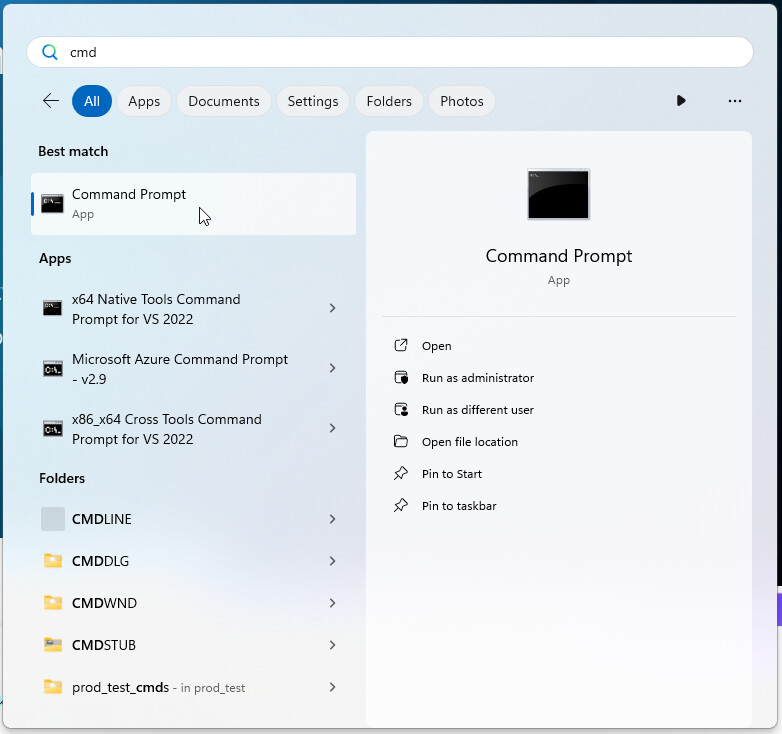
To get into the CMD shell, press the Windows key or click the Windows menu icon and type cmd and press enter. When you type cmd you should see something like this, with Command Prompt listed as the top app;
Once in there, you will need to “cd” or Change Directory to c:\ProxSpace… to do that type cd \proxspace and press enter. My proxspace folder is under a “working” folder, so you can see my process here;
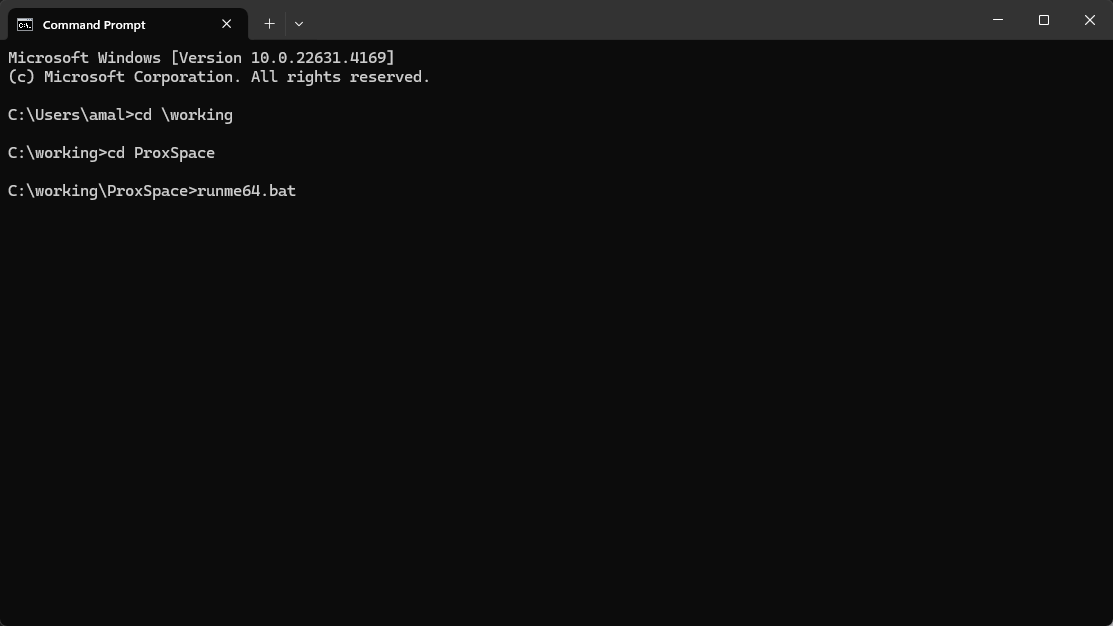
Once you are in the proxspace folder, type runme64.bat and press enter. This should get you into the proxspace environment… eventually… after it’s done doing its first initial build…
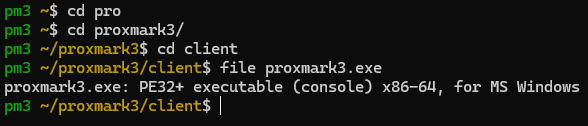
Once in the proxspace environment, you will need to pull down the github repo, then compile the code pulled down using the make all command. After make finishes compiling the code, you can use pm3-flash-all to update your RDV4 to the version of firmware that you pulled from git and compiled. The client is also compiled, so after the firmware is updated on the RDV4 hardware you can run the matching client by just using the pm3 command.
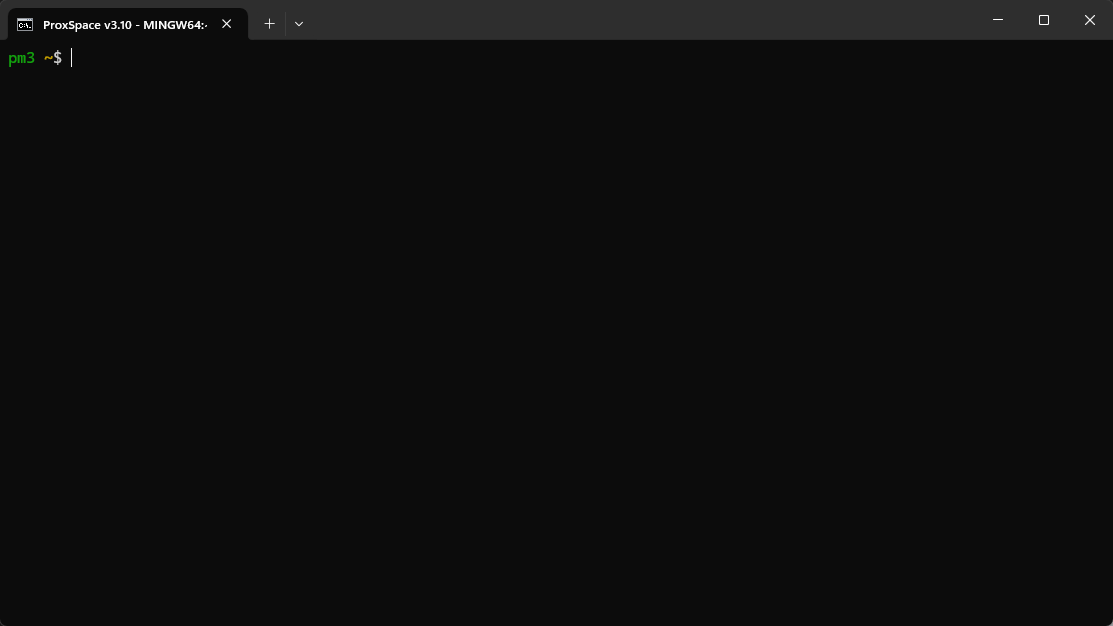
Once the PM3 command is run successfully, you will now be operating in the PM3 client environment… so yes, you are wrapped in several layers here CMD>PROXSPACE>PM3.
This is a very quick overview of steps… if you want to follow the whole thing through, follow these steps;
However, because you are using the RDV4 then your Makefile changes will be different as the guide linked above is for the Proxmark3 Easy we sell. Still, all the other parts of the process are the same for the RDV4.