Hey, @Eriequiet
I gotta ask, did you ever get to run the mega nozzles? Kinda curious if it worked or borked.
Hey, @Eriequiet
I gotta ask, did you ever get to run the mega nozzles? Kinda curious if it worked or borked.
Sigh….
Yea… I’m currently in a very frustrating roadblock
Bambu slicer will not let me enter a value above .8 (their largest nozzle)
I assumed like every other slicer I could just Change nozzle size and line size, but nope so far
Trying to figure a work around or way to trick it…
Might also look at orca thankfully I never updated to the orca locked firmware
I use Orca for everything, and that’s a reason why I might never buy a Bambu… I don’t like locked down garbage.
Anyways, I came across this thing called the “Bozzle Nozzle” and the internal geometry caught my eye:
I wonder how hard would it be to get something similar but made out of brass and in 0.2, 0.3, and 0.4 sizes?
I understand why they went with 0.5, that thing is meant for printing abrasive filaments. And it’s probably awesome for that, as it shouldn’t suffer from the same temperature issues that steel nozzles have.
I generally hate steel nozzles because of the higher temperature required and the poor layer adhesion.
Where can I find that keyboard?
I have one just like it
Rii 66
This is a wonderful formfactor for a project I’ve been debating on.
I essentially want to build an entirely functional ‘cargo pocket’ computer from a raspberry pi 4, 5, or zero2W… Add in some stripped down versions of an sdr, an alfa card, gps, a pm3 (which is mostly stripped down already to be fair)… You get the idea; a flipper zero on crack, but it can run a web browser and also serve me in some other situations while having decent battery life.
My main issue here is that I keep coming on the keyboard problem. My requirements:
Similar formfactor to above rii 66
Wired USB connection (I’d plan on soldering the connections directly to save space. Remove ports etc)
I have had terrible luck finding this, and it appears the above is bluetooth, though I had hope for a moment.
Thanks for the reply though!
I THINK you can plug usb in also.
I’m still away from home at the moment so I can’t test it for you for another couple of weeks…
I know that my Rii (X1 I think? is similar but a few more keys and has a touchpad, and is 2.4GHz with a dongle) can only charge via USB, no data (HID) transfer unfortunately. I’m not really expecting another result based on the amazon page for the 66.
I have a couple of similar form factors at home, I will check the functionality when I’m back
Hopefully, we will see it here when it is complete
Projects
Cargo pants for me. These I believe:
Say what you want about American cops, I’ll likely agree, however you must admit that their duty pants tend to be pretty fucking good… So I go to the police and military supply store locally.
The keyboard has always been my issue. I was thinking about buying another X1 as it is perfect in every way save for being wireless… Mouse, all the keys I need, good size… I tore it apart and could not find an easy way to pull a USB connection off of it, and have been looking and failing since.
Screen is easy, there’s a thousand I could use. Brains (Rpi) is easy, I just have to choose between battery life and performance, and all the modules are also common and cheap (save for the PM3, but I might just get some random NFC reader and forego the LF for now).
And yeah almost none of my stuff makes it to the forum because most of my stuff recently has not been worthy in my mind.
Yeah this one is BT only, sadly. However, you can absolutely wire your own keyboard and don’t even need to do a custom PCB for it. I’d grab some kalih choc low profile switches and fly wire them, connect to a pico as an mcu, and use the pico as an HID device.
Edit: actually those may still be slightly too big for the form factor. You could probably do a 20-30 key matrix but I’d be concerned about the depth needed vs the LxW of the board.
Yes unfortunately I’d want it to be more or less handheld, albeit a bit on the heavy/thick side.
I very much am tempted to just use the Rii X1. It has everything I need, and frankly the chances of wireless being a problem is slim to none… Let me deep dive a bit…
How does it charge?
My handheld itself uses 3x 18650 batteries to power the RPi 5, screen, and any other peripherals attached via USB. These batteries are charged via a 5v terminal on the side. The keyboard uses BT to connect and has a separate USBc port for charging. However, I’ve charged the keyboard exactly once for 30 minutes and it’s still alive after many many hours of use. Both the RPi and Keyboard are set to sleep mode after 5 minutes just in case. Pressing enter on the KB wakes the whole device back up.
If you were to use a Pico as an HID device for a custom KB, it would theoretically stay charged via USB. Or, rather than using a Pico at all, you could wire it directly to any free analog pins and ground pins on the RPi 5.
Cyberboy v1.0 - another raspberry pi cyberdeck by rauven - Thingiverse Here’s the tutorial I used with the STL files. I recommend, if you try this, fit the pieces of the case FIRST before you add any electronic components because the guide is super confusing and misses steps. My total cost for all the electronics was about $120 usd, most of which came from buying an 8gb pi5
If you plug that usb-C into a computer does it register as an hid device? I can’t imagine it’s Bluetooth only
nope. it acts as a charging port only. windows 11 doesn’t recognize it and brings up a ‘this usb device has malfunctioned’ message.
So I decided that I wanted a case for my Pm3 Easy, but there was an itty bitty issue with every case on printables and thingaverse: It didn’t fit my Pm3.
Why? Well when @Hamspiced first released the field enhancers for the Pm3 Easy, I inquired about using the backplane version in place of the midboard. Hammy confirmed that it would work, and was nice enough to send over some treats in the process.
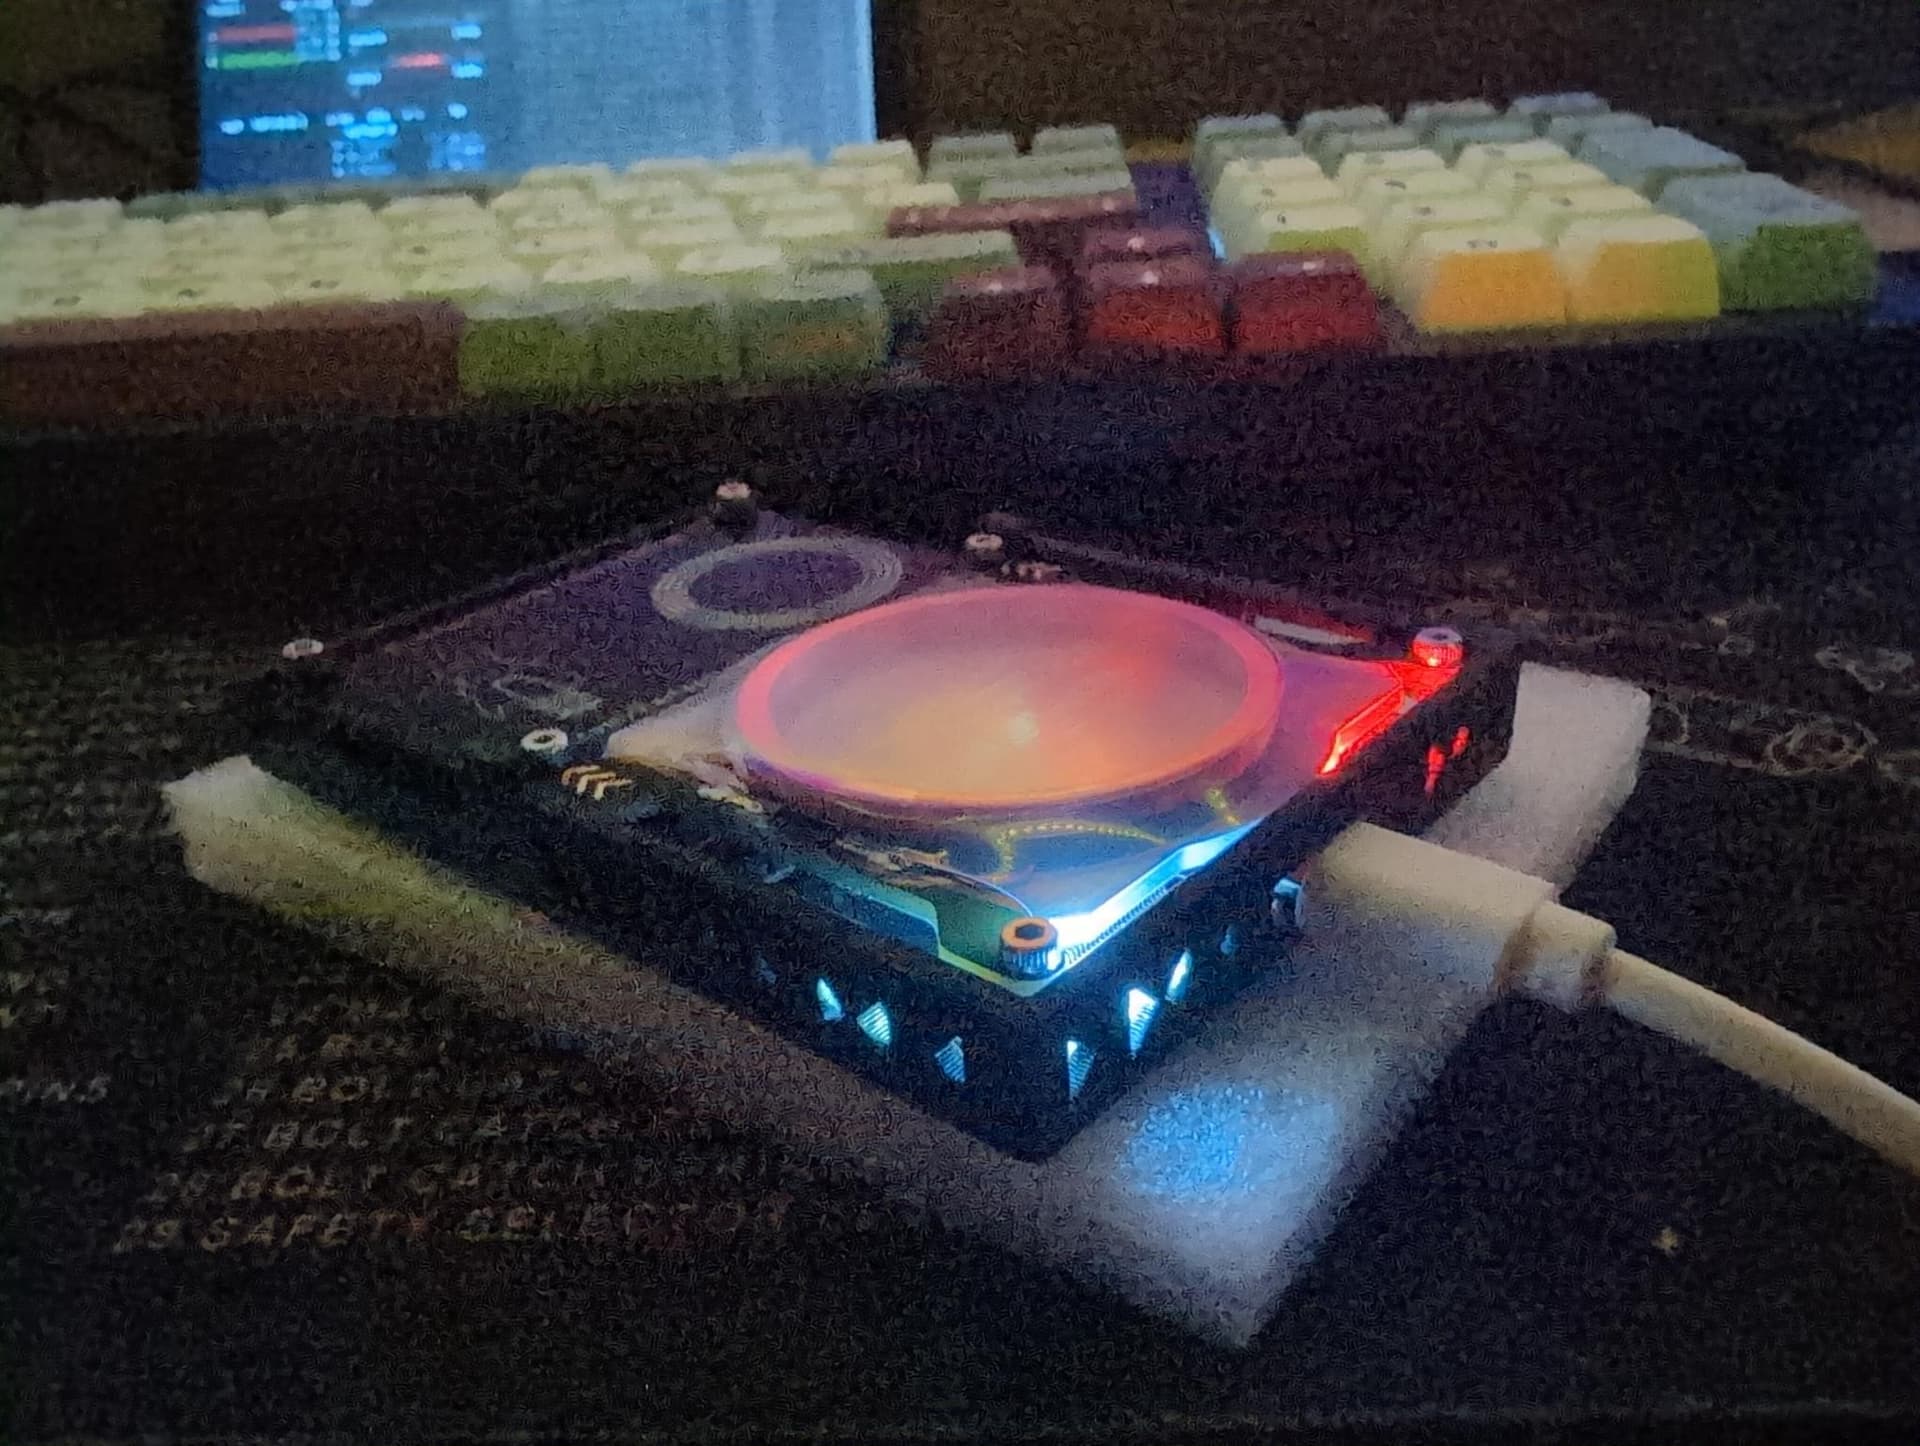
Here’s what my Pm3 looks like:
Slim and sturdy, and I must say I much prefer this look compared to stock.
Back to the main issue: Pretty much every case that I could find was either for a stock Easy or was for a stripped down Easy that just had the lower board and nothing more; No LF antenna.
Another issue many of them had, was no direct access to one or more antenna. Either a lot of barrier between an already pretty ‘meh’ HF antenna or completely covering the entire device.
I just need a little protection for the tool. I don’t want to worry about setting it on the table too hard or it taking a fall off my desk when the cat decides that my desk is the spot to be.
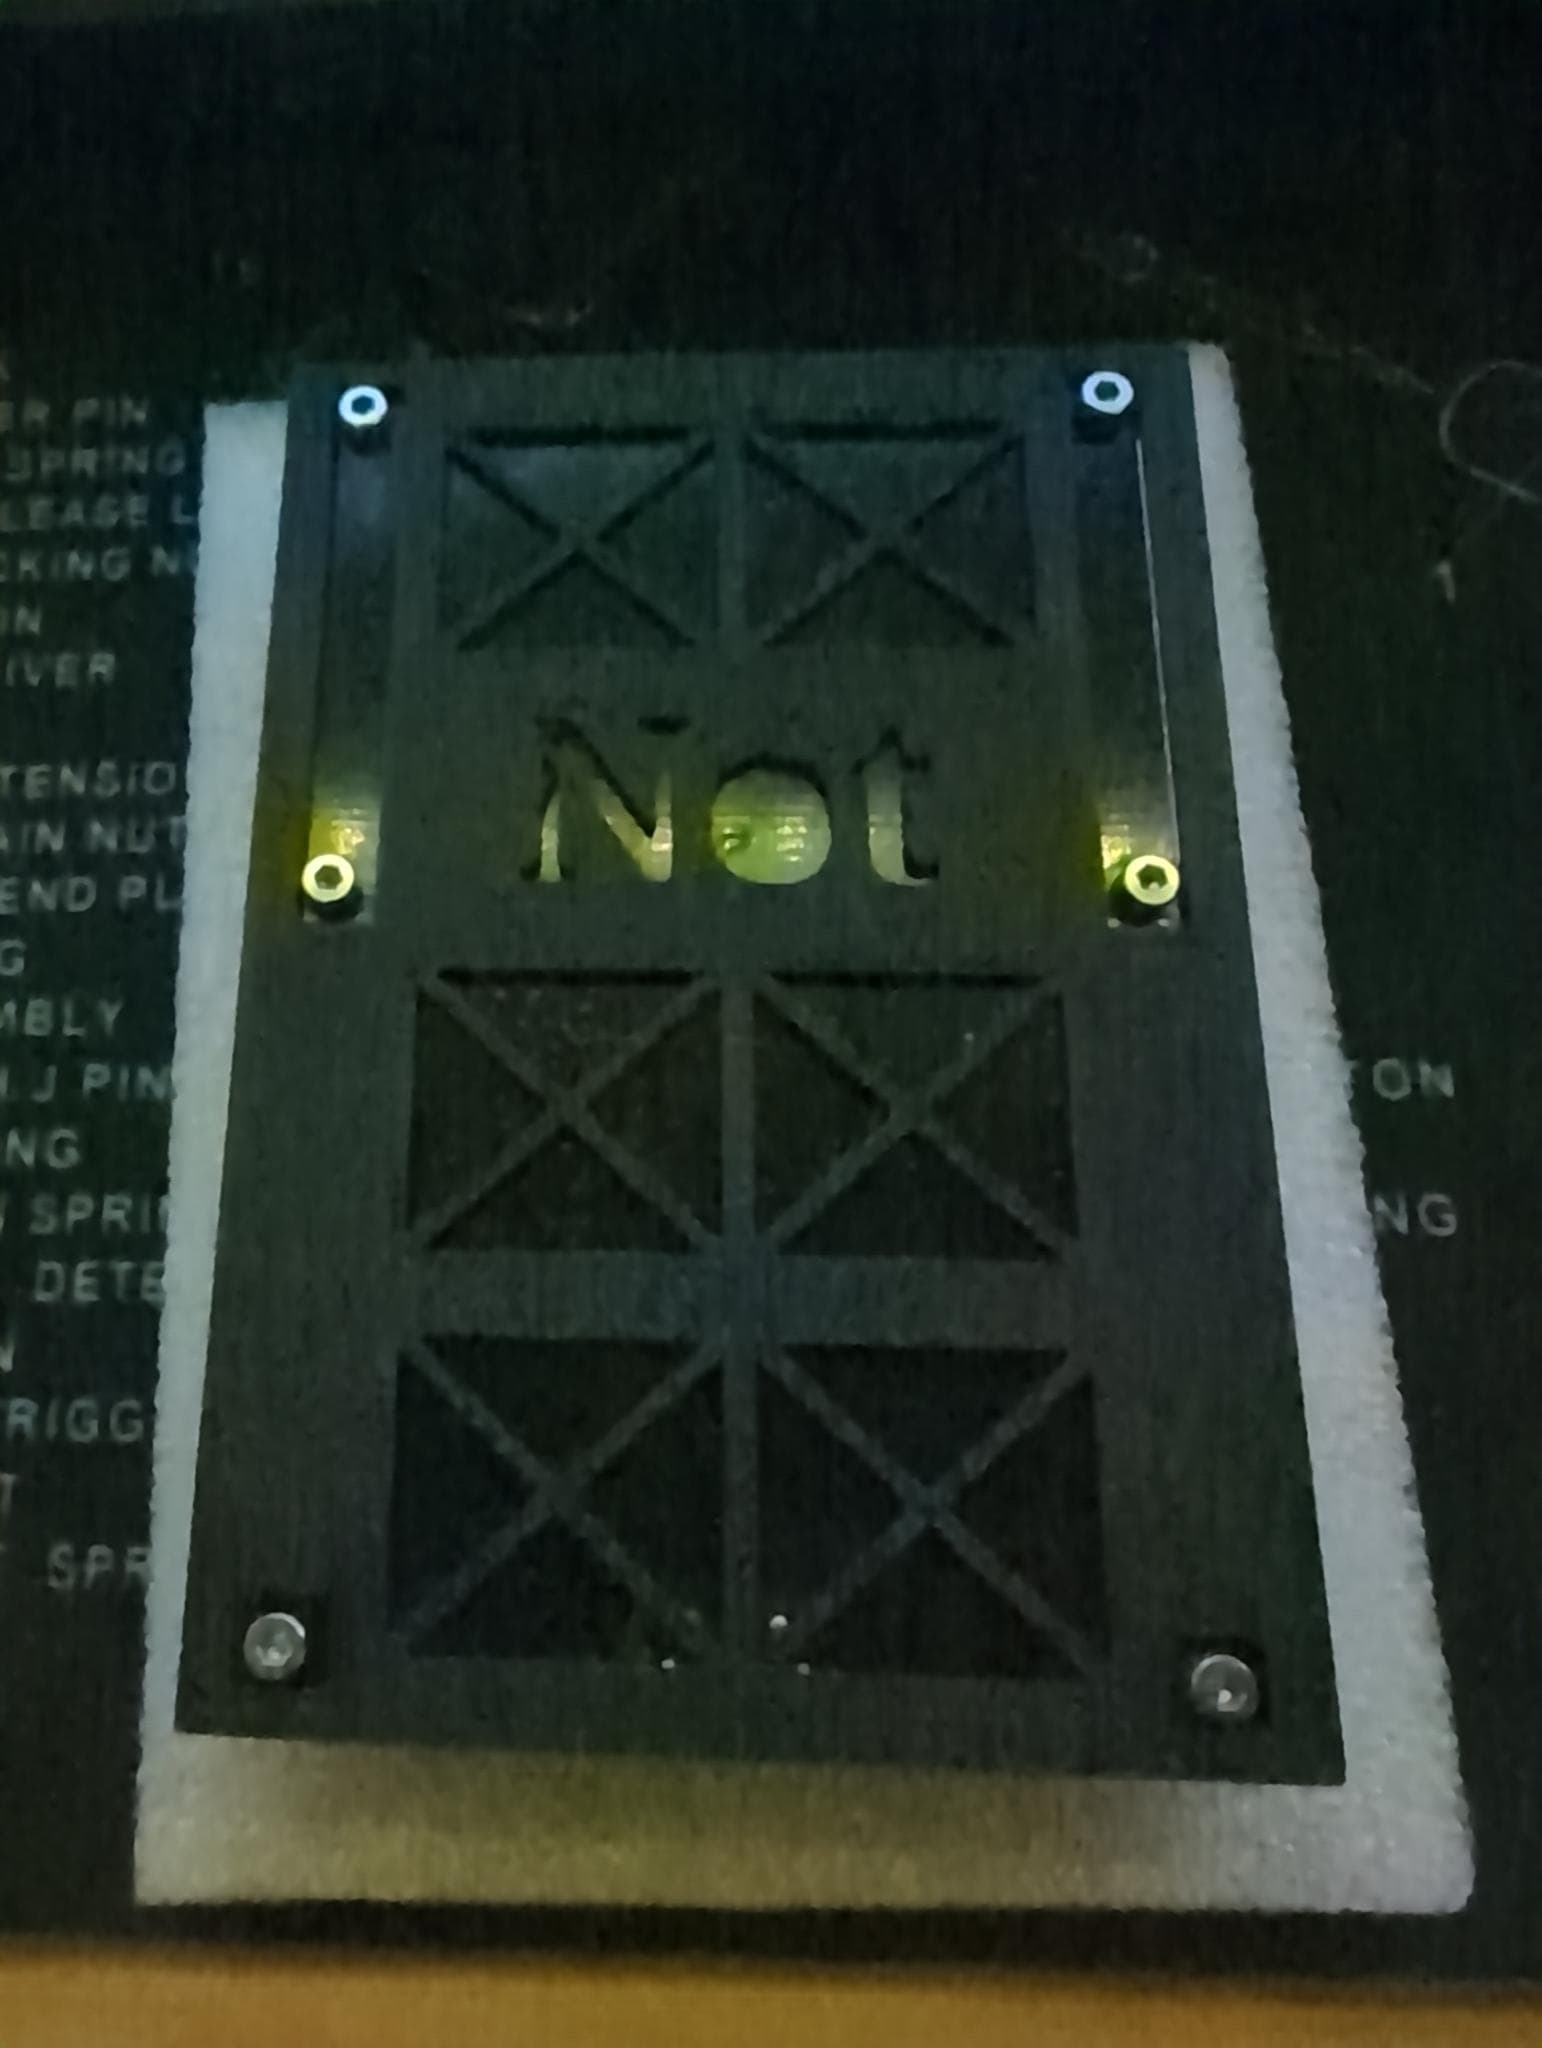
Here’s my take on a little bump-and-scratch case for a slim-modded PM3 Easy (This includes a standard midboard removal, or using either of Hammy’s field enhancers while removing the extra standoffs for the LF antenna):
CustomPm3SlimCaseV0.5.stl (136.5 KB)
There were considerations for device retention within the case. The two little tabs up top combined with the mostly-tight clearances should keep the device from falling out, but there are small areas, particularly on the bottom of the LF antenna and near my username, where small amounts of double-sided tape should be used. The aforementioned tabs can also be carefully hot-pressed onto the screws they hold for a more permanent installation.
Though it is not a very hot device, ventilation was taken into account, as well as access to both USB ports and the button. Holes also allow more visual access to the LEDs.
Removing the device easily was also a consideration, which is why there are so many large holes on the bottom of the case.
This should be a quick and cheap print, printing in just under an hour and using under 10g of filament for me. I would suggest PETG personally.
The stl is provided above if anyone wants it.
Oh yeah, and this is the first thing I’ve ever designed fully from scratch save for a tiny single use L bracket. I think it turned out okay with that in mind.
Looks great, nice work!!