X series injectable healing helper?

Ended up testing the 1.2 version of my own last night. Hamspiced’s recommendation was a large improvement.

Was able to wear it for an hour with only minimal discomfort. It was comfortable enough I was tempted to sleep with it on but decided against it. The mark left on my hand was significantly less pronounced than the first version, but still too deep considering it needs to accommodate swelling.

After the hour of wear, the crimp permanently deformed to take on a V orientation of the contact faces, with the contact height at the open end sitting about 3mm wider.

I had thought about adding this geometry on the initial design but didn’t think it was necessary, I guess this suggests otherwise. It will likely reduce pinching/digging at the open end.

1 Like

There is a design I saw on thingaverae that basically uses the principal of parallel pliers that I think would apply here. The issue is that your particular clamp design will only be effective in a certain area of the clamps jaws. A parallel design ensures that pressure is continuous around the entire length of the jaw.

That way pressure can be focused at the highest point which will be the injectable migration mitigation device

2 Likes


ImplantCrimp-1.4.STL (386.9 KB)

Went through a couple iterations today, currently at this point.

Feels nice on the hand, just a gentle squeeze, and the force feels much more uniform though still not perfect.

Took one out of Signal’s book with the tabs on the rear to hold it open when putting it on as I didn’t end up needing the second spring, just the central U piece seems to provide more than enough compression.

Still looking more into the mechanism behind the parallel pliers idea to see if its something that can be realistically replicated here. I’ve got an idea that I think could work.

2 Likes

Playing around with a design that will keep the contact faces parallel so compression is even.

Going to try the version with the rotating contact faces, I think I can produce a print with tight enough tolerance to pull it off, but might have to go with something else.

Edit: I thought of a simpler design.

6 Likes

Mine is very close to the bone, on the edge of the flesh tent, so it doesn’t move very much. It lifts and can be pushed back down with the flesh around it by about 2-3 mm, then returns to its original position.

2 Likes


ImplantCrimp1.6(BODY).STL (74.3 KB)
ImplantCrimp1.6(FACE).STL (11.8 KB)

Finally got around to mocking up the last sketch. Will throw on the printer in a few and report back tomorrow.

Edit: Didn’t see the time, tomorrow is already today, lol.

2 Likes

Got a little wreckless taking it off the plate, but the the motion seems good and the tolerances were dead on. Sadly can’t test the fit on my hand yet.


I’m actually quite please with how this turned out. Very comfortable, and the faces successfully angle to prevent digging or pinching.

The opening tabs were too narrow and sharp on the fingers when using, and the joints needed to be more robust, I went ahead and made those adjustments for the 1.7, which I will leave below.

But most importantly, how do we feel about this silly name that came to me in the in the dead of night;

I’m going to print up the 1.7 and wear it over night, will report back.

MANTA-STAY1.7(BODY).STL (227.8 KB)
MANTA-STAY1.7(FACE).STL (28.9 KB)

5 Likes

Approved!

But also on the design, I don’t think the manta’s wings are mechanically necessary.
I think the arms could be straighter (maybe a bit thicker for rigidity) from the webbing receptacle to the legoman hands. It might make it more practical to wear, although you would loose at least 2675 style points.

3 Likes

I agree, I think an L shape with a slight bend would probably do the same thing.

The big arms arose as a vestigial trait from earlier designs and you caught me red handed keeping them just because I liked the look lmao.

1 Like

This is your thing, not mine.
I like the name, But this is what I “Saw” with your design

Also, these

3 Likes

I love it! :rofl:

I was afraid I would end up with workshop clamp, but I guess thats kind of the tool I ended wanting; a really shitty (for a workshop) clamp, lol!

The ugly factor I was trying to ignore was that it looks like the arms of some shitty tech ninja crossbow you’d buy at the mall. I guess the tech ninja magic worked on me because I still kind of like them lol.

2 Likes

Me too, Your design is a lot nicer :+1:

To me, my first thought was Mr. Crabs , and they operate similar to a workshop clamp, but again, Yours are waaaay better

2 Likes

I agree and I’ll probably use these for some other projects. However I think these are a bit obtrusive. The design is solid and it’s function seems to be on point. My concern is the practically of being able to wear this and work without it impeding every day life.

My test would be if you could sleep with it. The body does most of it’s repairing during sleep. So if it can be worn and not jostled or affected during sleep then I think you’ve got it.

2 Likes

I’ve been watching this thread from the start, and didn’t want to derail from the track it was on, and I still don’t.
I think this project is now mature enough for me to add some products / design / ideas / alternatives input for consideration

A while ago, (in another thread) I suggested something like these

There are also these ( I know chip clips were mentioned above )

The only reason I am suggesting they may still be an option, albeit not as good as your design, and would need a mod, But mentioned for arthritis, here’s a quote

" These chip clips come recommended by one of my clients who says they are the perfect amount of pressure."

Here’s a link for anyone maybe wanting to test and possibly modify

A consideration for this would be, maybe down this line
image

or this
image

Anyway, enough out of me,

Your designs are awesome, hopefully there is something of substance in this post that can help it along further

6 Likes

Had time to actually print my designs and test on my own implants.

Increased thickness to 2mm and scaled the size up a bit. I just tested on Xbt/Xsiid/Xg3/Xmagic and through the skin if applied snugly the implant rises within the channel as expected and keeps it nice and square. minimal tape is needed to secure it but it seems to work great with either medical tape or a secure presured clamp depending on force.

Screenshot 2023-10-03 at 3.13.57 AM
2mm Implant Helper Slim larger.stl (53.9 KB)

5 Likes

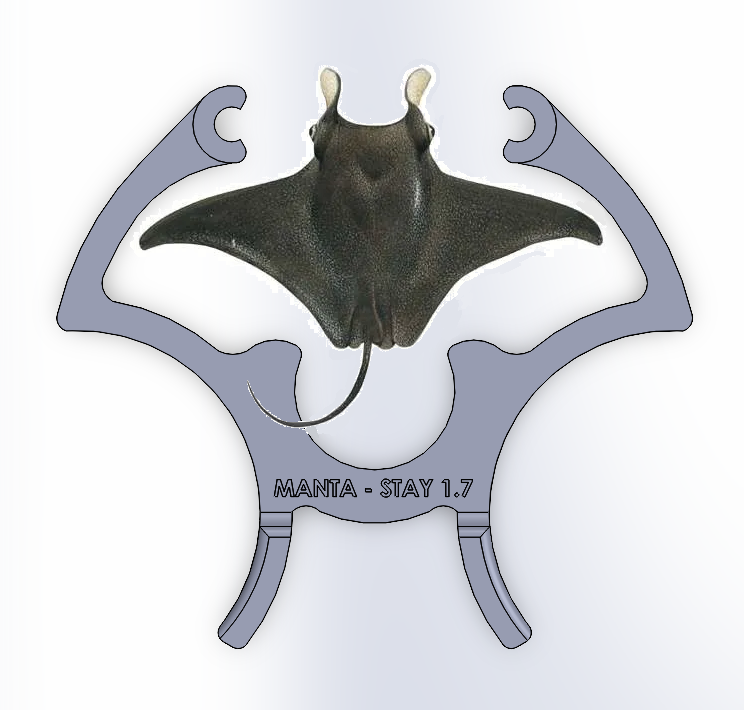
Hello all, I’ve been mulling over designs for a few days now trying to come up with something that could take what I learned from the first design but mitigate community concerns regarding size and general nuisance factor.

MANTA-STAY Pros:

  • Very even distribution of pressure
  • Easy to apply
  • Mild compressive force
  • Wide, rounded contact faces

MANTA-STAY Cons:

  • Size
  • Multiple Components = Assembly and Tolerances

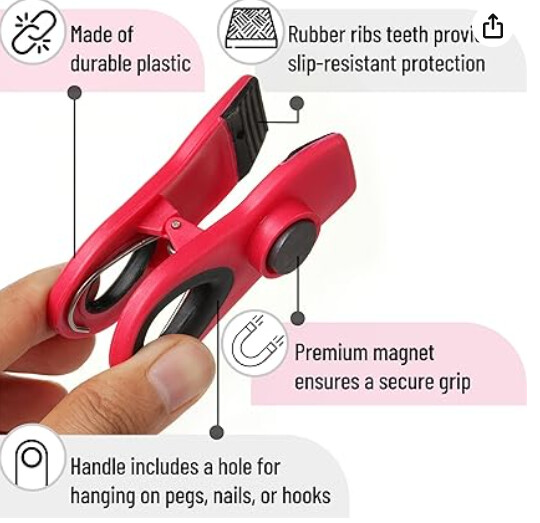
Ultimately I wanted to move the design back into a the footprint of something like the Aculief crimp or chip clips from Pilgrimsmaster’s post without losing the pivoting faces.

My fiddling lead me to the idea of 3D printed springs, which I had considered before but disregarded because I believed resin to be too brittle to achieve any functional spring design within a reasonable size constraint. I decided to give it an honest attempt though, as the utilization of compliant mechanisms promised a single part at worst, and a smaller part at best.

My first attempt was done using a cross axis pivot similar to the top figure in this image;

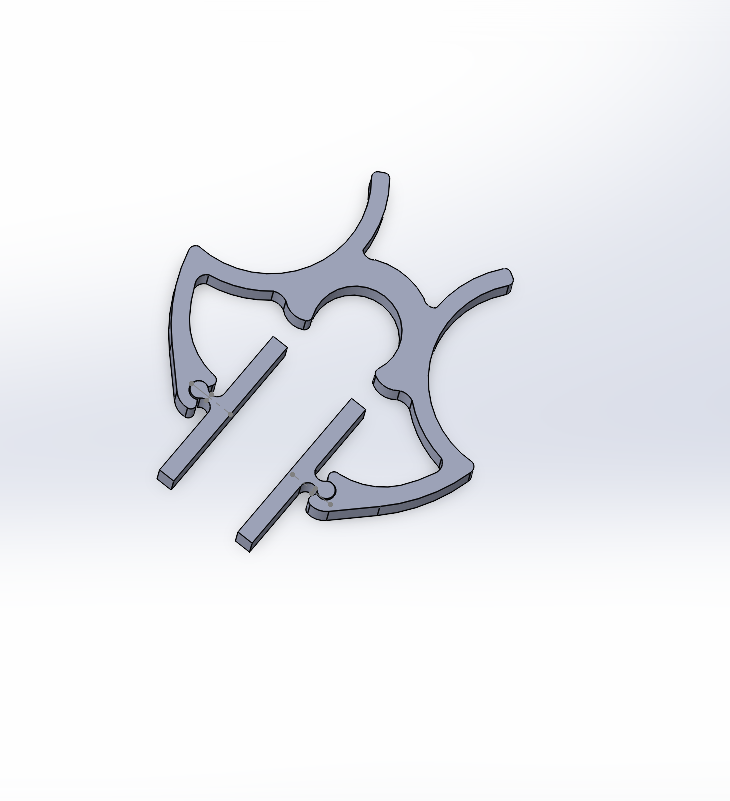
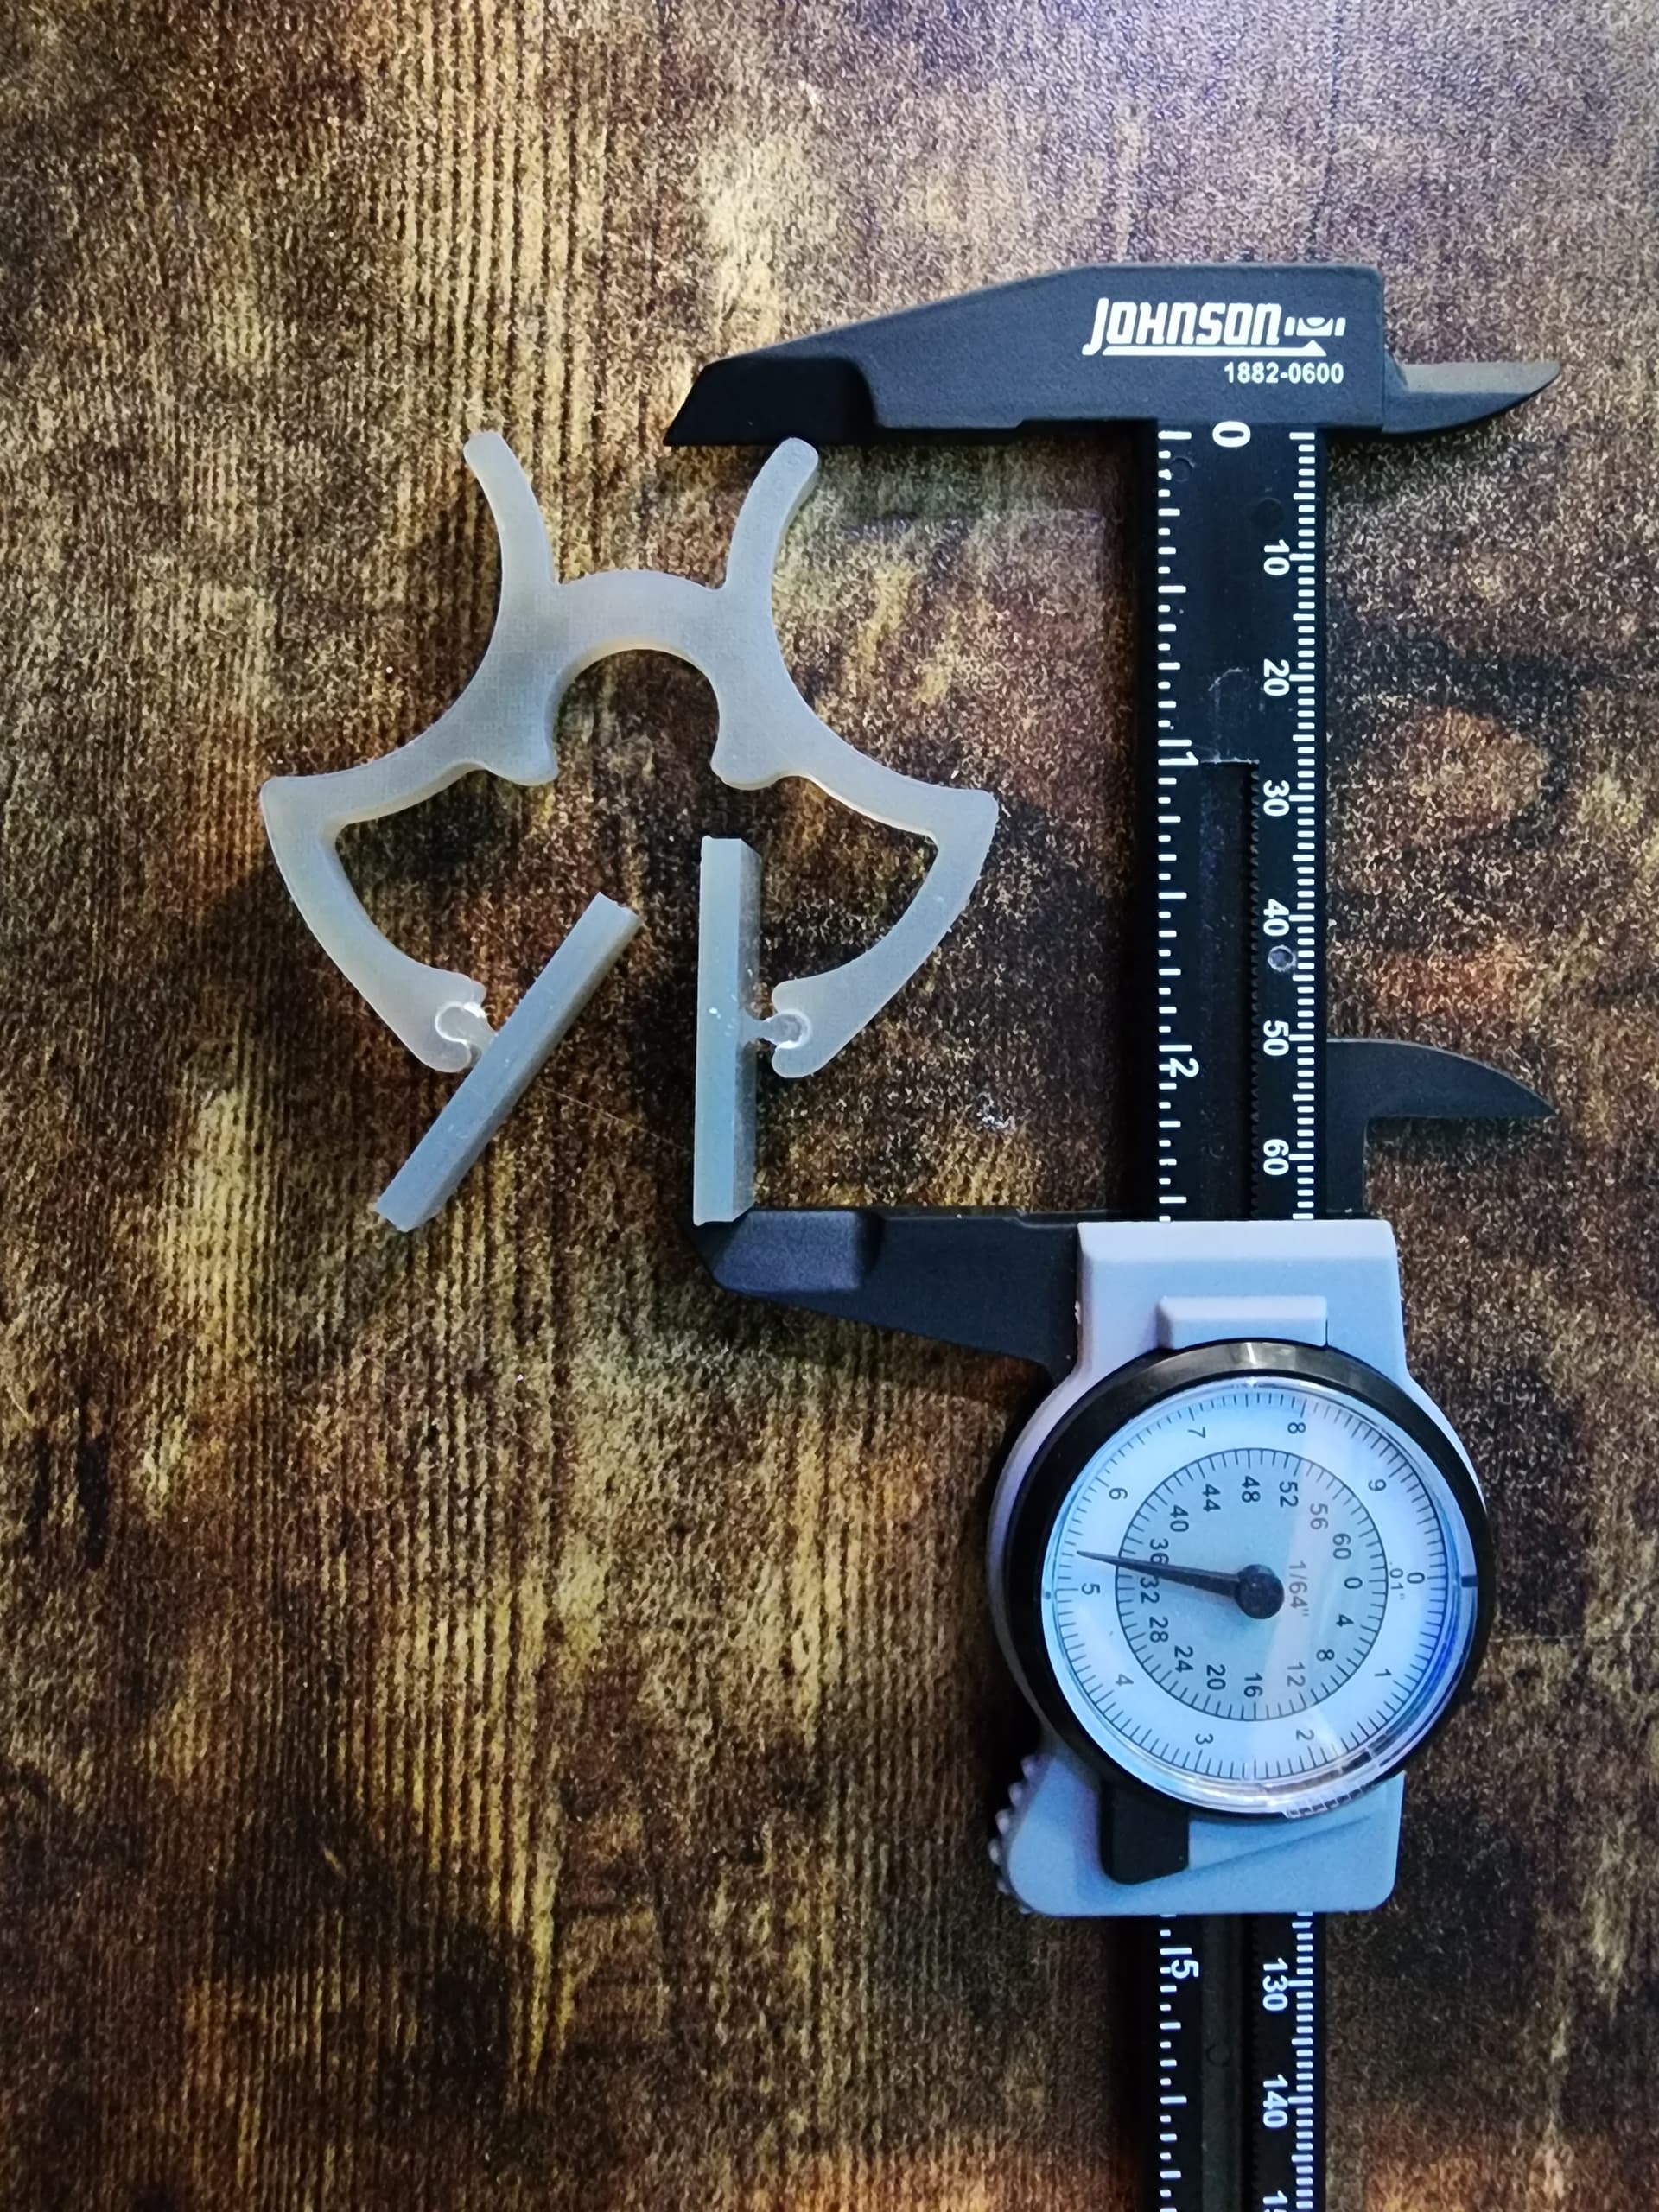
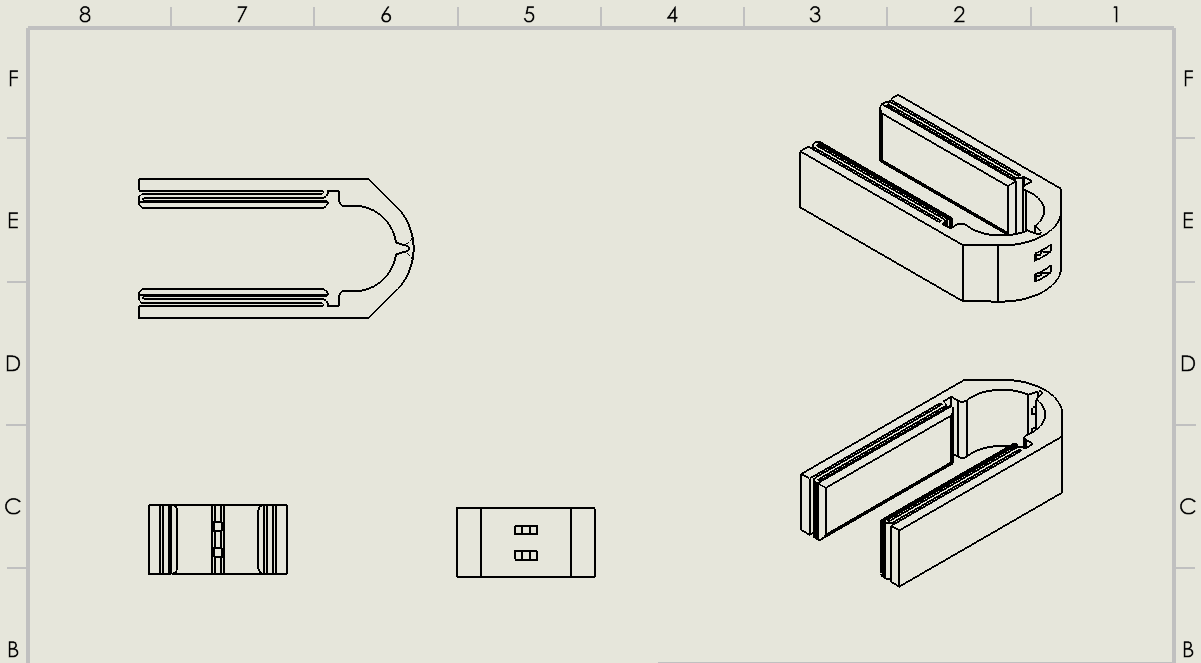
Resin did prove to be too brittle for this application, and I instead came up with two designs using variations on living hinges instead. The resin is too brittle for these to function as actual hinges, but just flexible enough to provide some spring.

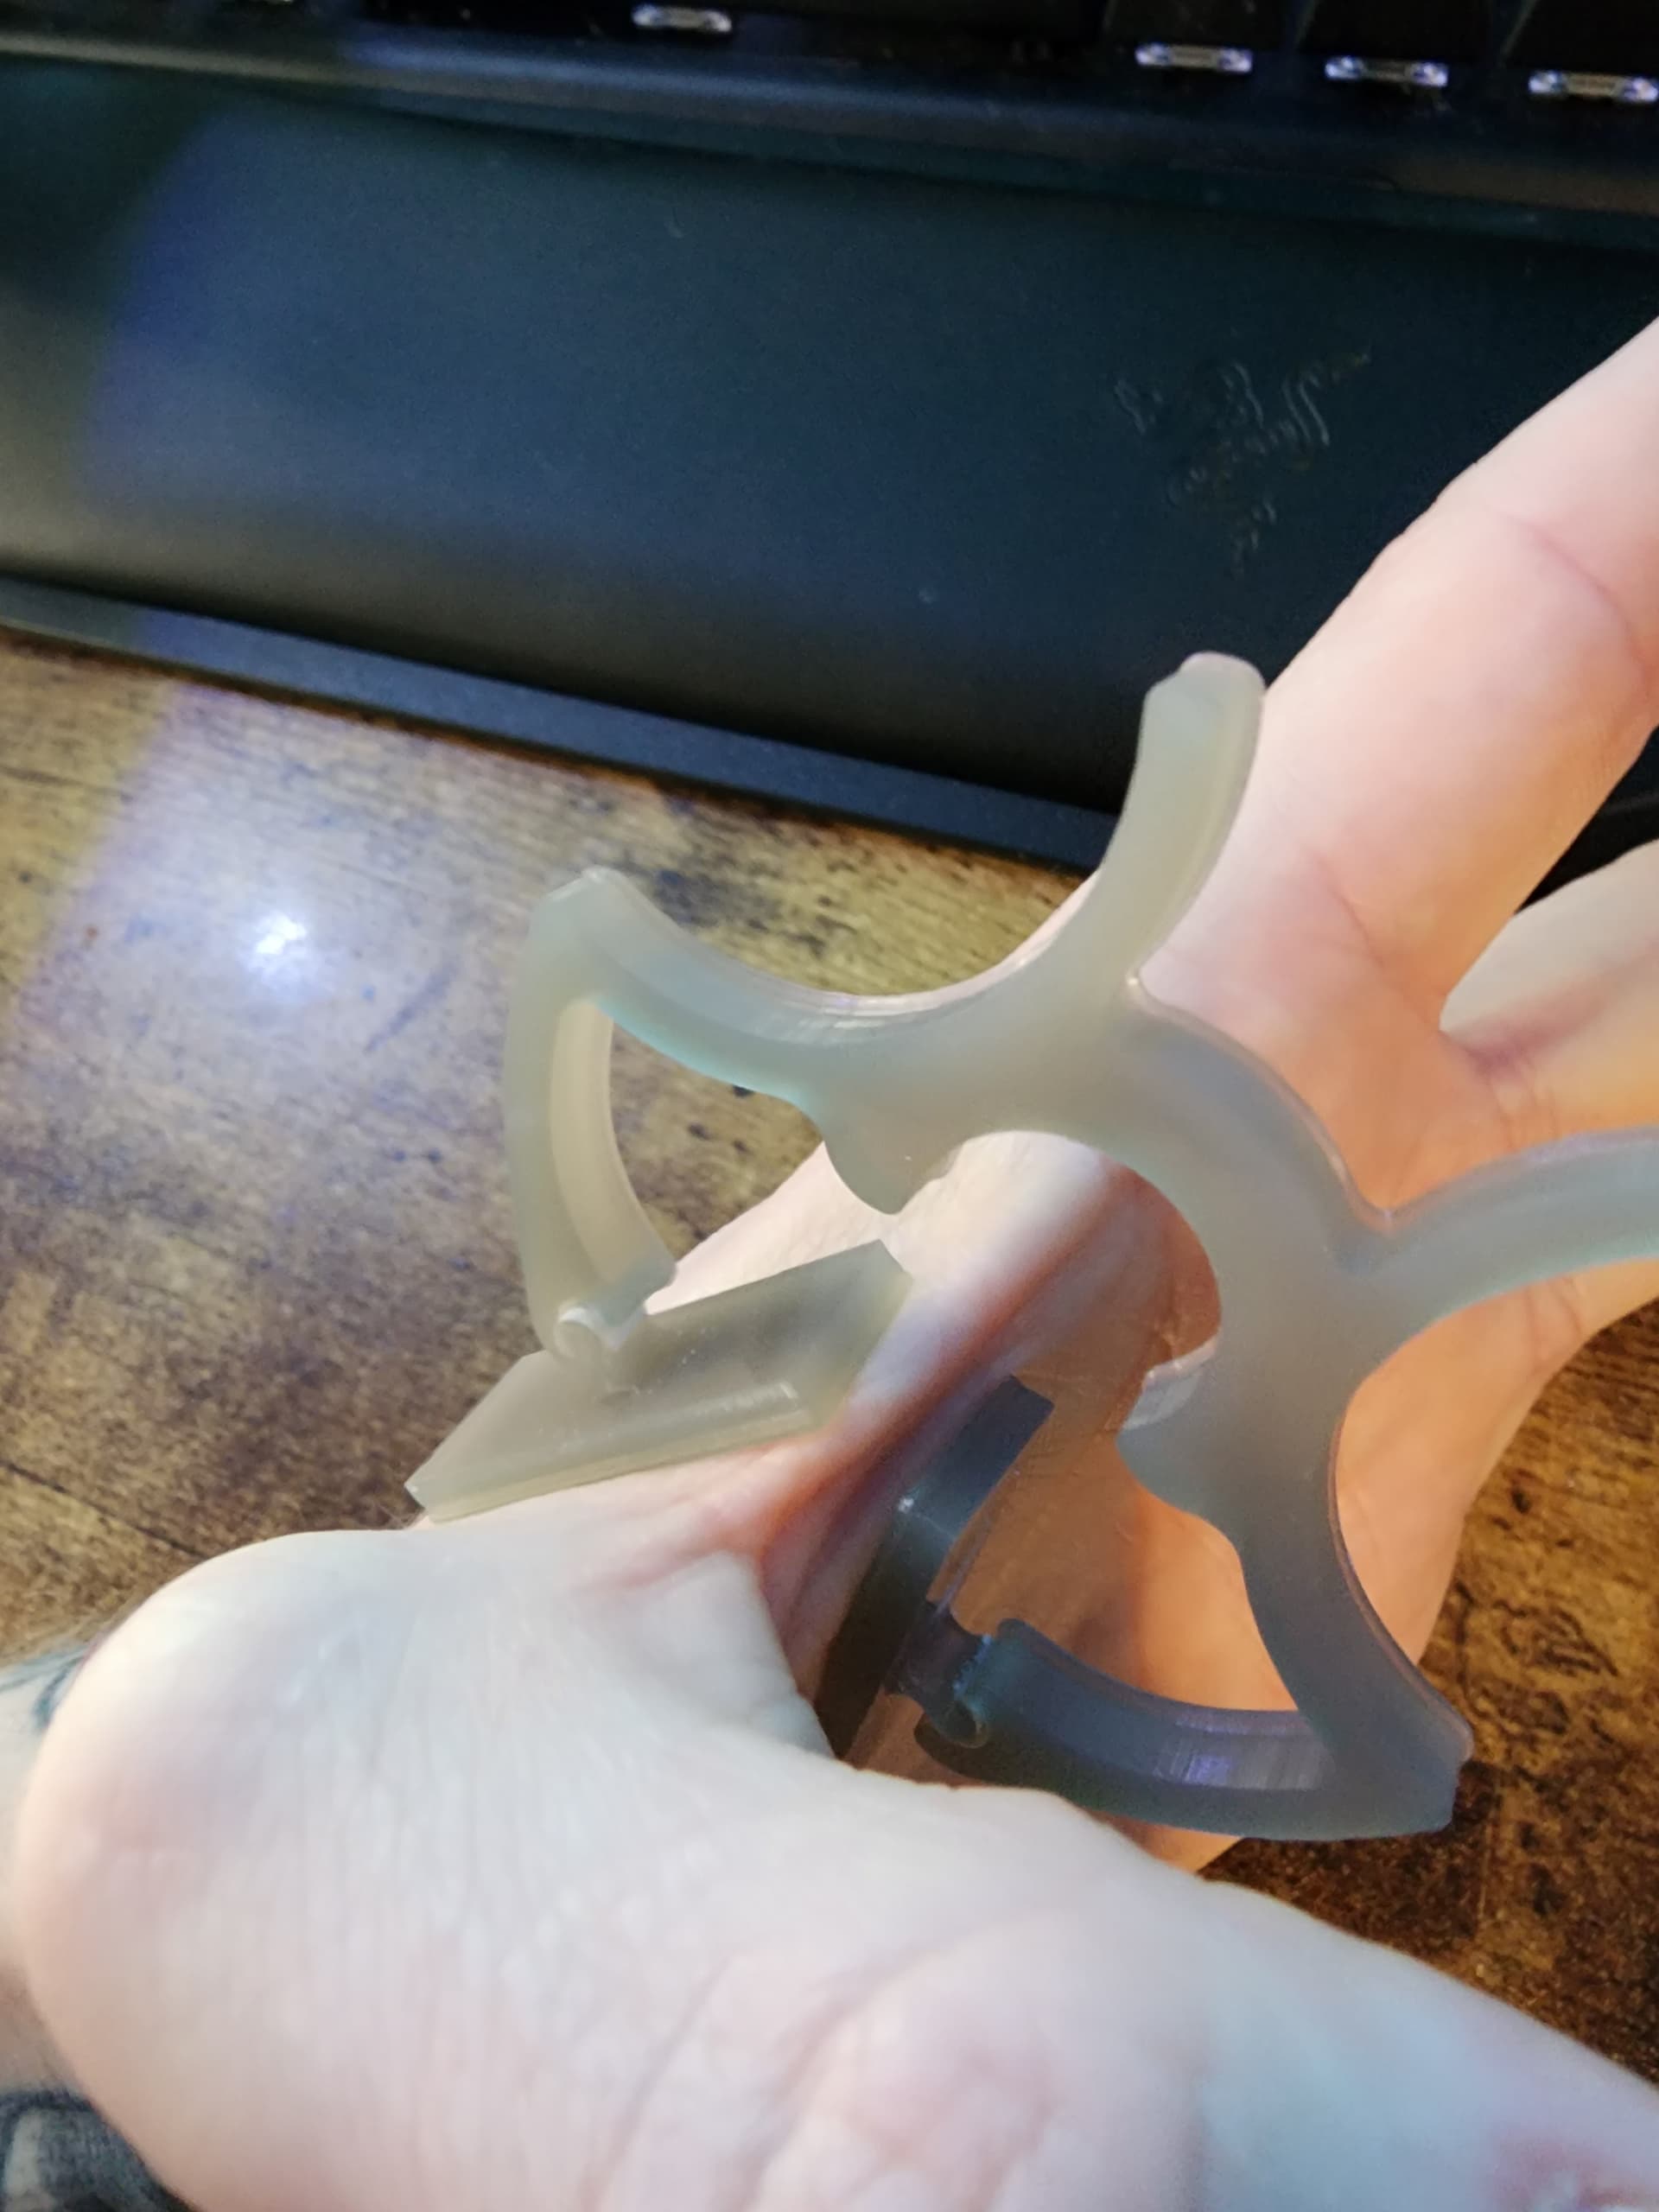
The video at the bottom of this post shows the first print of these two designs. Both seemed to function as intended, though still had obvious shortfalls, especially when placed on the hand.

The first design, using the horizontal, snaking hinge did not have sufficient depth, though it did maintain a nice spring. This is even with me overlooking an error in print orientation where the burn in layers caused the spring to fuse on one side.

The second design with the three slanted springs gave really nice motion, but was ultimately still too stiff, and I think can be shortened further.

I plan to continue with both of these designs until one proves superior (or I think of something better), likely whichever achieves functionality with the smallest footprint. You may also have noticed I did away with the opening tabs. This was a space reducing measure, the tabs proved themselves unnecessary as I fiddled with the crimps. There is an easy way to apply them without the tabs.

1 Like

What about design one. But add small hooks, or even a t cut out in the design. Then use a small rubber band to be the compressive force. Then the device can be hinged even compression then can be variable

1 Like

This is a good idea. I played with the concept of a design that hinged fully opened and locked shut with a tab, but this would require more parts. A rubber band is a great alternative.

1 Like

Just wanted to chime in and say thanks, after giving this a go on my xG3 in my knife edge that’s struggling to settle.

It seems to work really quite well, I tried it in PLA, but I think I had too much pressure on it. I’m trying printing it now in TPU to see if that’s a bit more gentle.

Only took about 2 mins to print too.

Edit to add: TPU one is definitely more comfortable, we’ll see if it works well.

3 Likes