Posting a follow-up here about the Glowforge.
I mentioned before that the Glowforge support people were excellent, even if you aren’t paying for the pro version of the design tool. They sorted me out on the camera calibration issue. The calibration process completed successfully in my earlier attempt however the correct procedure afterward is to lay down your design and then run through a “set focus” process before each print. This will get the real world height of your material and put the finishing touches on your work bed camera image.
Ultimately though, problems still persist.. just different ones. Regardless, here is my second attempt at etching around a fiducial from the calibration process.
The design is laid down over the marking..
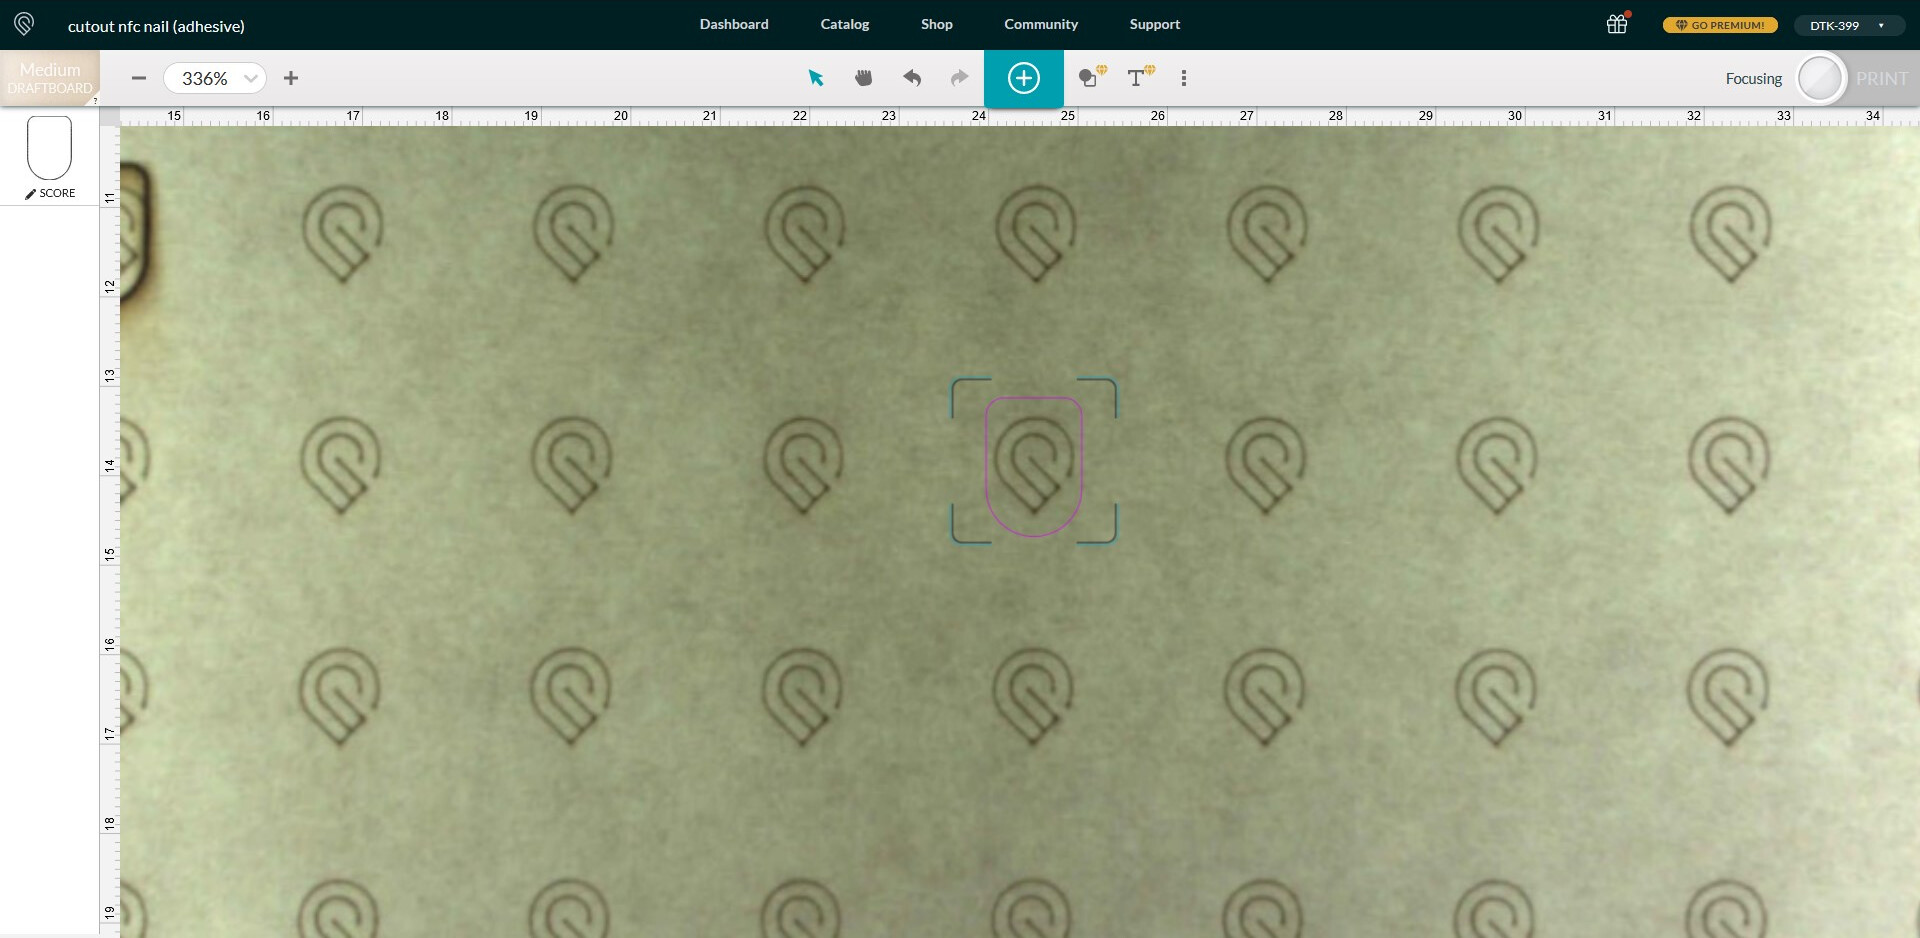
The “Set Focus” process is used and the print head (which does indeed have a high def camera inside it) is positioned over the focal point and takes some measurements. The camera image shifts ever so slightly a pixel or two so I carefully reposition it, then hit the print button..
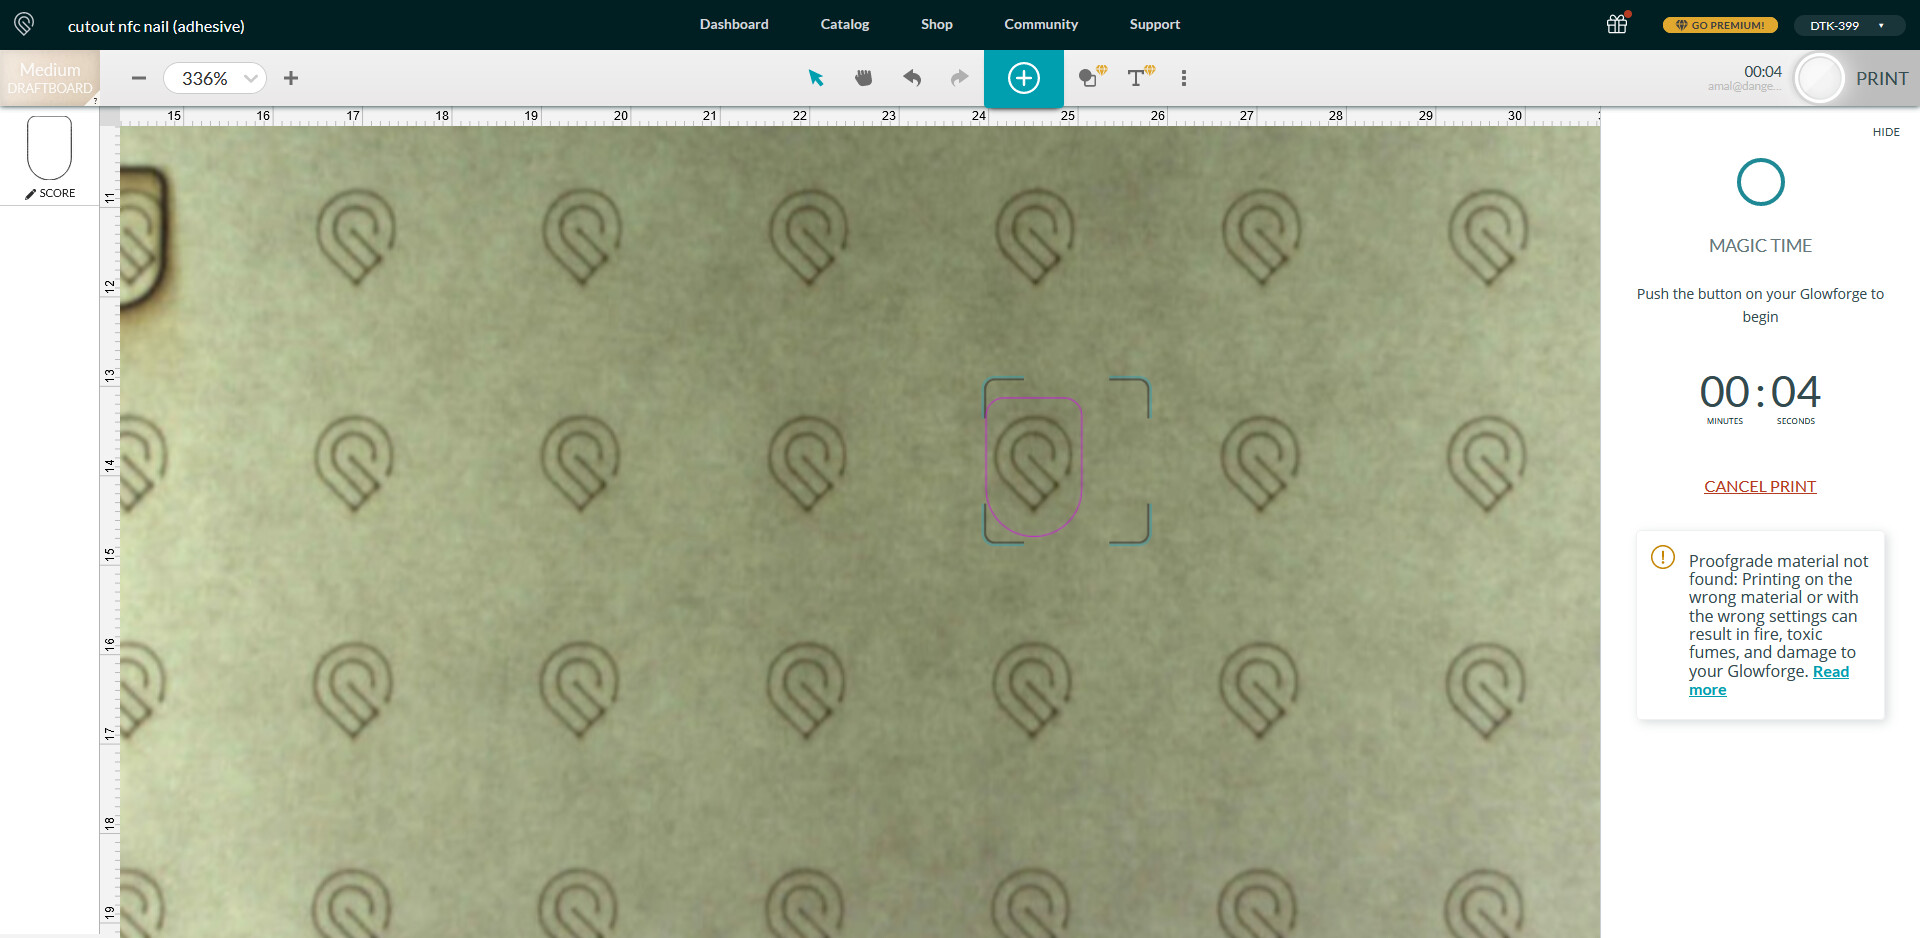
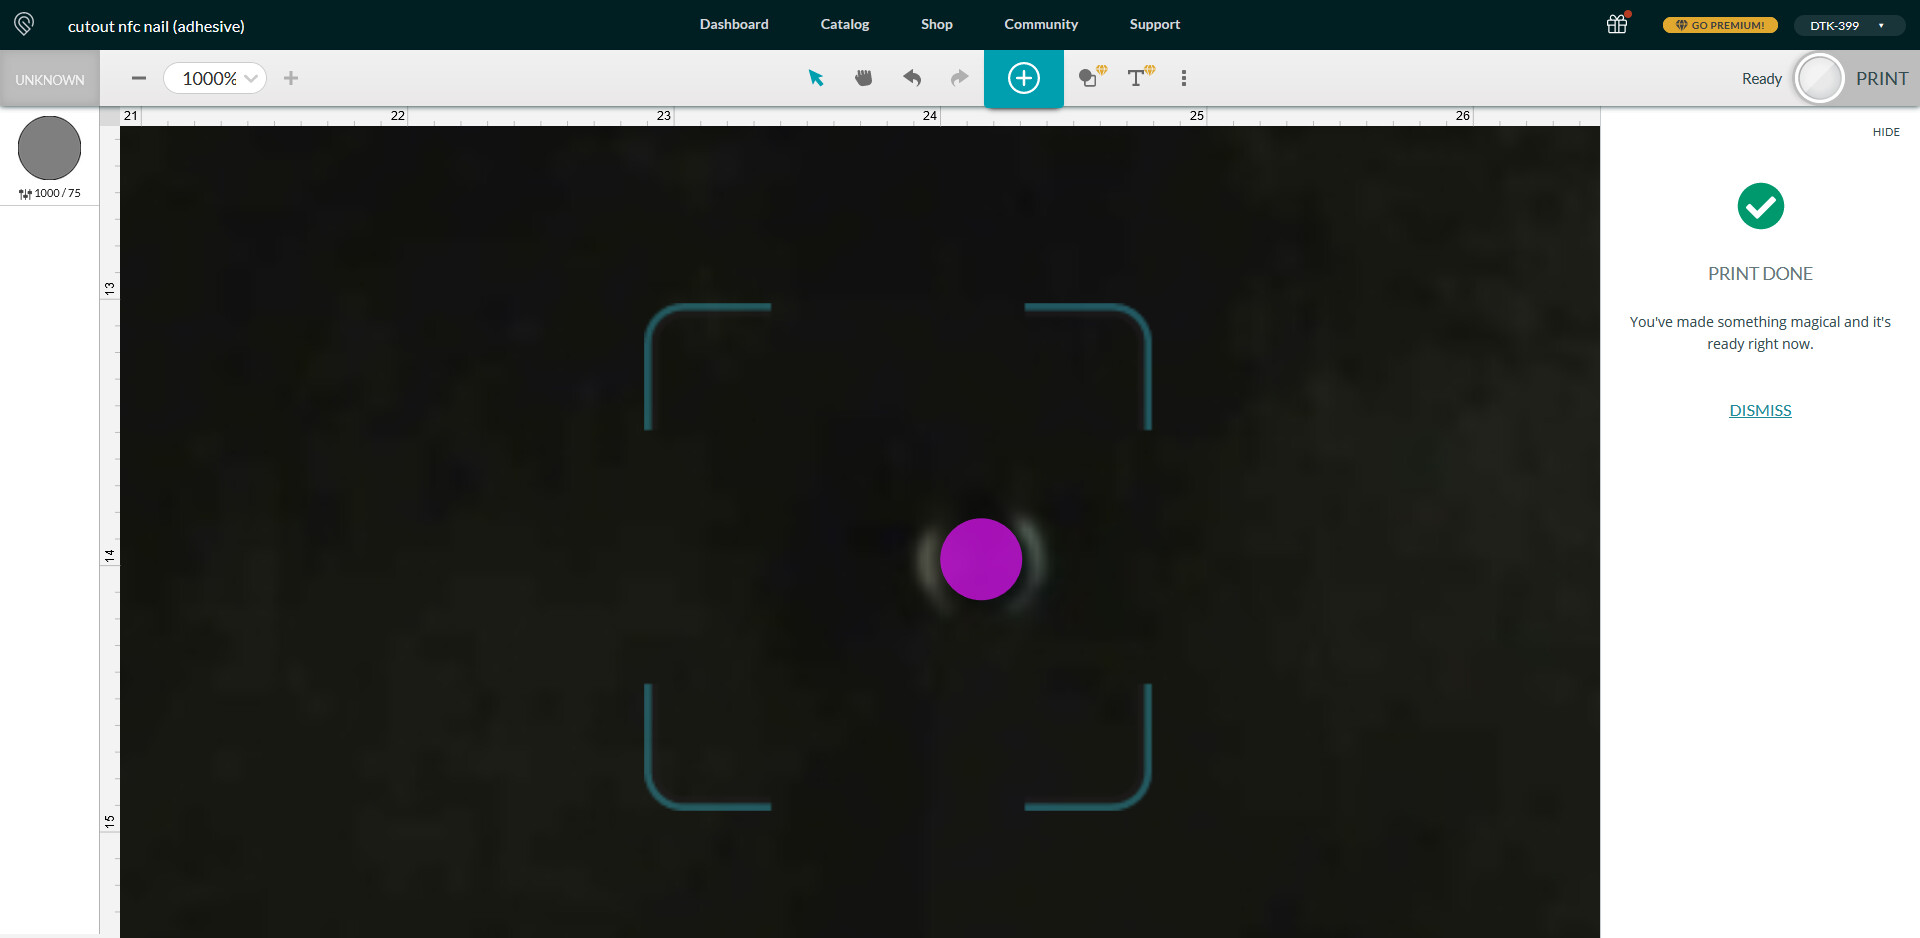
The print job fires.. though I’m not sure why it’s faster and a lighter score than my previous attempt.. the material selection and settings are identical.. but whatever.. we’re not here for that right now..
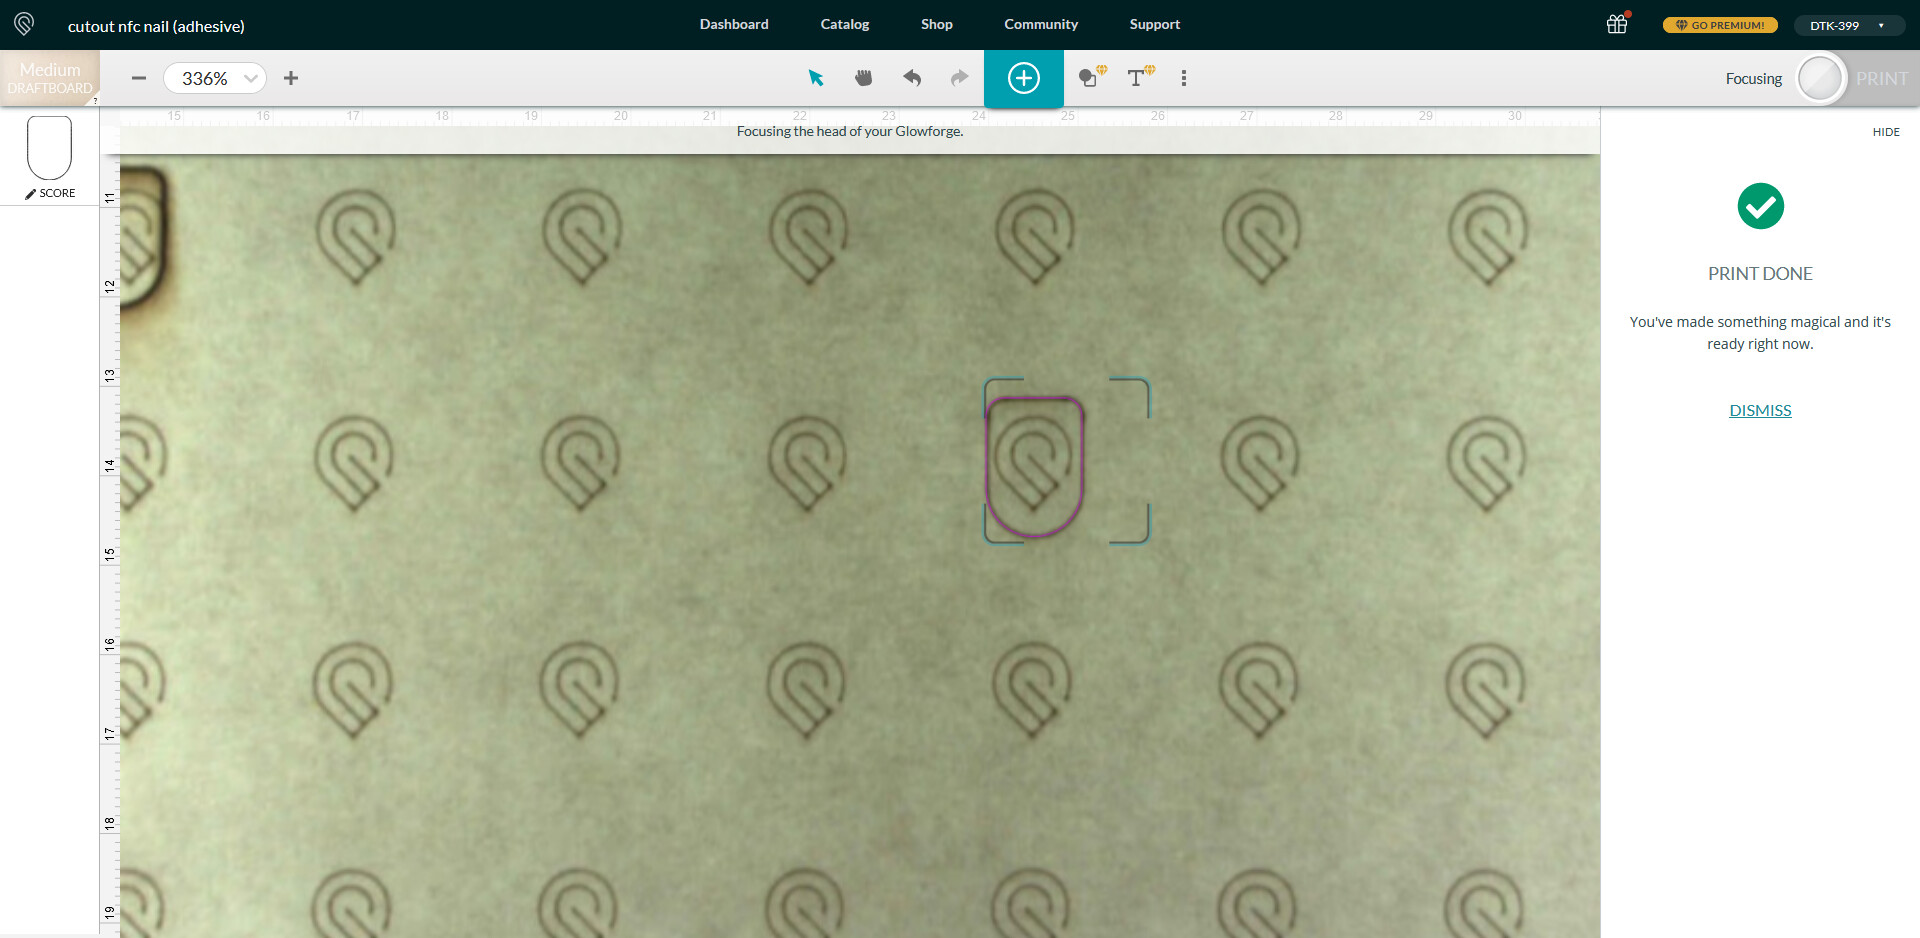
As you can see the alignment and the actual print is much much better..
Marking a Titan
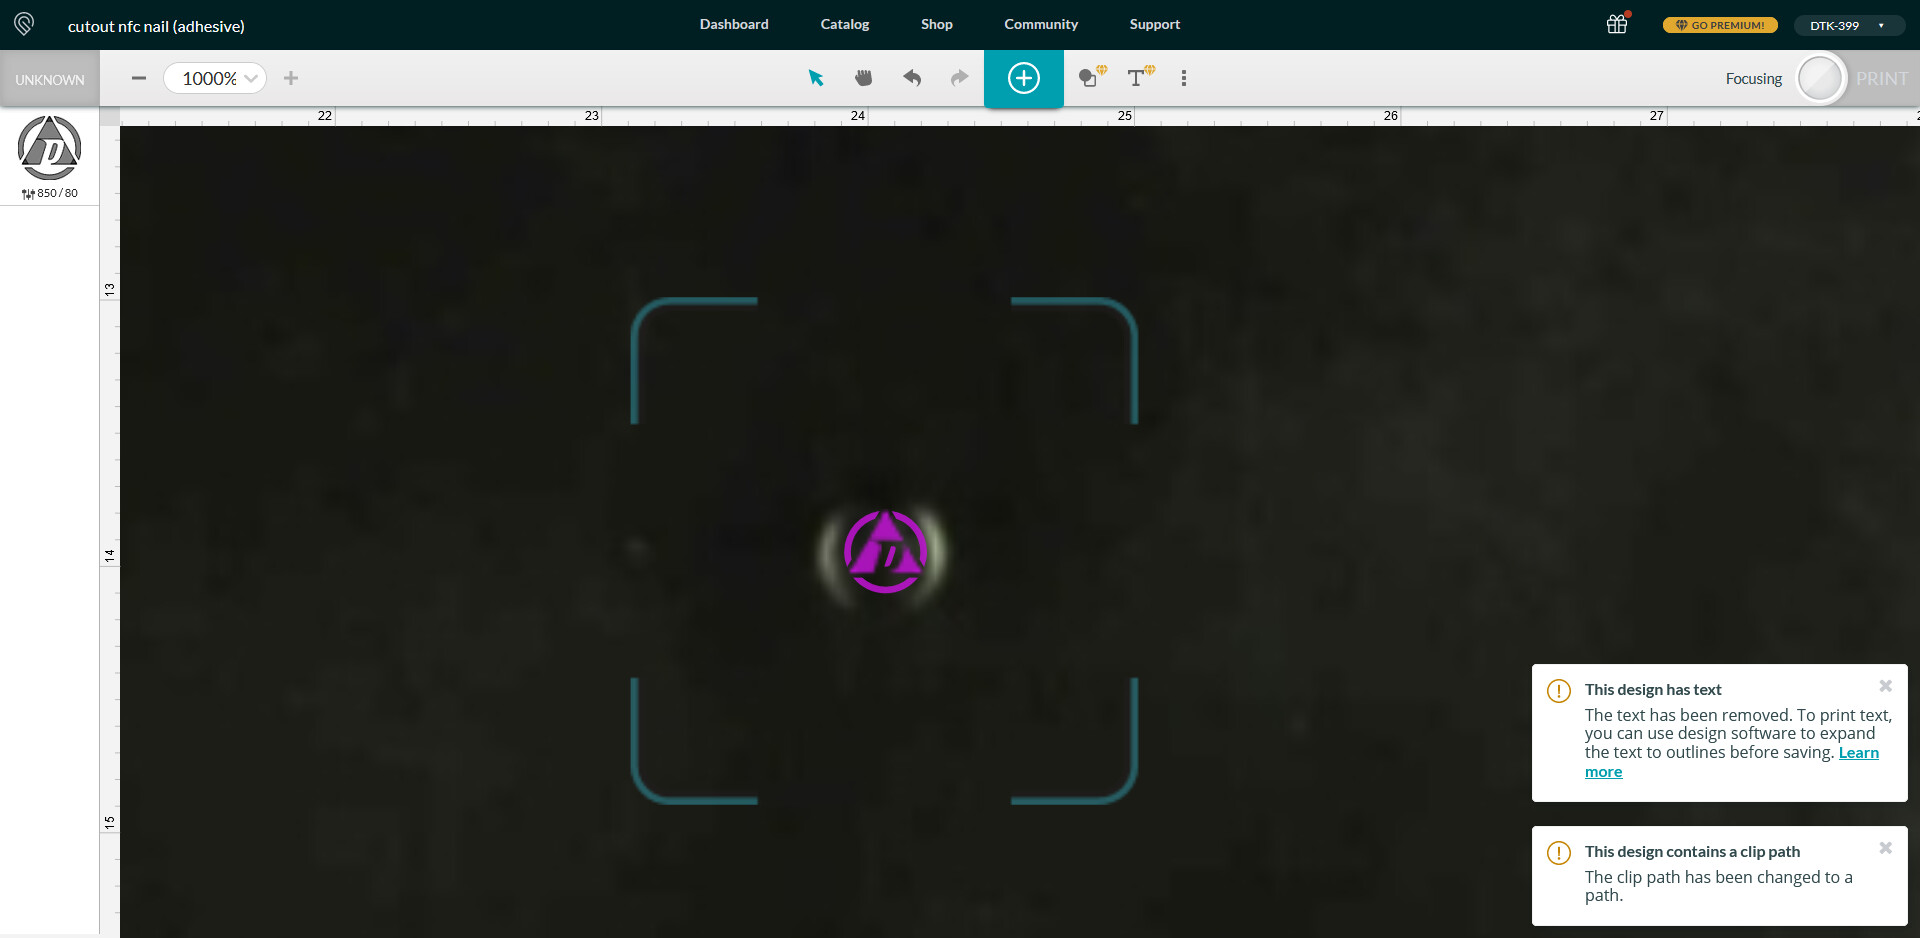
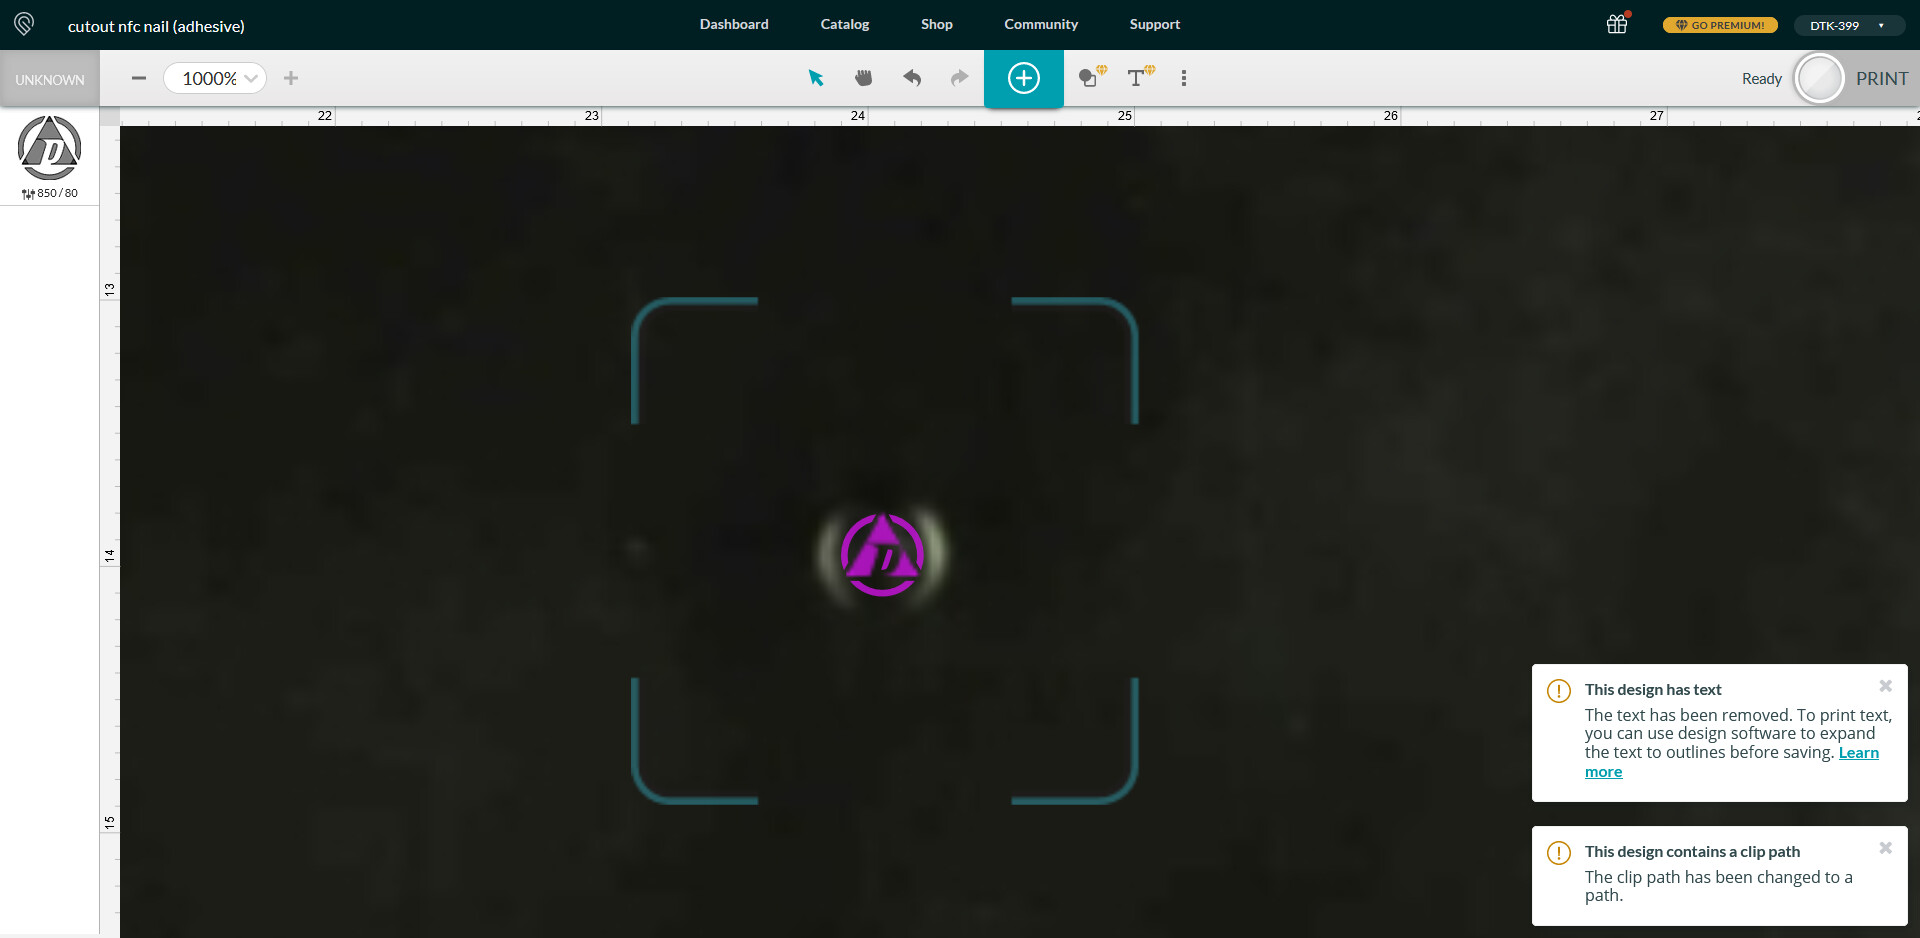
But now the real challenge.. can we target a 4.5mm diameter Titan and keep the accuracy? At first I tried the DT logo.. but you can see there are issues with the lines and the SVG that I used apparently had some raster data in it because after shrinking it down it looks like dogshit.. but still I pressed on. Here we see the set focus process starting..
Now we can see the image has slightly shifted.. but it’s still well within the bounds of the Titan so it’s perfection is not enough to worry about for this test..
I won’t bother with detailing the results of this test.. but it’s slightly off the edge of the Titan.. so I follow it up immediately with a simple circle mark..
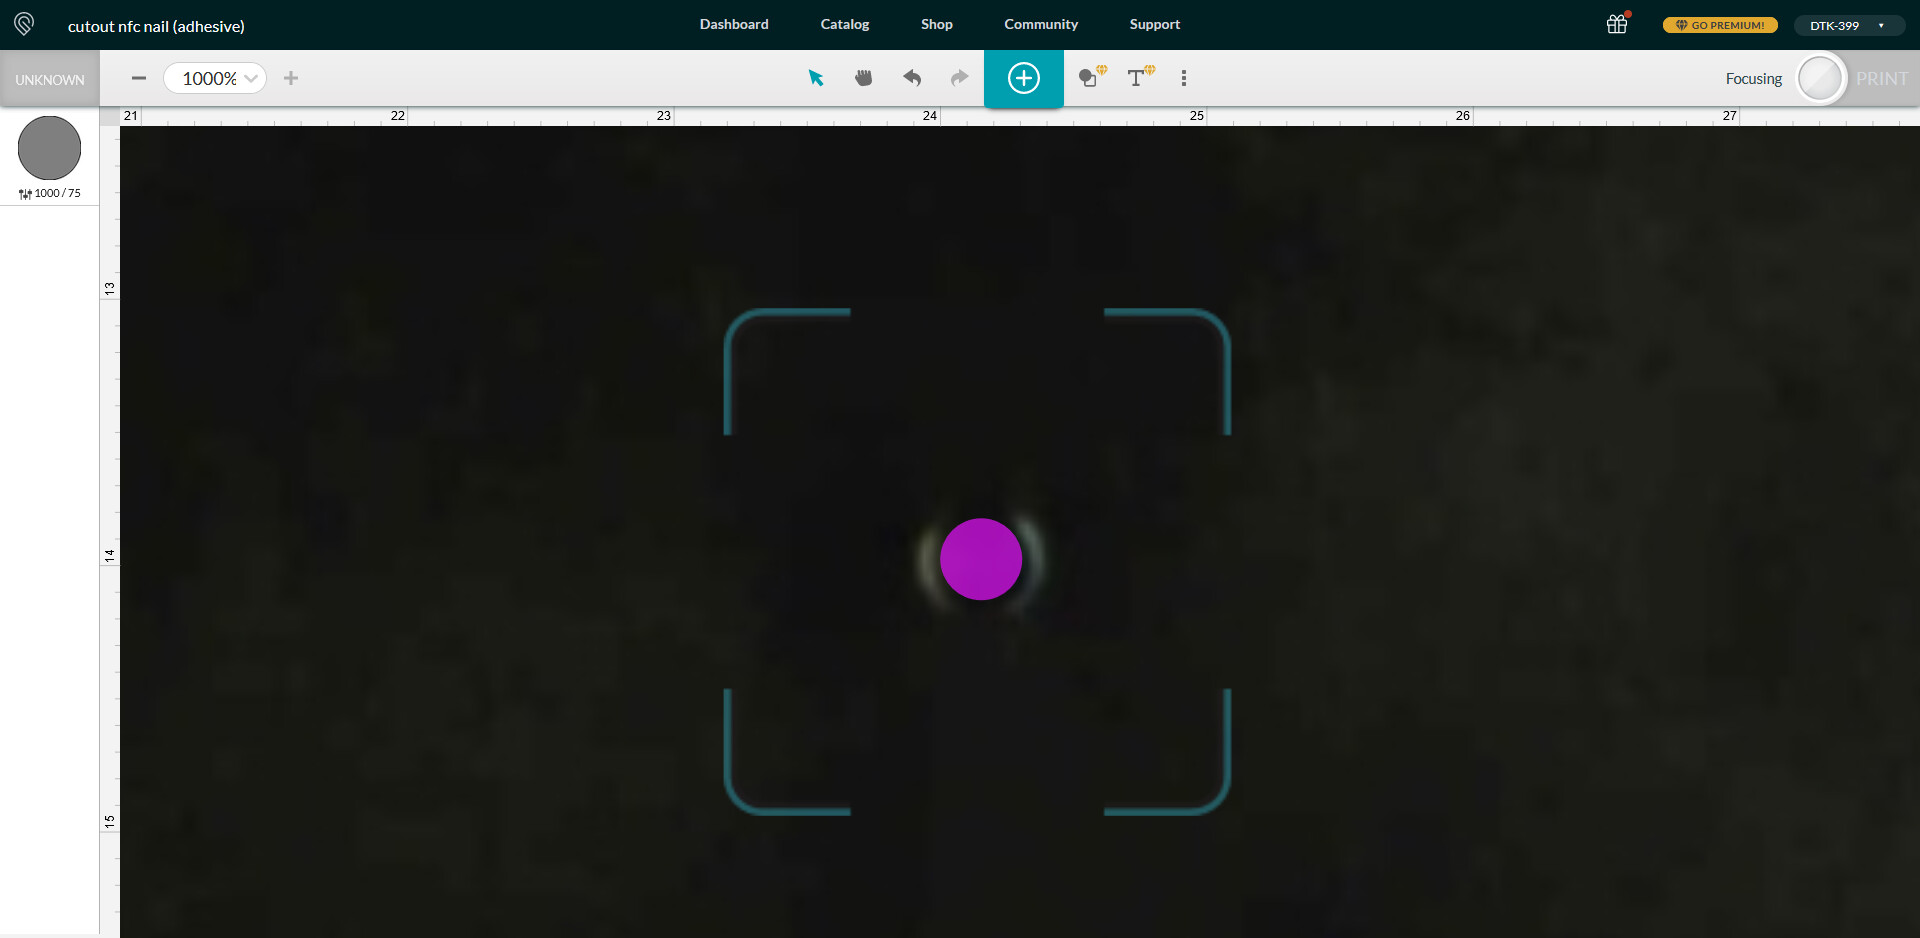
The print is ready and the mark does not appear to have moved at all.. so here we go..

Sidetrack…
Just as a side note, the design tool has 3 “types” of actions you can do with the laser.. Engrave, Cut, or Score..
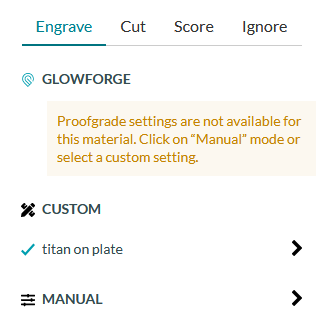
The type of thing you’re doing seems to have a multiplier affect on the speed and and power settings for the laser. For example, if you’re in the Cut menu, a “speed” setting of 800 does not appear to be the same physical speed as a speed setting of 800 in the Engrave menu.. even though they both say 800. Nowhere is there any mention of “mm per second”, for example.. not in the tool and not in the documentation. I think this is meant to be a helpful kind of “dummy gauge” and the tool is trying to do more for you (probably more than it should IMO).
More importantly, the 3 different options offer different features.. for example, I uploaded a solid circle SVG and under the engrave menu I can see “lines per cm” to basically select a resolution setting, and when you blast your target you get the solid circle (more or less.. more about that later).. but if you are on the cut or score menu, that same solid circle just does the perimeter of the circle.. it “helps” you by just scoring or cutting the circle out, not considering the entire filled in circle to be a laser target.. only the perimeter. Presumably this would be helpful for the target market of maker moms and trinket businesses who need to be able to slap a photo or picture of something down quickly and just hit PRINT and it does the rest.. and for that I can see this feature being very useful.. but without an “advanced mode” where I can just set actual speeds like mm/sec and laser output power in terms of % of watts (the laser is 40W, and I want like 80% power).. without that, it makes things hard for technical people wanting to do very precise things.
Back to the Titan
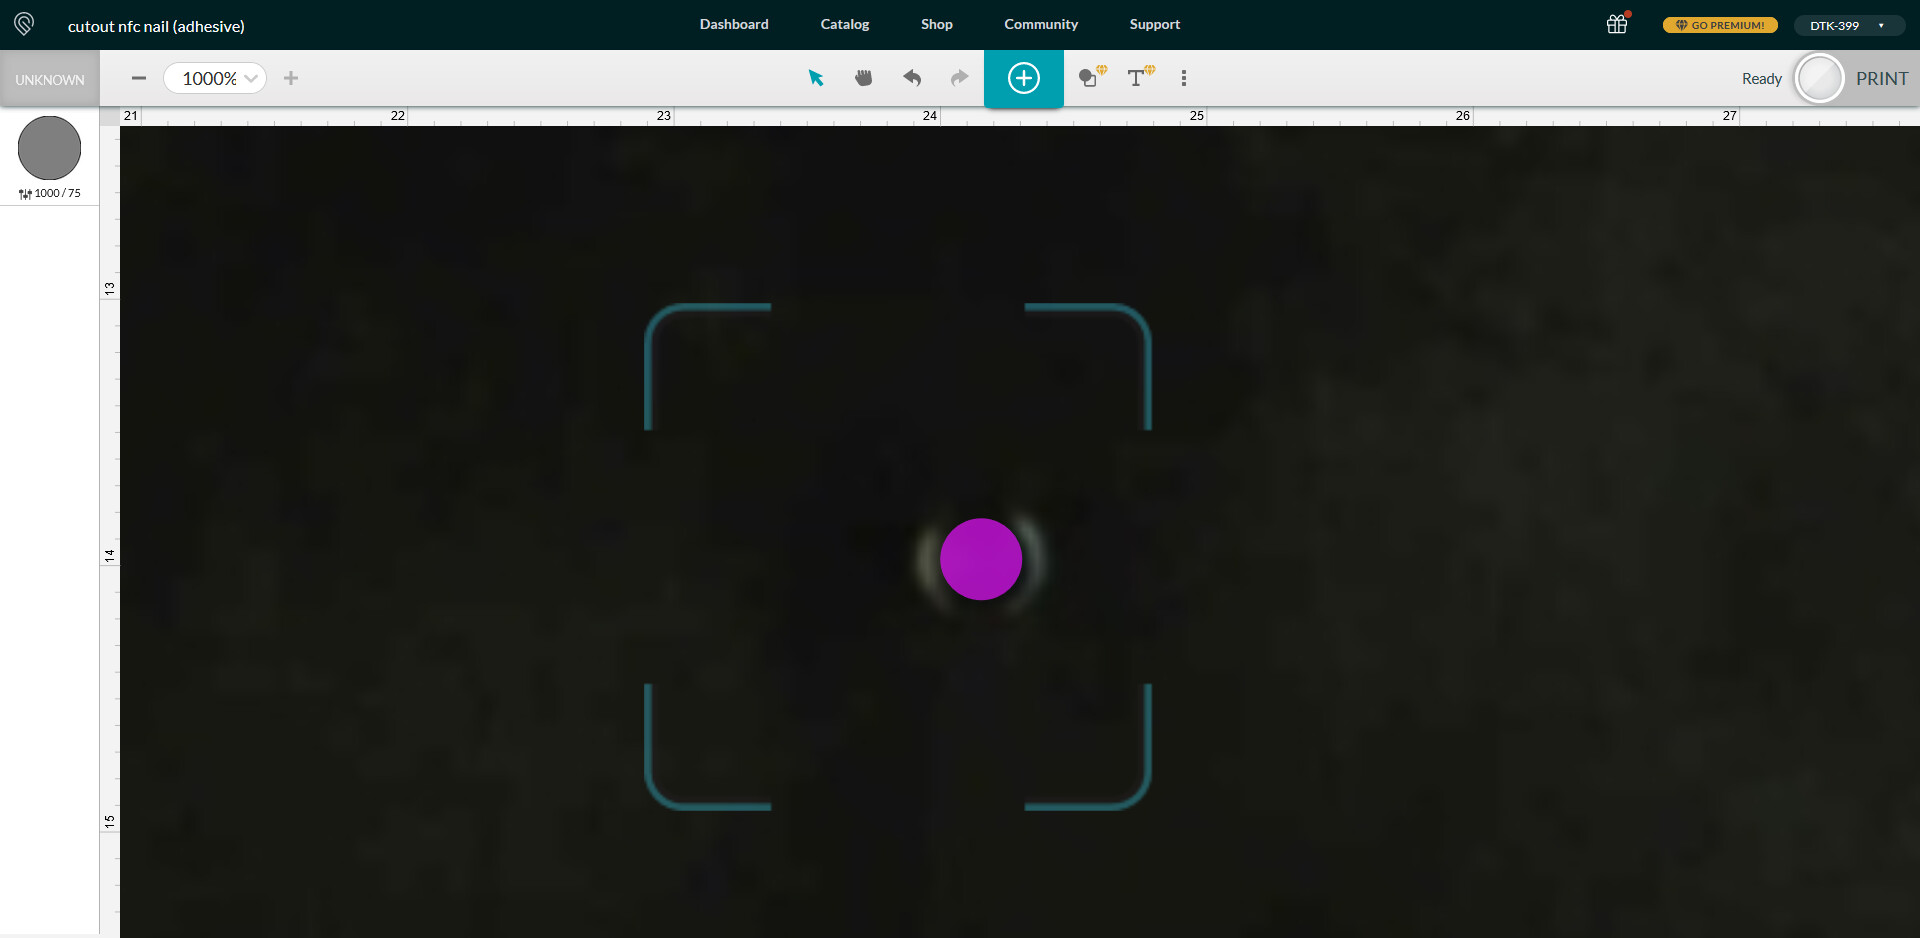
Ok, so I hit print.. but it’s basically not printing.. it’s barely engaging the laser..
I’m not really sure what’s happening here..

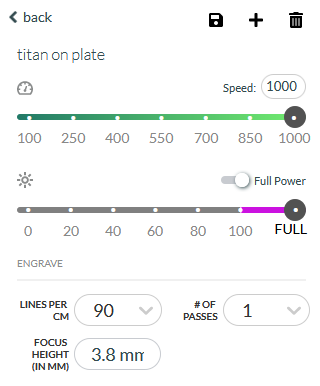
The settings would seem to indicate that the laser should be moving quickly at 75% of whatever it’s 100% power level is for engraving.. but it should at least be consistent.
The normal “lines per cm” setting is 90.. but I figured since I wanted a perfect circle I would bump it up to the maximum 535.. maybe that is making it choke? No idea.. so let’s try the default 90.
I assumed that since I had changed nothing that if I just hit print it would use the previous print settings including the focus setting but no.. I hit print and the print head wanted to do an autofocus.. so no.. cancel that.. run through set focus again.. and then print. Note to self.. you must use “set focus” every. single. time. The only problem with running set focus every time on such a small target is that it appears to be finicky.. this time the reticle around the target shifted and so did the Titan image (the circle graphic shifted slightly)..
This really shouldn’t happen since absolutely nothing has changed.. but onward..
Well setting it to 90 wasn’t the answer because it printed for even less time with even less laser engagement. This is a solid circle.. it should just be blasting the hell out of the surface in solid lines as it passes over the Titan.. but it’s barely tickling it.
With regard to laser power, I’m not sure what the difference is between 100 and “full power”, but it probably has something to do with that multiplier based on what it is you’re doing (cut vs engrave vs score).. but I figured I’d try full power and see if we can get the laser to remain engaged over the target area.
Well there was a bit more energy from the laser that time.. but again it did not remain engaged over the target… there were fits and spurts but no solid discernible periods where the laser remained engaged while passing over the Titan.
If I try the cut option, my settings options change.
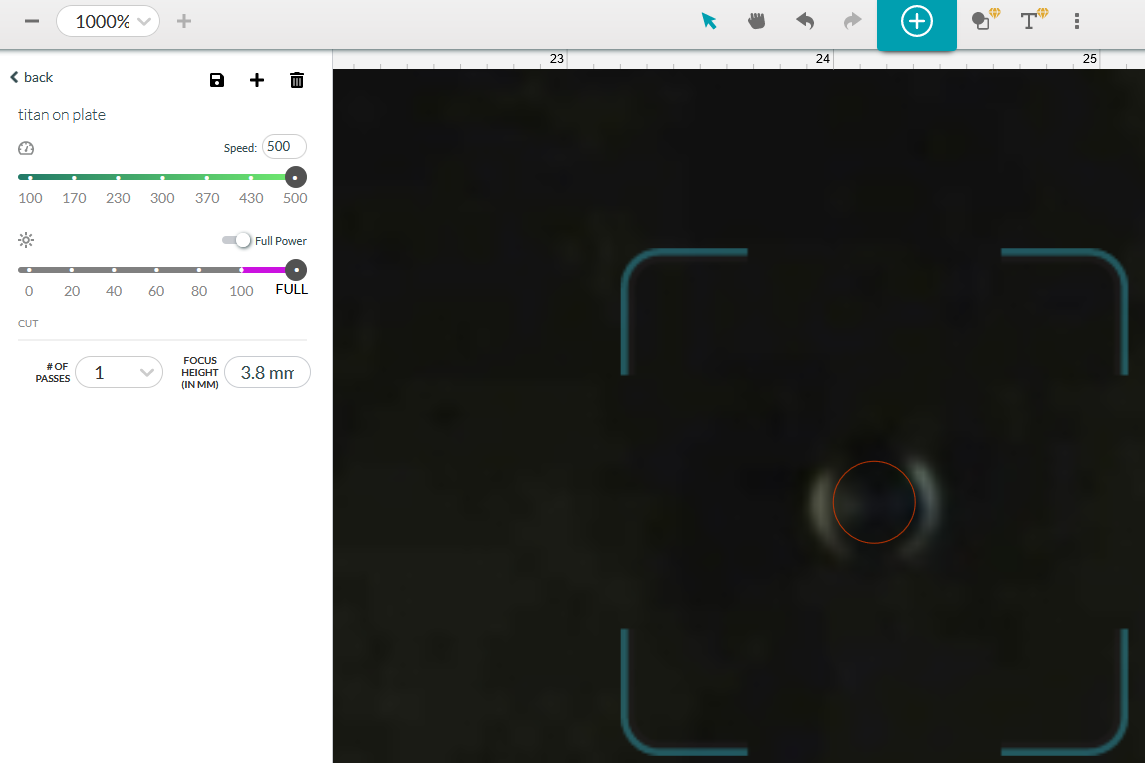
As you can see the circle becomes hollow and only the perimeter will be marked. Also the speed maximum is reduced to 500, and I no longer have a “lines per cm” resolution setting. Regardless, I’m going to try it.. aaaand it was so fast I couldn’t even a chance to record it.. lowering the speed setting from 500 to 200.. and that seemed to work better.. I was able to get a sense that the laser remained engaged at full power while the laser head swirled around in a circle over the Titan.. but again very fast and not much of a mark left.. so I’m going to drop it way way down to 50 and try again.. but oh.. nope.. 100 is the slowest.. so let’s make it run at 100 but do the max number of passes (3)… and now we have a result.. but not a great result.
-
The set focus process worked fine for the fiducials but not for the small Titan. You can see clearly in the video that the laser is way off target. I think this has to do with the fact the Titan is so very small and it’s likely that setting the focus measurement tooling on the print head probably has it’s own minimum area it can work with.. and setting the focus target by manually dragging a reticle over such a tiny object is probably problematic at best.
-
It is my hunch that somewhere between uploading the solid circle SVG to the design tool, and the actual engraving process being communicated to the Glowforge, somehow it is creating a halftone or some other type of pattern, which is why the laser is not remaining 100% engaged while passing over the target area.
So the alignment off by just a fraction.. but it’s enough to totally overshoot such a small target. Also, I killed this Titan.
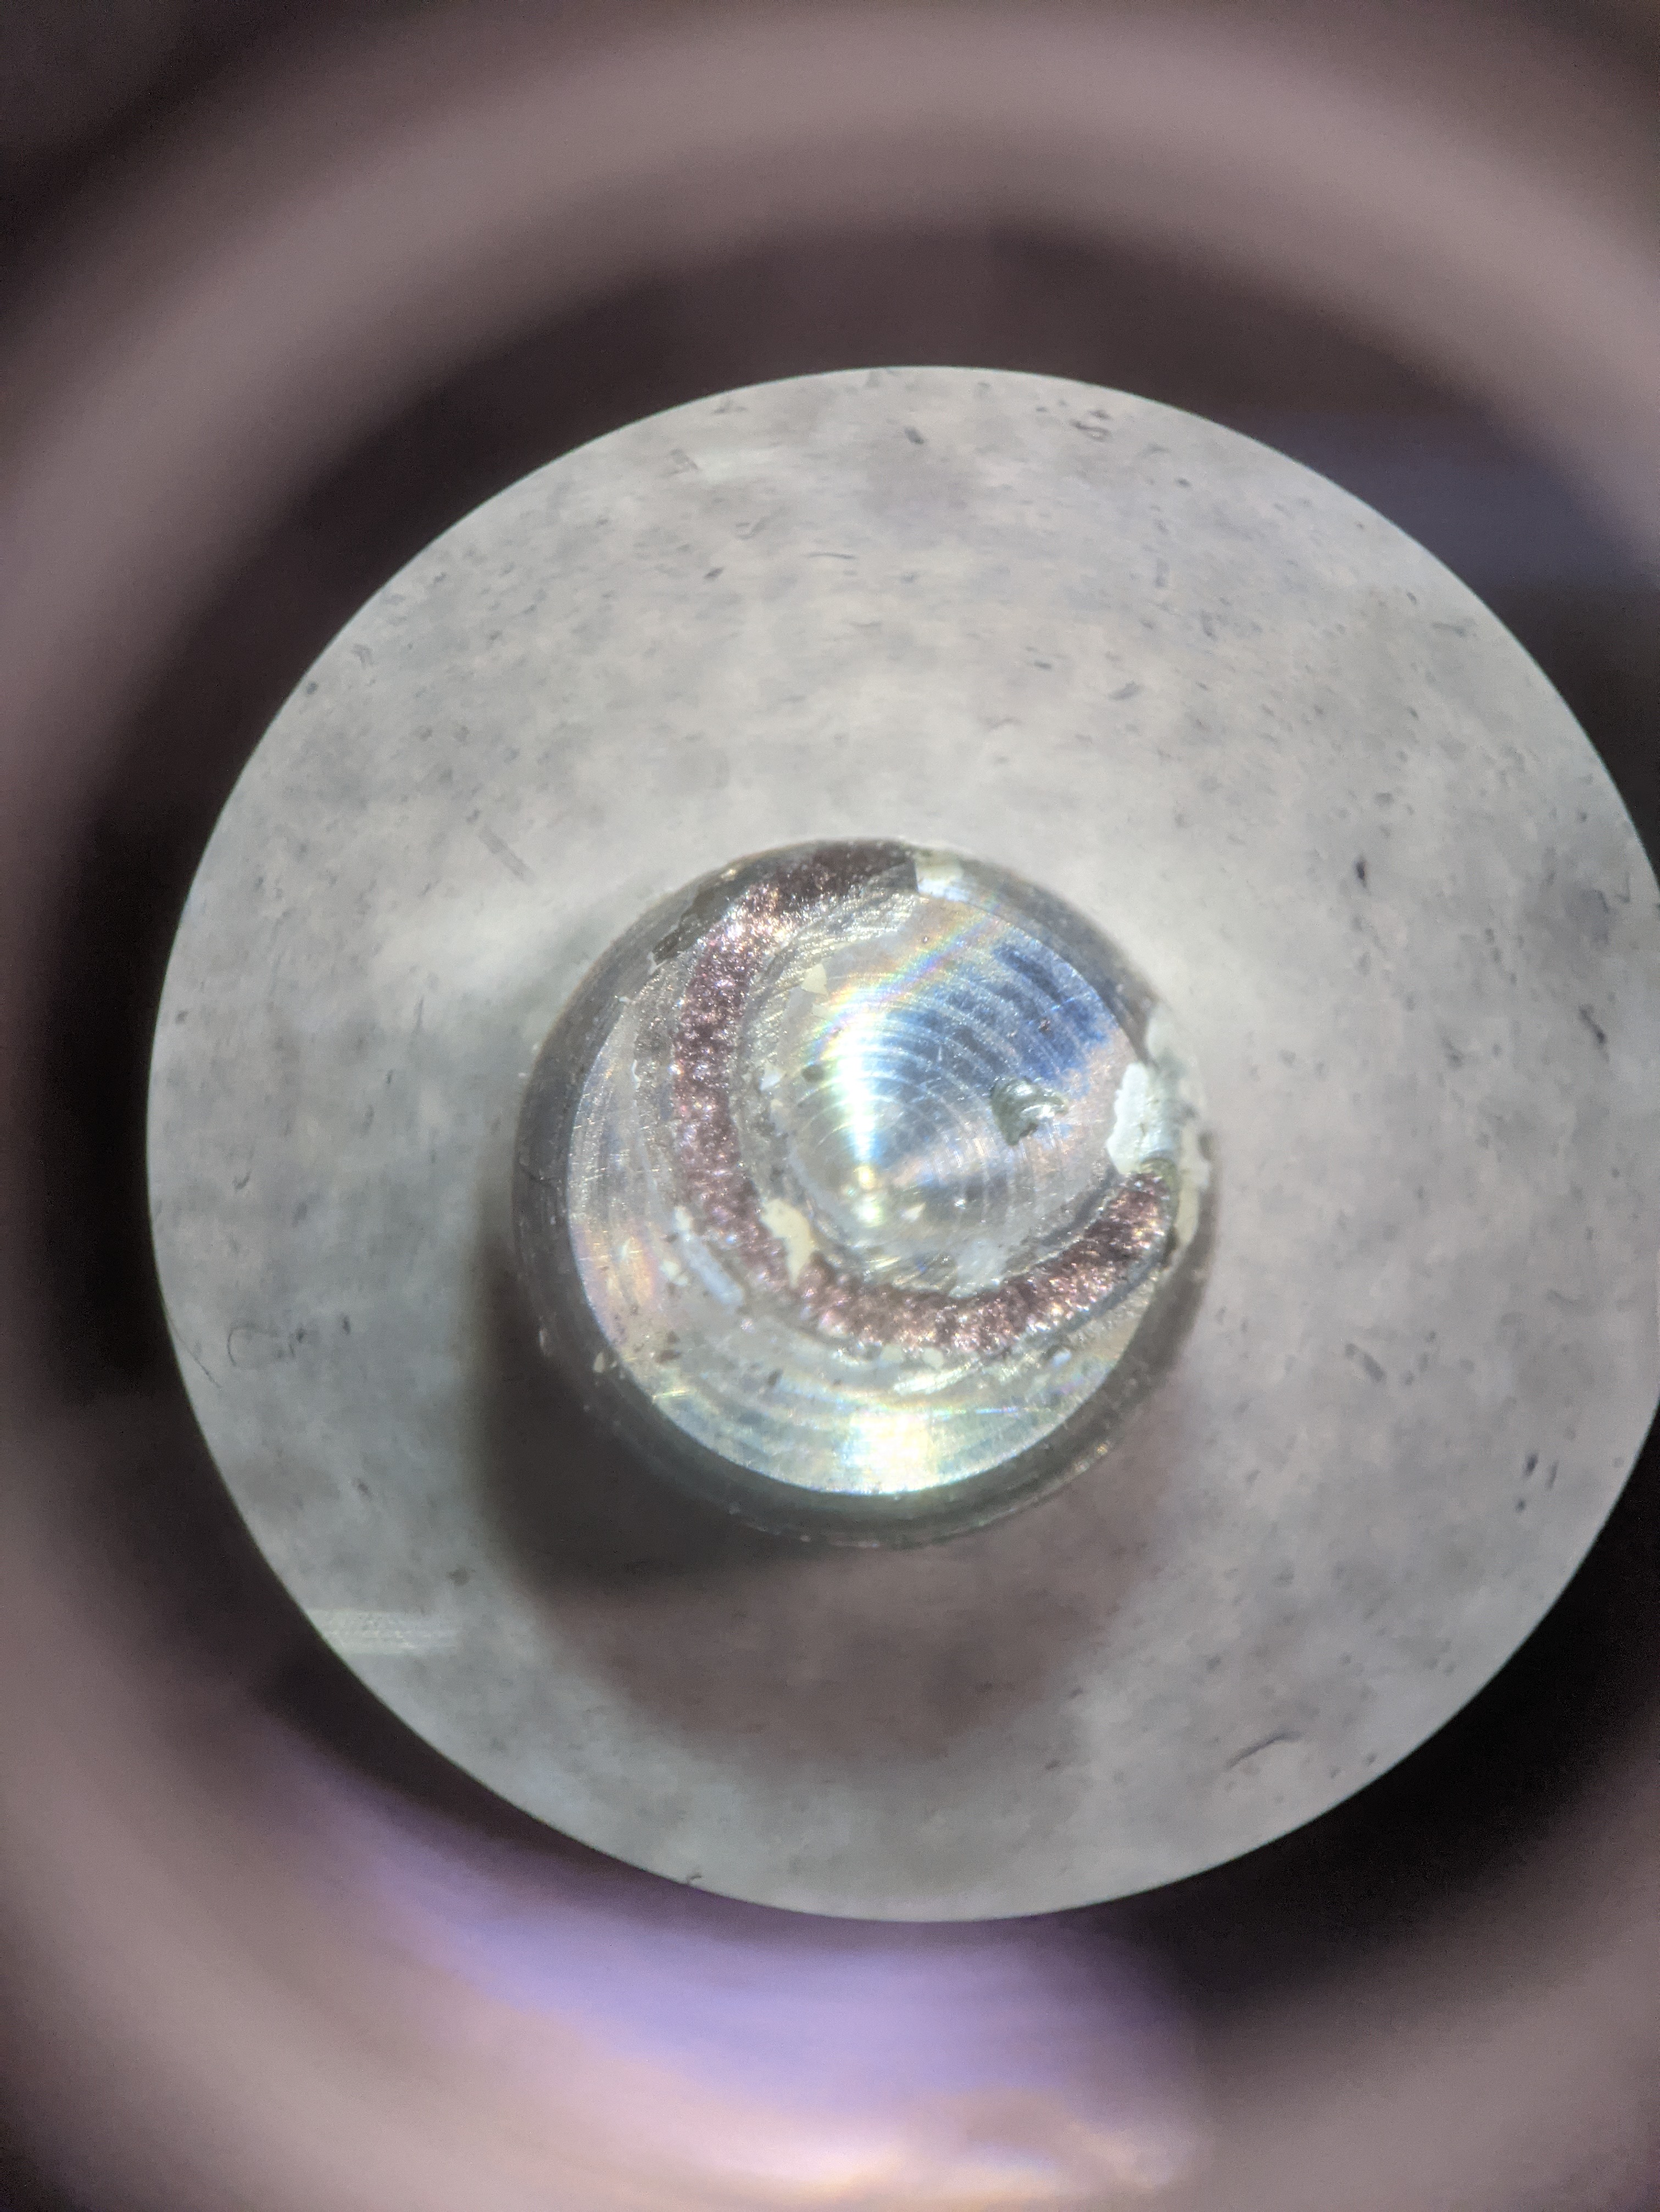
The power was enough to ablate the surface, but also heat the core beyond Curie temperature. This poor guy now measures only 0.1kGs even after fully cooling down to room temperature.
The bottom line
I think the accuracy of the Glowforge’s camera system is ultimately very very good and more than perfect enough for makers and producers.. it just isn’t accurate enough for doing what we need.
At this point I think it’s possible that we will not be marking any Titans. I will put a poll up in the official Titan thread about this and sort out a solution if there are people who are willing to wait to sort out a solution after the holidays in 2021.