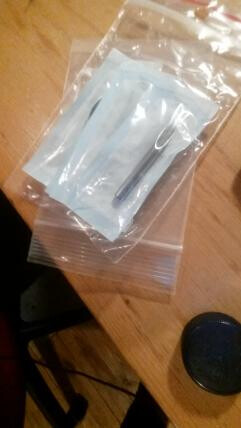
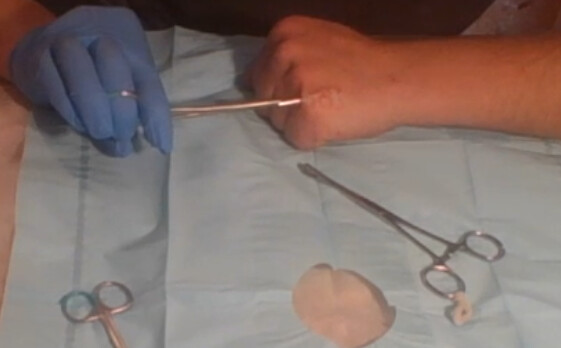
no, i didnt really wanted to install it today.
but blood splattered on the pouch so i thought in some days its not sterile anymore…
screenshot from the install vid:
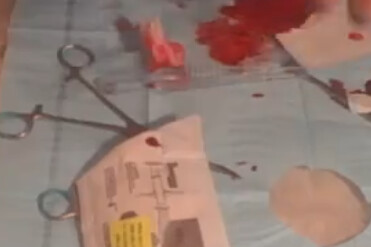
blood on xg3 pouch
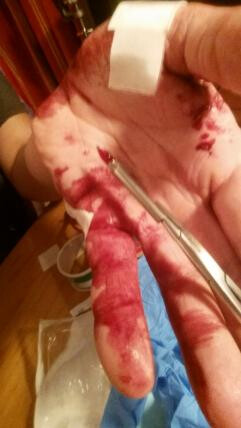
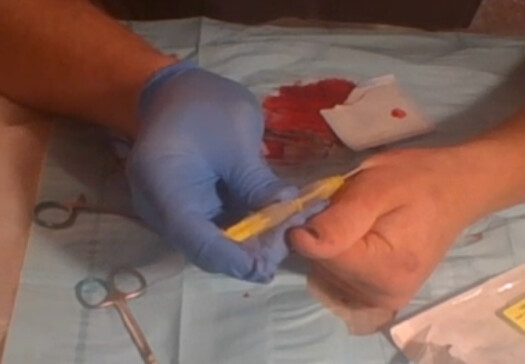
in
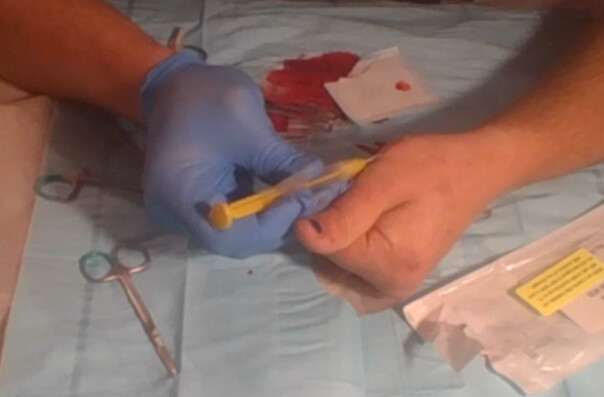
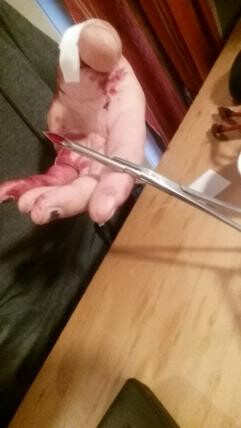
an out
here is one camera angle. i need someone who is up cutting both cameras together for a splitscreen vid. my laptop keeps crashing while trying.

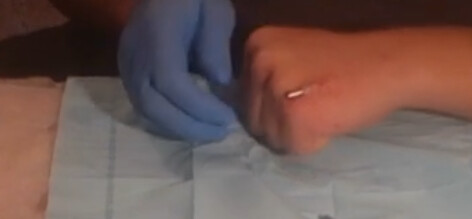
i used some other needles, dt flex needle was not included and mine are eo sterilised. they are a little short but it worked out like expected