Now that I’m back, here’s a little (and yet overly lengthy) project writeup. This one only took an hour or so of work, but I thought I’d post it.
So, yesterday I got a new desk. I finally replaced the one with the peeling desktop seen in the background of my photos and videos, with a black modern one with just a wooden tabletop. That’s it.
I like the new desk, but it left me with an issue: where to mount my KBR1? Even when mounted on my old desk with dual-lock, the dual-lock I used was very weak, and it fell off frequently. Plus, this desk has no wide flat portions, so I would have to use dual-lock to mount it to one of the thin poles. It would inevitably get knocked off this way.
With a ton of credit to @simon_beer, I decided to make a mount specifically for my desk. He had already made the desk organizer holder, and because he’s absolutely amazing, he published the .ipt files as well. This allowed me to basically chop off the rest of the model, and use the (very well designed & measured) KBR1 slot that he had designed. The tolerances are absolutely great, and the KBR1 fits like a glove. Thanks again.
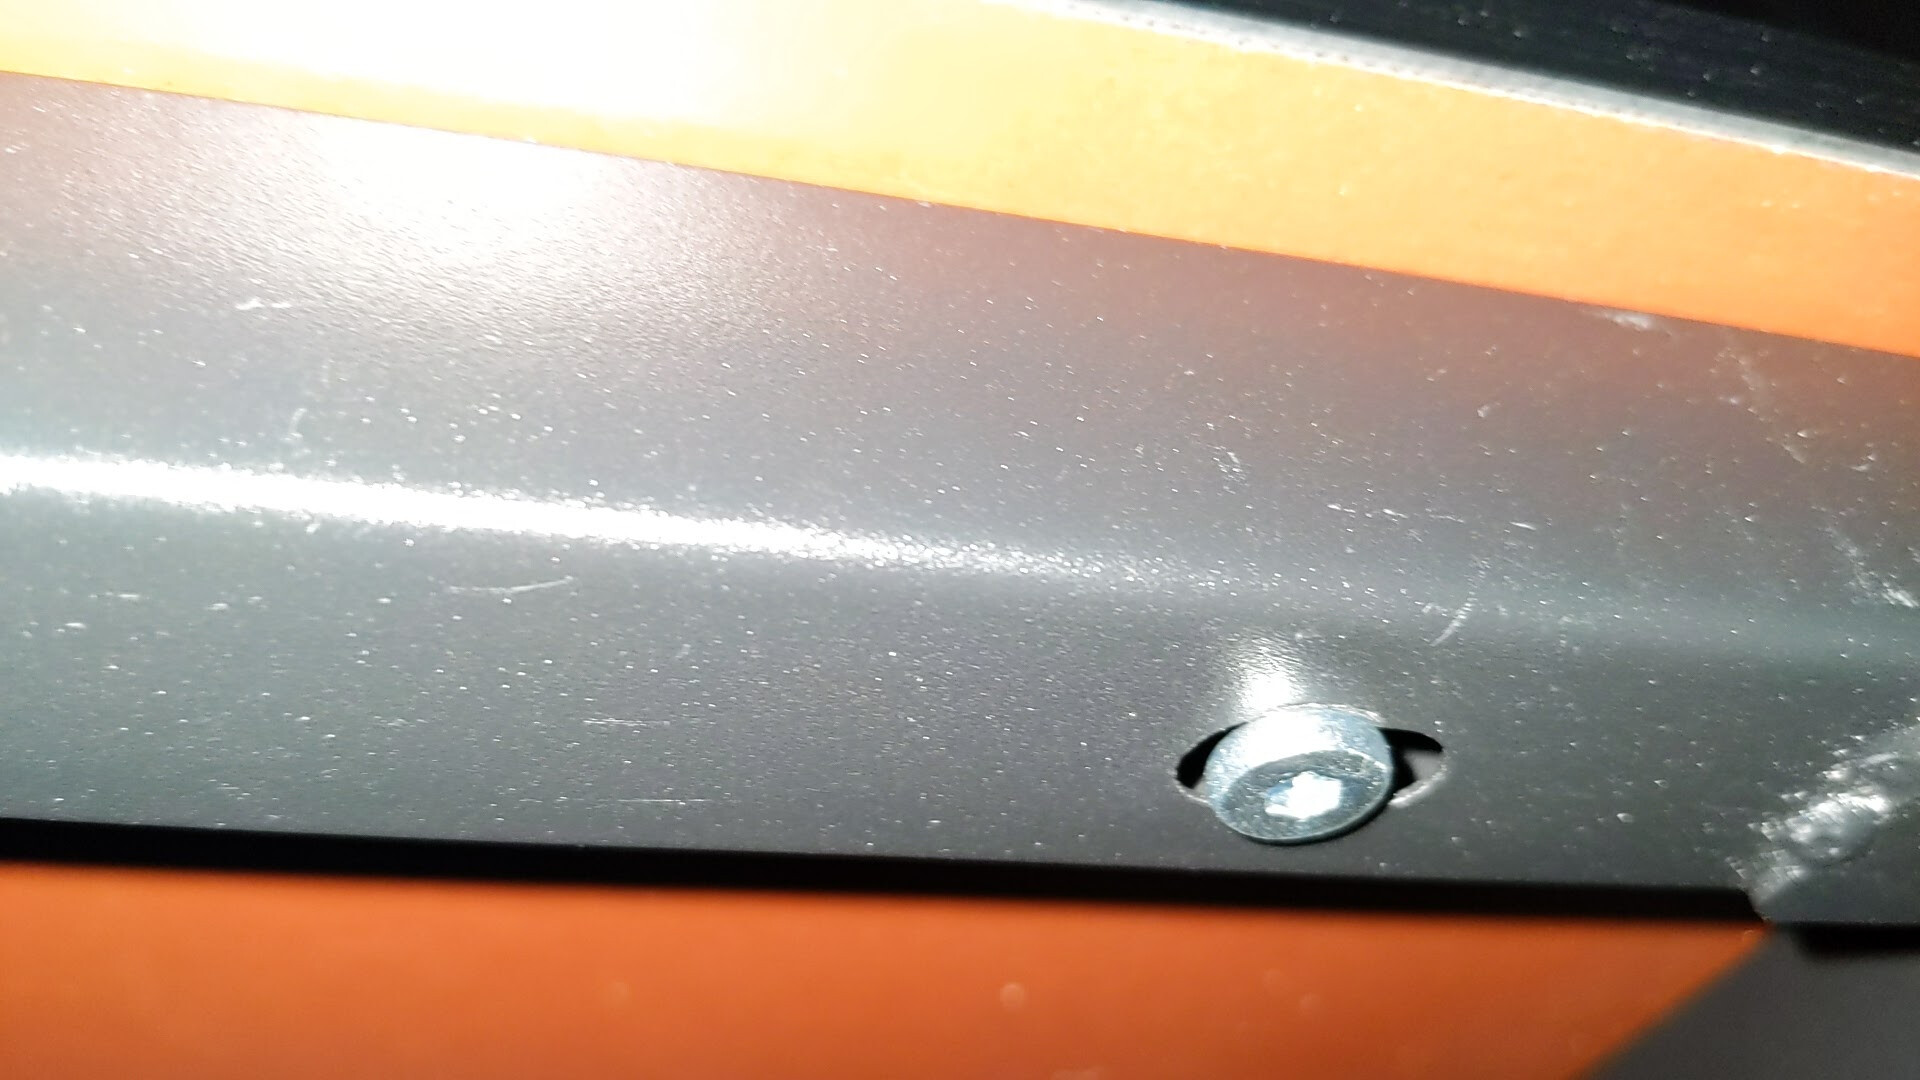
I decided to design mine to fit mostly flush to the underside of my desk, with the reader facing forward. There was already a bolt roughly where I wanted the reader, with plenty of thread to it. I just had to measure all of the offsets for each angle, and design a slot for it to fit into the bolt, to be clamped down.
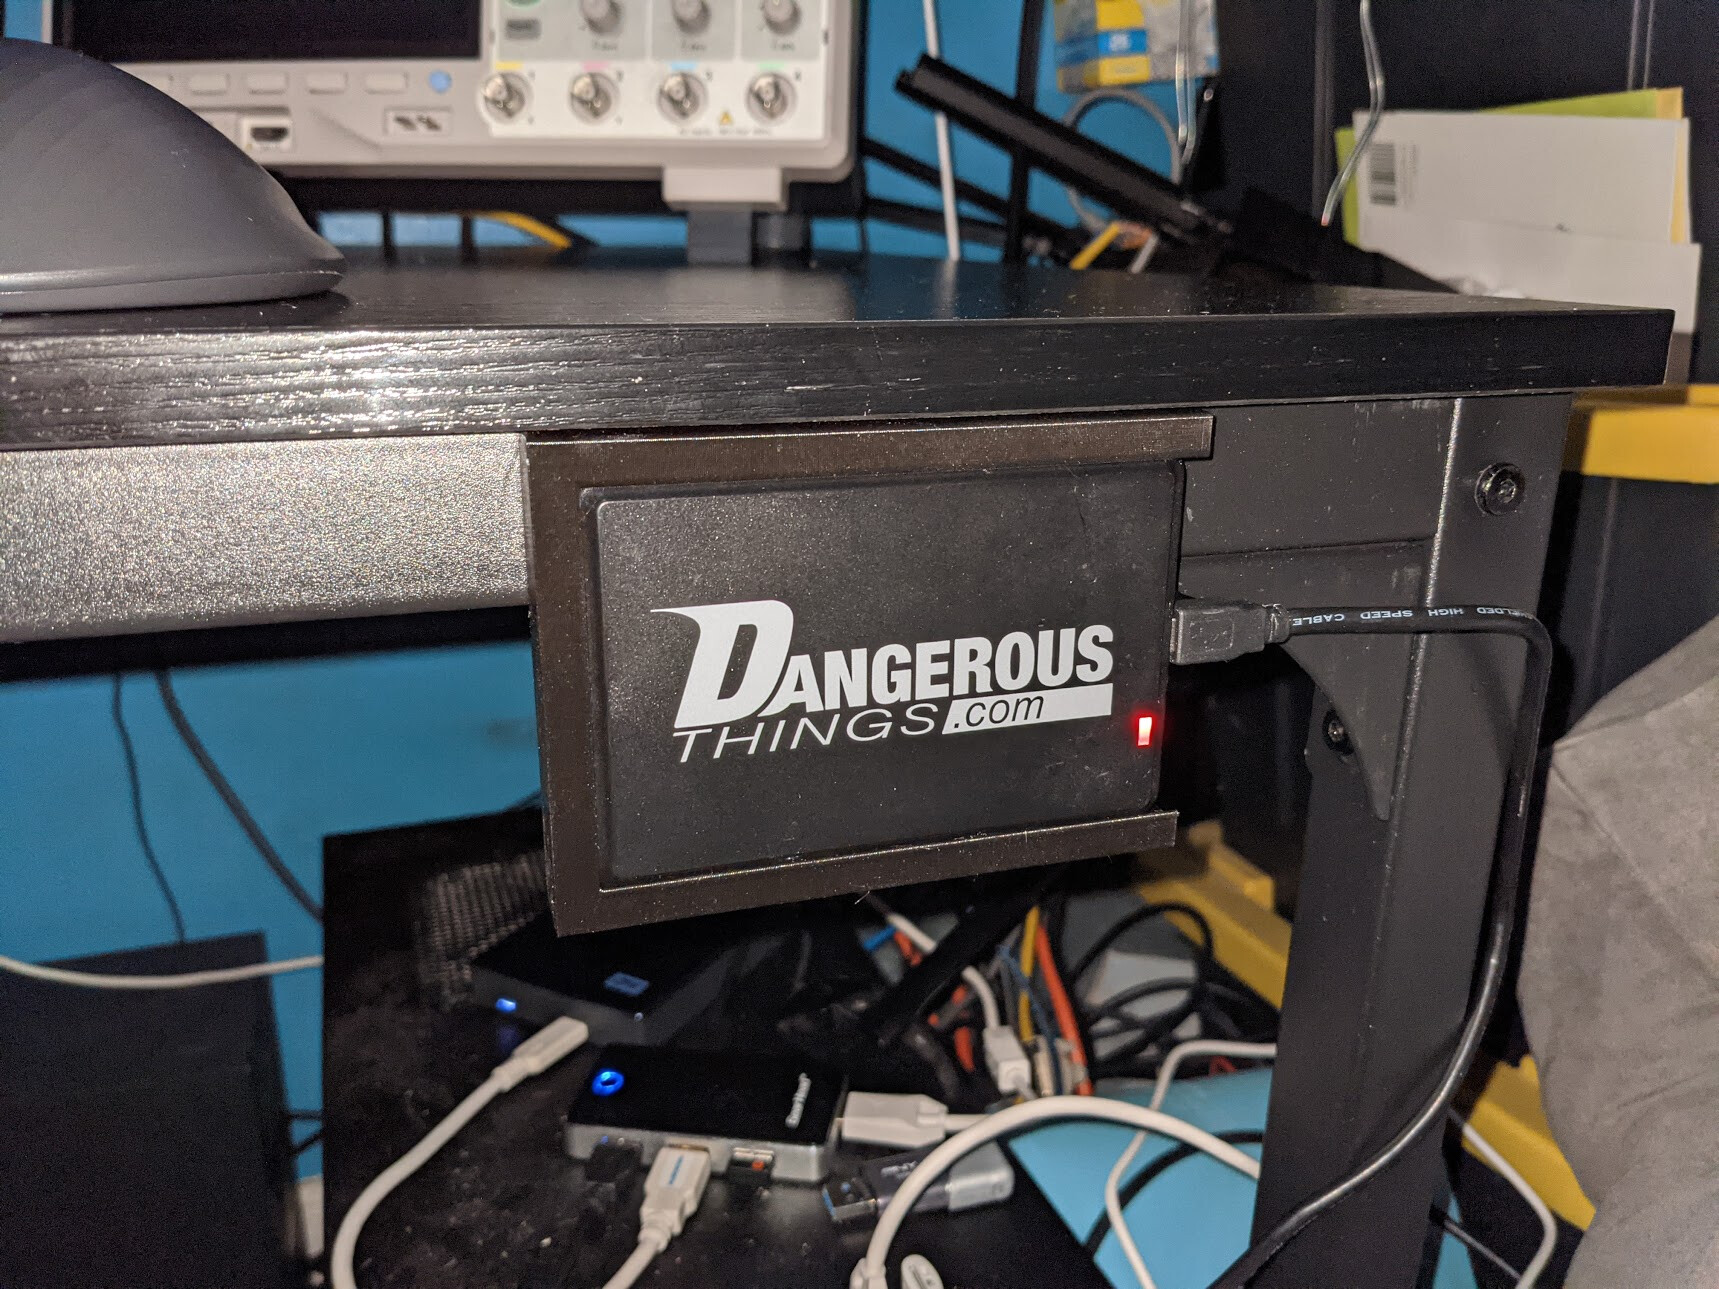
Here you can see an awful photo of the profile I was trying to match, and the bolt I was using.
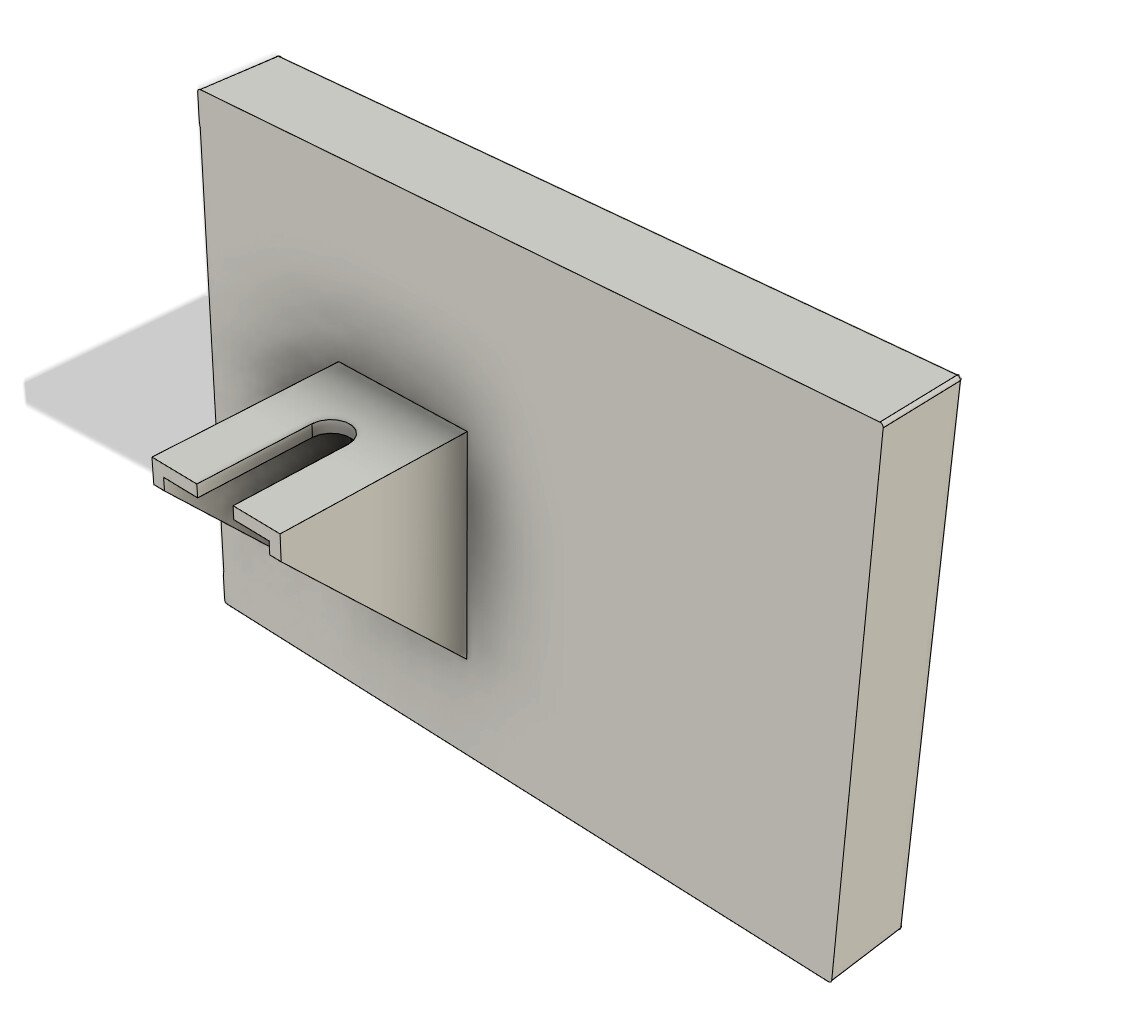
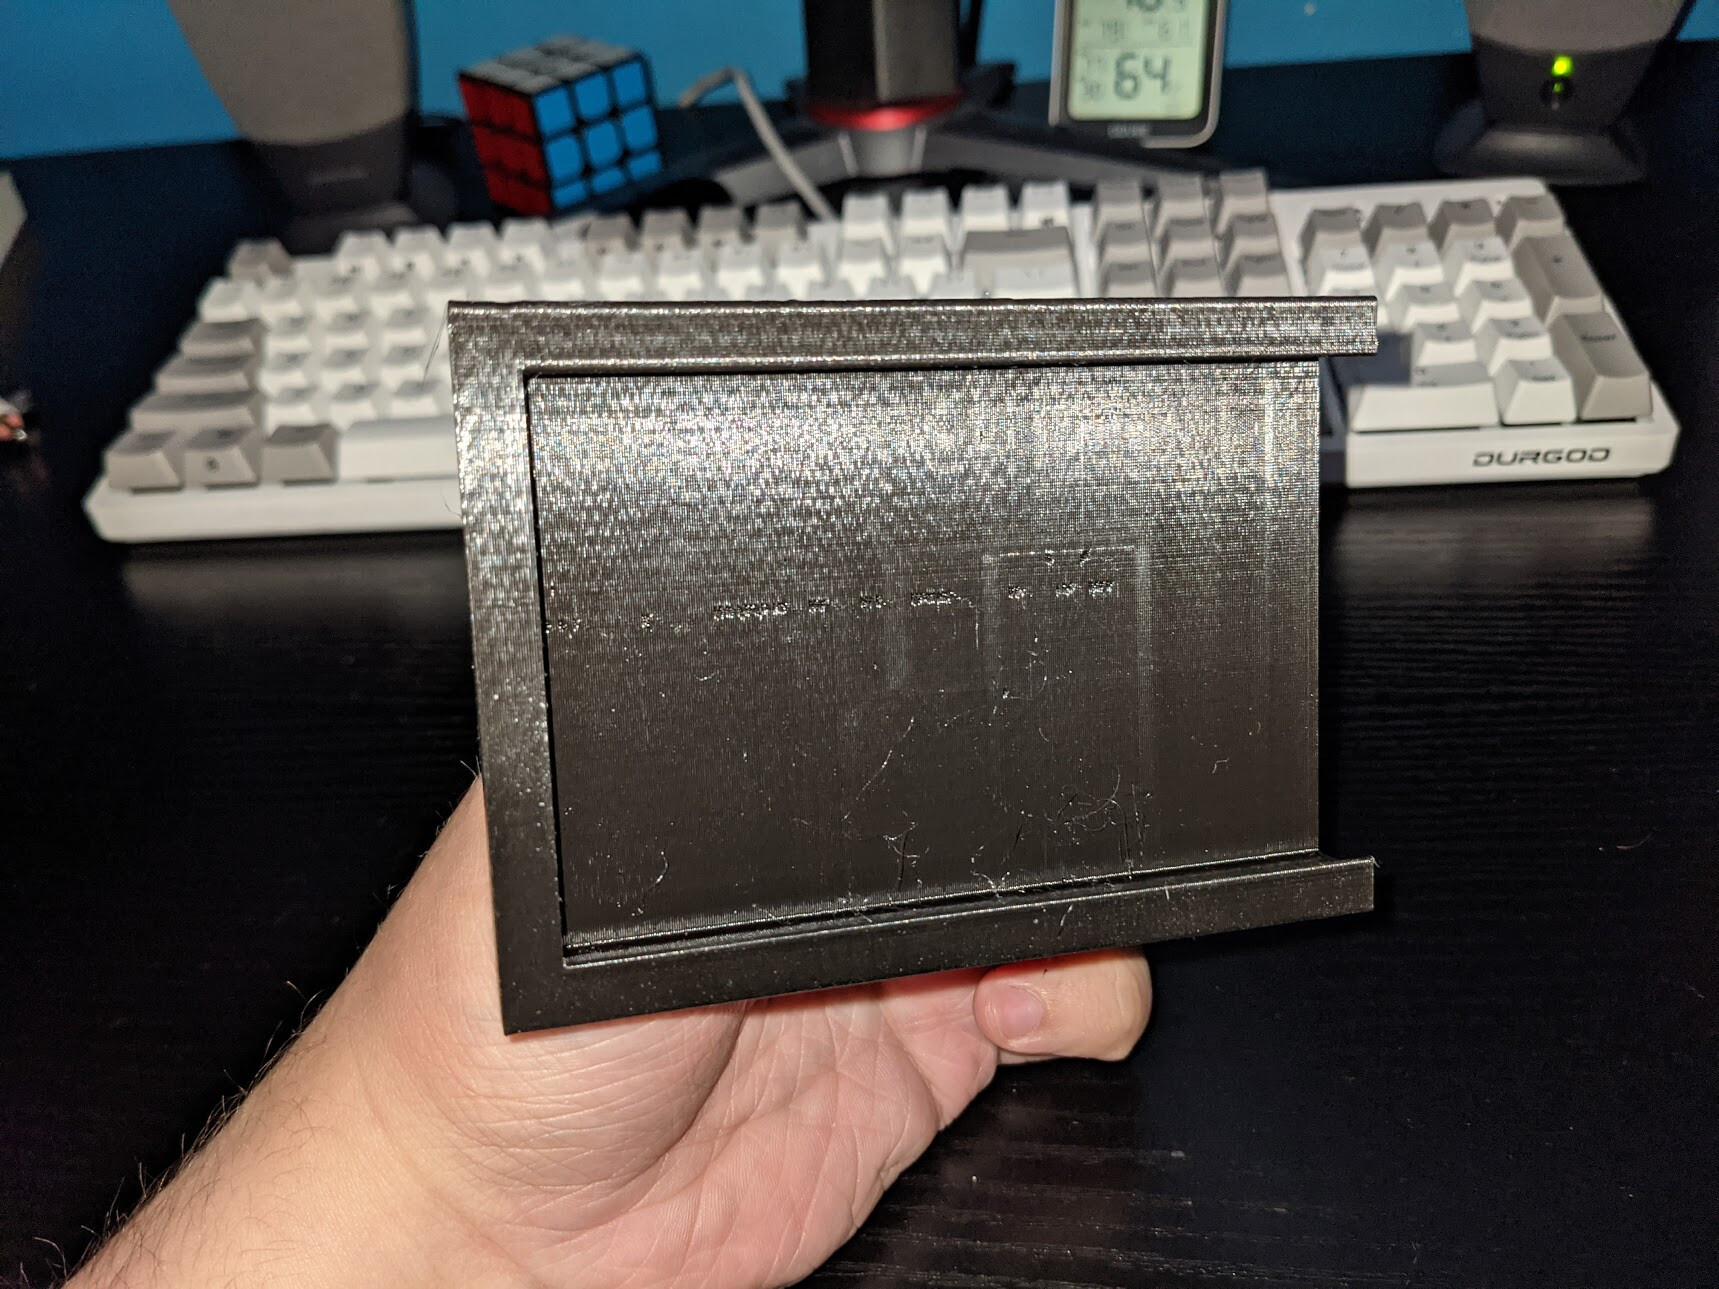
10 minutes of measuring and 25 minutes of design later (with special care to have the logo facing correctly)…
I double checked the measurements, and to the printer it went. 5 hours (and some sleep) later, and I had this:
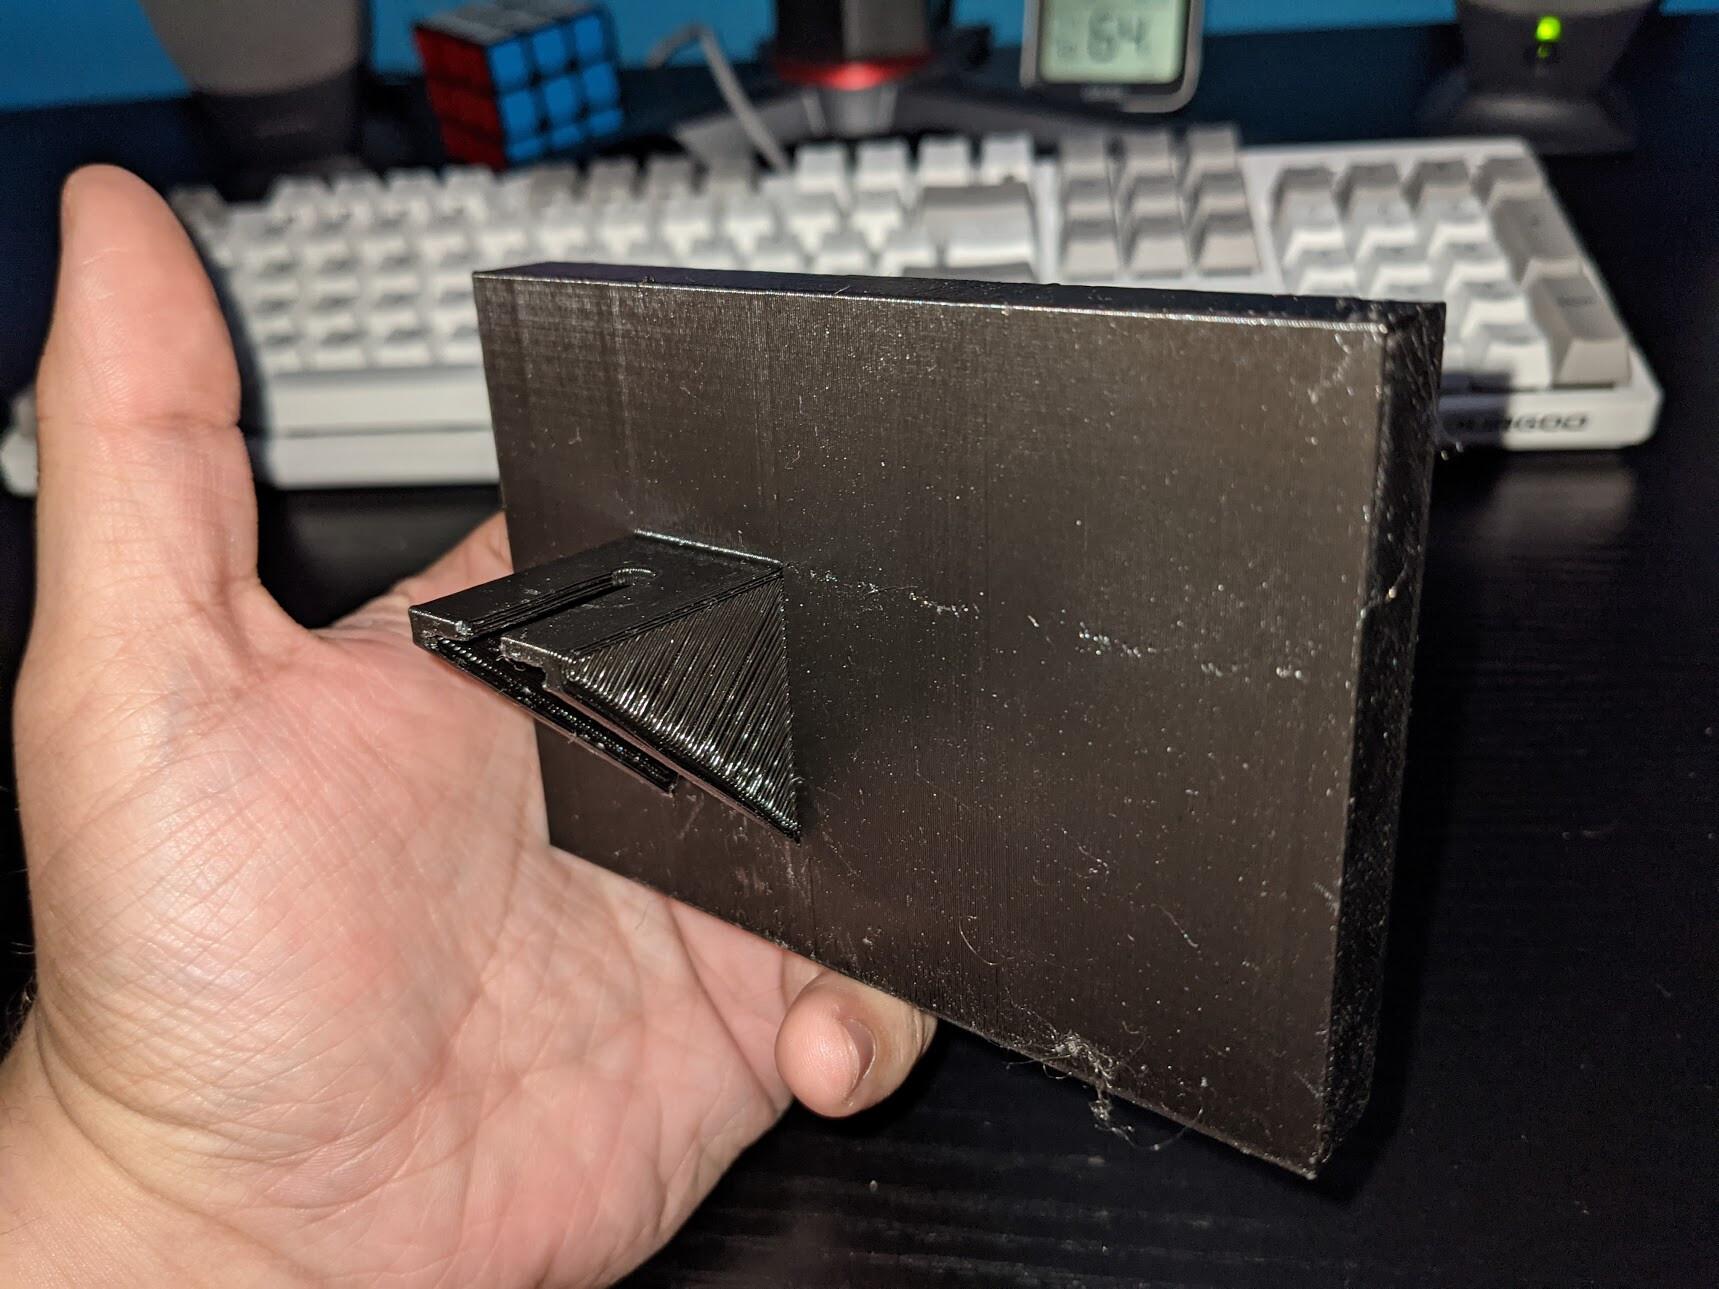
The PLA I used is like 3 years old and super moist (I could hear it crackling), but it’s all I had for black PLA, and this was a non-critical project. Print quality was overall fine-ish, considering the support needed for the underside of the mount (you can see the not as flat surface there on the side of the mount). It’s not perfect, but I didn’t need it to be. Didn’t bother fine-tuning much for this filament.
(please ignore my dust and overall clutter)
The overall fit was great, and it mounted just like I had expected. Super secure, and in a great position for reading.
In case anyone has the same desk, I’m going to upload the STL here.
holder v2.stl (701.6 KB)
Now, I’m actually going to upload a STEP file and an IPT file for just the holder slot piece, using @simon_beer 's design. This should make it super easy for others to make their own similar mounts, while only having to do a fraction of the work. For using this in your own designs, the thickness of the backing plate is only .5mm. This is intentional, with the point being that the designer can make the thickness whatever they want, without having to remove part of the model.
@simon_beer if this is something you don’t want posted, just DM me, and I’ll remove it.
http://levi.pink/kbr1.step (might try to open as plain text, just to ctrl+S to save it.
I tried to upload both to Google Drive, but it isn’t happy with me today for some reason. Wouldn’t upload.
Again, massive thanks to @simon_beer . Saved me a TON of work for a small project.