To who it may concern I found what I’m hoping will be some really great multi function timers. I plan on piggybacking a few from a first gen xAC to be my car unlock project.
I’ll come back and update as I go, to clarify I’ll be powering these timers directly from the vehicle and using the output from the xAC to trigger it as I don’t want to put a load on the xAC directly.
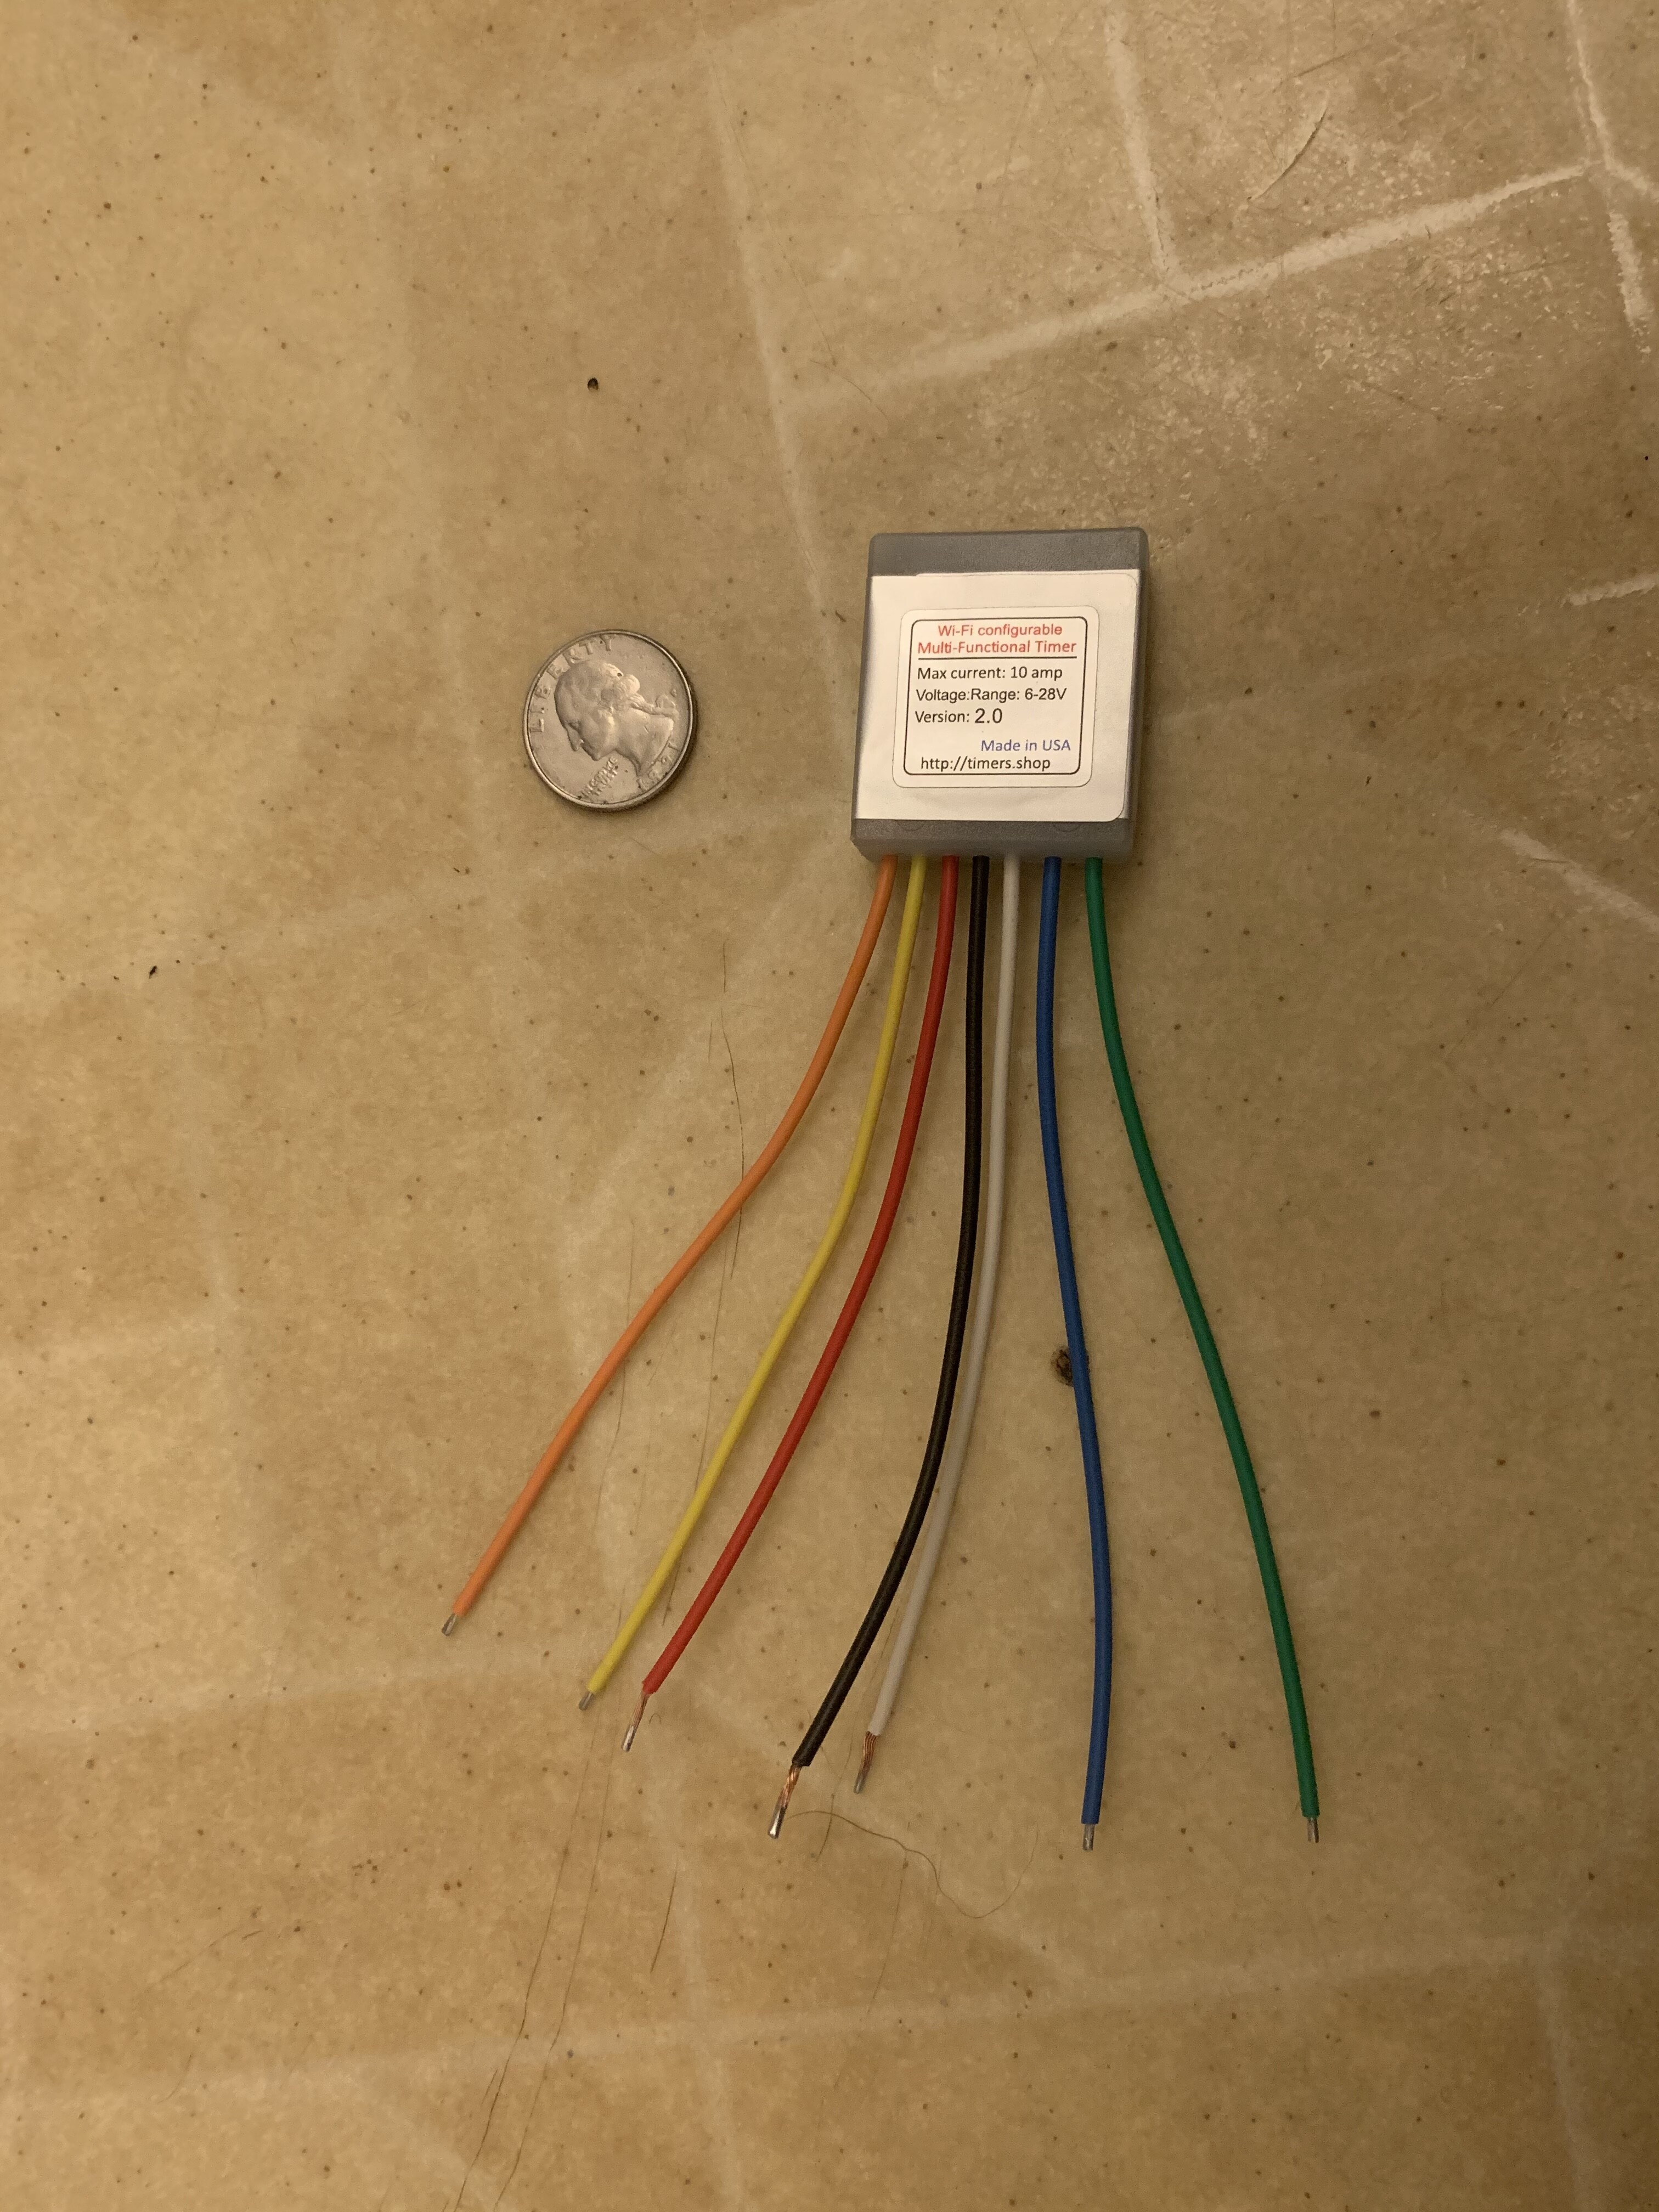
Got an estimate for a spare key fob (didn’t want to mess with one of the two that I have) that was about $400. Why are the modern day car keys so darn expensive? Anyway I also ordered 3 of the 10 amp WiFi configurable timers from the link in the first post, after shipping that worked out to about $96. I found an always on spot in my car’s fuse block that was supposed to be for a steering wheel heater (probably on a higher trim package) so I’ll be adding a fuse there to run everything. Found an adjustable voltage step down on Amazon ($8) that I’ll be using to replace the battery in the key fob. Pictures will come as the parts make it here. It’s shaping up to be a pricy project unfortunately, but in the end I’ll never forget my key again and that’s the goal.
My plan is to have one of the timers wired to the voltage step down powering the fob (the car is push button start) this timer will run for two minutes giving me a chance to get in and start the car. Timer 2 will be the unlock button which will fire right after the fob powers up. Timer 3 will be set a little while later (haven’t decided when) and it will lock the doors (that way I could scan when I get out if I wanted to leave the car running and locked).
You might look at locksmith supplies for a compatible aftermarket keyfob. You might need to see if you can program it yourself (some cars you can, some you can’t) before buying one though.
I’ve been looking around for that possibility but every video or scrap of info I’ve found about programming the fob has them using a special tool that’s supposedly Dealer only. I imagine I could find said tool but buying it would probably end up costing as much as having it done.
@amal I remember cracking open the head of a chip key once years ago and finding the glass tag. It was an interesting introduction to the idea of “well what if that was all I needed.”
The fob I’ll likely do and then if one of the locksmiths I called calls me back and can beat the $150 programming charge that the dealer had I’m set, otherwise I’ll be headed to the dealer for that.
Black wires will be tied together and then to ground on the vehicle red wires tied together and then to the always on fuse. The white from the xAC will be tied to the blue on the timer. The orange and yellow pass along a positive and ground that I’ll use to piggyback the next timer to add a short delay and then ground the unlock button on the key fob, I’ll also be using that to run the step down from 12V to 3V to power the fob.
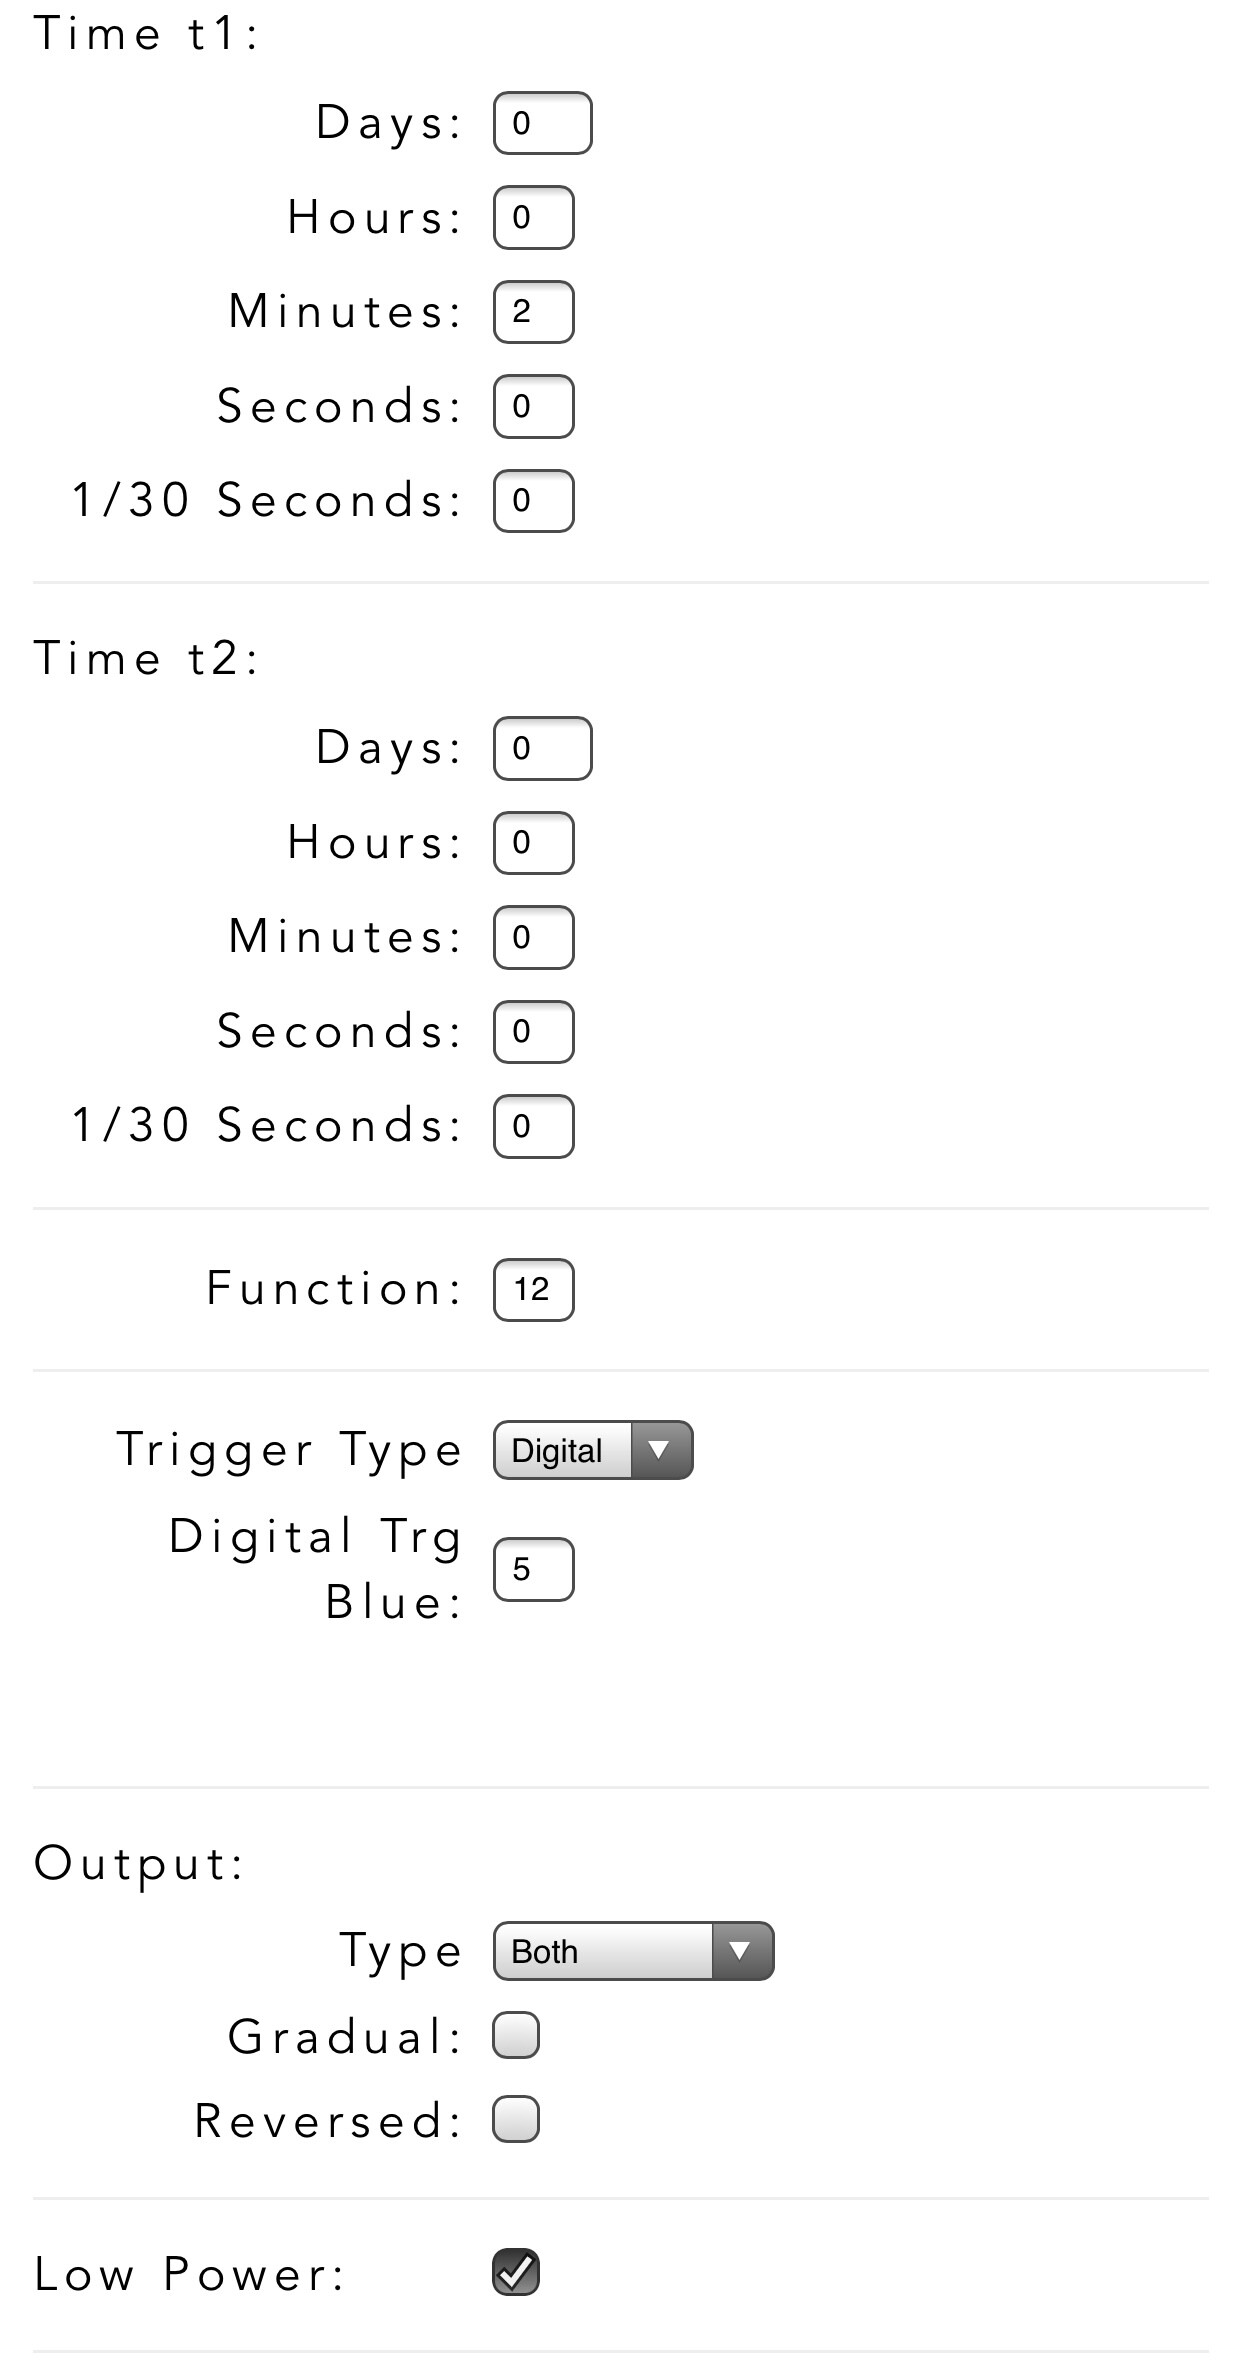
If I’m reading the timer’s documentation correctly to get the most out of low power mode I’d have to change the digital trigger to mode 2 (dry contact connecting the blue wire to the red wire) I could do that with the relay on the gen 2 xAC…
Can anyone comment on how well the new xAC reads glass tags, I’m currently planning to use my NeXT for this project.
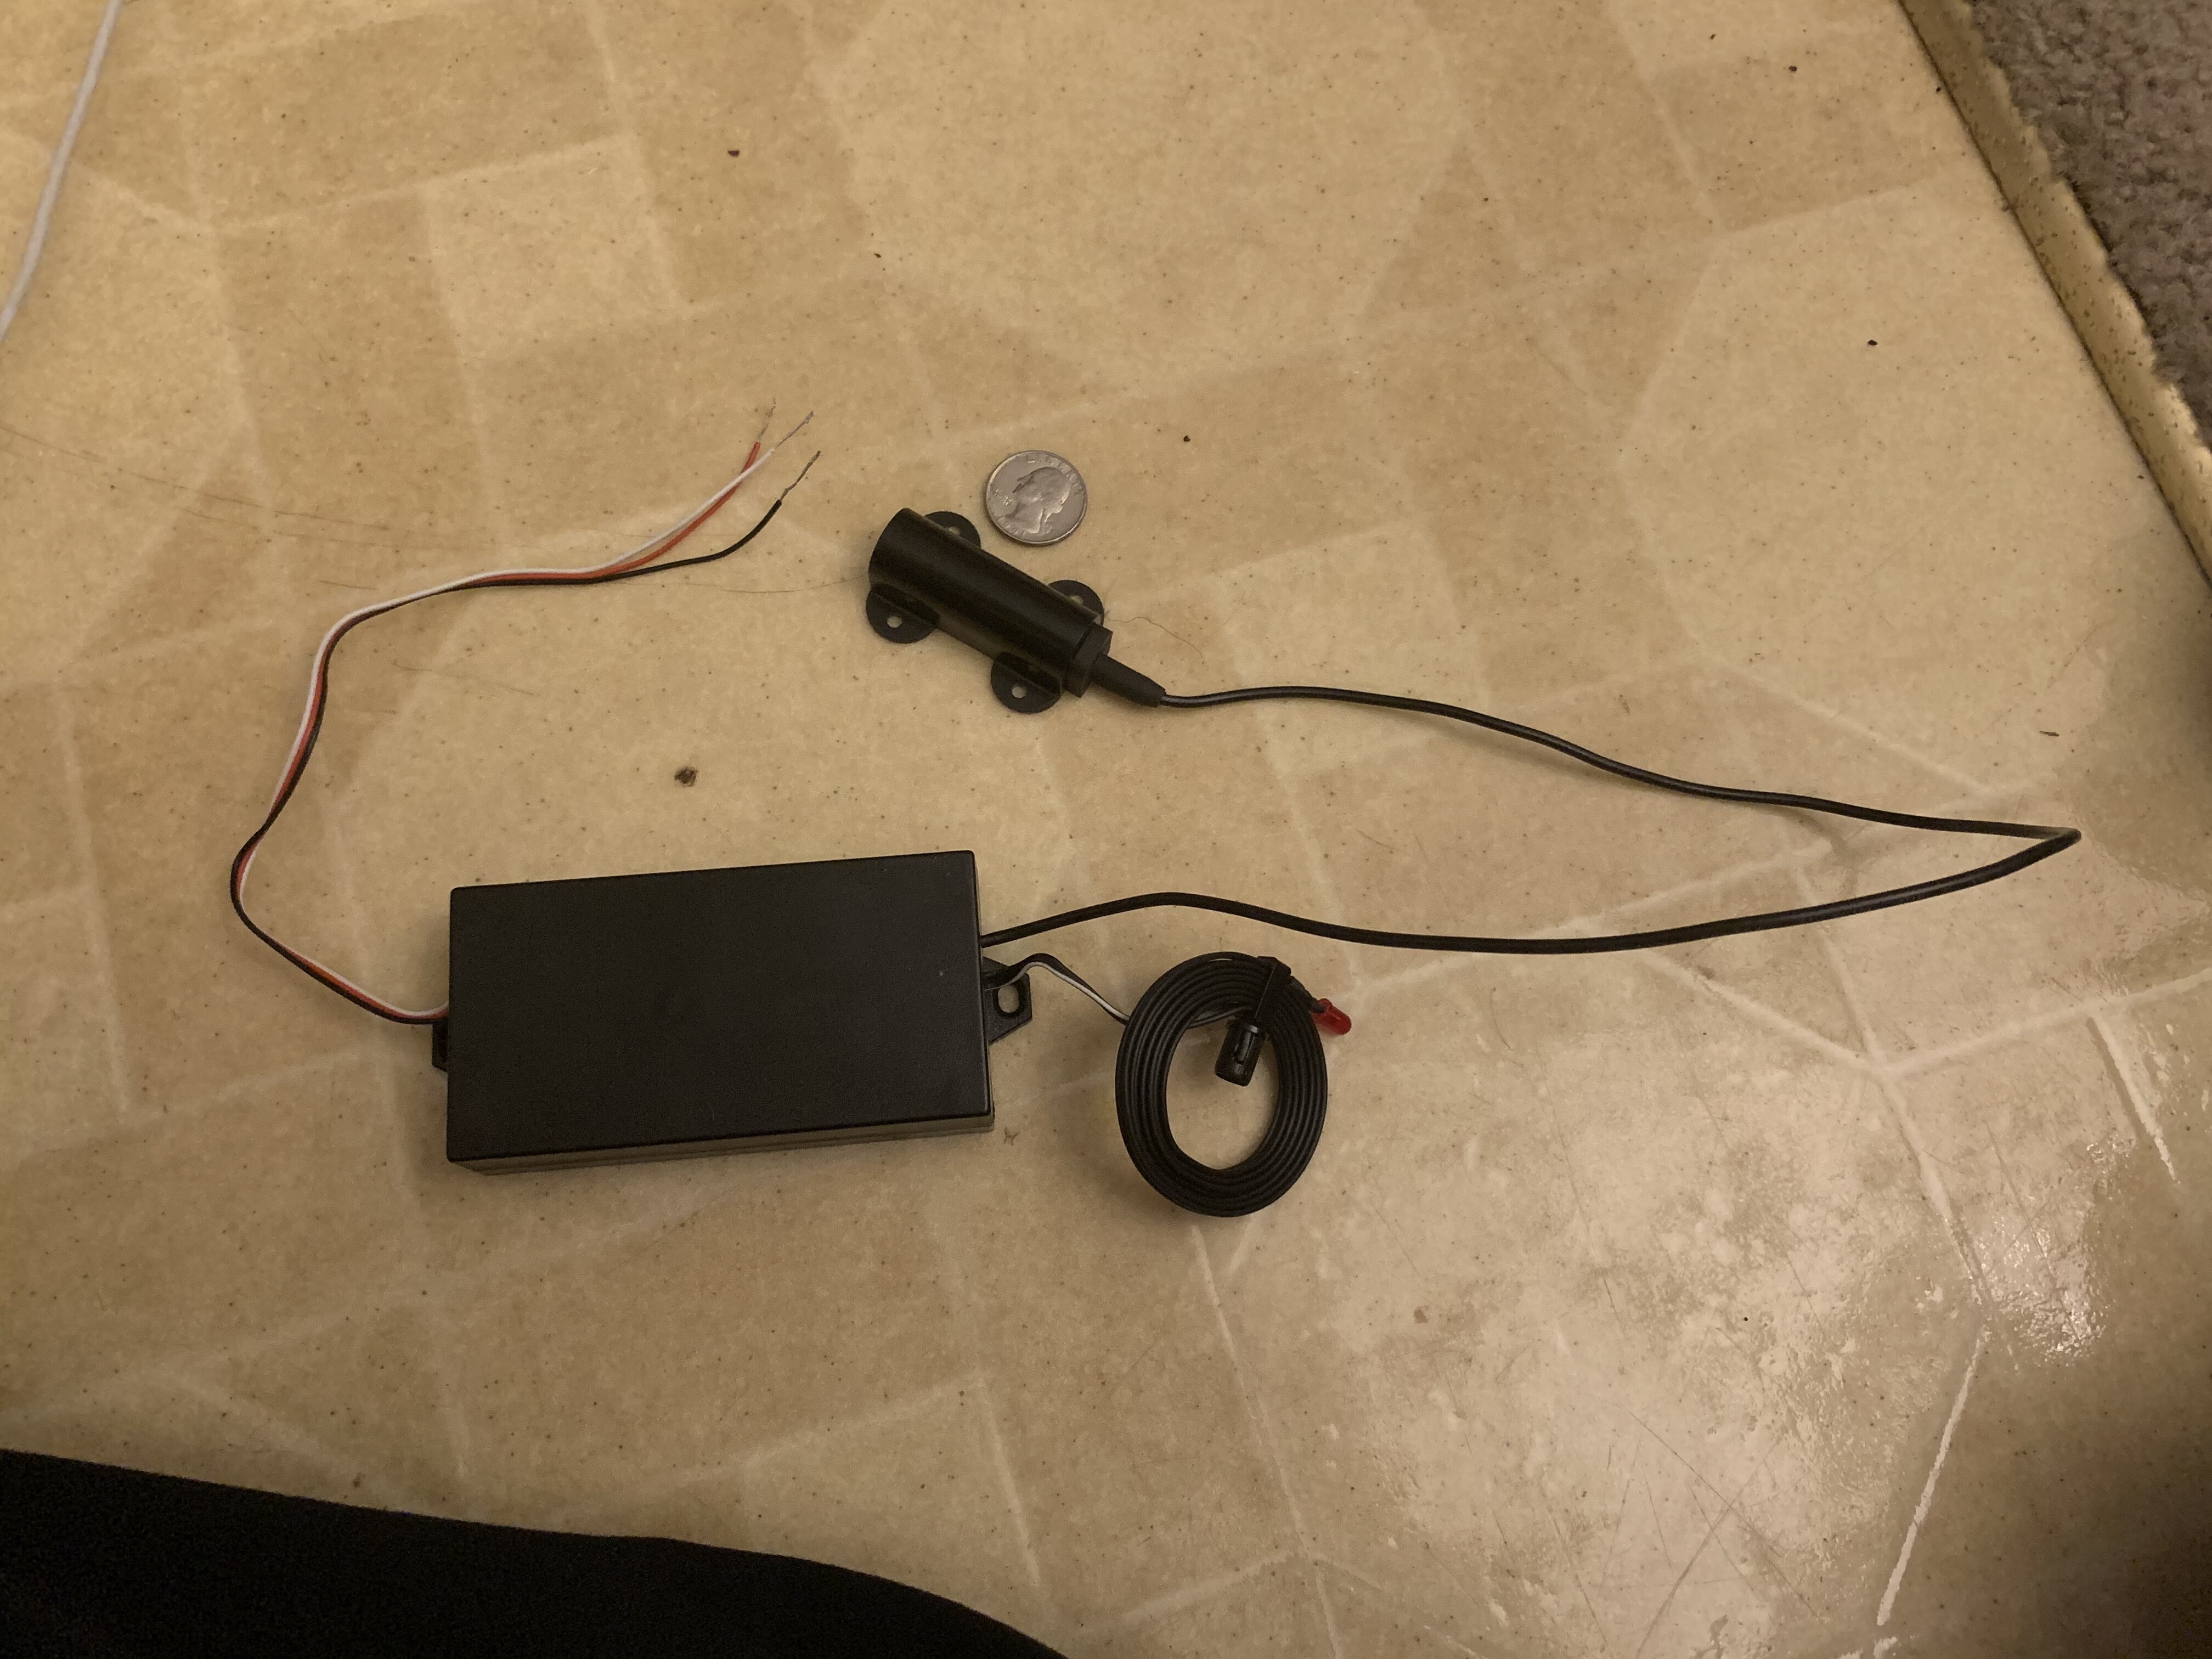
I should have taken pictures as I went but honestly I was just too excited when the last few pieces I needed arrived.
To clarify that part, the red and black of timer 2 pairs up to the yellow and orange of timer 1 then the yellow and orange output of timer 2 are used to fire a relay connecting the ground on the key fob to the unlock button.
I decided not to do the third timer to relook the car like I was thinking since the car doesn’t respond to the fob while it’s running (or so I thought, see post below) and I didn’t want to dig into the door panel to trace the unlock switch or risk getting locked out. Guess I won’t be leaving it running locked (didn’t really do that very often anyway).
This’ll probably be my last note to add in here, upon further testing I dropped my time for the power to the fob down to 45 seconds. There were a couple times (although really rare) where all I needed was into the vehicle for something and standing around for 2 minutes waiting for it to power off was a minor nuisance. Then later I messed with the idea of holding the door sensor switch by hand and locking the doors from the switch mounted on the door. That seems to have enabled me to lock the vehicle while it’s running and or while the fob is still powered on (not that that’s an issue anymore with the lower runtime but eh) and it still responds to the unlock command from the fob while running so I don’t have to worry about locking it and then not being able to get back in.
Your mileage may vary, please (if you’re reproducing this project) test these things relatively close to home or at least near a fob you haven’t pulled apart.