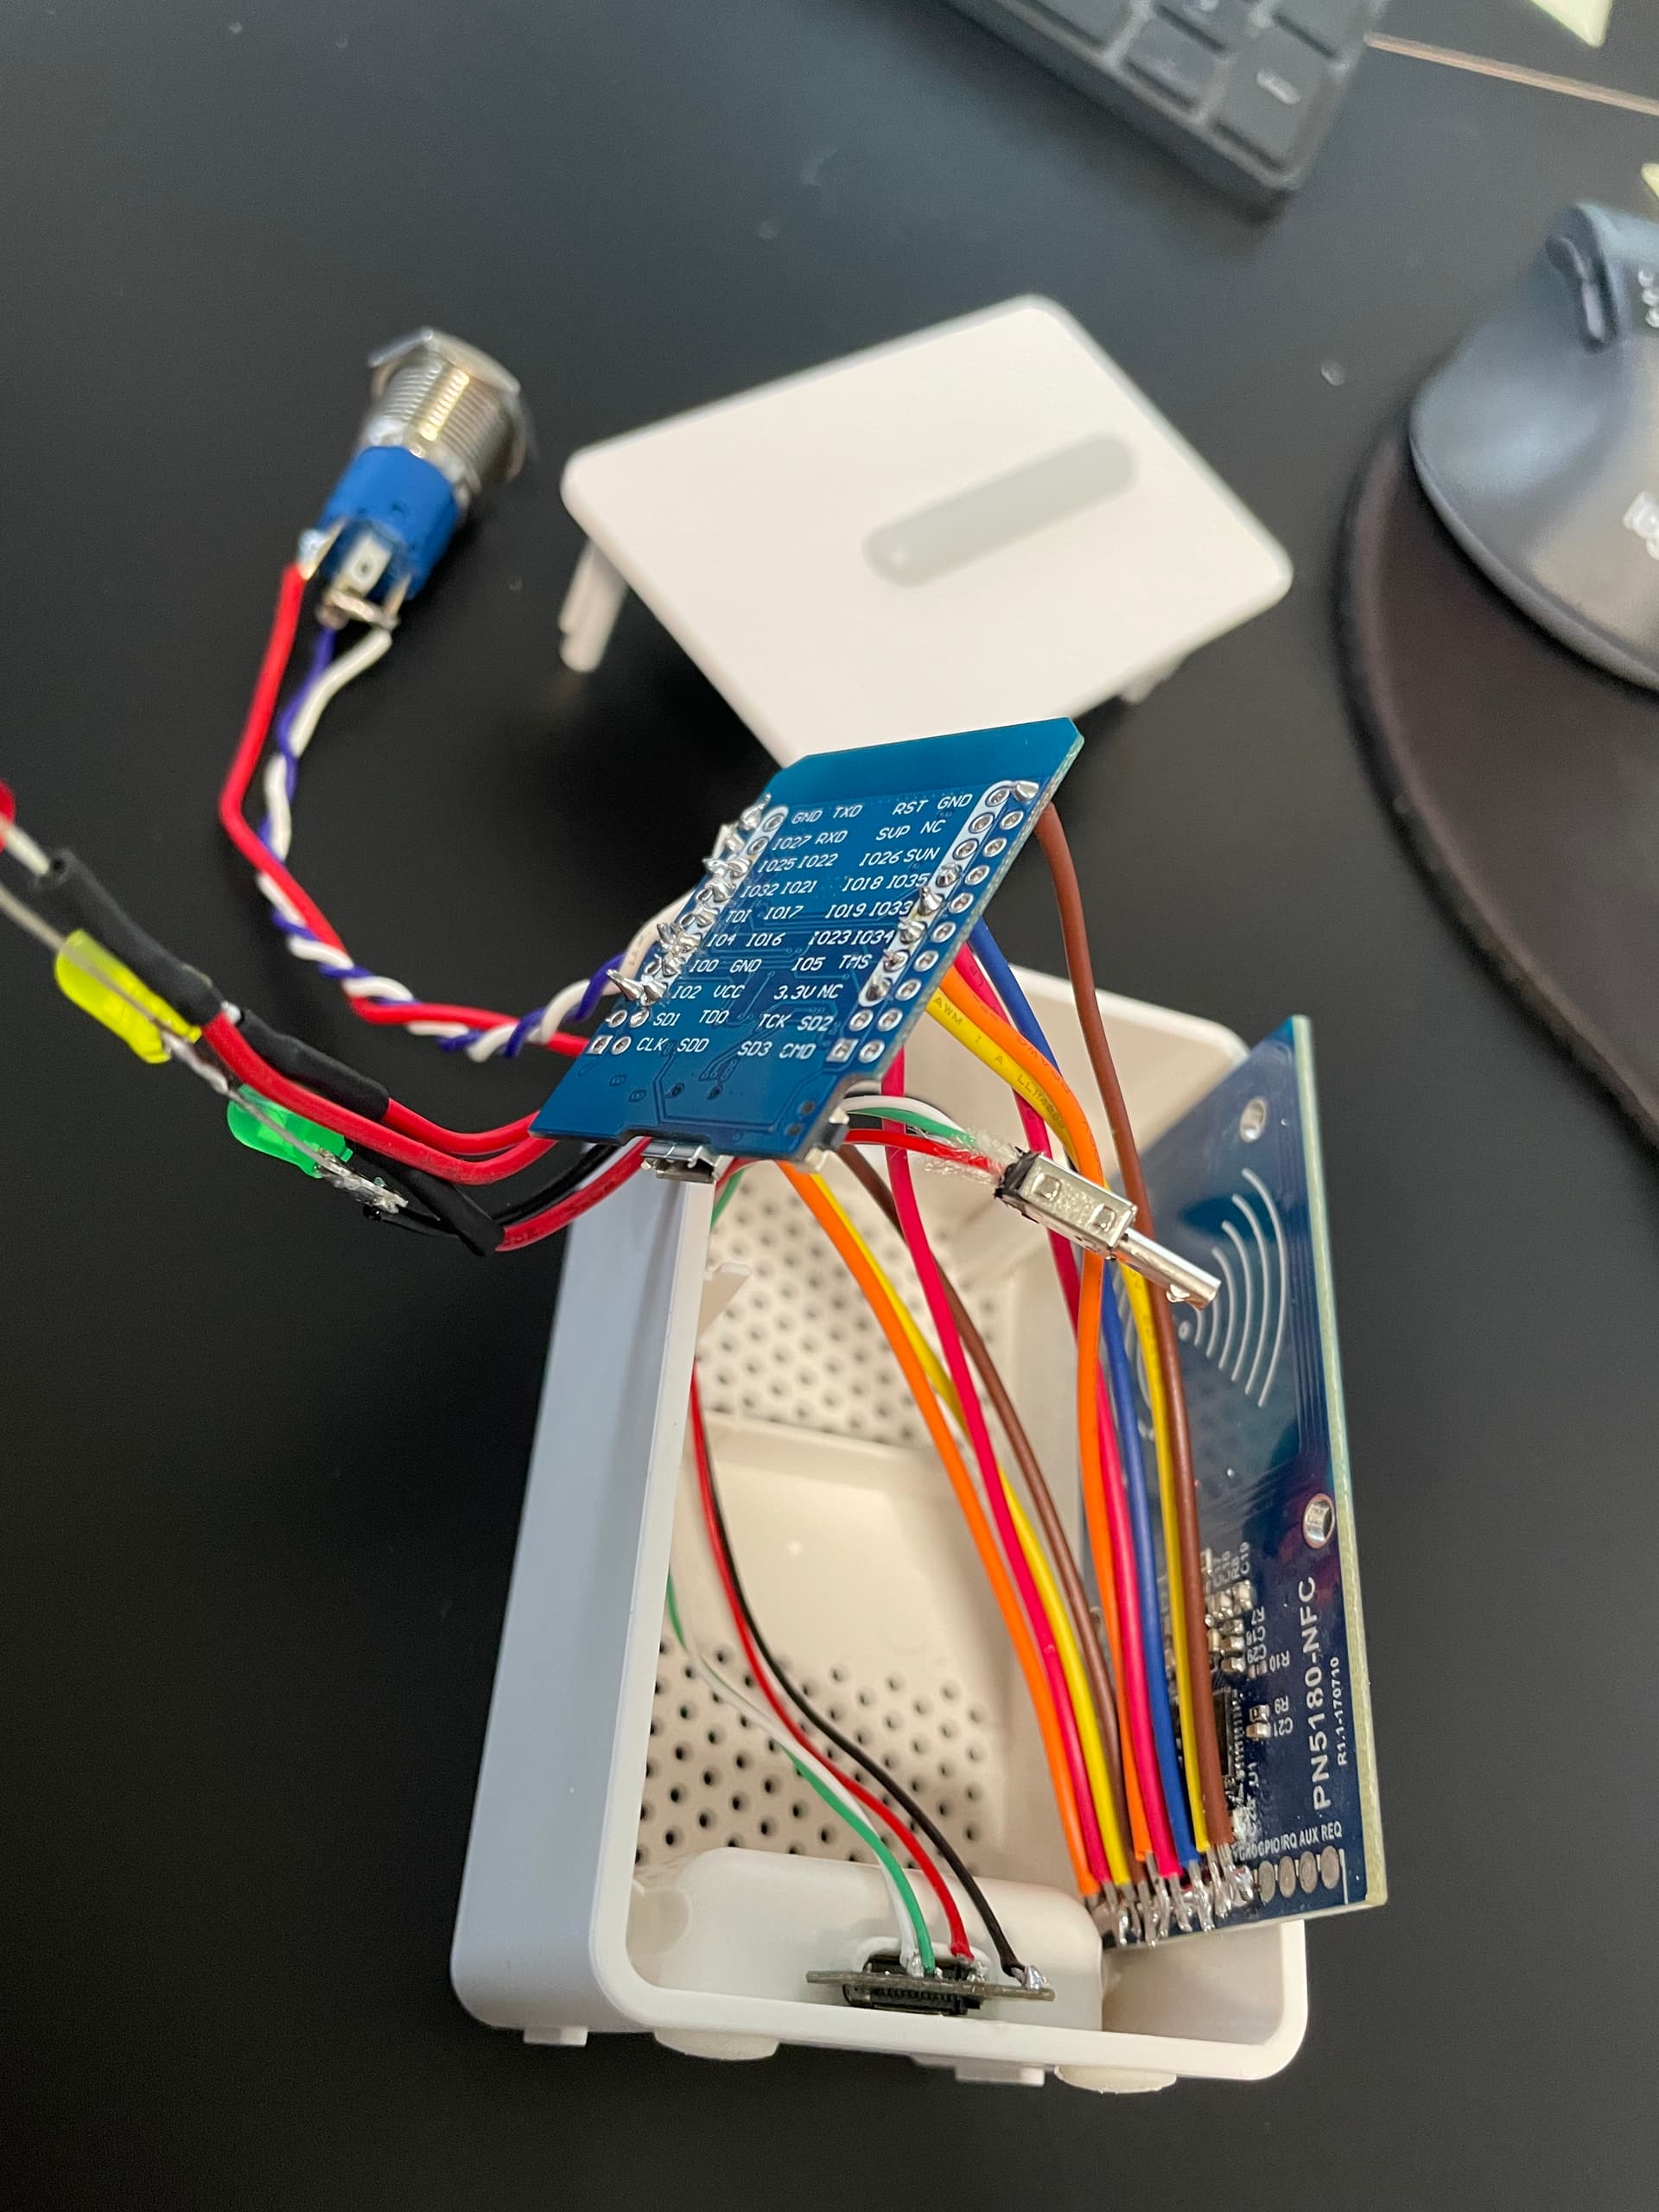
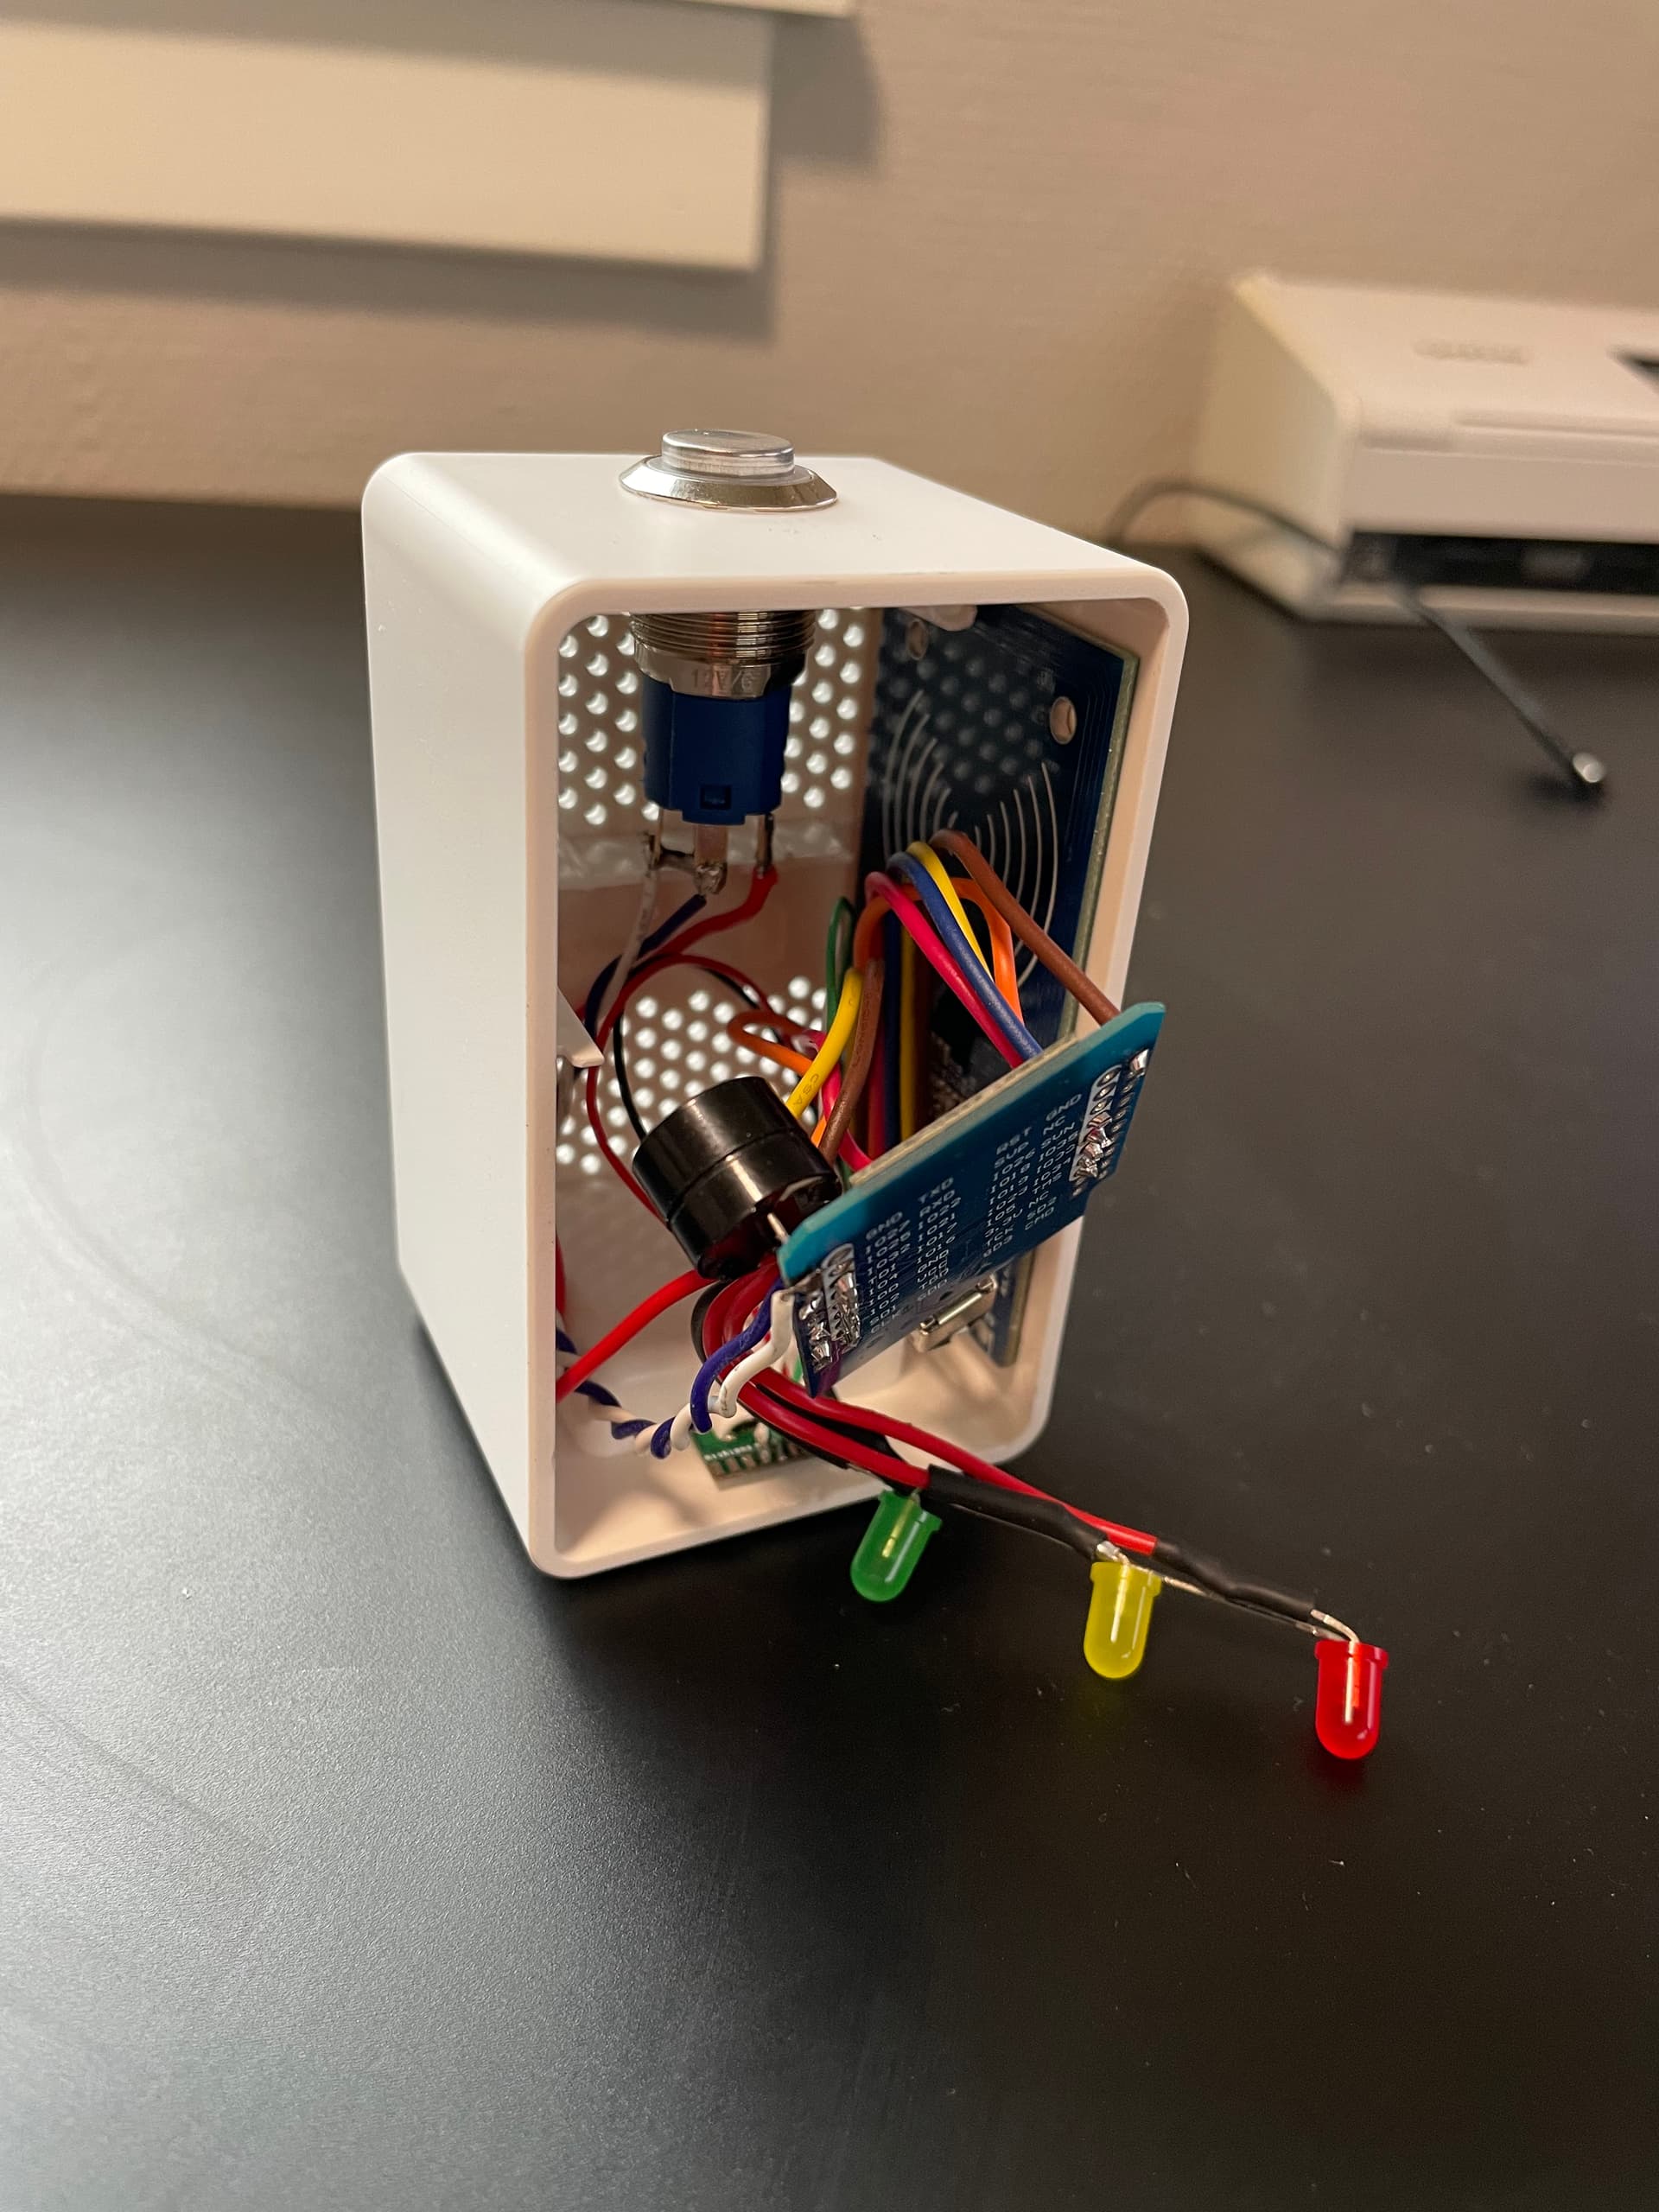
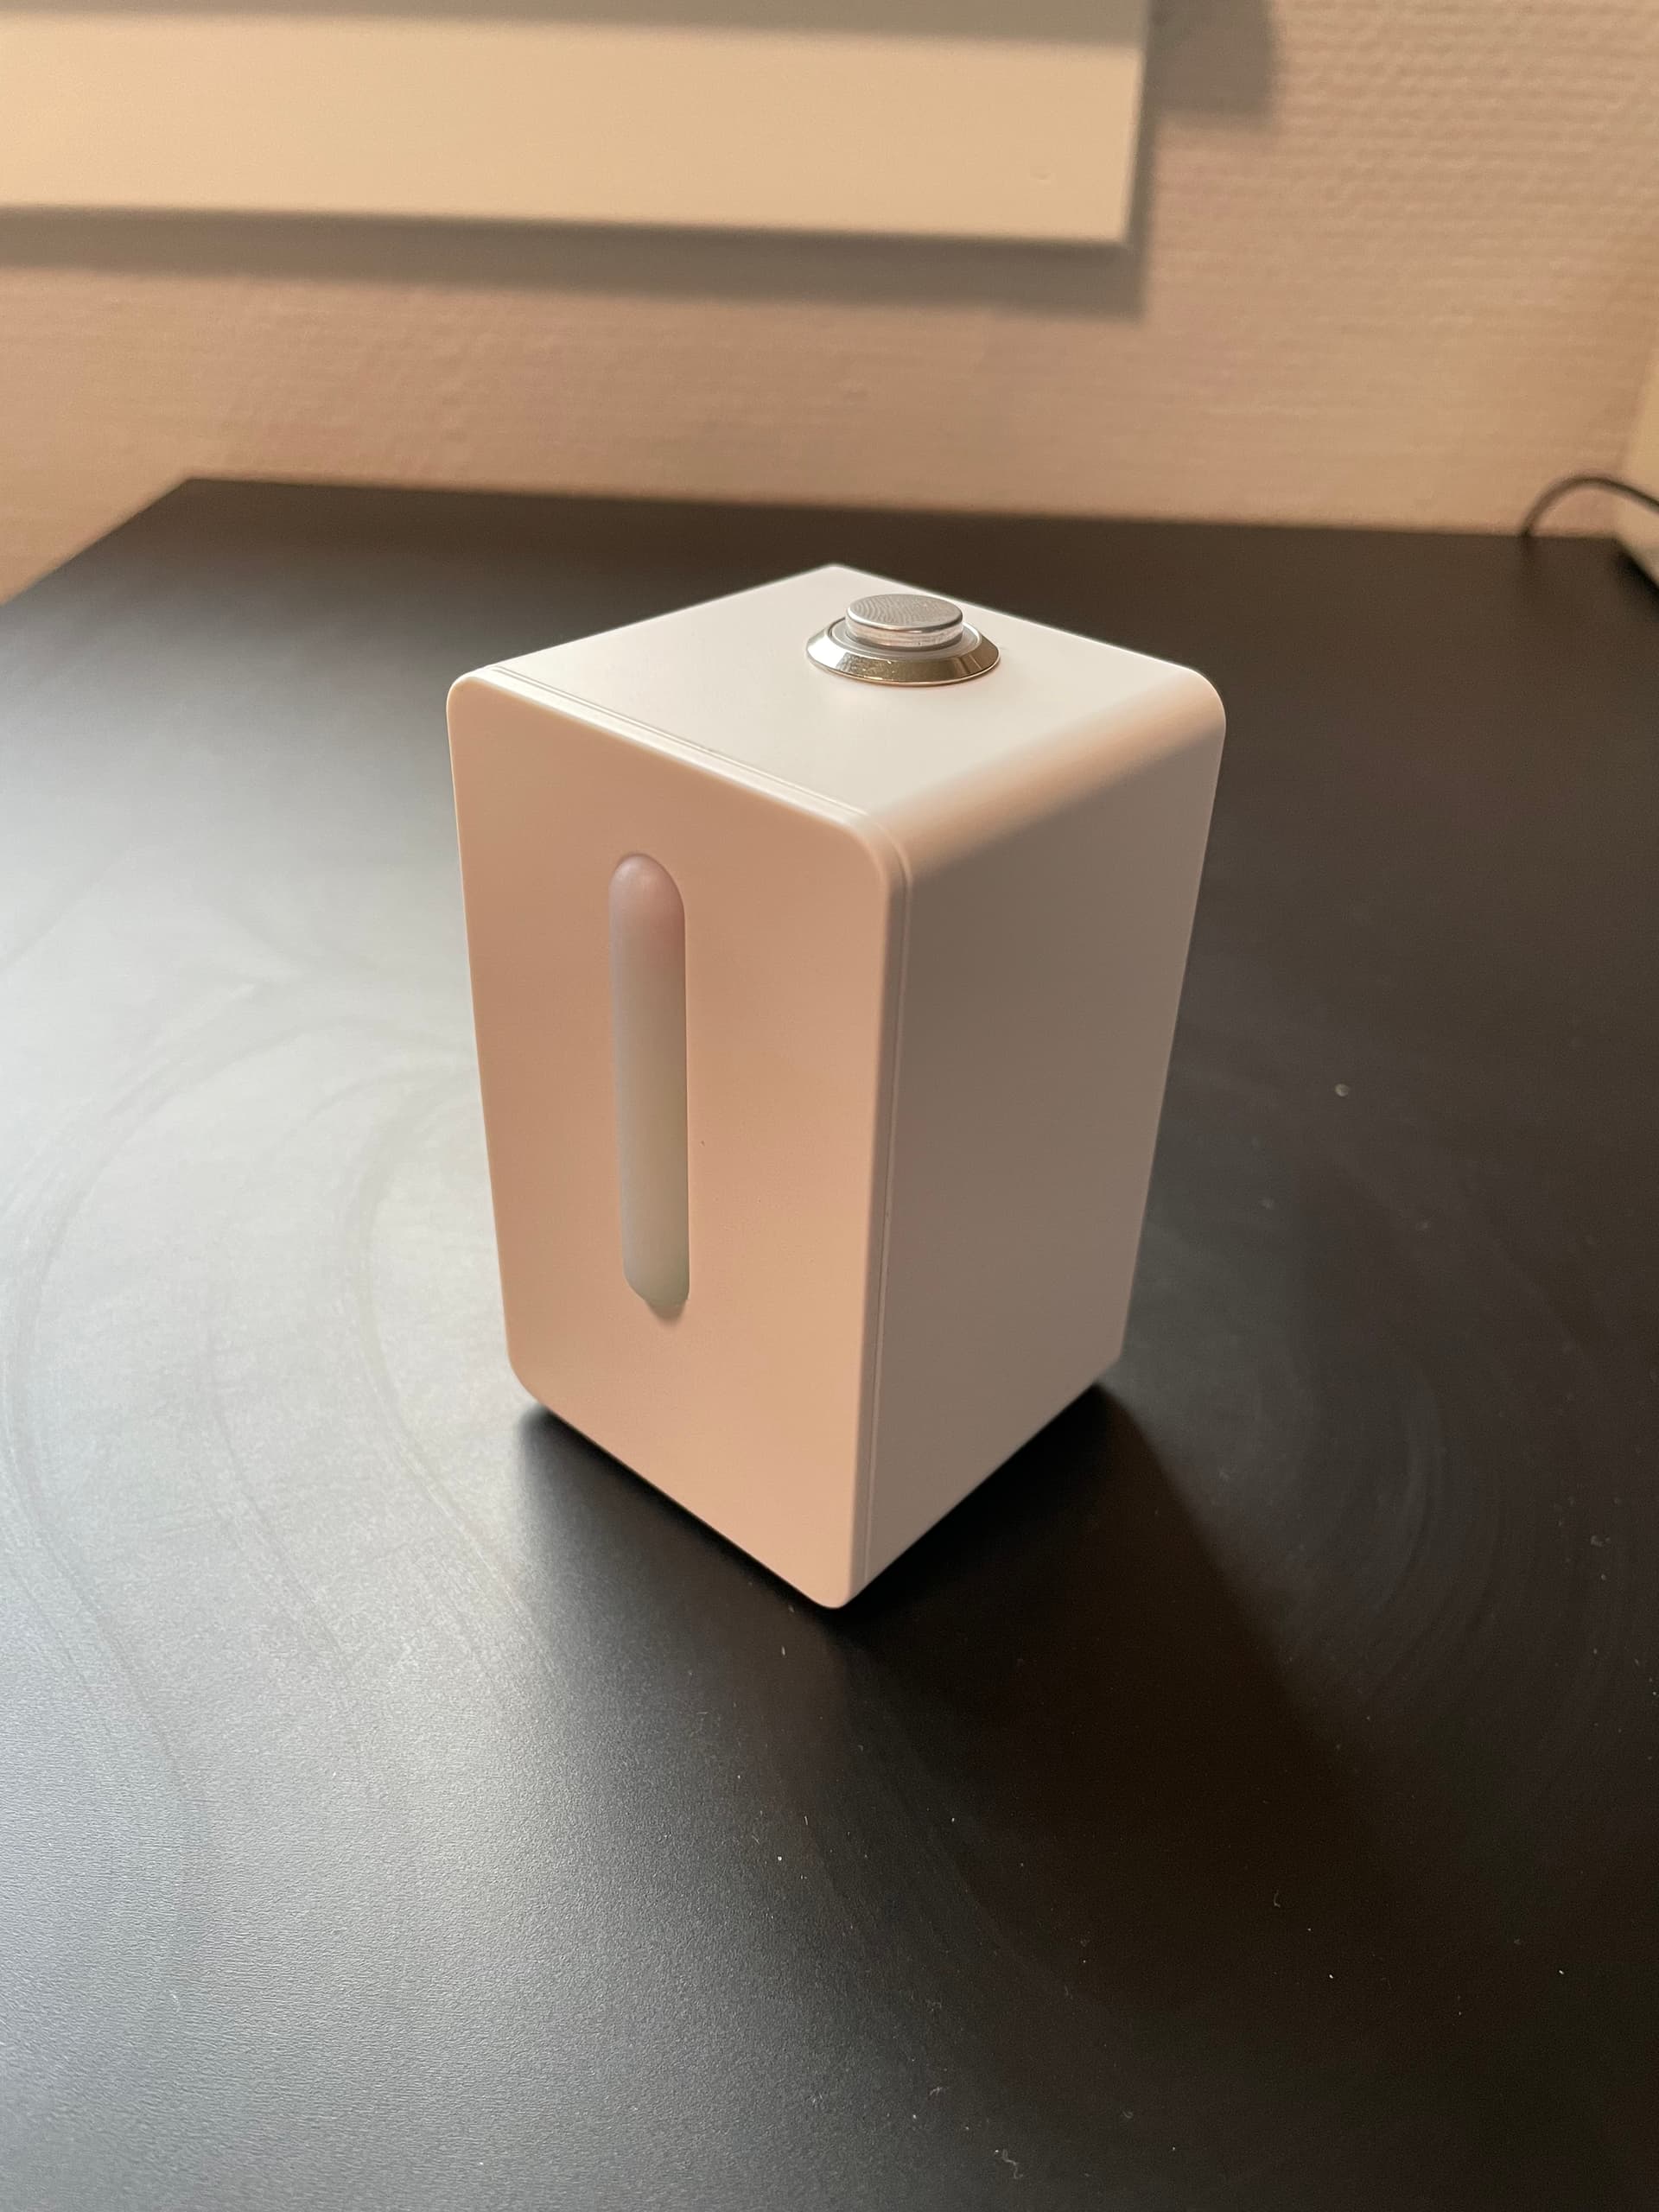
I have tried quite a lot of readers for my NeXT tag now, and most perform similarily. Except for the latest one, the PN5180. The range towards my implanted NeXT chip is about the double compared to the other readers, at about 2cm. This is very good in my experience. That’s why I of course needed to make a keyboard wedge of this one as well. This time around I decided to make a proper enclosure, and also add some functionality. The case I’ve used is a decommisined IKEA Vindriktning, and the wedge now supports reading three different passwords from the chip. What password are read, is selected with the button on top. Password one lights the green bottom light, password two lights yellow in middle, number 3 lights red on top.
The light on the button signals bluetooth connection with computer.
Password is stored on chip in NDEF records format [1XYZPassword$] for password 1 (2/3XYZ for pwd 2/3).
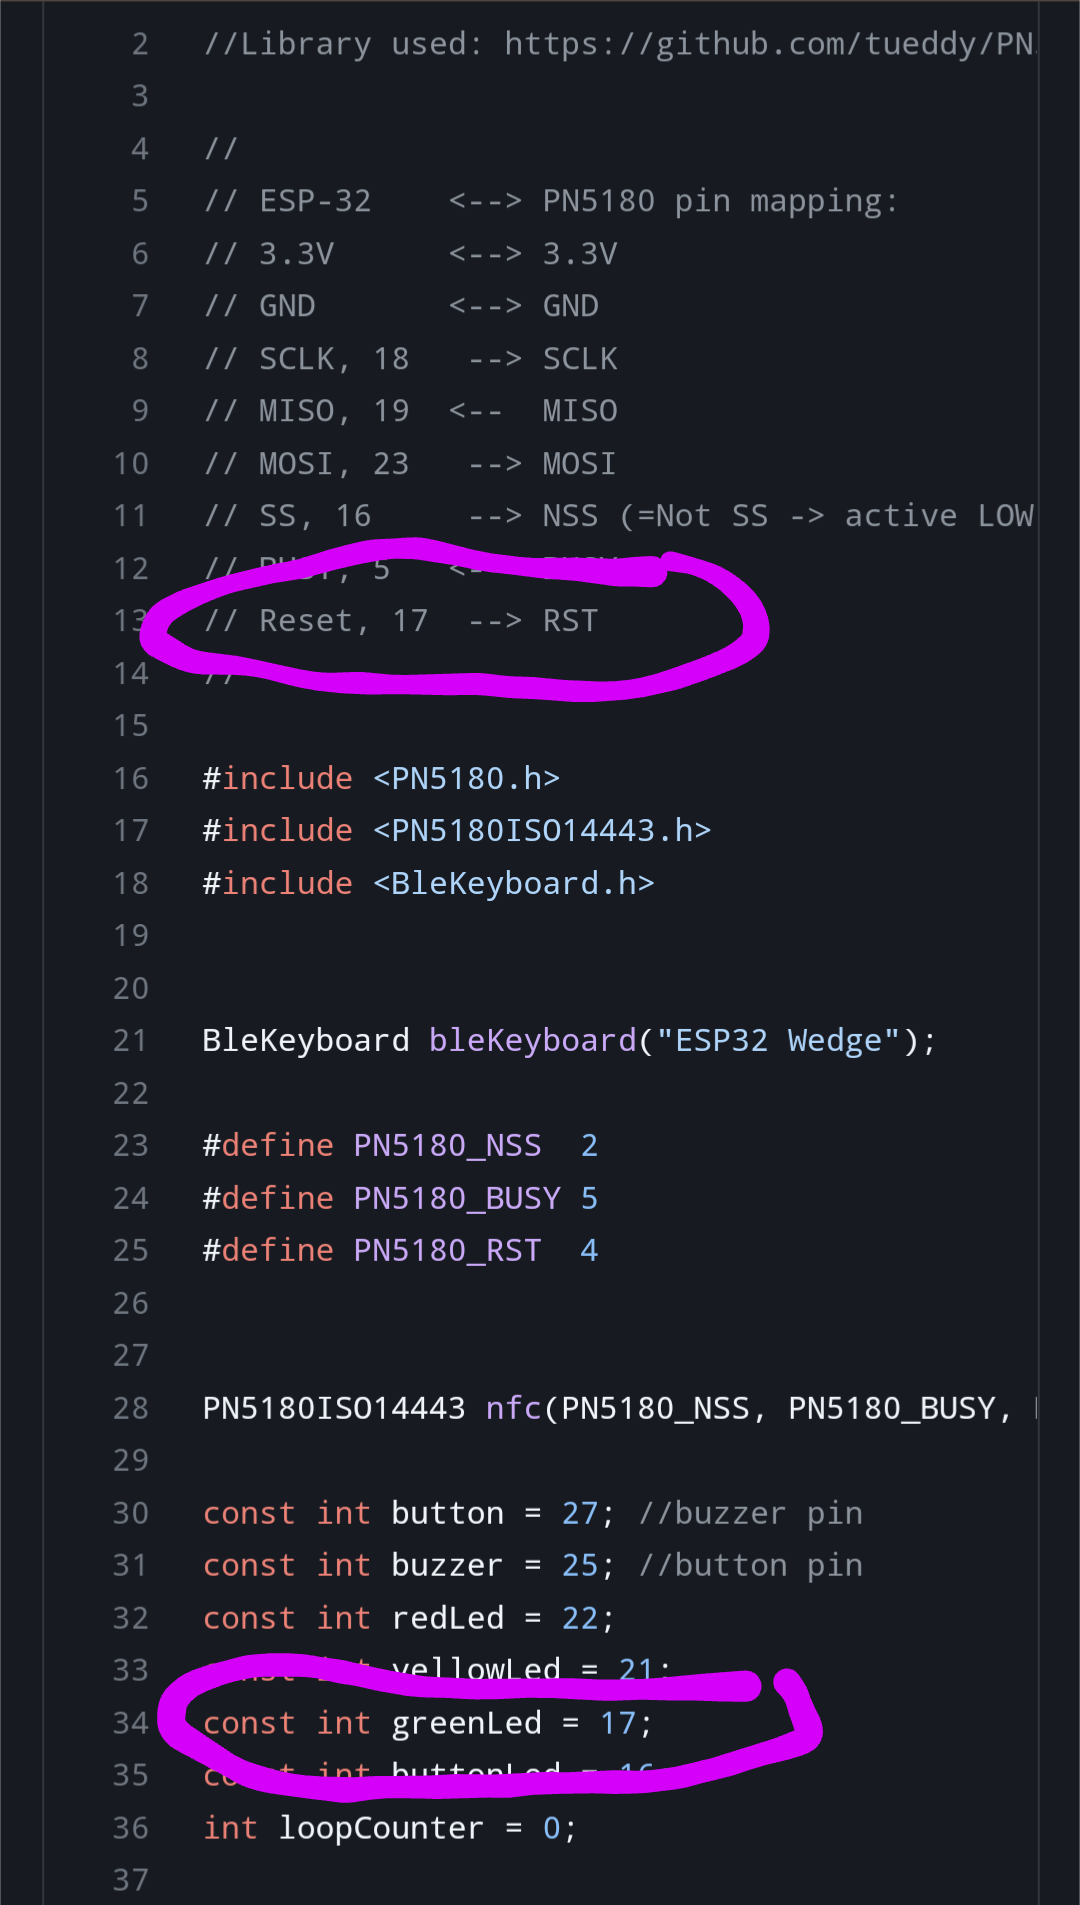
The code is here: GitHub - erikkt/PN5180-esp32-keyboard-wedge
The code is not completely finished, still have some bugs and room for improvement.
Library I have used for this project is this one: GitHub - tueddy/PN5180-Library: PN5180 library for Arduino