The "hot wire" blue cloner mod

In the interest of minimizing the risk of tearing when programming a T5577 with my blue cloner, and to avoid opening the enclosure each and every time I want to use it to expose the coil, I modified it to put half of the coil on the outside and edgewise, to make it easy to “slash across” the implant orthogonally and as close as possible. Check it out:

My blue cloner sort of looks like a hot wire cutter now, hence the title of this thread.

I took a few pictures of the construction if anybody’s interested. But I have to head out and do the groceries right now, before the missus gets truly annoyed with me :slight_smile:

5 Likes

Definitely!

2 Likes

Okay. Here goes:

First of all, free up the coil from the hot melt. For that you need a heat gun with a narrow nozzle, and a quick hand, to melt the glue without melting the lower clamshell:

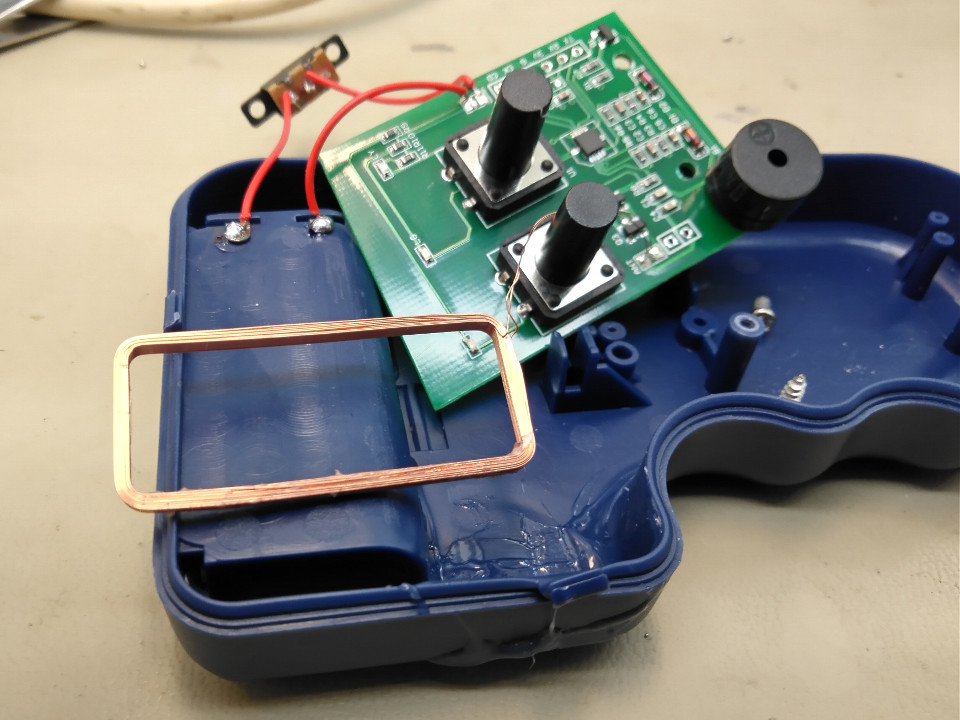
The coil is rather rigid and the loops are glued together. It’s rather stiff and solid. No worries there. The leads aren’t though, so be extra-careful.

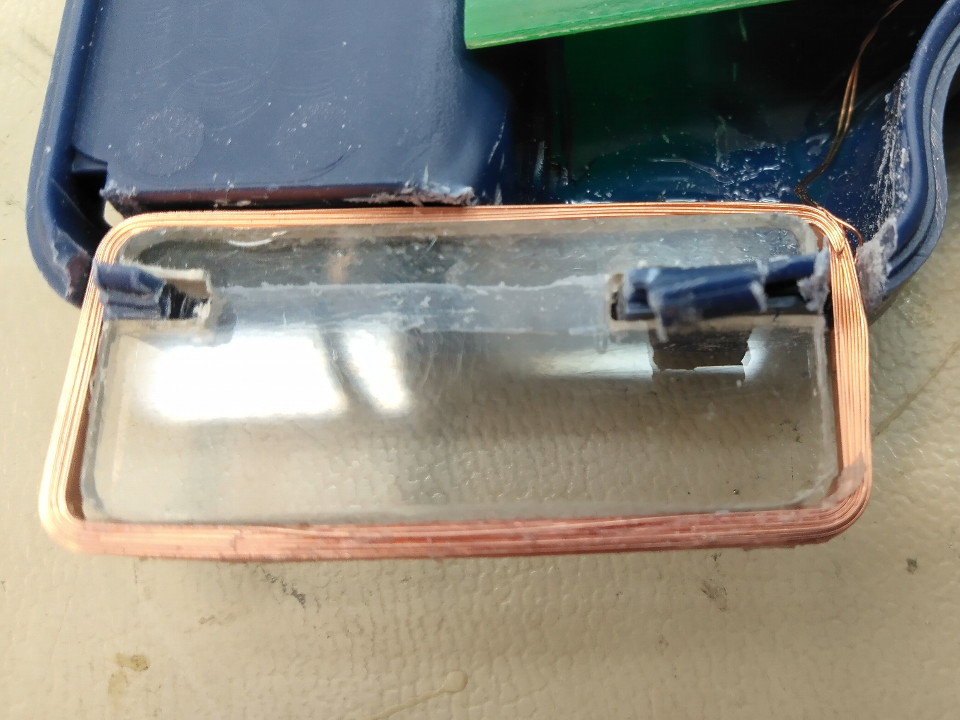
Then make a plastic plate with notches that the coil fits into. I used 3mm thick plexiglass. My coil’s inner dimensions are 34mm x 15mm, but YMMV I guess. The notches are 2.3mm in width (thickness of the clamshell’s wall). One of the notches is 12mm long to keep the tab intact, the other can be shorter.

Check that the coil’s fit is an interference fit, so it’ll stay put:

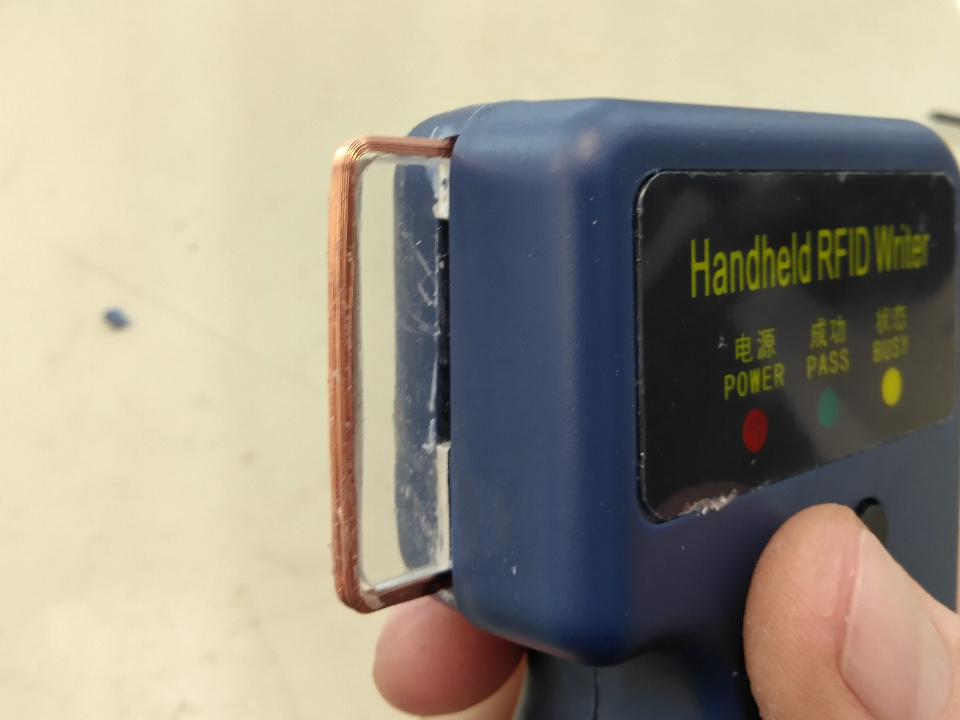
Then make a suitable notch in the lower clamshell and check that the notches in the plexiglass plate fit with interference also:

Then saw make 2 more notches at each side of the plexiglass plate in the clamshell (1.5mm wide) for the short sides of the coil, and mount everything:

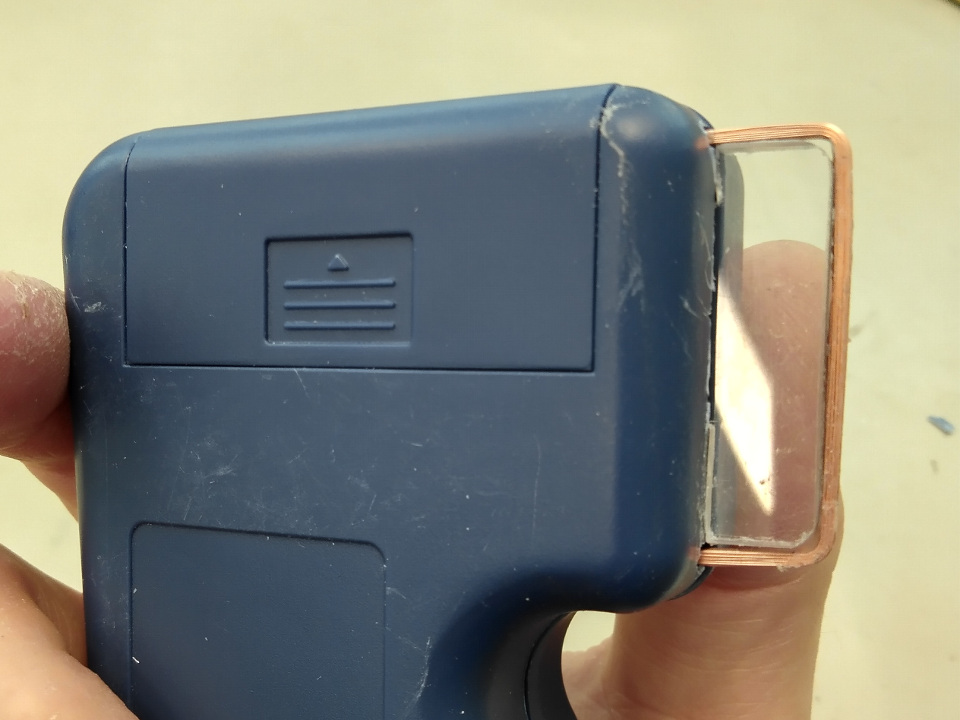
Add a drop of glue here and there to keep things in place, reassemble the PCB, close the clamshell and you’re done :slight_smile:

You’ll need needle files for the narrow notches in the plexiglass and in the clamshell, and a sharp x-acto knife to make the main notch in the clamshell. If you’re handy with tools, it takes about an hour.

5 Likes

Cool! I did something similar, where I removed the internal coil entirely and replaced it with an external cylindrical one. It works a lot better for reading/writing to implants but not for much else.

1 Like

@anon3825968
Meant to ask when I read this originally,
Does this still read cards decently?

Mine is very similar setup to Rosco, but I went out the side rather than the front.
no noticeable difference in reading cards or fobs (I onky tested on one card and one fob) but I didn’t even try to rewrite to my NExT

UPDATE (I dug out my cloner and have taken some photos )


Only hesitation before I pull the trigger on a blue cloner, how much of a pain is the password?

I have a proxmark easy, and can more or less make it work, just curious how hard it is to unpassword a chip?

Yeah sure. It “uses” roughly half of the field to power the card, but card coils are plenty large enough to get enough power.

To be honest, I bought the blue cloner to hack it around and have a bit of fun. But I’d never use it on any of my implants if I have the Proxmark around. Too dangerous. And yeah… password.

I figured the blue cloner with mod would be safe enough, and more portable than a proxmark easy

Safe enough, yes. But safer than my PM3 RDV4 with the ProxLF coil? Certainly not. I don’t know about the PM Easy though: it’s possibly safer than a regular, non-ProxLF coil.

And there’s another thing: maybe it’s just me, but I just don’t encounter very many readers that the blue cloner is compatible with. So I have to use the PM3 anyway, because it’s the only reader that handles everything. But it’s probably just because of where I live and what’s mostly used around here.

As for portability, do you often have to program your implant on the road? :slight_smile:

Given I have yet to transcend to the heights of cyborg, none (get stabbed Saturday)

But I figure it would be nice to have something in my car on the off chance I run into something and quickly want to rewrite/clone/emulate something for halarity

Where I live, I feel like im drowning in prox

Can you post a pic? Did you buy or make the cylindrical antenna?

So I was digging through my draw of bits and saw my blue cloner.
I thought somebody might like to see some photos.


I chose to go out the side for no particular reason, I did mine pretty much straight after I got it, Did a test read and write on a card and a fob and it has lived in my draw ever since.

It only protrudes about 5mm, but it is very easy to use ( not that I have ever used it on an implant ).
If I had seen Roscos one first, I may have gone out the front, but the side was super quick, easy and effective.

The battery compartment is a perfect cutting guide and length and with of the casing is slightly larger than the antenna.
I used a plastic cutting disc on the dremel and the width of the hole is approx. 2 discs wide

This mod took me maybe 5 mins:-
1 min to remove factory hot glue
2 mins with a dremel to make the slot
2 mins for hot glue gun to heat up and secure.

The antenna is quite rigid and only protrudes 5mm and doesn’t need any further support.
The hot glue inside secures it easily in place.

And back into the drawer it goes…

Anyway, just another option for people to consider

That’s pretty tidy with the coil poking out the side like you did. More compact than my own solution, that’s for sure.

Just lazy,
opened it up, thats the way it was already facing, cut a hole and poke it through, glue and done.

…I just had a thought, but need to open it up…back out of the drawer it comes…
hmmm, you could probably, easily go out the front like yours but on the top clamshell face, and sit it slightly further back.
Something like this, it would need a couple of slots to secure to the face, but a little hot glue and jobs a goodun

but you would have to careful not to break the wires if you wanted /needed to open it up again.

And back into the drawer it goes…

you know I love you, so don’t take this the wrong way, but the English term is “drawer”…

image

2 Likes

Haha, yep, how embarrassing.

Fixed now.

English is one of the most flexible languages out there. If Pilgrims wants to invent a new word, why not? It’s not so outlandish, people do it all the time. So let’s call it a draw :slight_smile:

English is odd… “to draw” can mean you are making a picture (drawing a picture) or “to draw” can also mean to pull, retract… like draw an arrow back in a bow… or pull out a “drawer” … so named because you draw (pull) it out of the dresser or countertop or whatever.