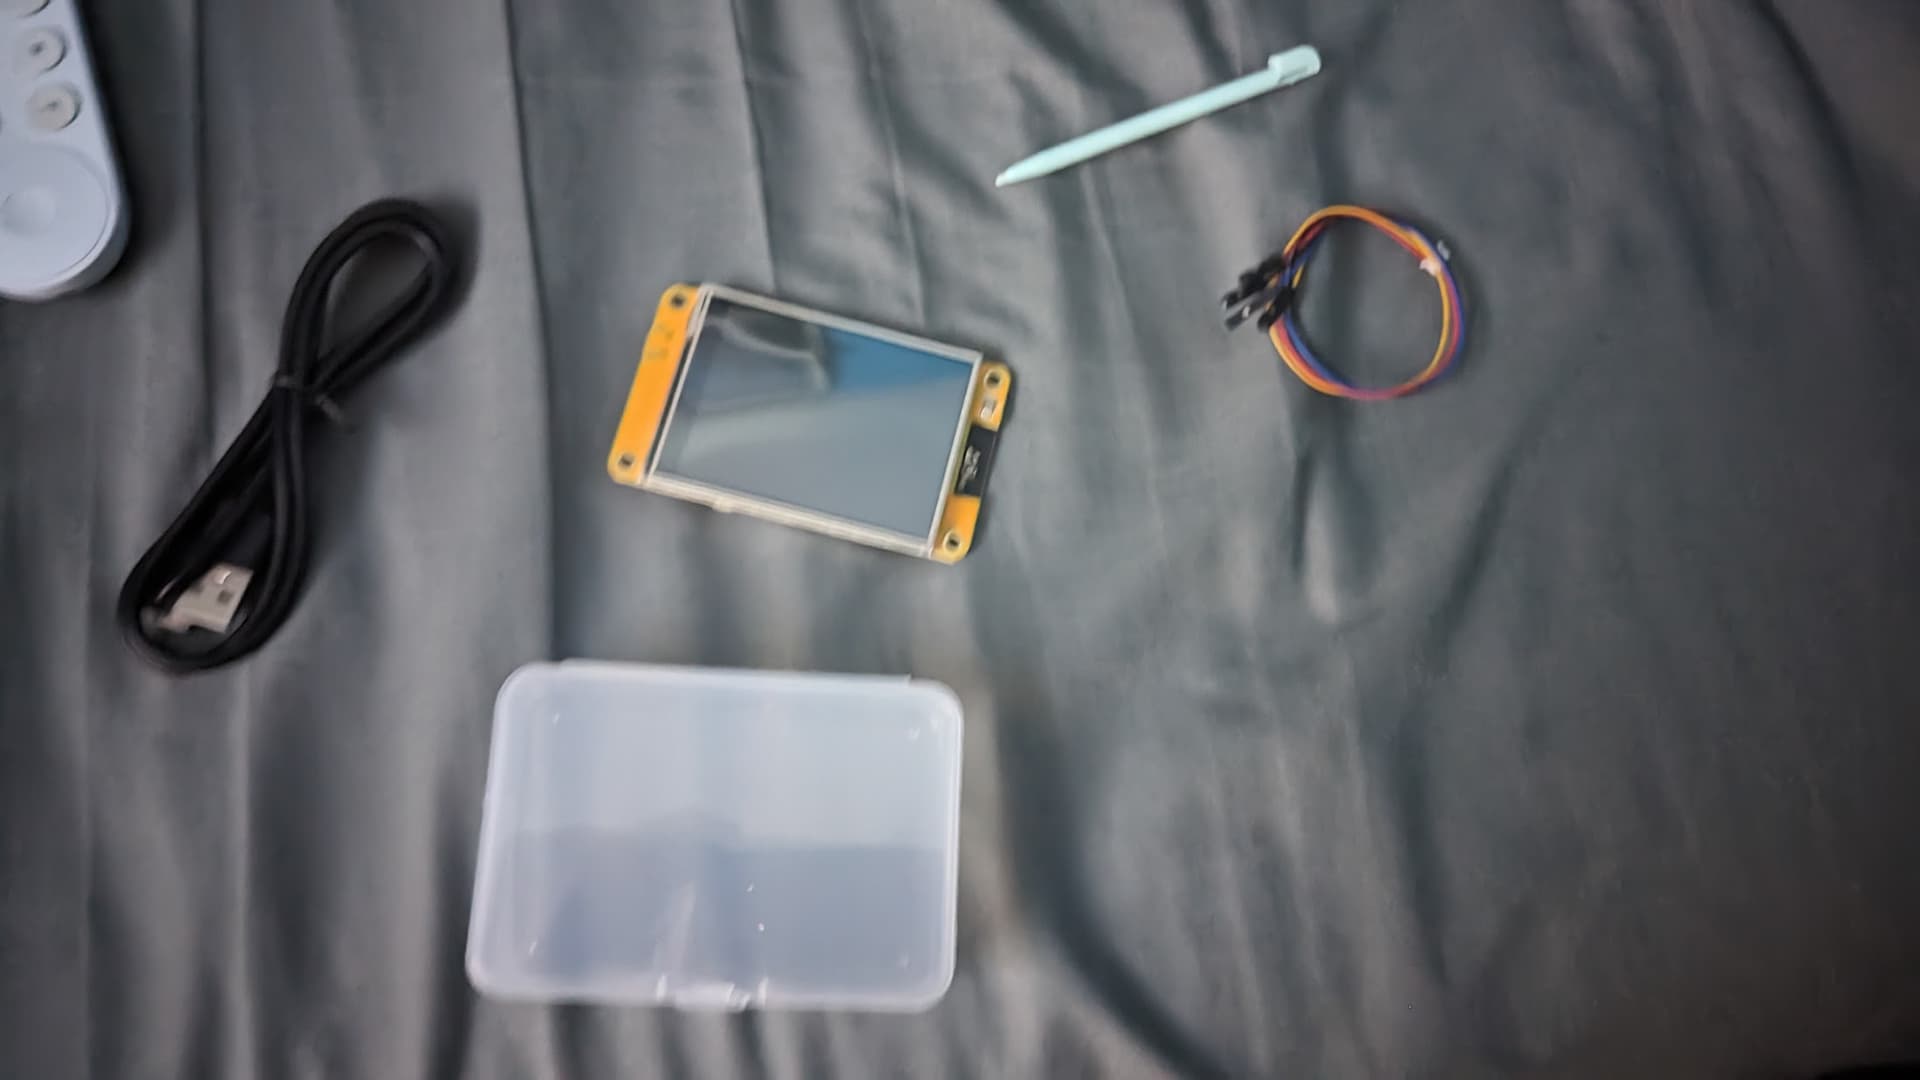
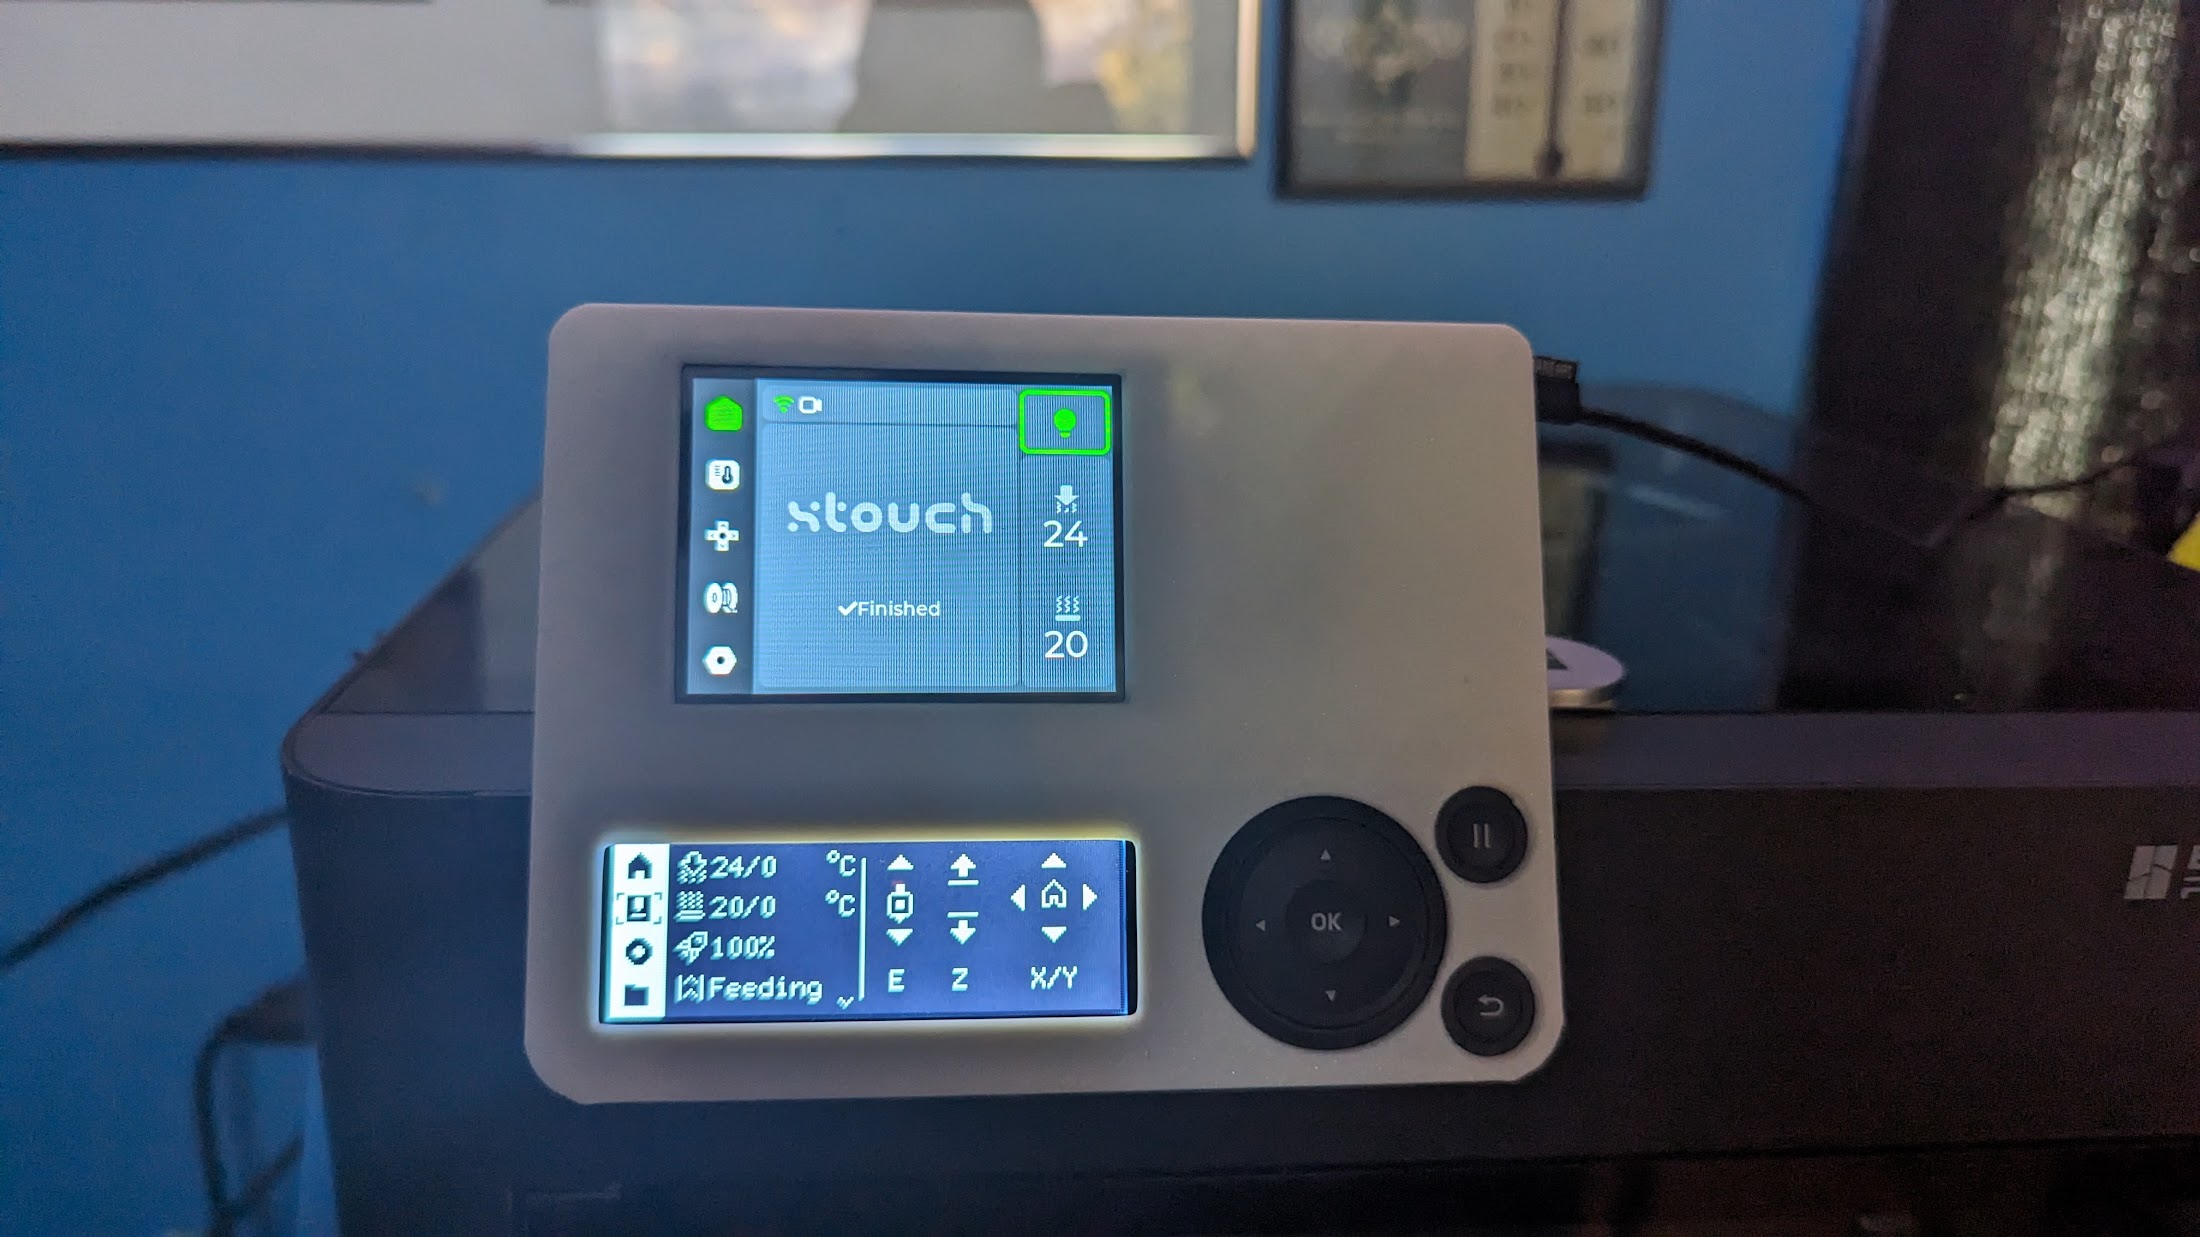
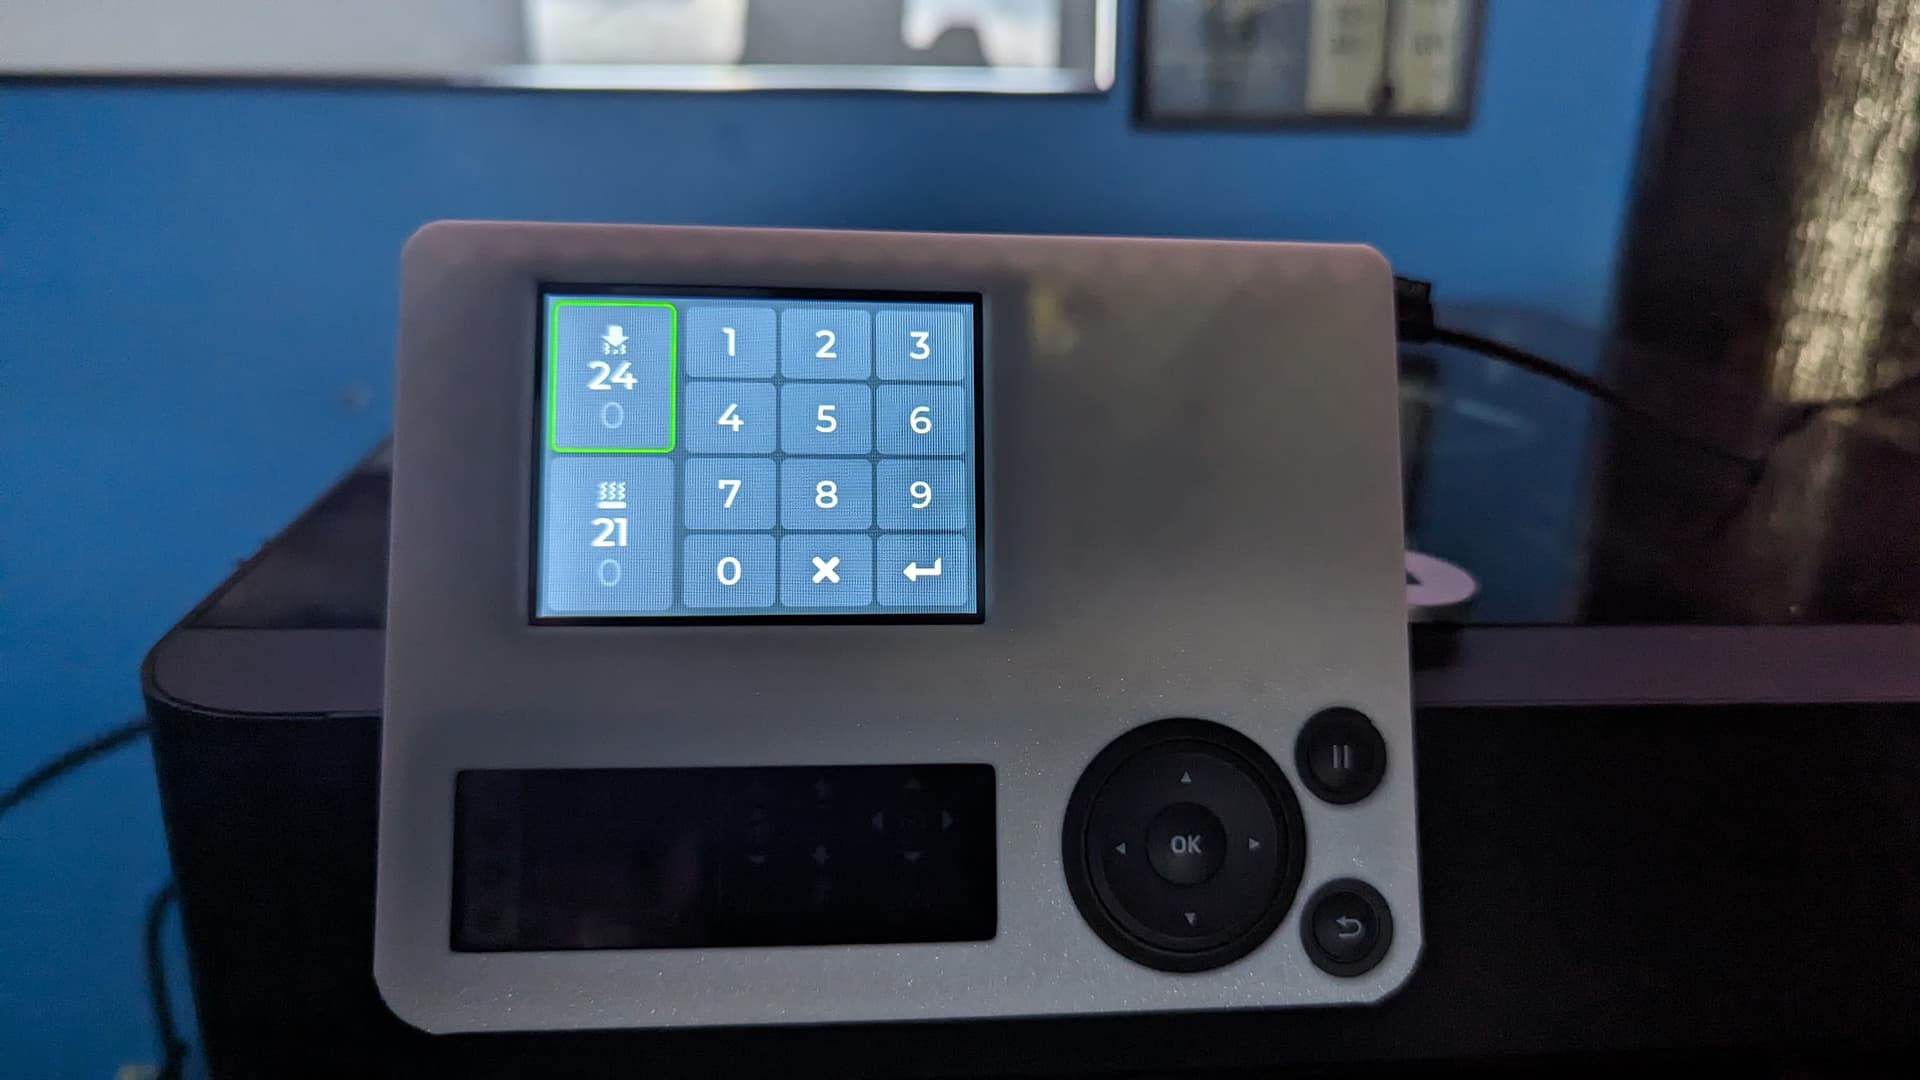
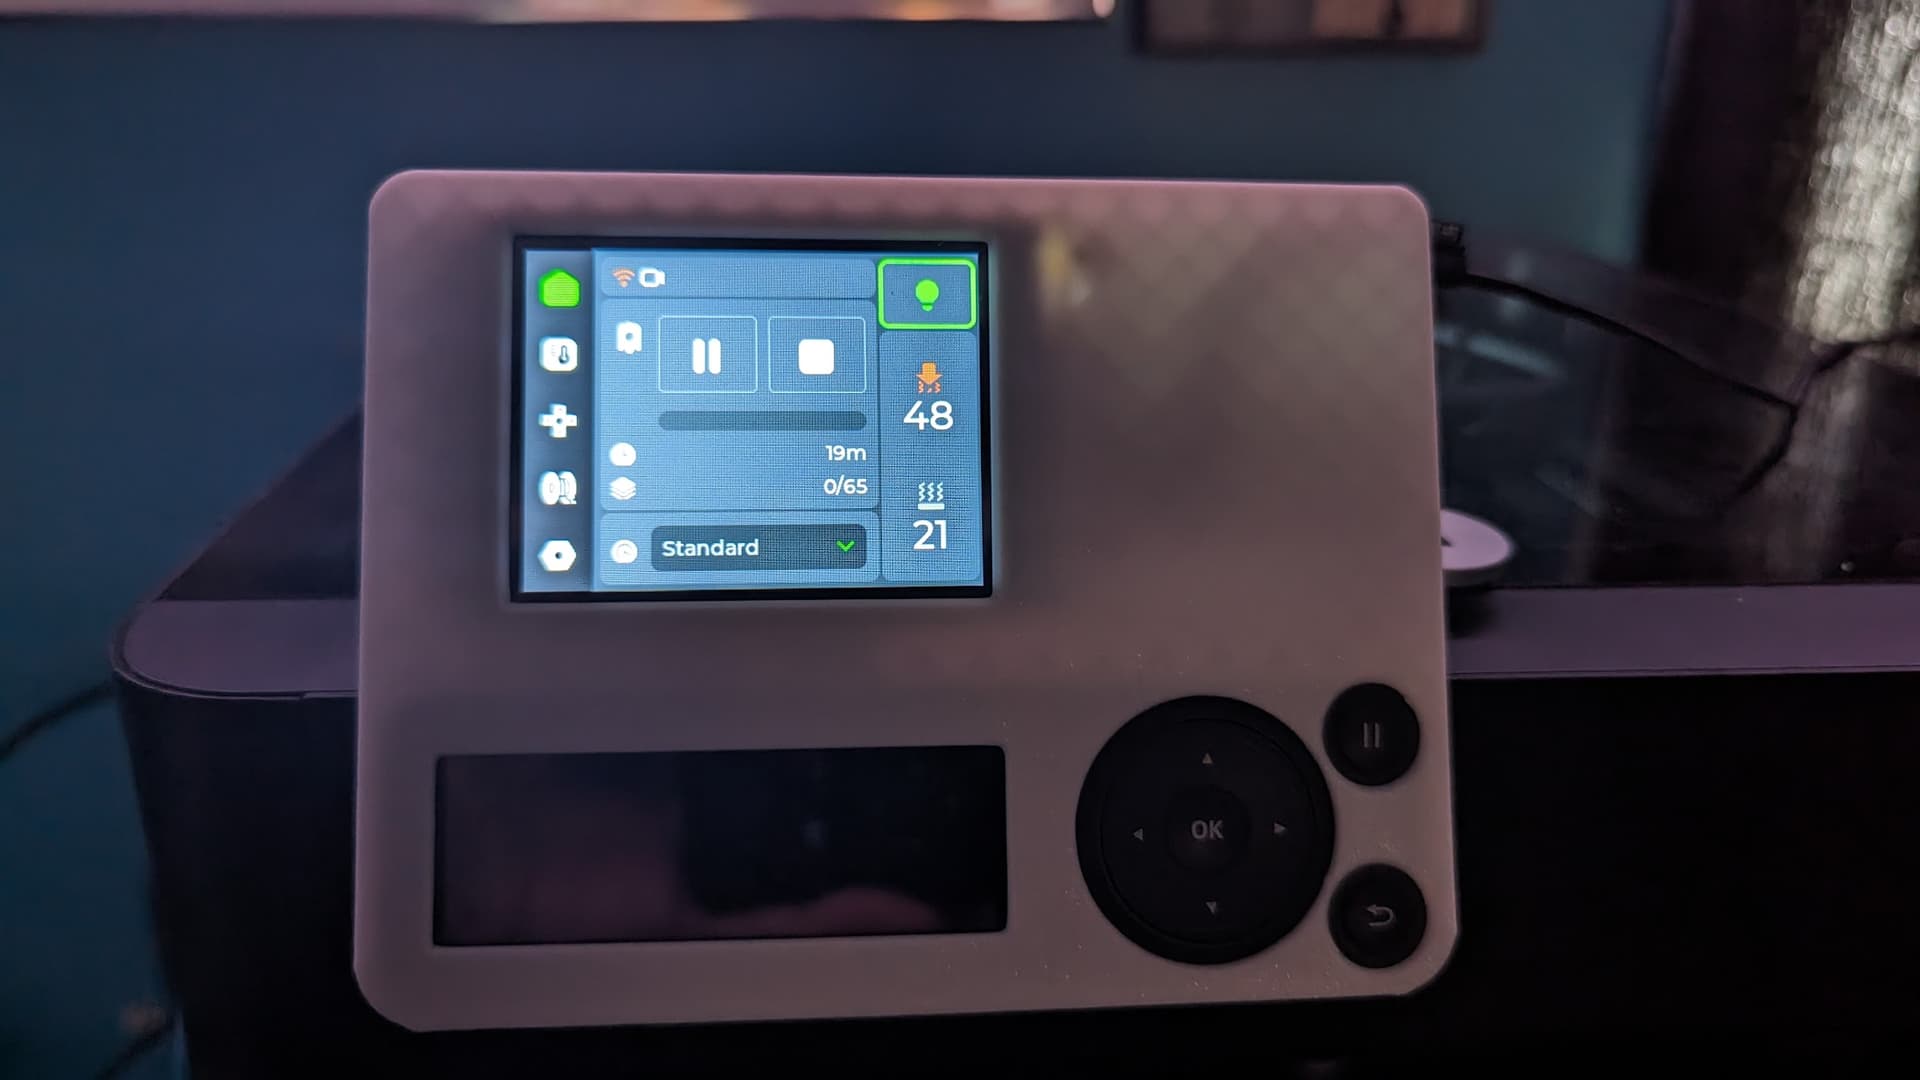
XTouch installed Was extremely easy to get it going, just had to put my wifi info on the SD card, plug it in, and flash the board via a web installer (web serial is so cool). Worked instantly, and put it in a 3D printed mount that went over my main control panel.
It’s way more responsive than I was expecting, there’s no noticeable delay.
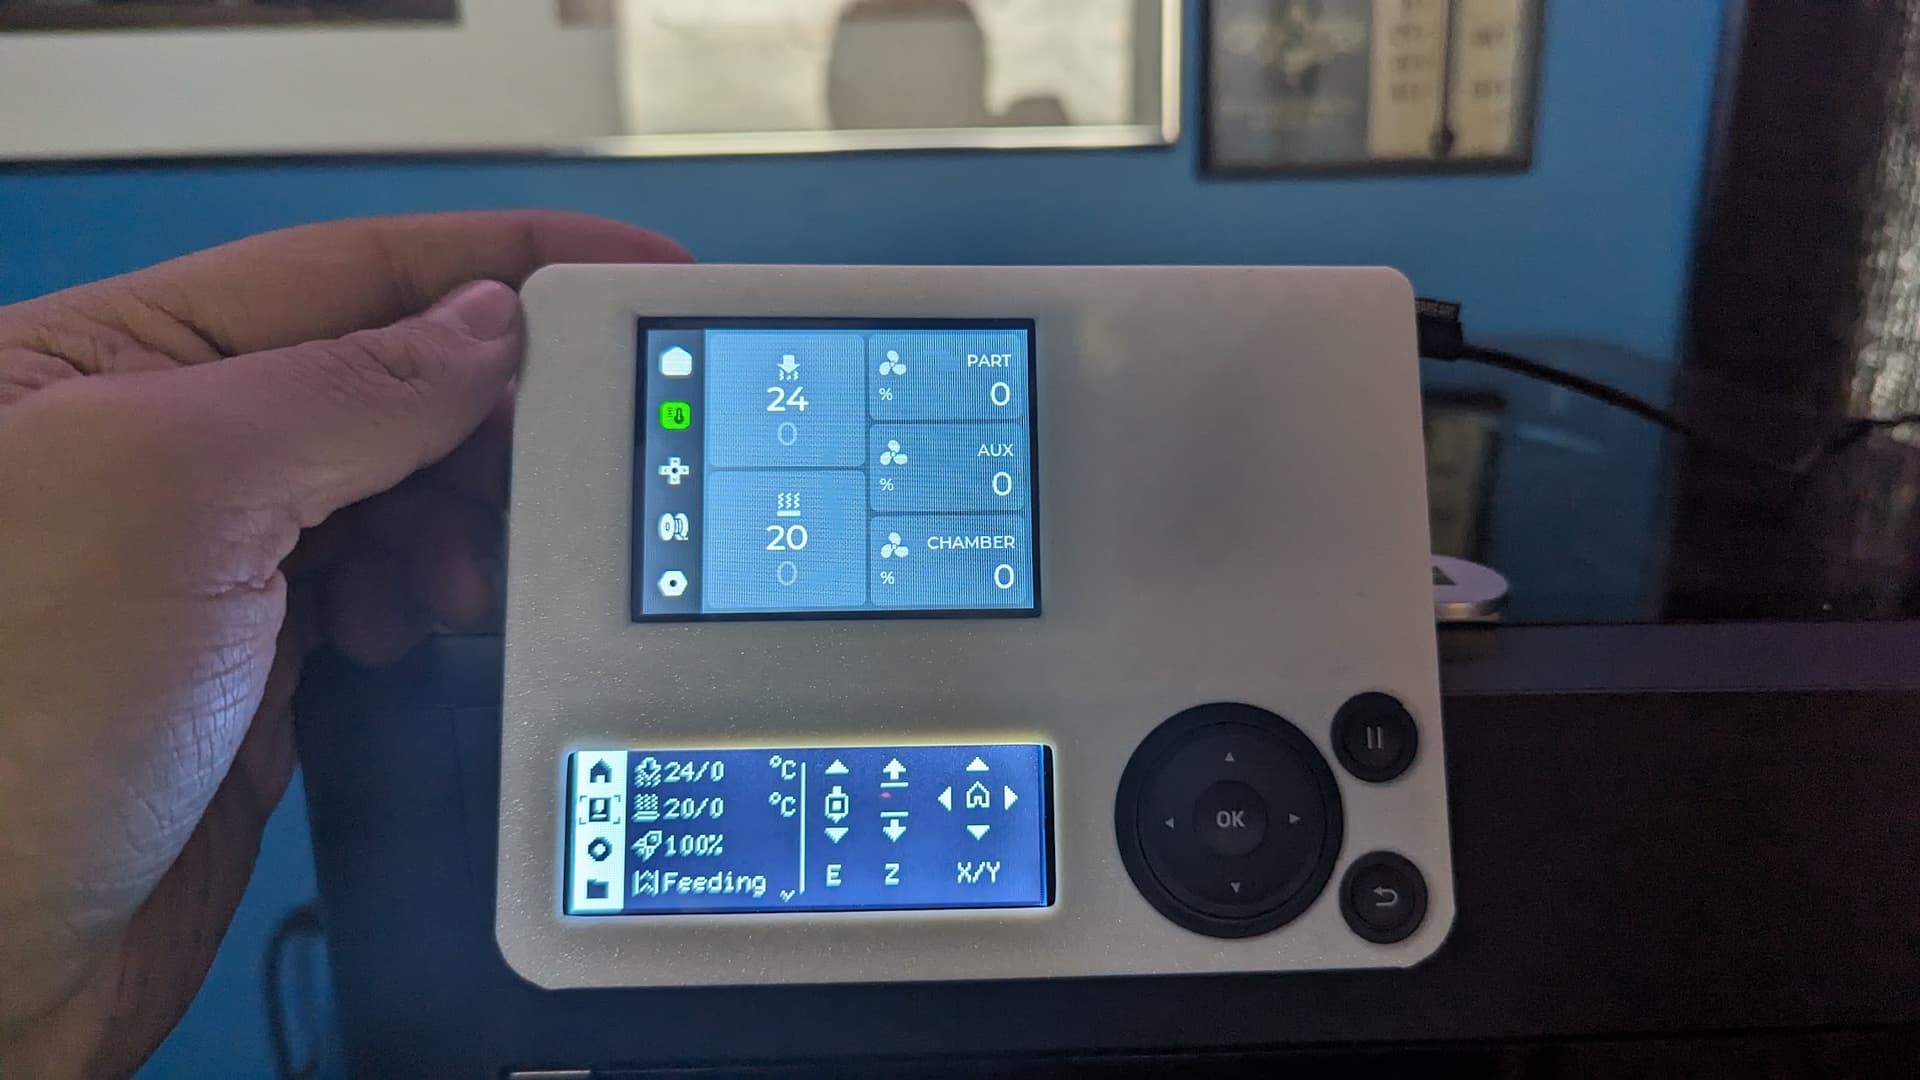
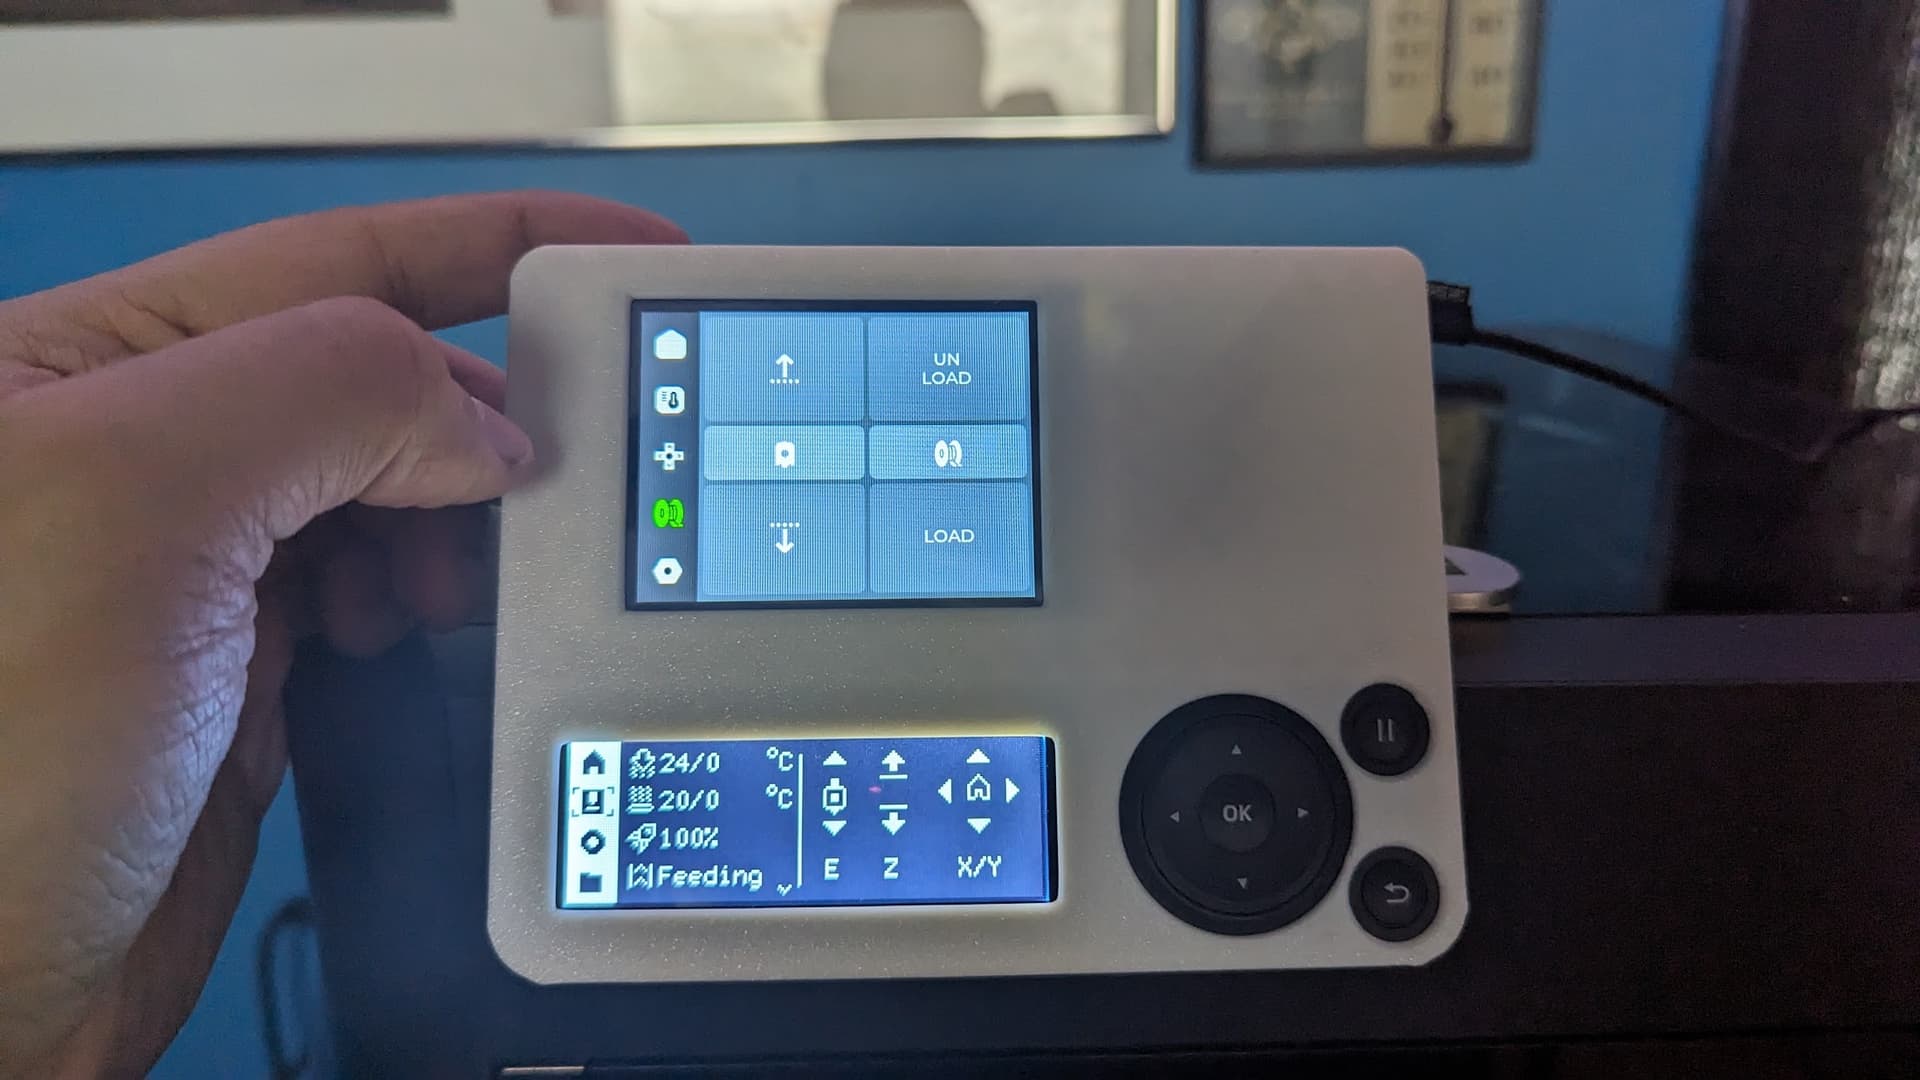
Should make it a lot easier to see print info at a glance, and much faster to set temps, extrude manually, etc.
Screen looks pretty good in person too.
Not bad, for $10-12 on aliexpress.
I’d recommend it to any P1P/P1S owner.
I love that you can route the cable through the little hole in the corner of the top of the machine, and plug it right into the built-in USB port on the inside of the printer. Makes it super clean.
(I was also using my own micro USB cable in those pics, but realized it came with one which is a lot smaller and fits much better, so once I use a ziptie on it, it’ll look great)
EDIT2: Now realizing that I could also mount this under the machine, which might work better to work things from my desk chair. Hmm…
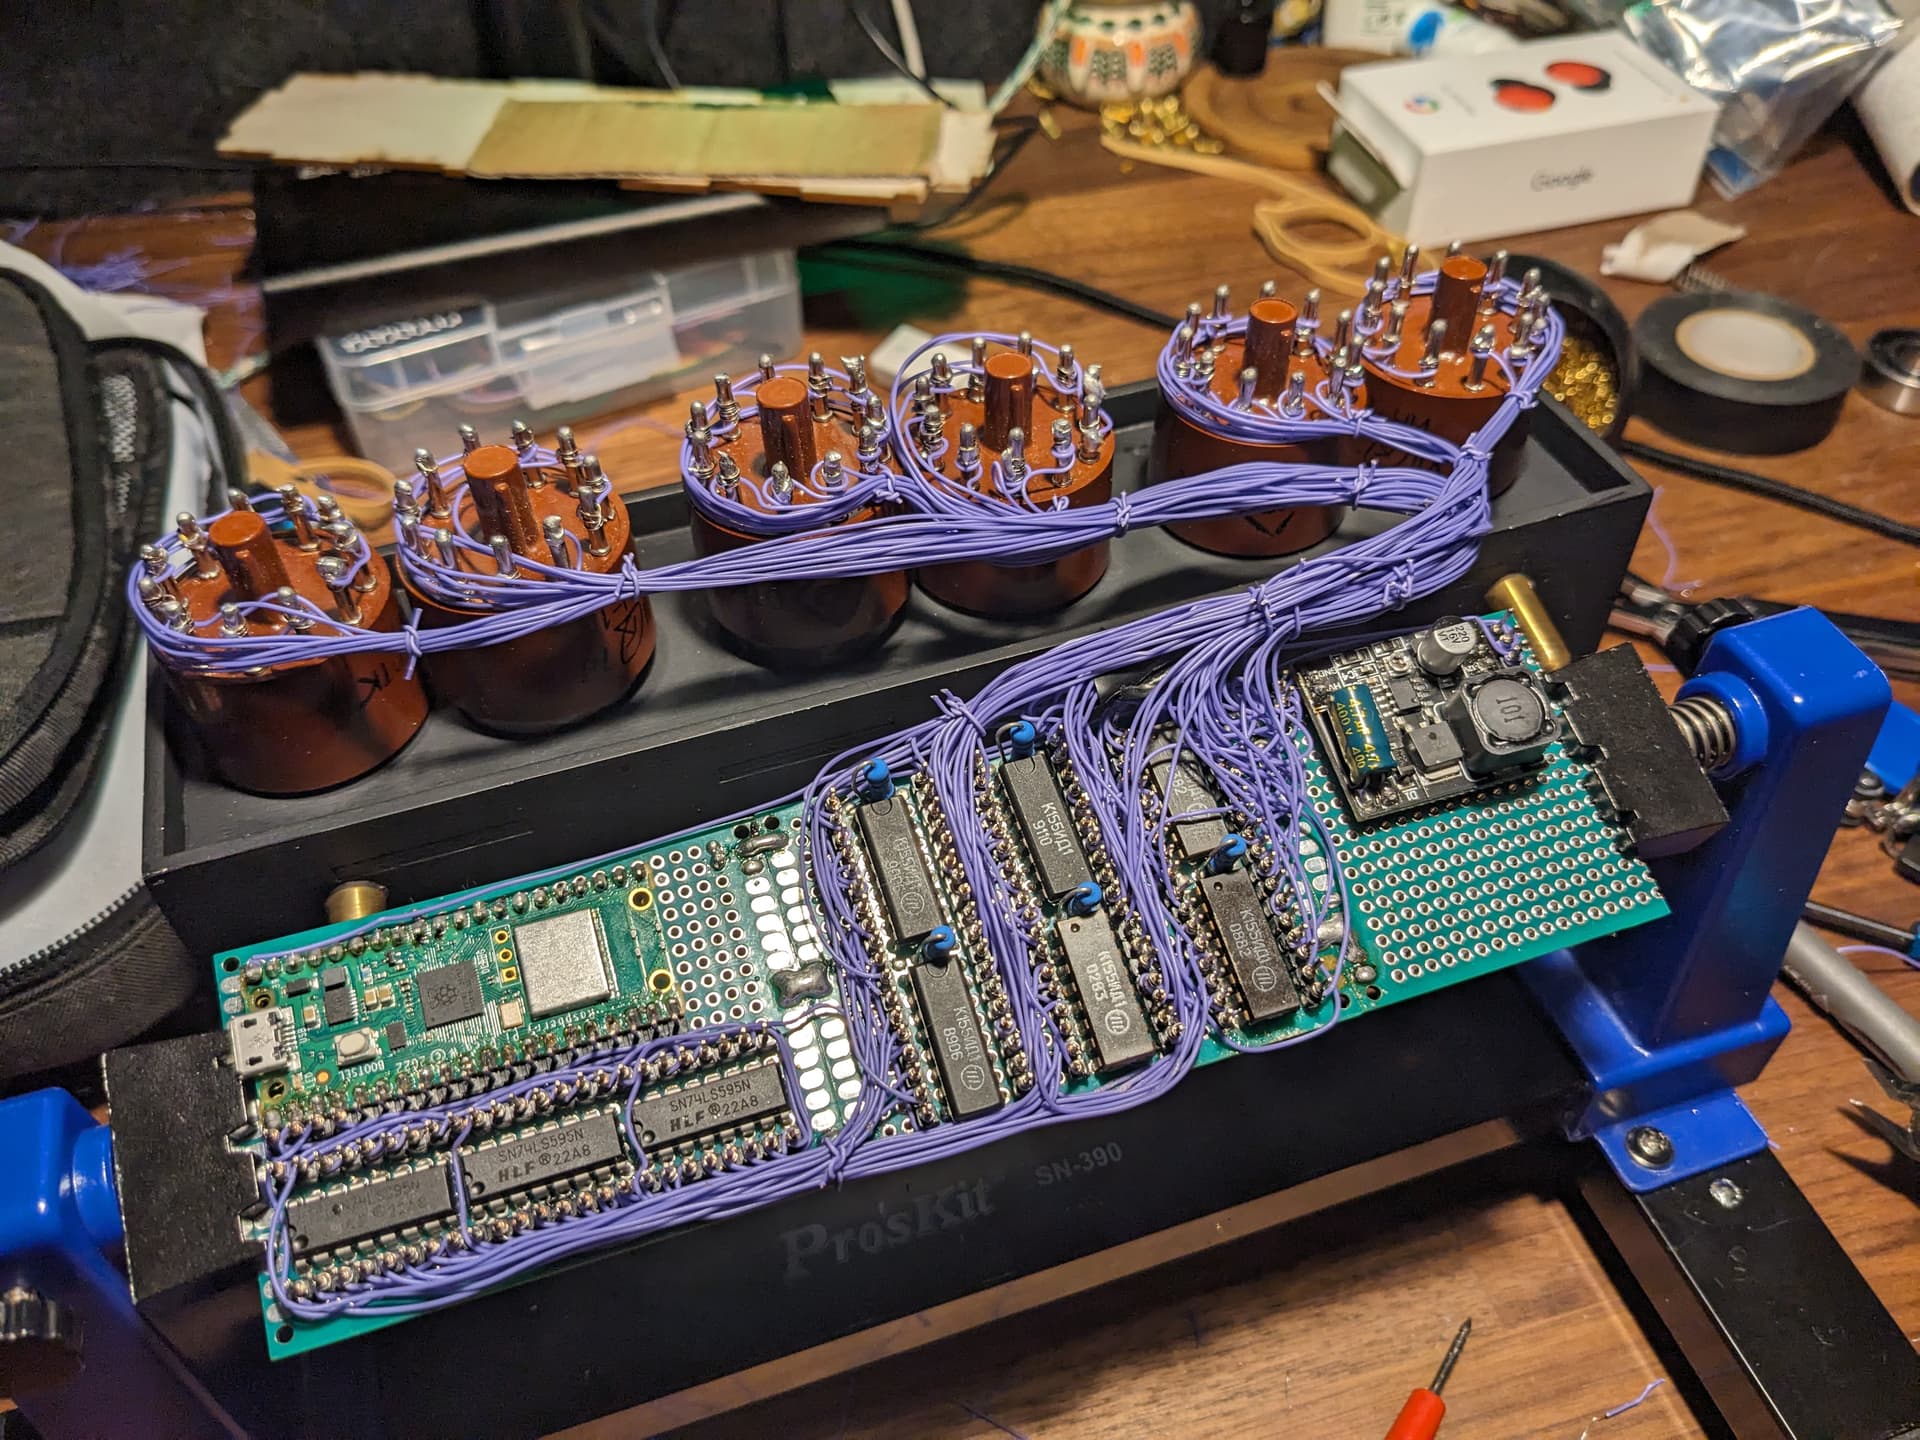
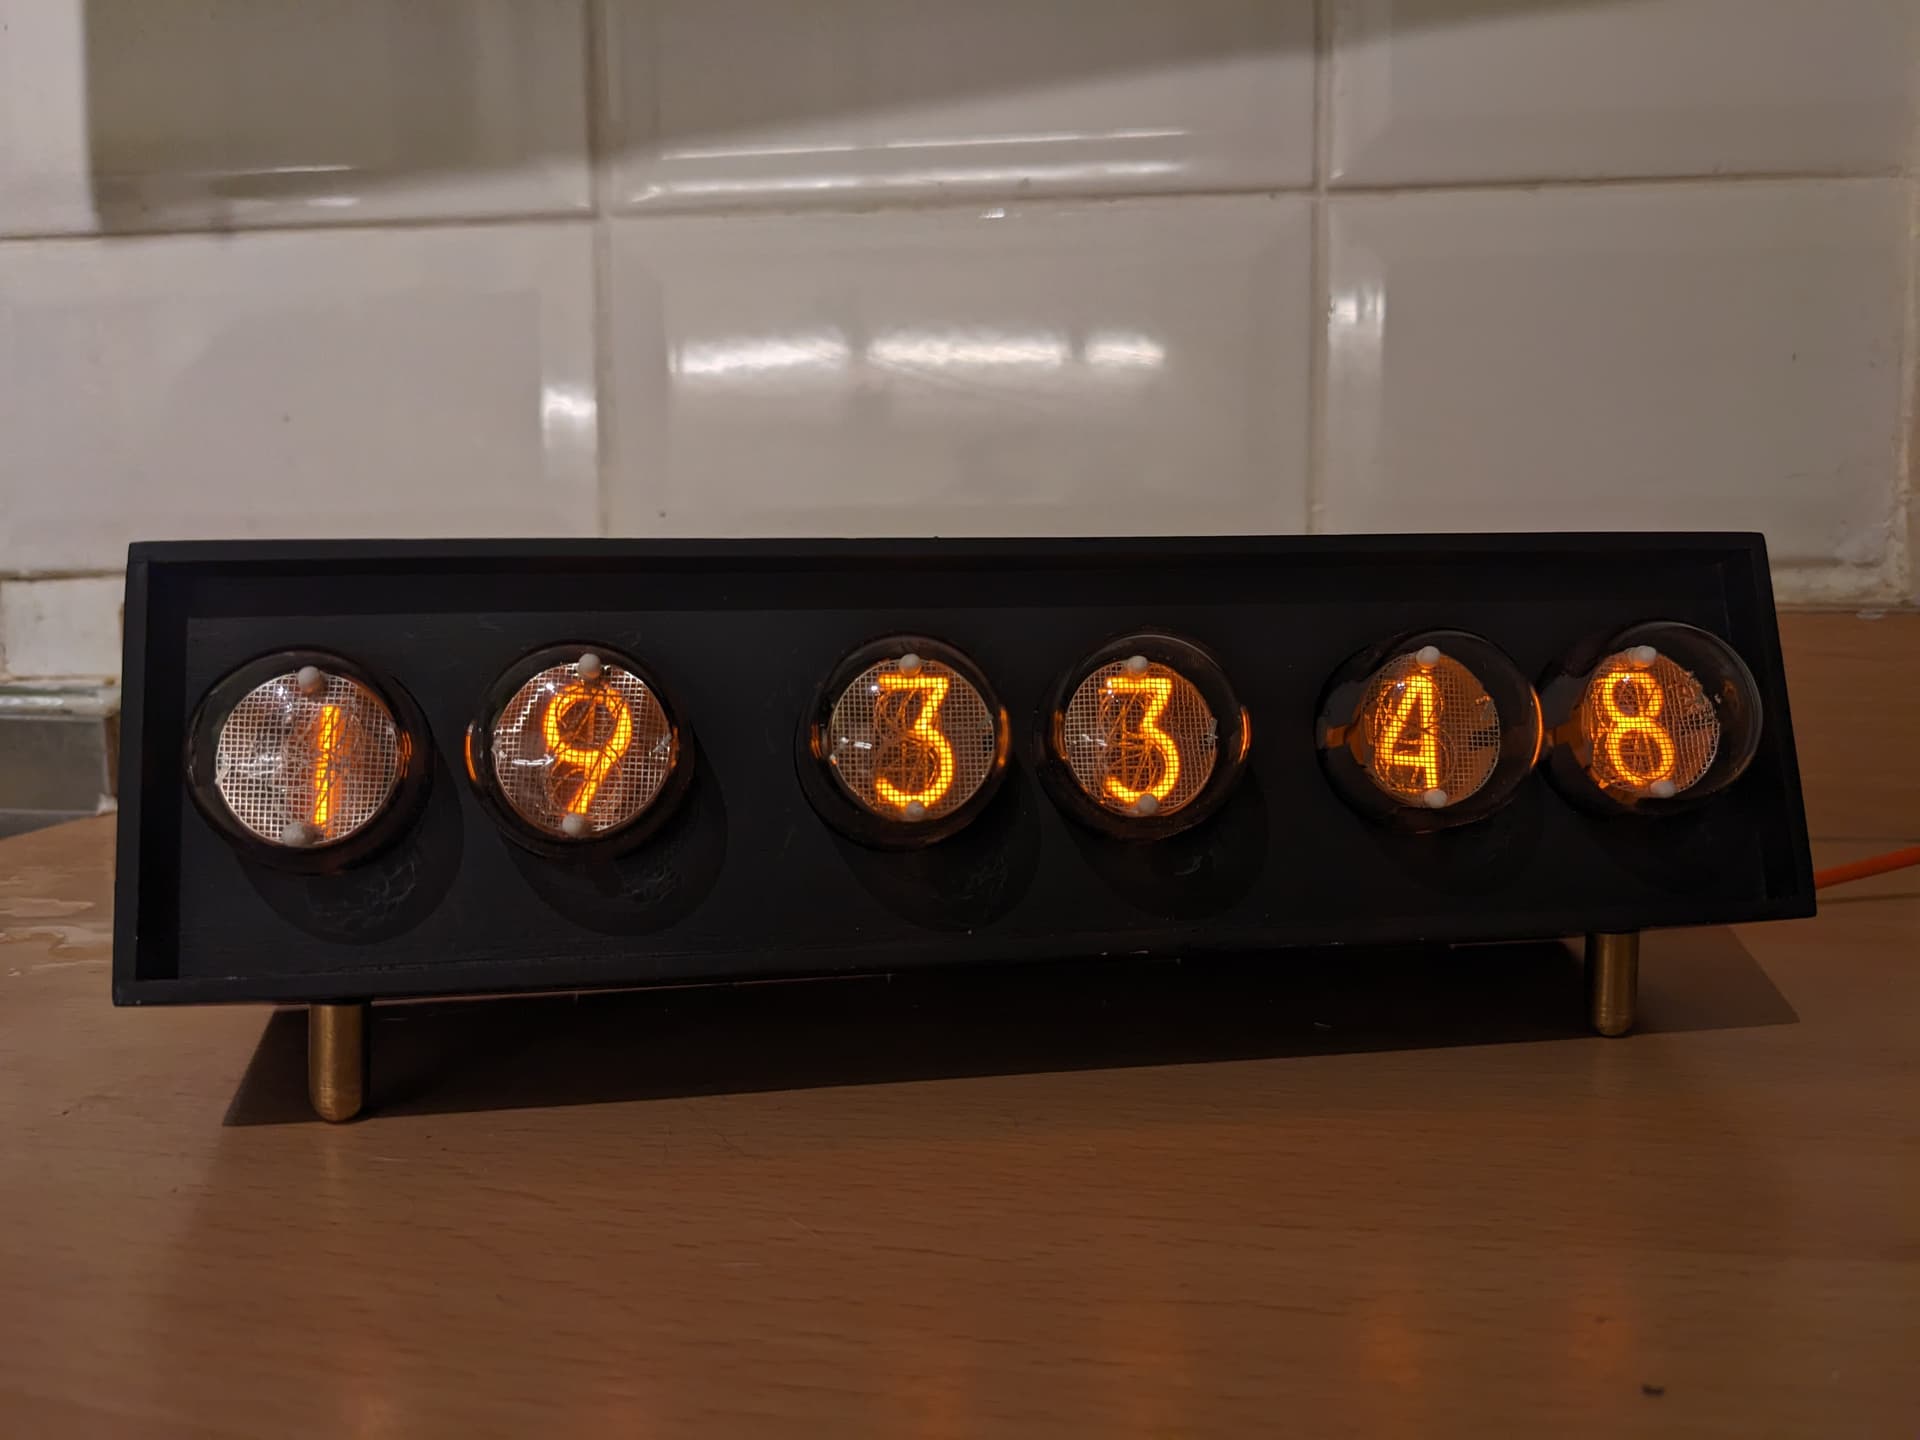
No 3d printing involved, but I made this nixie clock this week.
Case is laser cut 3mm ply, primed and spray painted. Tubes are IN-1 nixies which I’ve had stashed away in a box for 5 years or so. Driven by a RP2040 Pico W which bit bangs out 24 bits into the shift registers, each nibble going off to a BCD decoder. Probably should have multiplexed it… Also probably should have made a PCB
Made little brass feet for the front which are angled so it sits like a dog
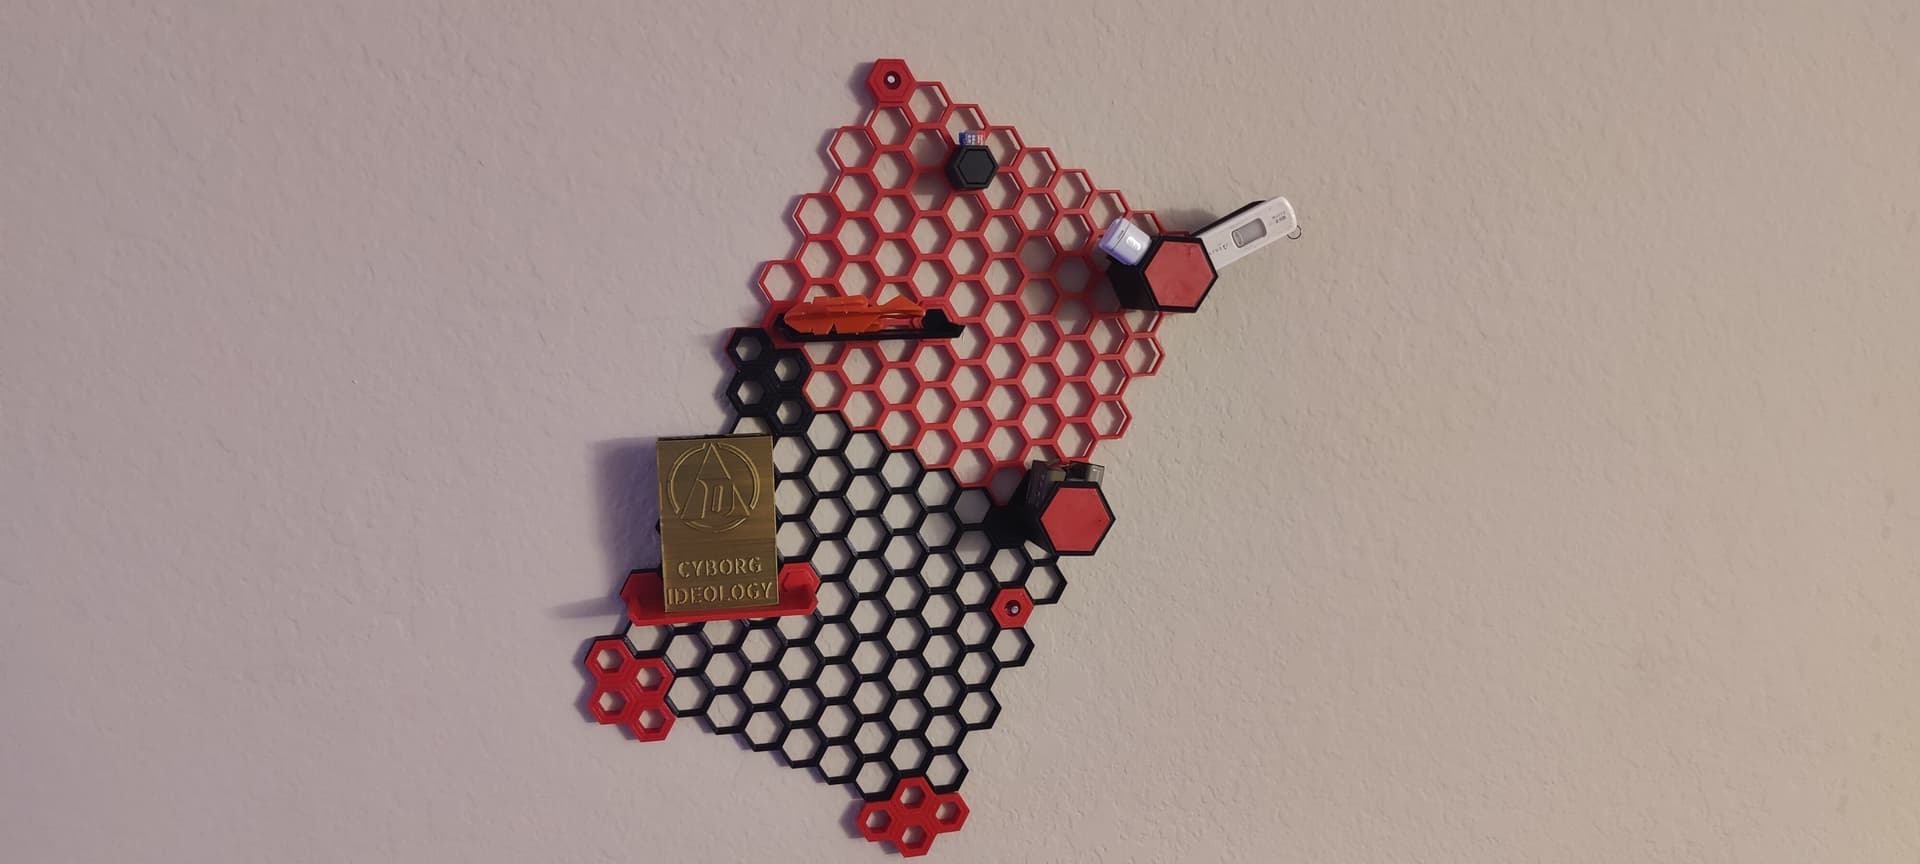
The Mk4 has been put on Hex Wall duty. Starting to work on organization to clean up the desk area. Found a gridfinity shelf that mounts on the hex wall too!
Printing the two panels took 5.5 hours each. I tweaked some stuff in PrusaSlicer and it estimates 3 hours 12 minutes. Got it printing now and hoping it’ll be under 3 hours with input shaping.
I am in LOVE with it!
Easy to build, easy to get started, and it’s so much faster than the E3Pro and E3S1Pro!
I haven’t been able to get PrusaLink working yet, and I’m not too concerned at the moment with it. Figured I’d look into troubleshooting it after I’m in my new apartment.
Changing filaments is a lot nicer as well, especially mid print. It does get a bit fumey when it’s going fast though. Found some plexiglass on Amazon for $35 and going to make an enclosure with a computer fan and hose going to the window. I’ve had it going in my bedroom with the window open though without being too bothered by it.
The PETG really likes to stick to the smooth spring steel bed it came with. Have to put muscle into removing the parts. I think that was my fault though, been using IPA to clean the bed. My dad has a Mk4 with the satin sheet and it’s really nice! Great adhesion, but 20 minutes after it’s done printing, it just takes a light tap to free the print off the bed.
Talking about beds, it’s so nice not having to level the bed!
Also, with Prusa’s processing times, if you stopped asking and ordered one now, you’d wait until next year and you’d get a printer. Best of both worlds! XD
Cleaning with IPA is 100% the right thing to do, but printing with PETG on smooth PEI, the adhesion is always way too strong, and can damage the surface during removal. Same with TPU on smooth PEI.
You can use a release agent, usually unscented hairspray or glue stick. That’ll stop it from welding on there.
For PETG I’d get the textured PEI/satin PEI, the texture is enough to help it release smoothly.
Yep! I considered doing it all in TTL but my microwave always flashes 00:00, so I figured WiFi might be a good shout
Mine has WiFi and I’ve added partial support for displaying numbers via MQTT. One issue I didn’t expect to run into is that versions of K155ID1 BCD decoders seem to display garbage / serveral digits at once if you exceed 9. It was my assumption from various datasheets that anything above 0101 would result in a blank digit. This seems to be mostly the case… except for two of my tubes, which inconveniently are not in the middle, where I might want to display a shorter number.
They’re easy enough to drive. Just stick a 20-30k resistor between the anode and + supply, ground the digit you want - instant deliciousness.
Yesterday I decided to surgically remove the IR filter from two out of the 3 cameras on an old android, for fun. It wasn’t too difficult, I litteraly did it in bed with scredrivers
I had to sacrifice the auto focus mechanism on one of them which had a voice coil around a floating lens piece and tiny magnets on the outer casing. The focus on this one is stuck on ~30cm which doesn’t really matter for what I intend to use it for.
The other one is the wide angle action video camera. A bit more tricky and I did a little damage to the sensor but nothing catastrophic. It’s still usable for experiments.
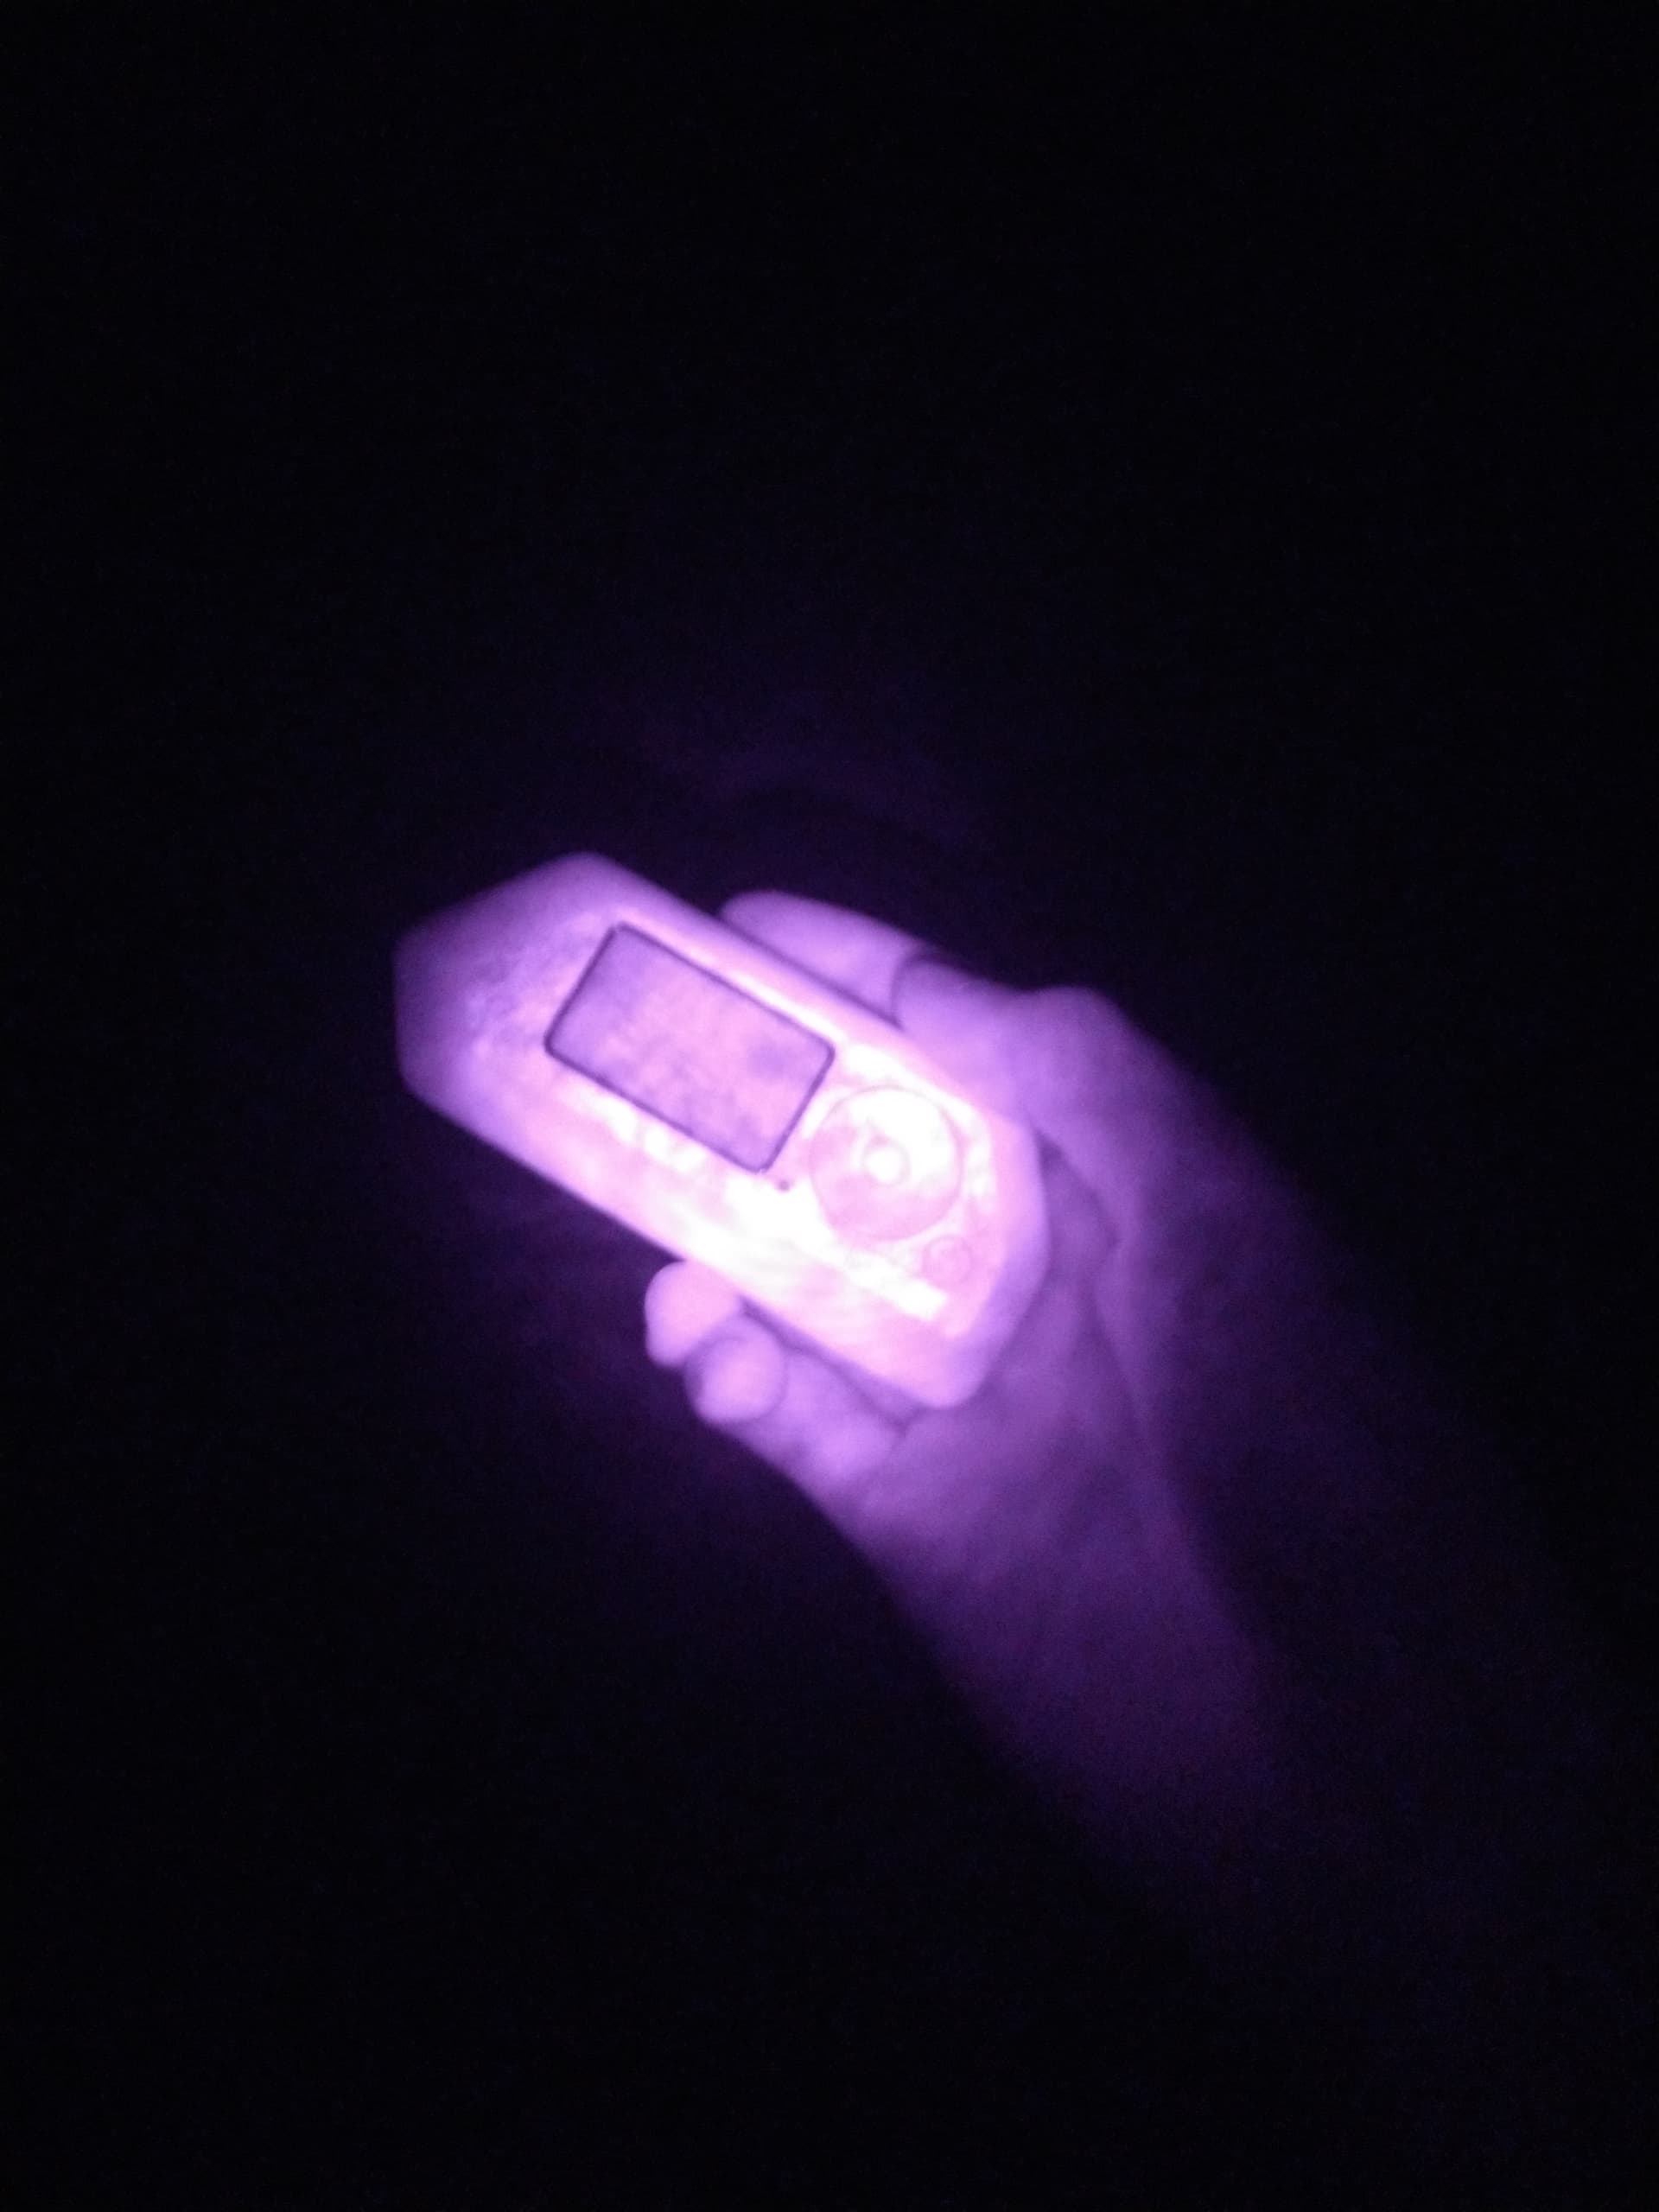
Anyway the phone conveniently produces it’s own IR (for distance detection or focusing I guess) so I can use it as a basic night vision cam now aswell. Here is a dolphin in complete darkness:
Fun fact. You can see through certain types of clothing now. In the early 2000’s I did this to some web cams for an art project. Also… look at money with the camera. US bills have noticable portions missing
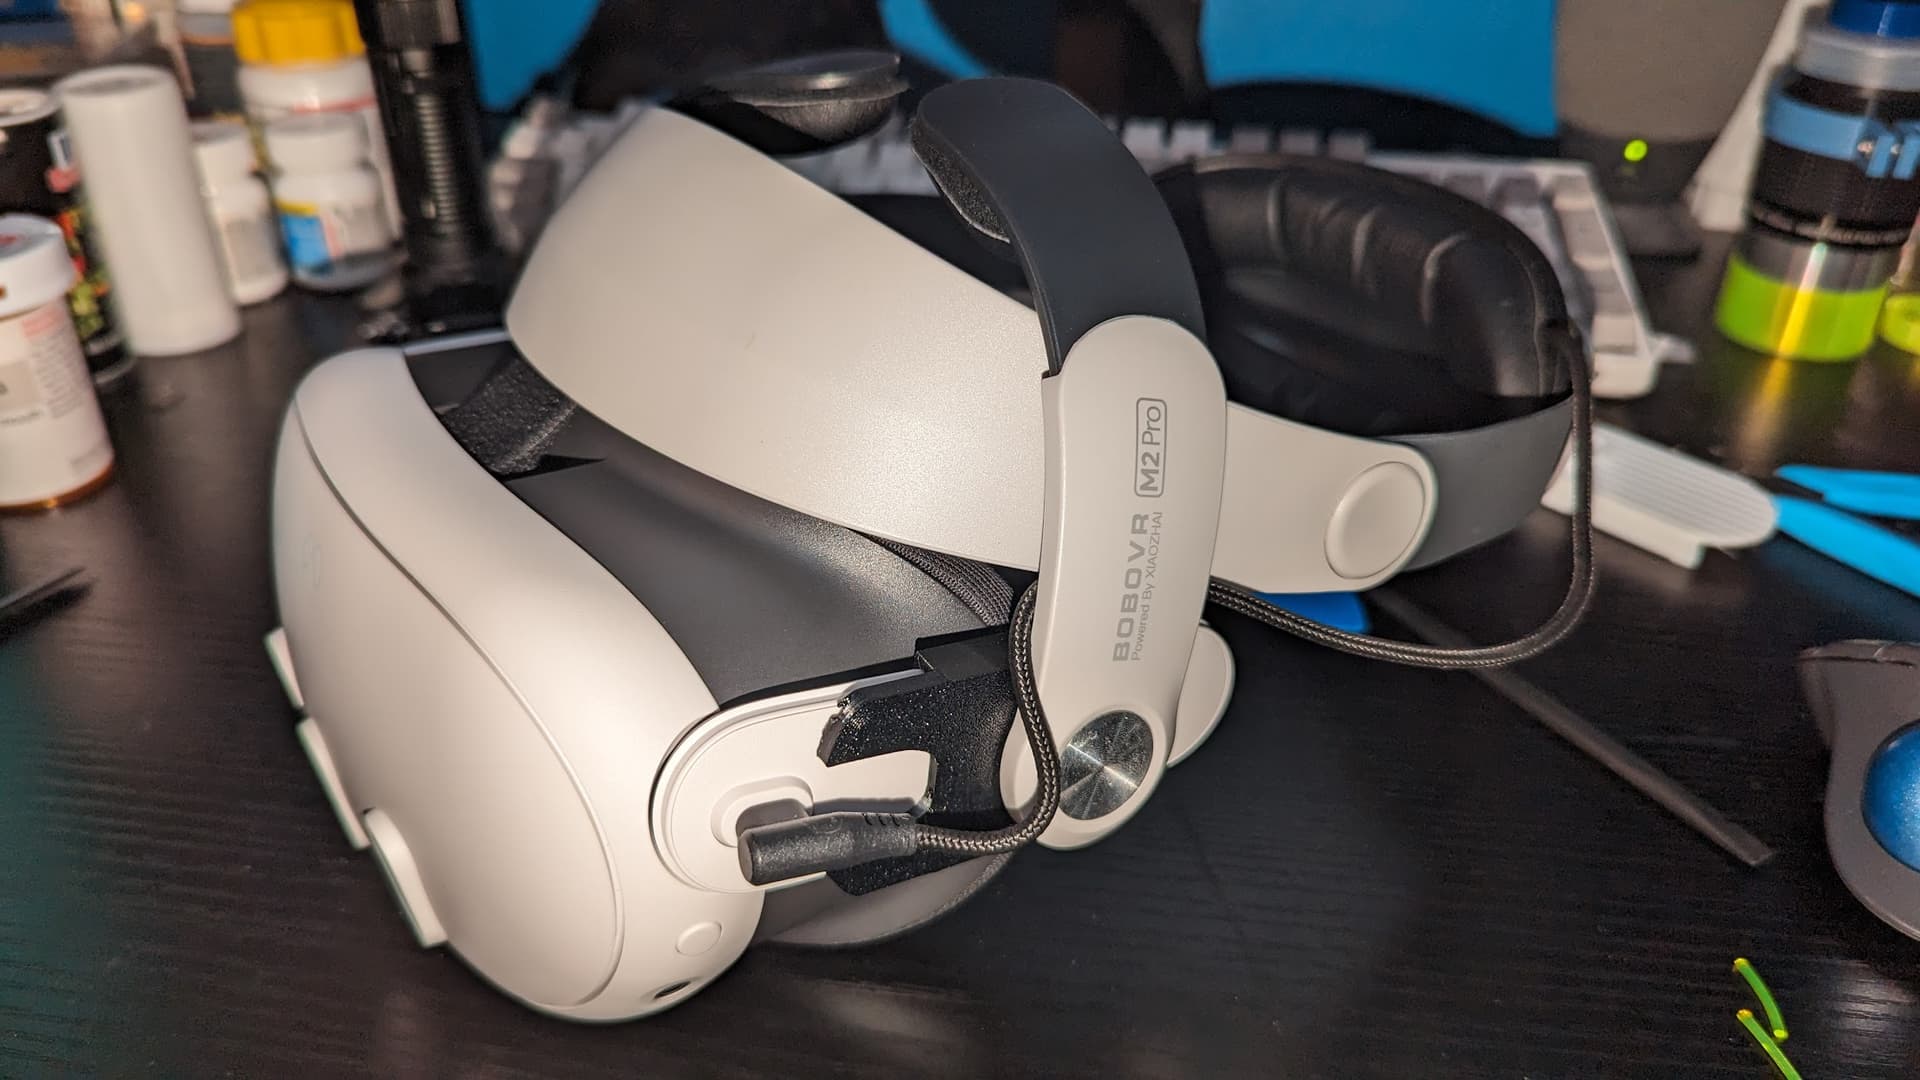
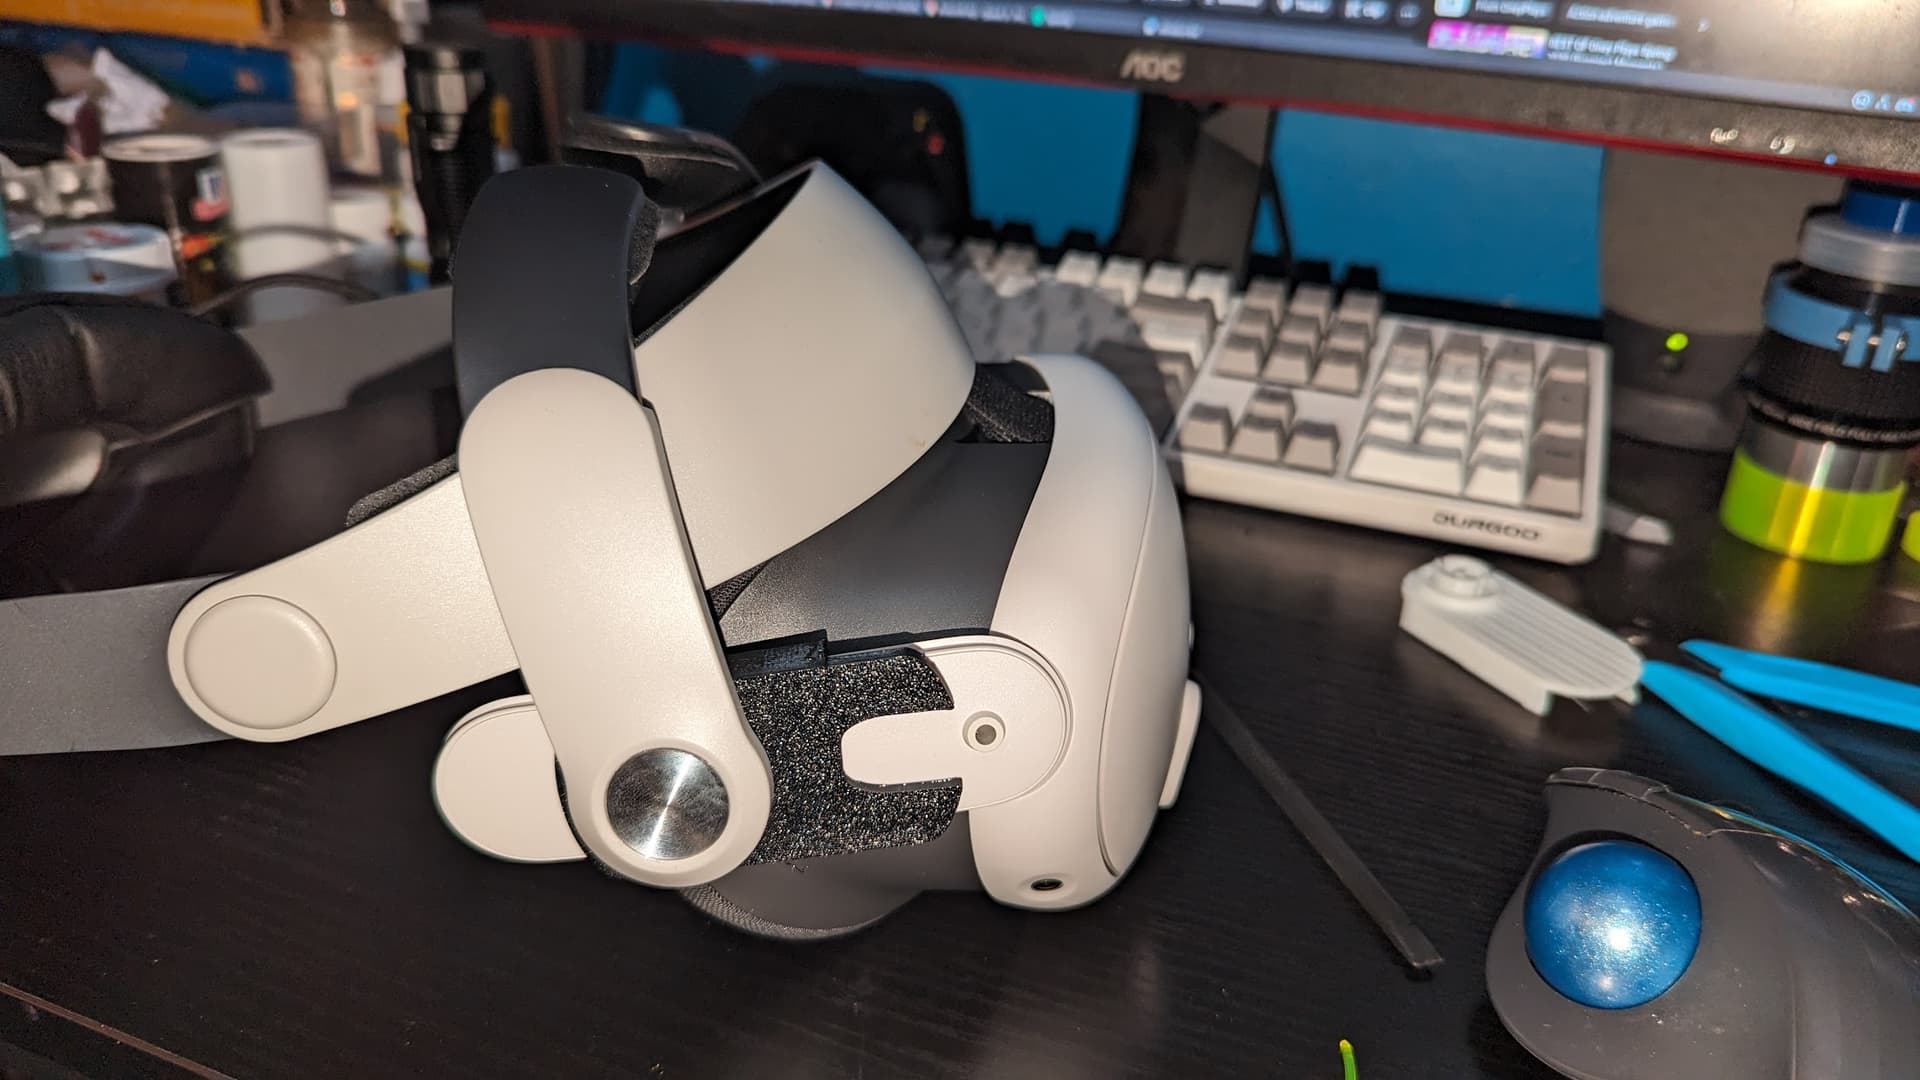
Someone finally made a good model for a BoboVR M2 Pro to Quest 3 adapter. I like this one b/c it actually replaces the parts on the M2 Pro, rather than trying to just adapt the old one. It replicates the retrofit kit.
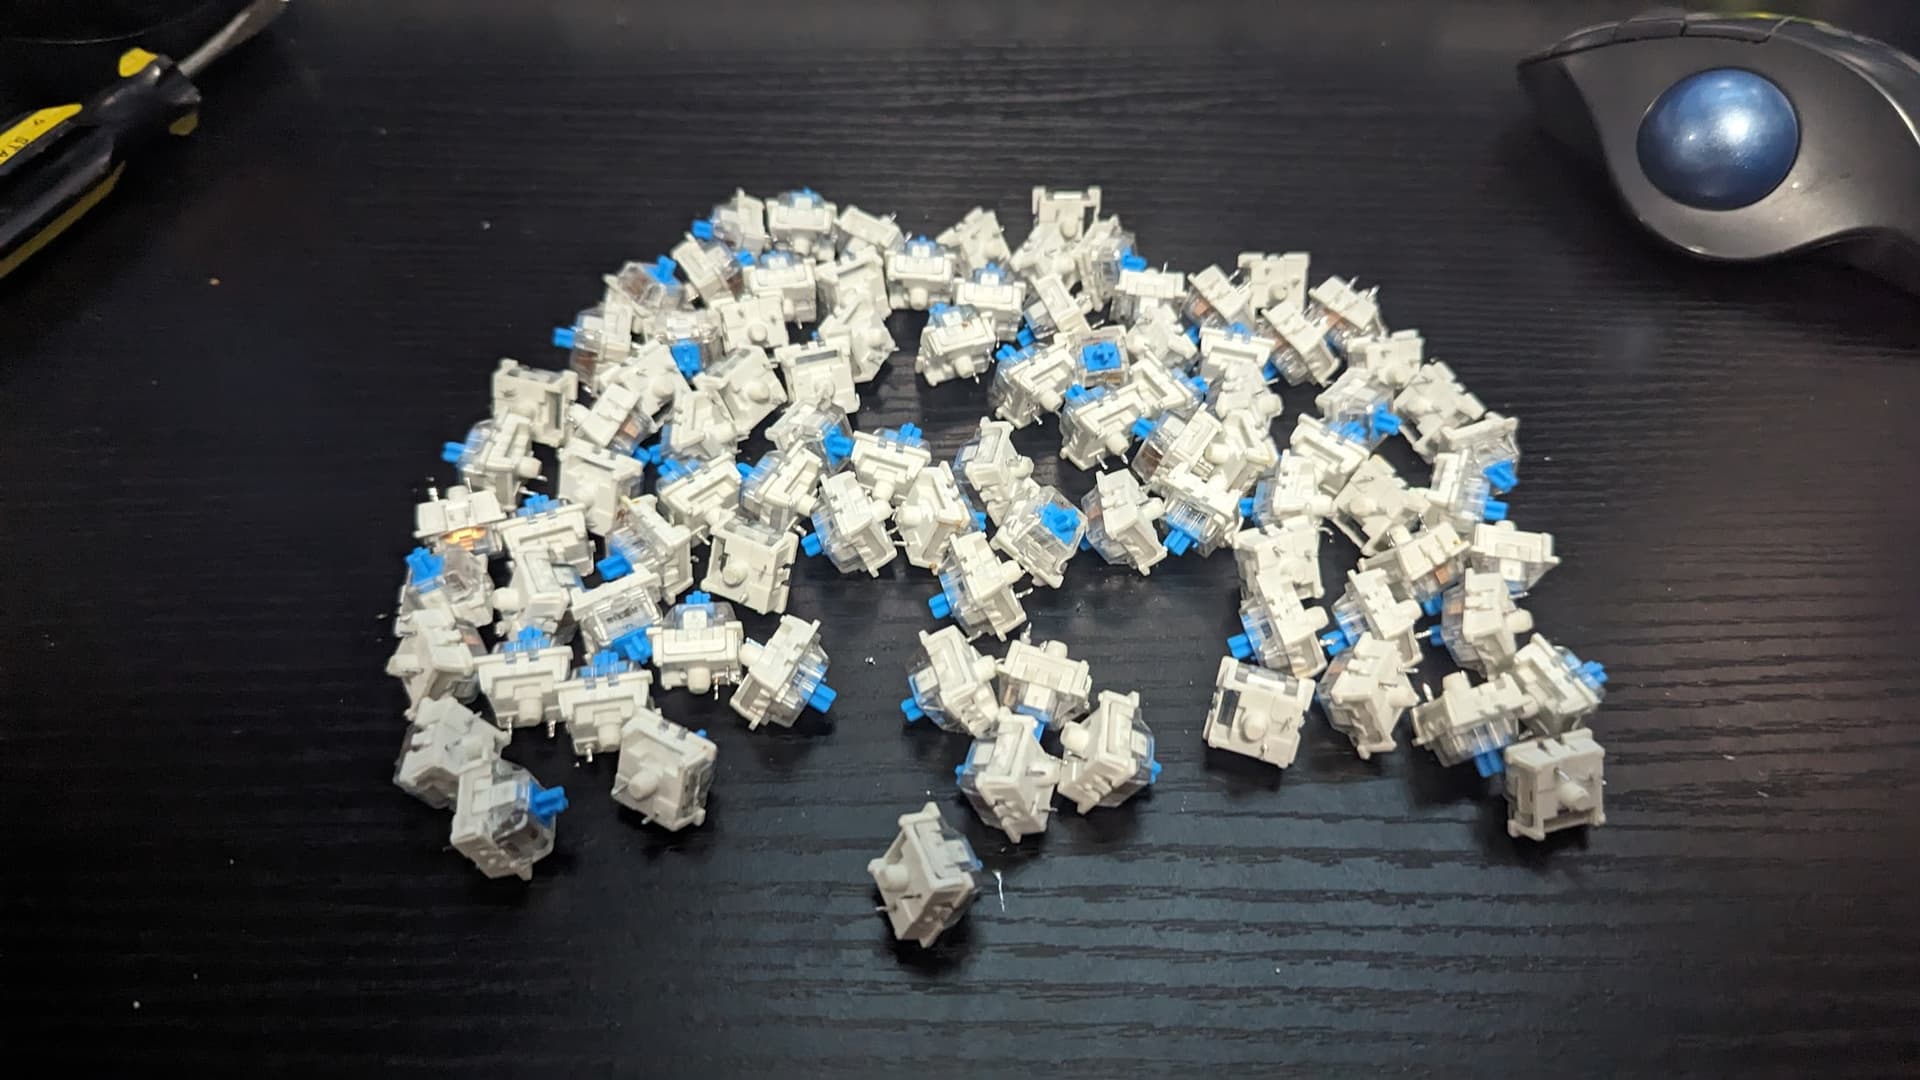
Didn’t make anything in particular, but just got done desoldering the rest of the switches from the junk keyboard that I used to make that macro pad a while back.
Took a while, but just used my pinecil, some old 60/40 rosin core solder, and a screwdriver. Put a little fresh solder on each pin, pushed on the plastic pin on the back with the screwdriver, and heated both contacts by holding my iron sideways. Worked great once I got in the flow of it, took me about 30 minutes to desolder all the switches. Picking them up off my floor took a while though lol, they went everywhere. Also had to put my silicone mat on the floor to catch the dripping solder.
Planning on maybe making a guitar controller for Clone Hero using these + a Pi pico + my 3D printer.