Same here ![]()
For half of that you can make a toolchanger salvo with different heads for different materials …
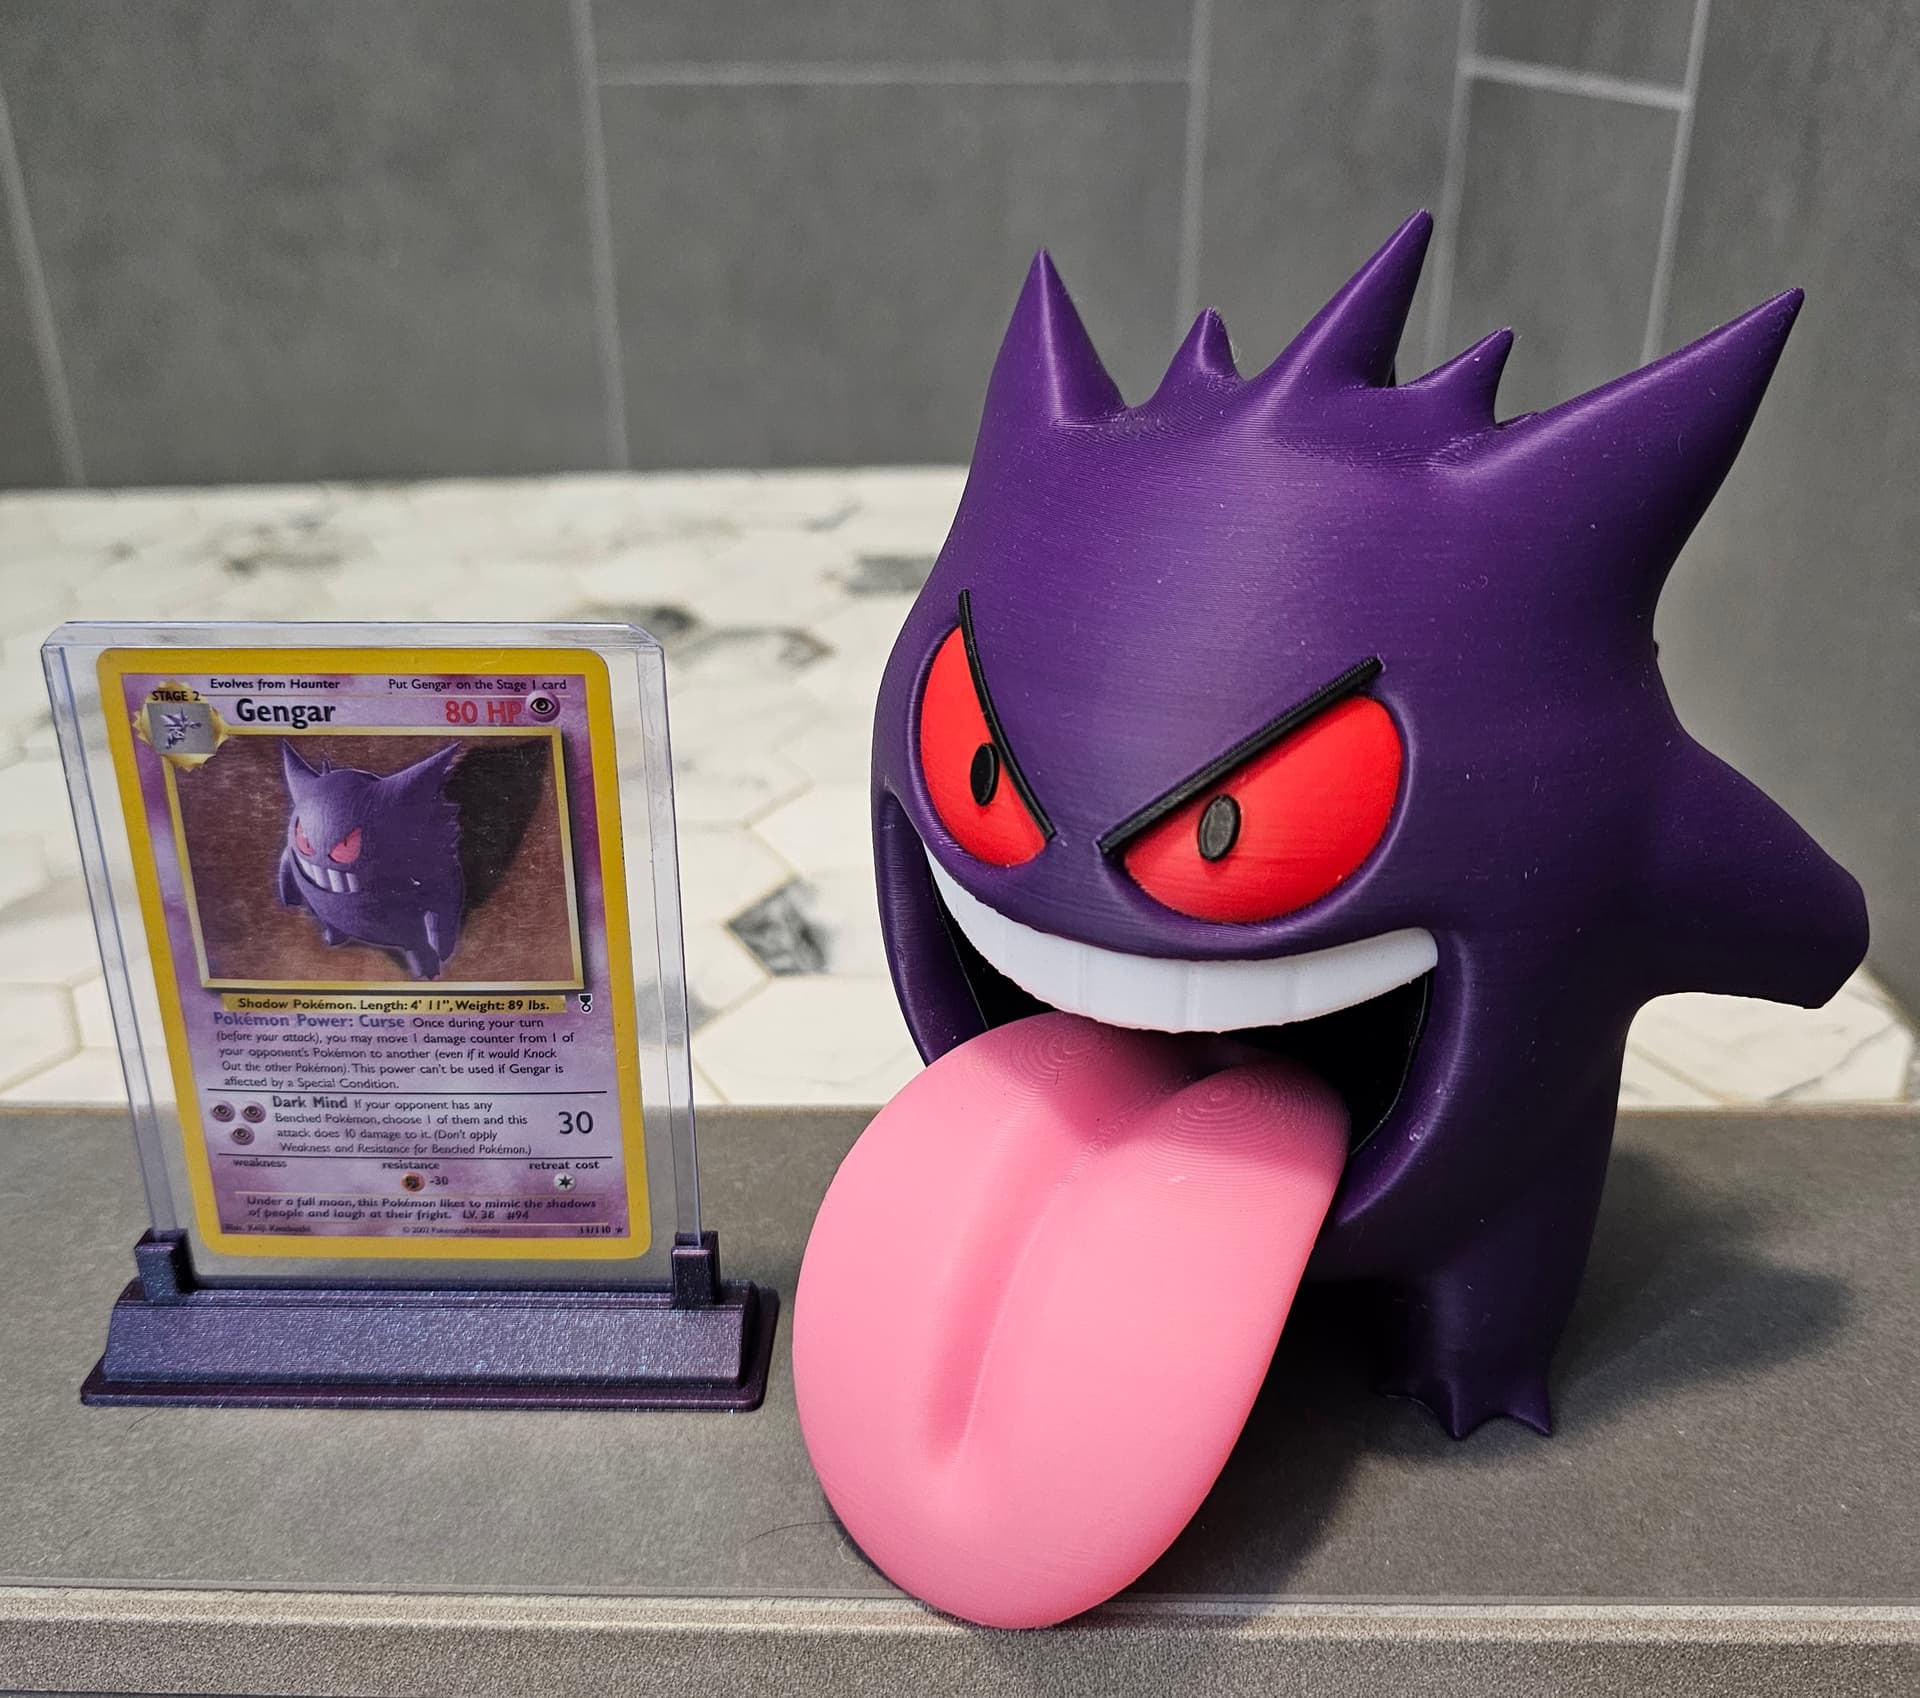

Those look super clean… except the voltorb… I’d cry haha
1 Like
Yeah I’m bummed about the Voltorb. I ran out of white filament and had to use transparent ![]()
Ohh that’s not nearly as bad… I thought it was just bleeding
Assuming a Bambu… I’ve seen people just leave it paused for a day and order a new spool on Amazon haha
1 Like
Bambu X1C. Yeah I should have just paused it but I was a bit impatient ![]()
1 Like
Wait, are you the guy that hangs out on the Meshtastic video channel with the abomination of a messy house???
Nope! Not to say my room is orderly…
1 Like
I was 90% sure you weren’t him. But I’m the rare case you were I had so many questions
1 Like
https://x.com/cyber_tail_11/status/1905772207458111540
![]()
![]()
I have too many projects, but I want to print something like this.
1 Like
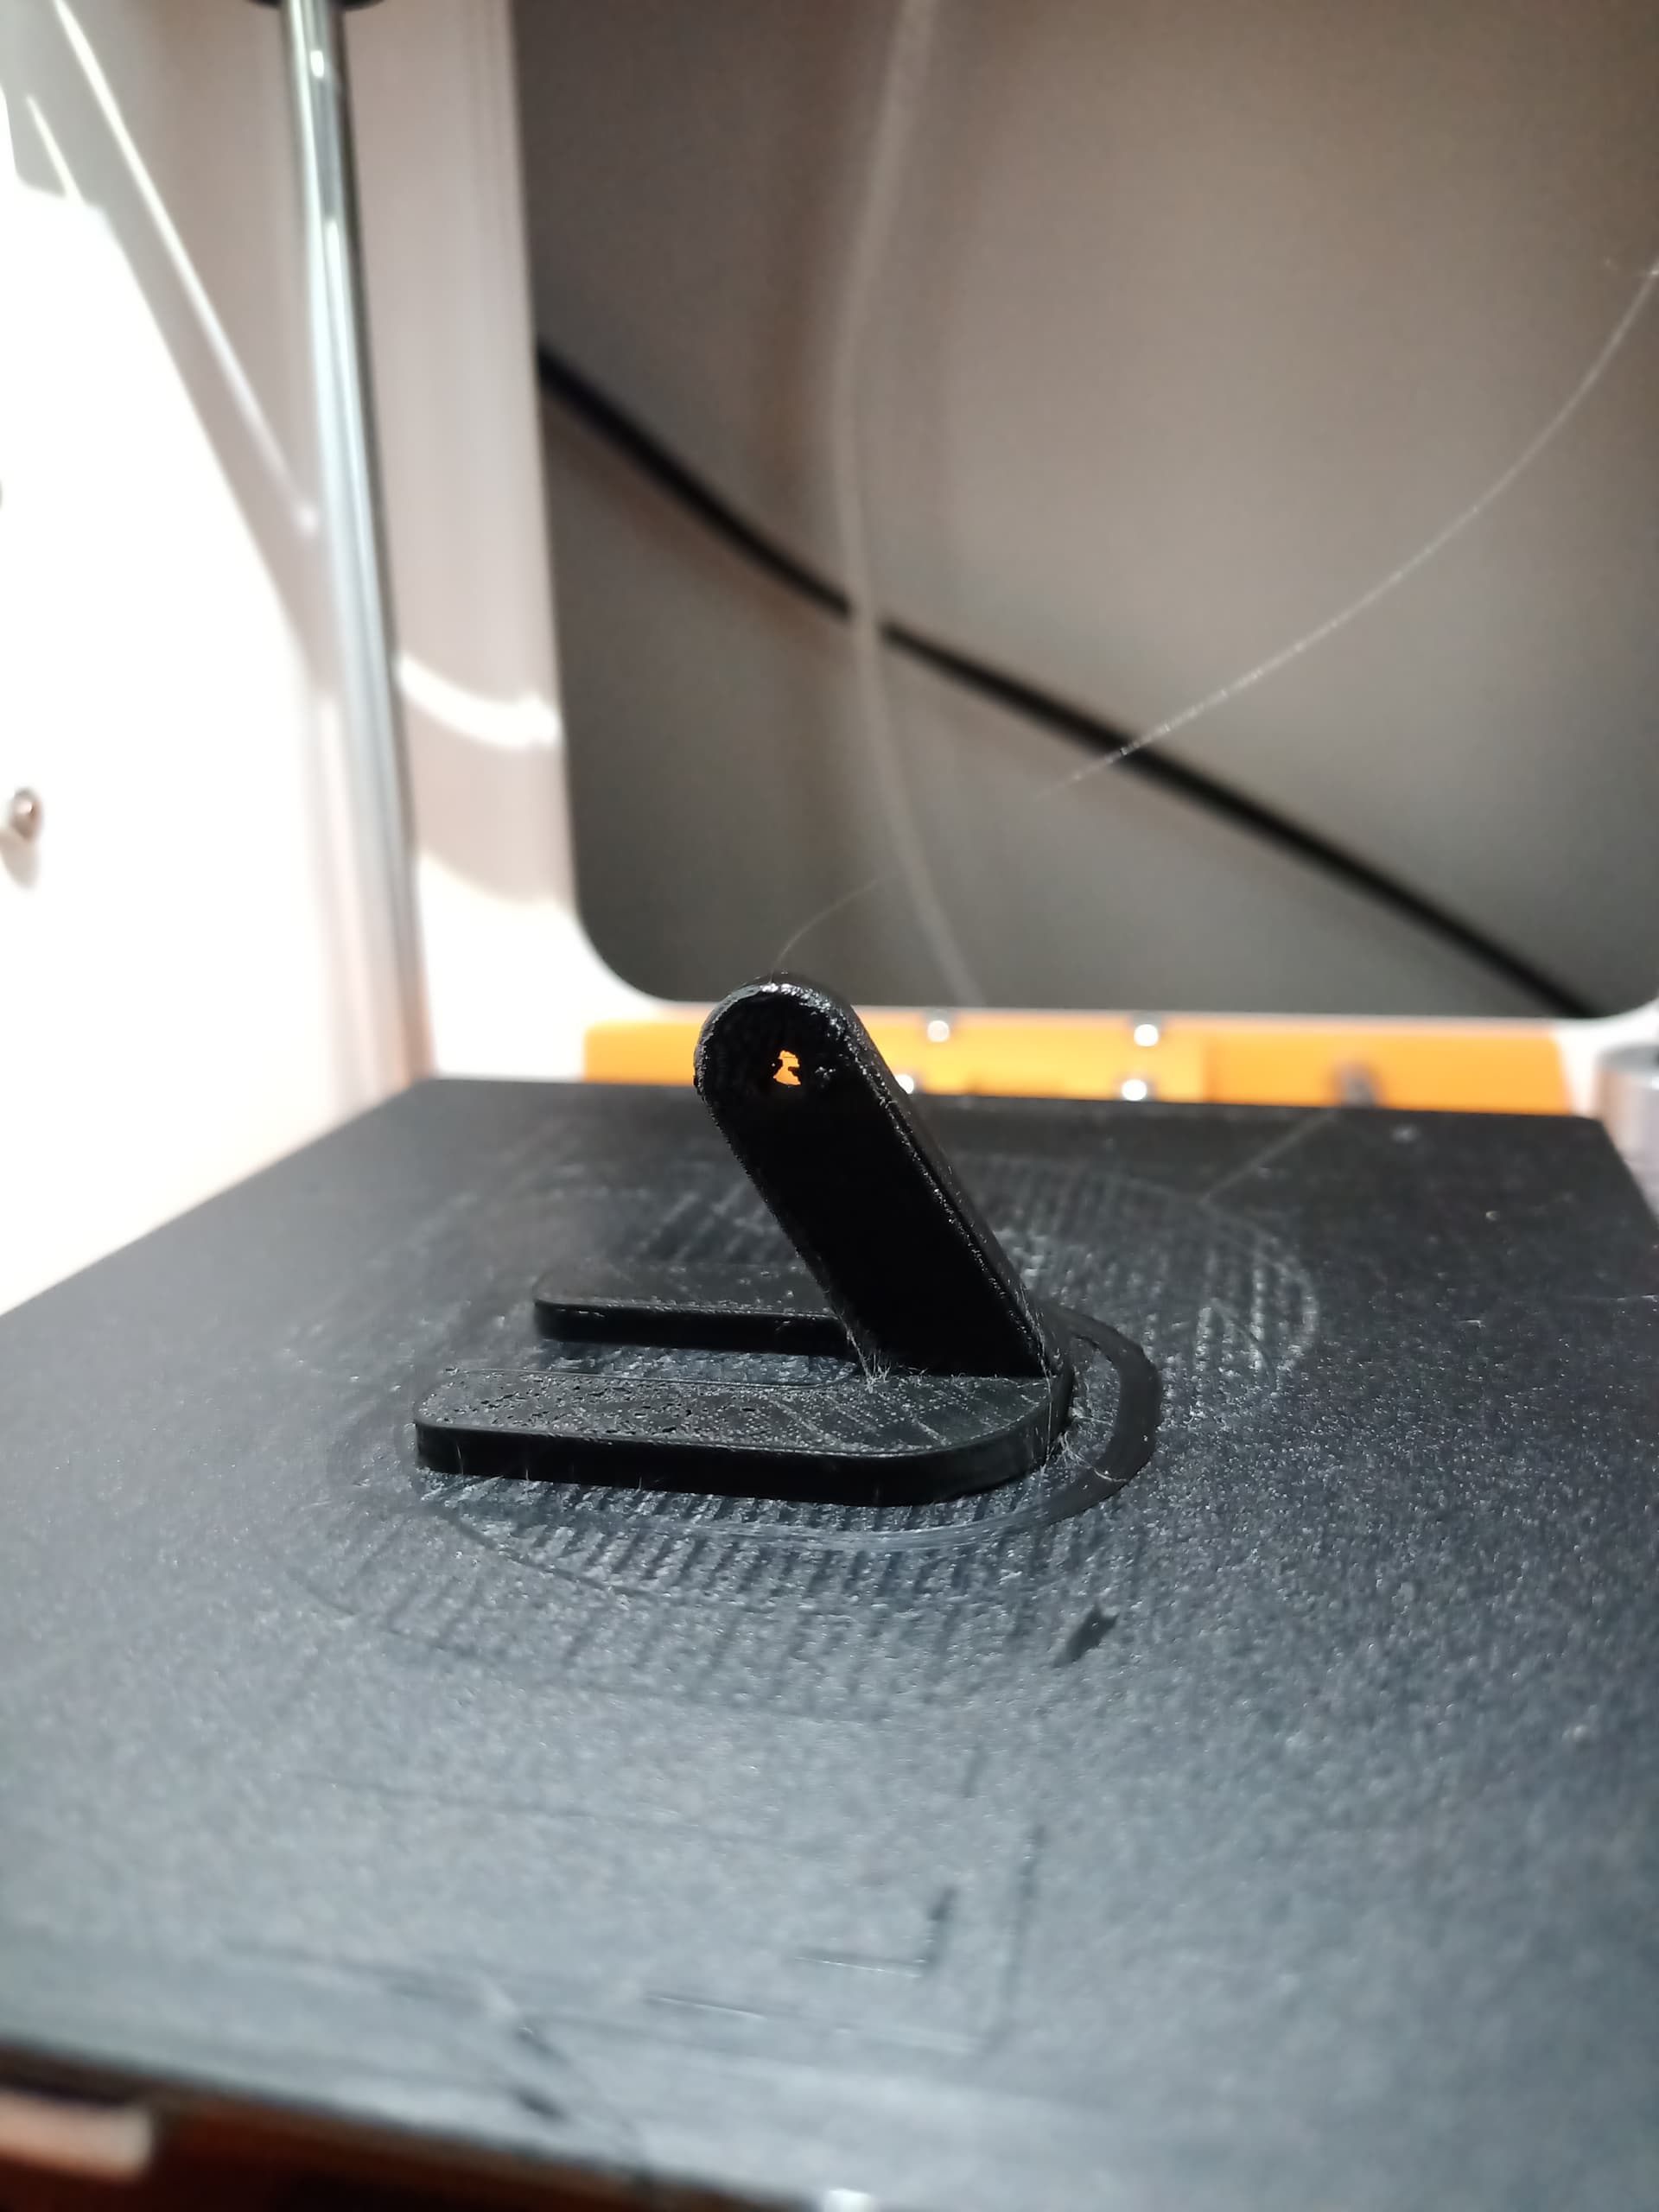
I had a few people now (7) reach out about adding a hole to the repeaters so they can be added on a keychain. I really didnt think that would be a great solution so i threw this together really quick. Should work for any of the 27mm devices i have except the Extenders.
It isnt pretty, it isnt flashy, it just holds them and has a ring to retain it in place. 10-15min print. one is flat and one is more rounded.
Field Detector Keychain flat.stl (91.8 KB)
Field Detector Keychain rounded.stl (115.4 KB)
2 Likes

God that looks amazing
2 Likes
I’ve been working on this 22 button gyroscopic mouse for a couple months now. I have a TON of stuff I’d like to keybind to all the buttons and figured this would be an improvement over my Razer Naga.
The project itself is based on this design from LYNXware that I randomly came across in a YT video a while ago.
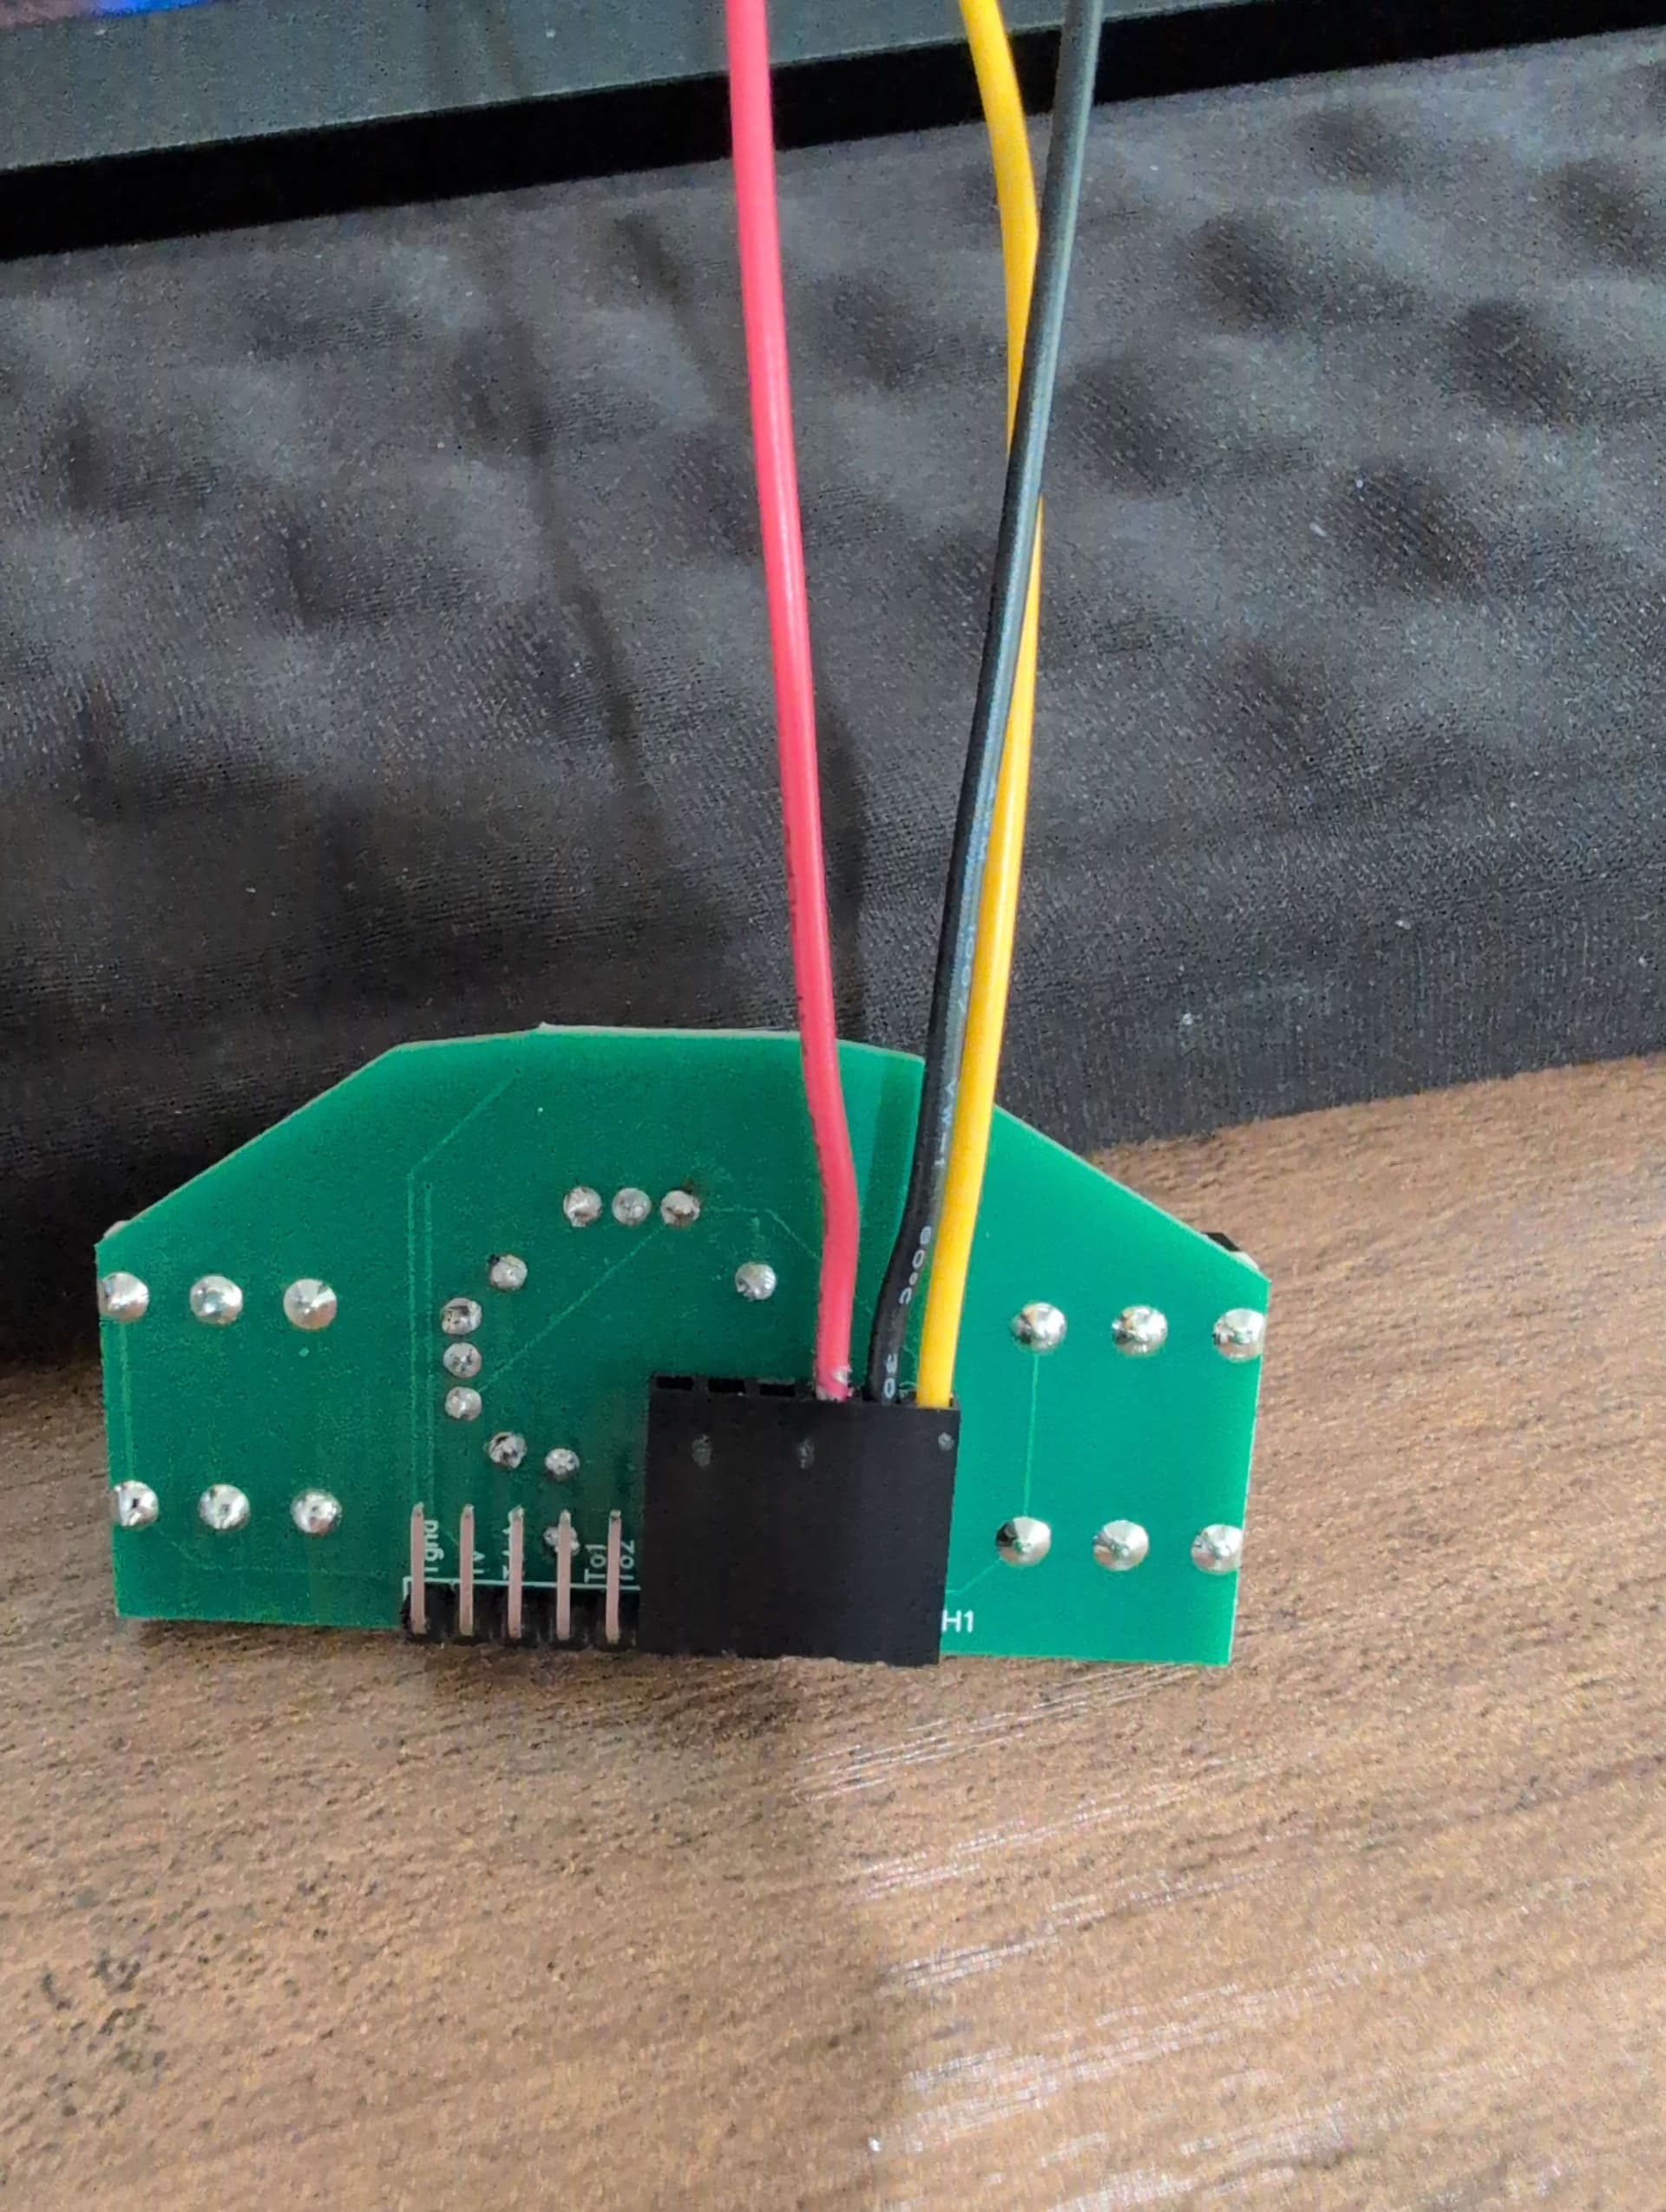
It uses an ESP32 controller board and 3 custom PCBs (which I had to order twice because I’m a dummy), as well as a gyro sensor and joystick. The rest is 3D printed.

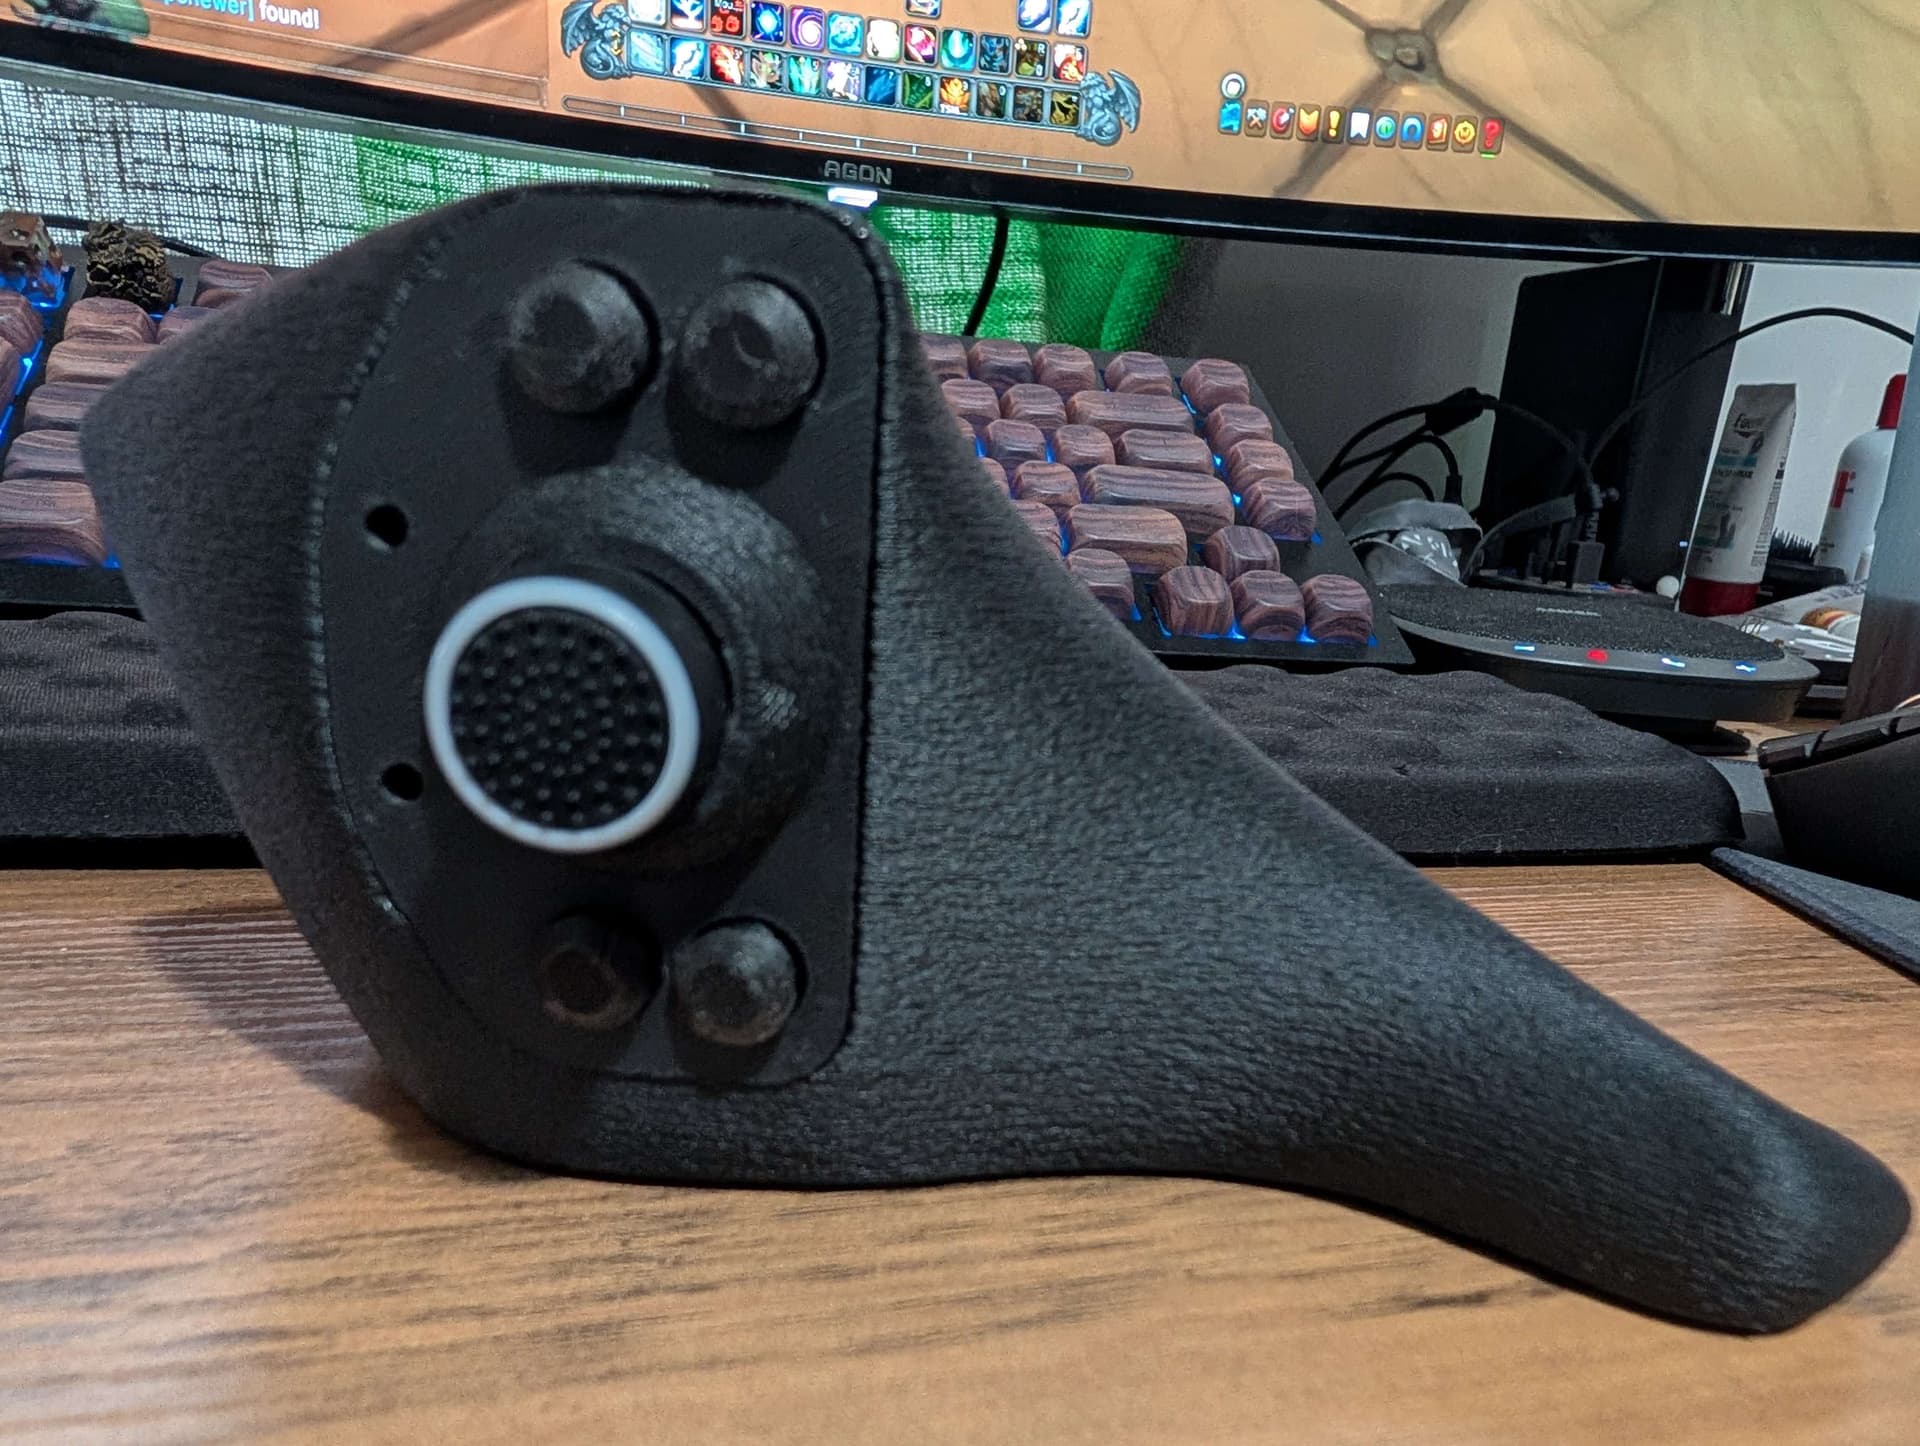
This was the…2nd time…I’ve ever soldered anything. Surprisingly, it actually turns on!

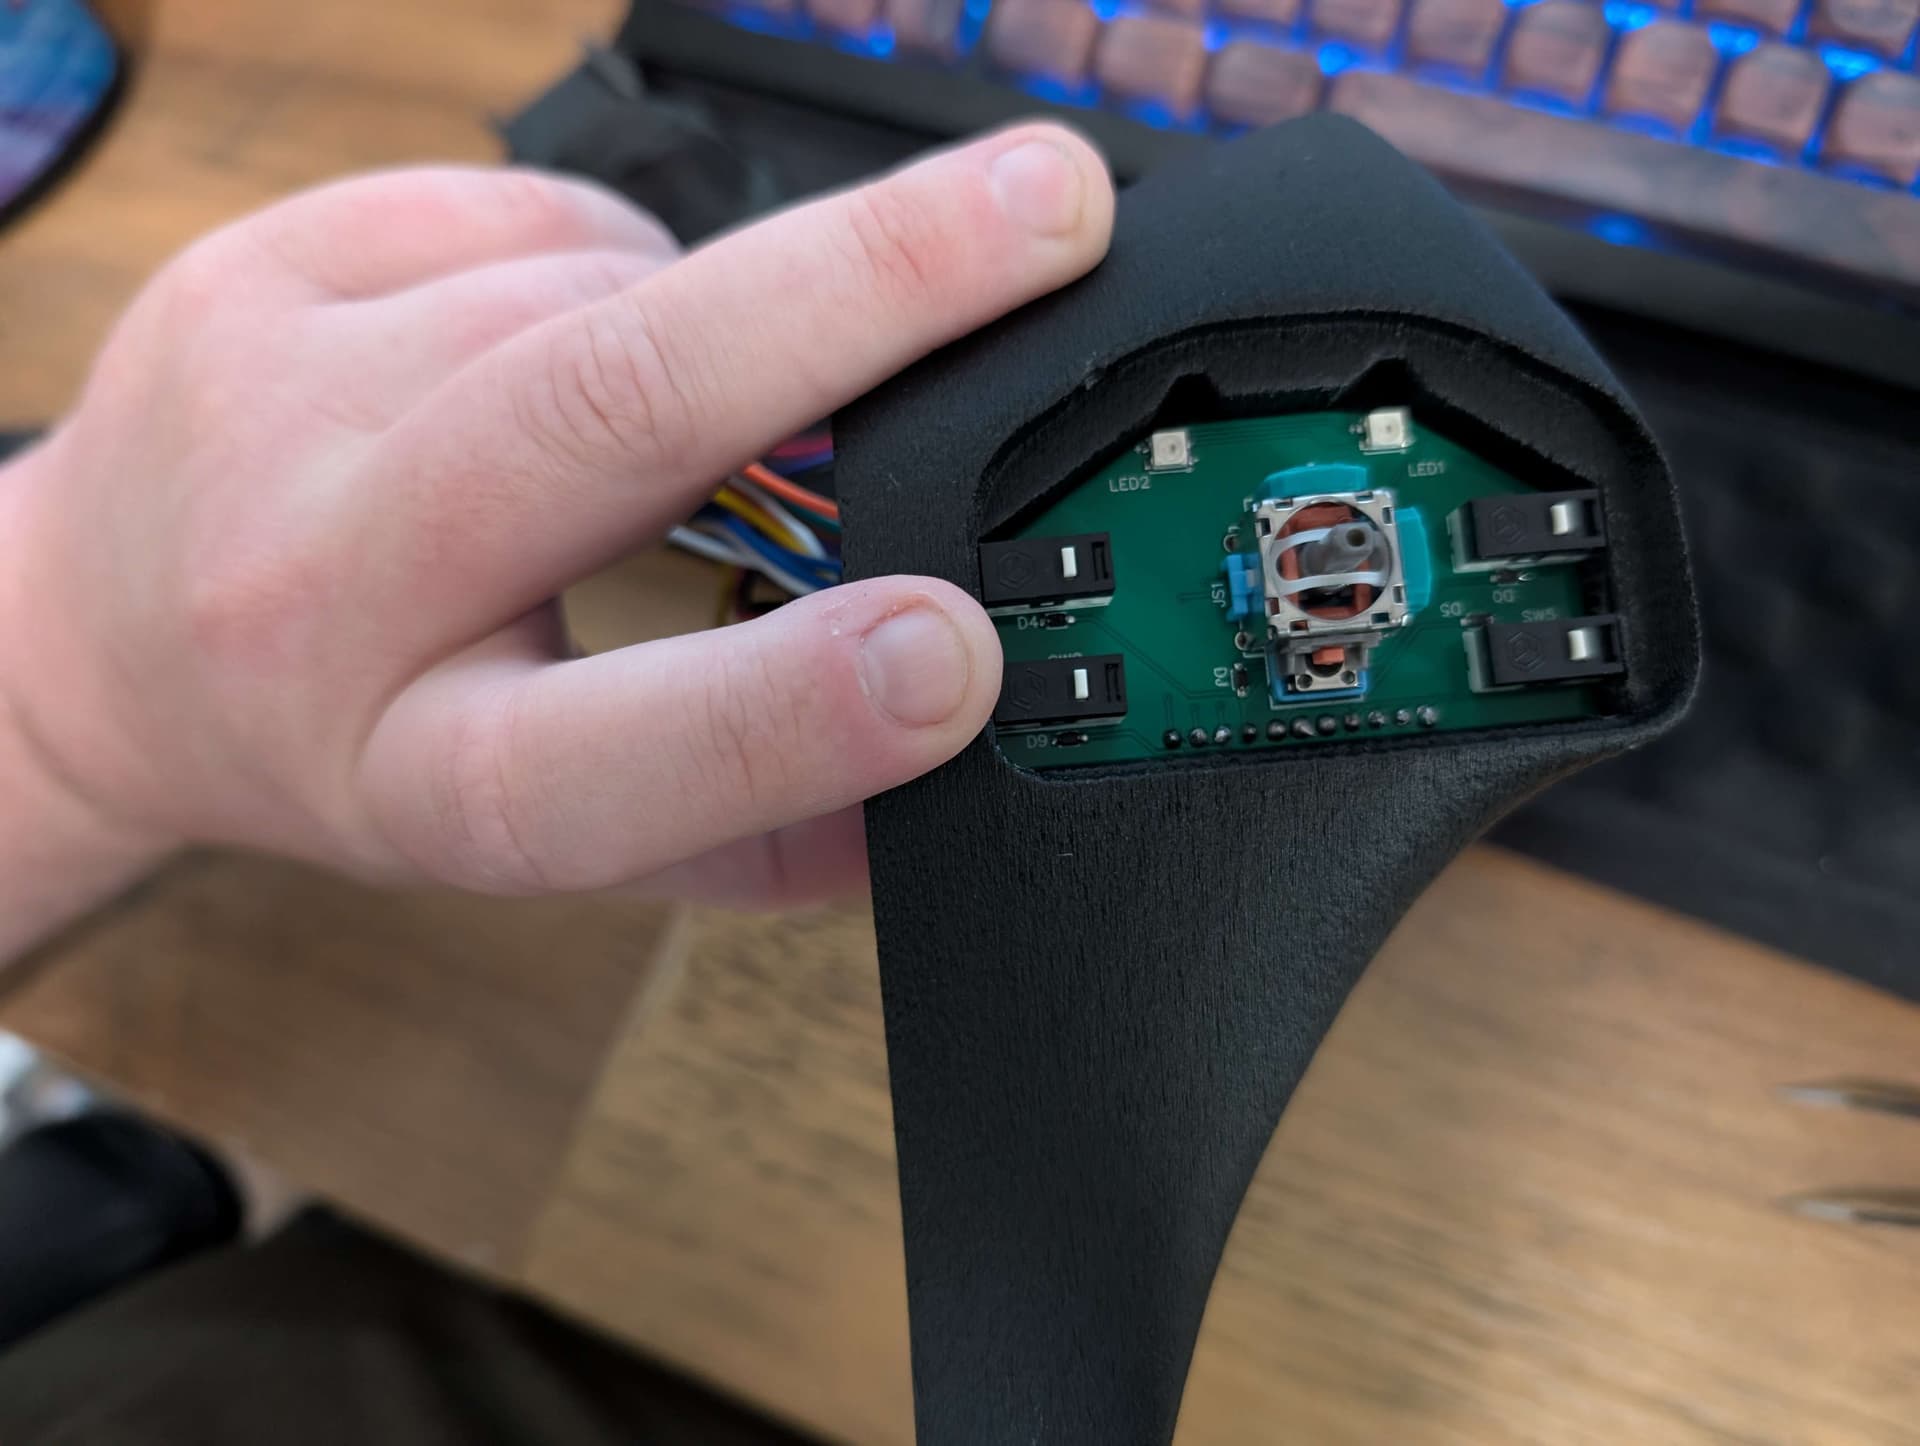
This is the PCB for the joystick and 4 thumb buttons. Yes, my soldering skills are below sub-par. Don’t @ me.
I printed the shell in Hyper PLA-CF with fuzzy skin. I printed the shell 4 times before I got the supports to not suck mega-ass and stick to those very precise walls on the inside.
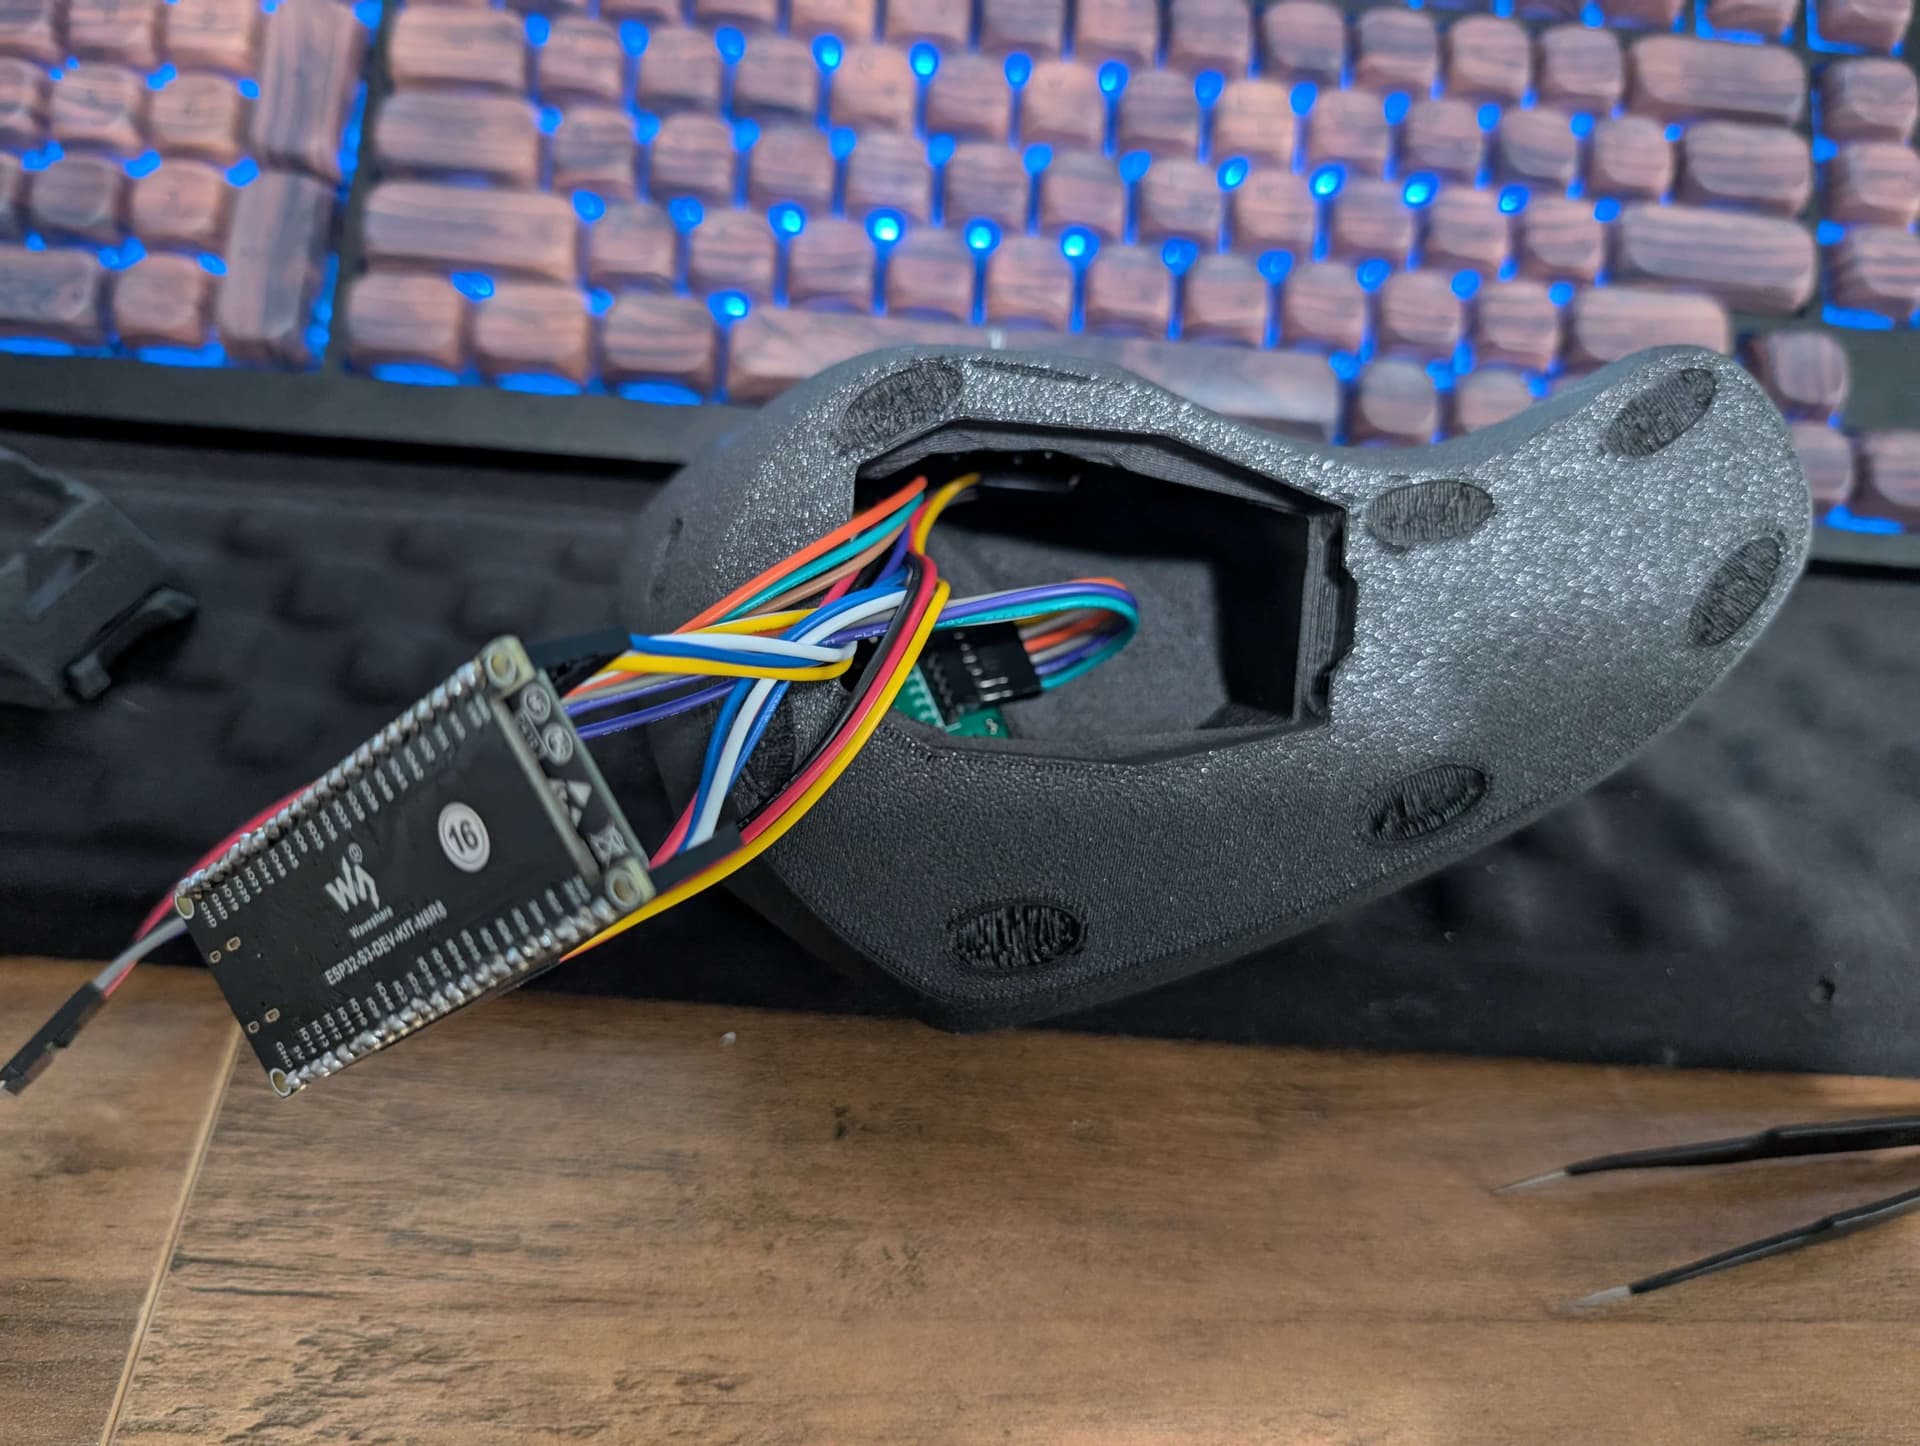
However, after testing and assembly, the USB-C cable absolutely will not fit inside the slot in the shell. So, I’m printing a FIFTH shell, this time in white hyper PLA and with some very slow speeds, a slightly increased USB-C slot width, and better supports.
I’ll see you in 8 hours.
2 Likes
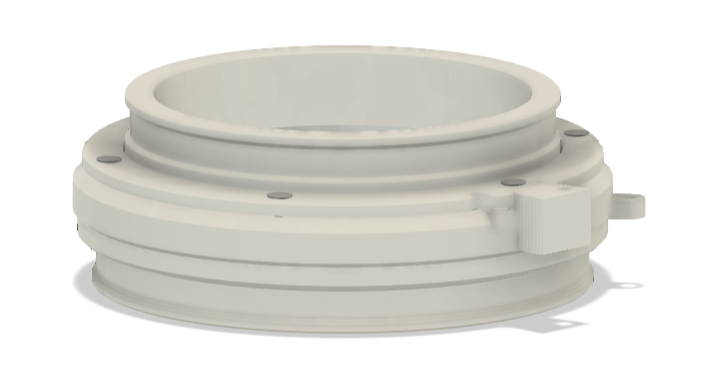
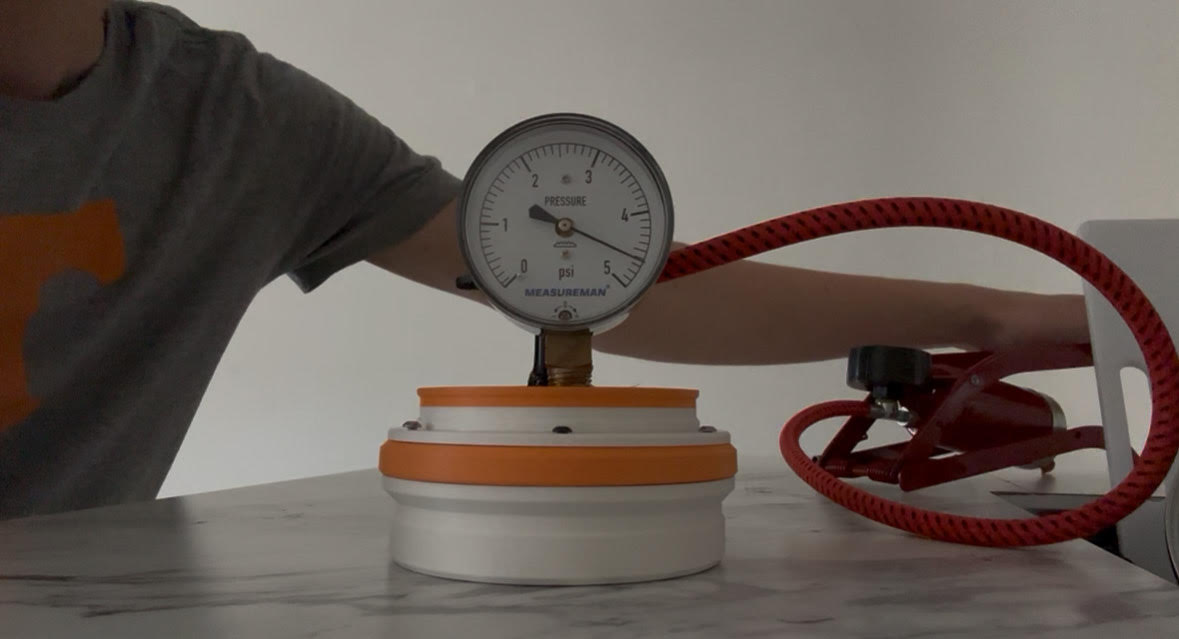
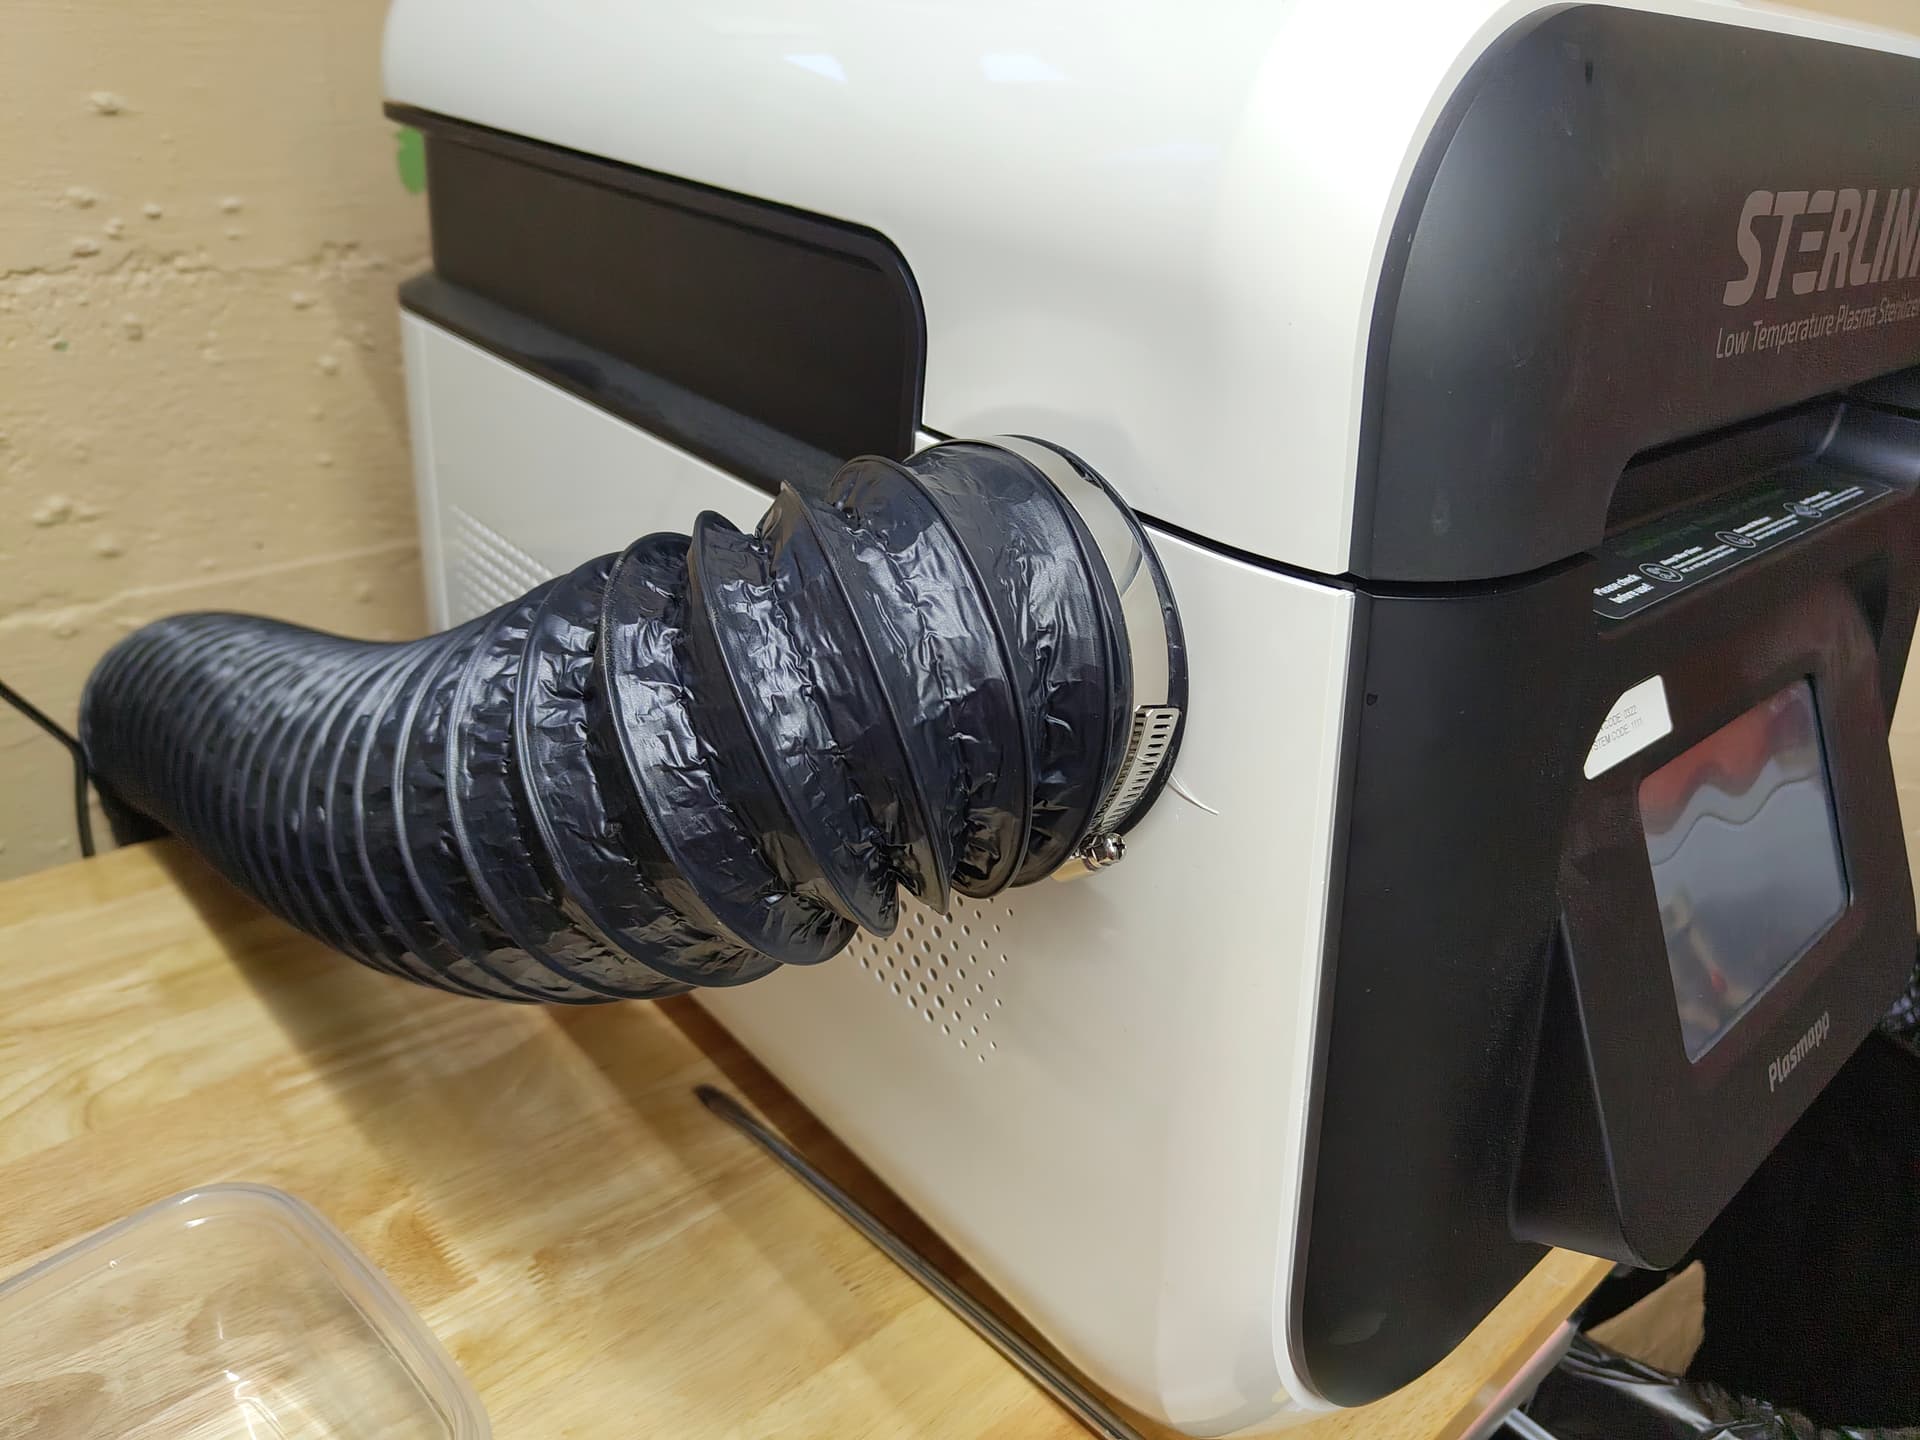
More boring stuff… had to print an adapter to screw into the steielizer, replacing the horribly ineffective ejector port filter mechanism with an actual air evacuation system.
Sterilizer air vent adapter.stl (75.5 KB)
6 Likes
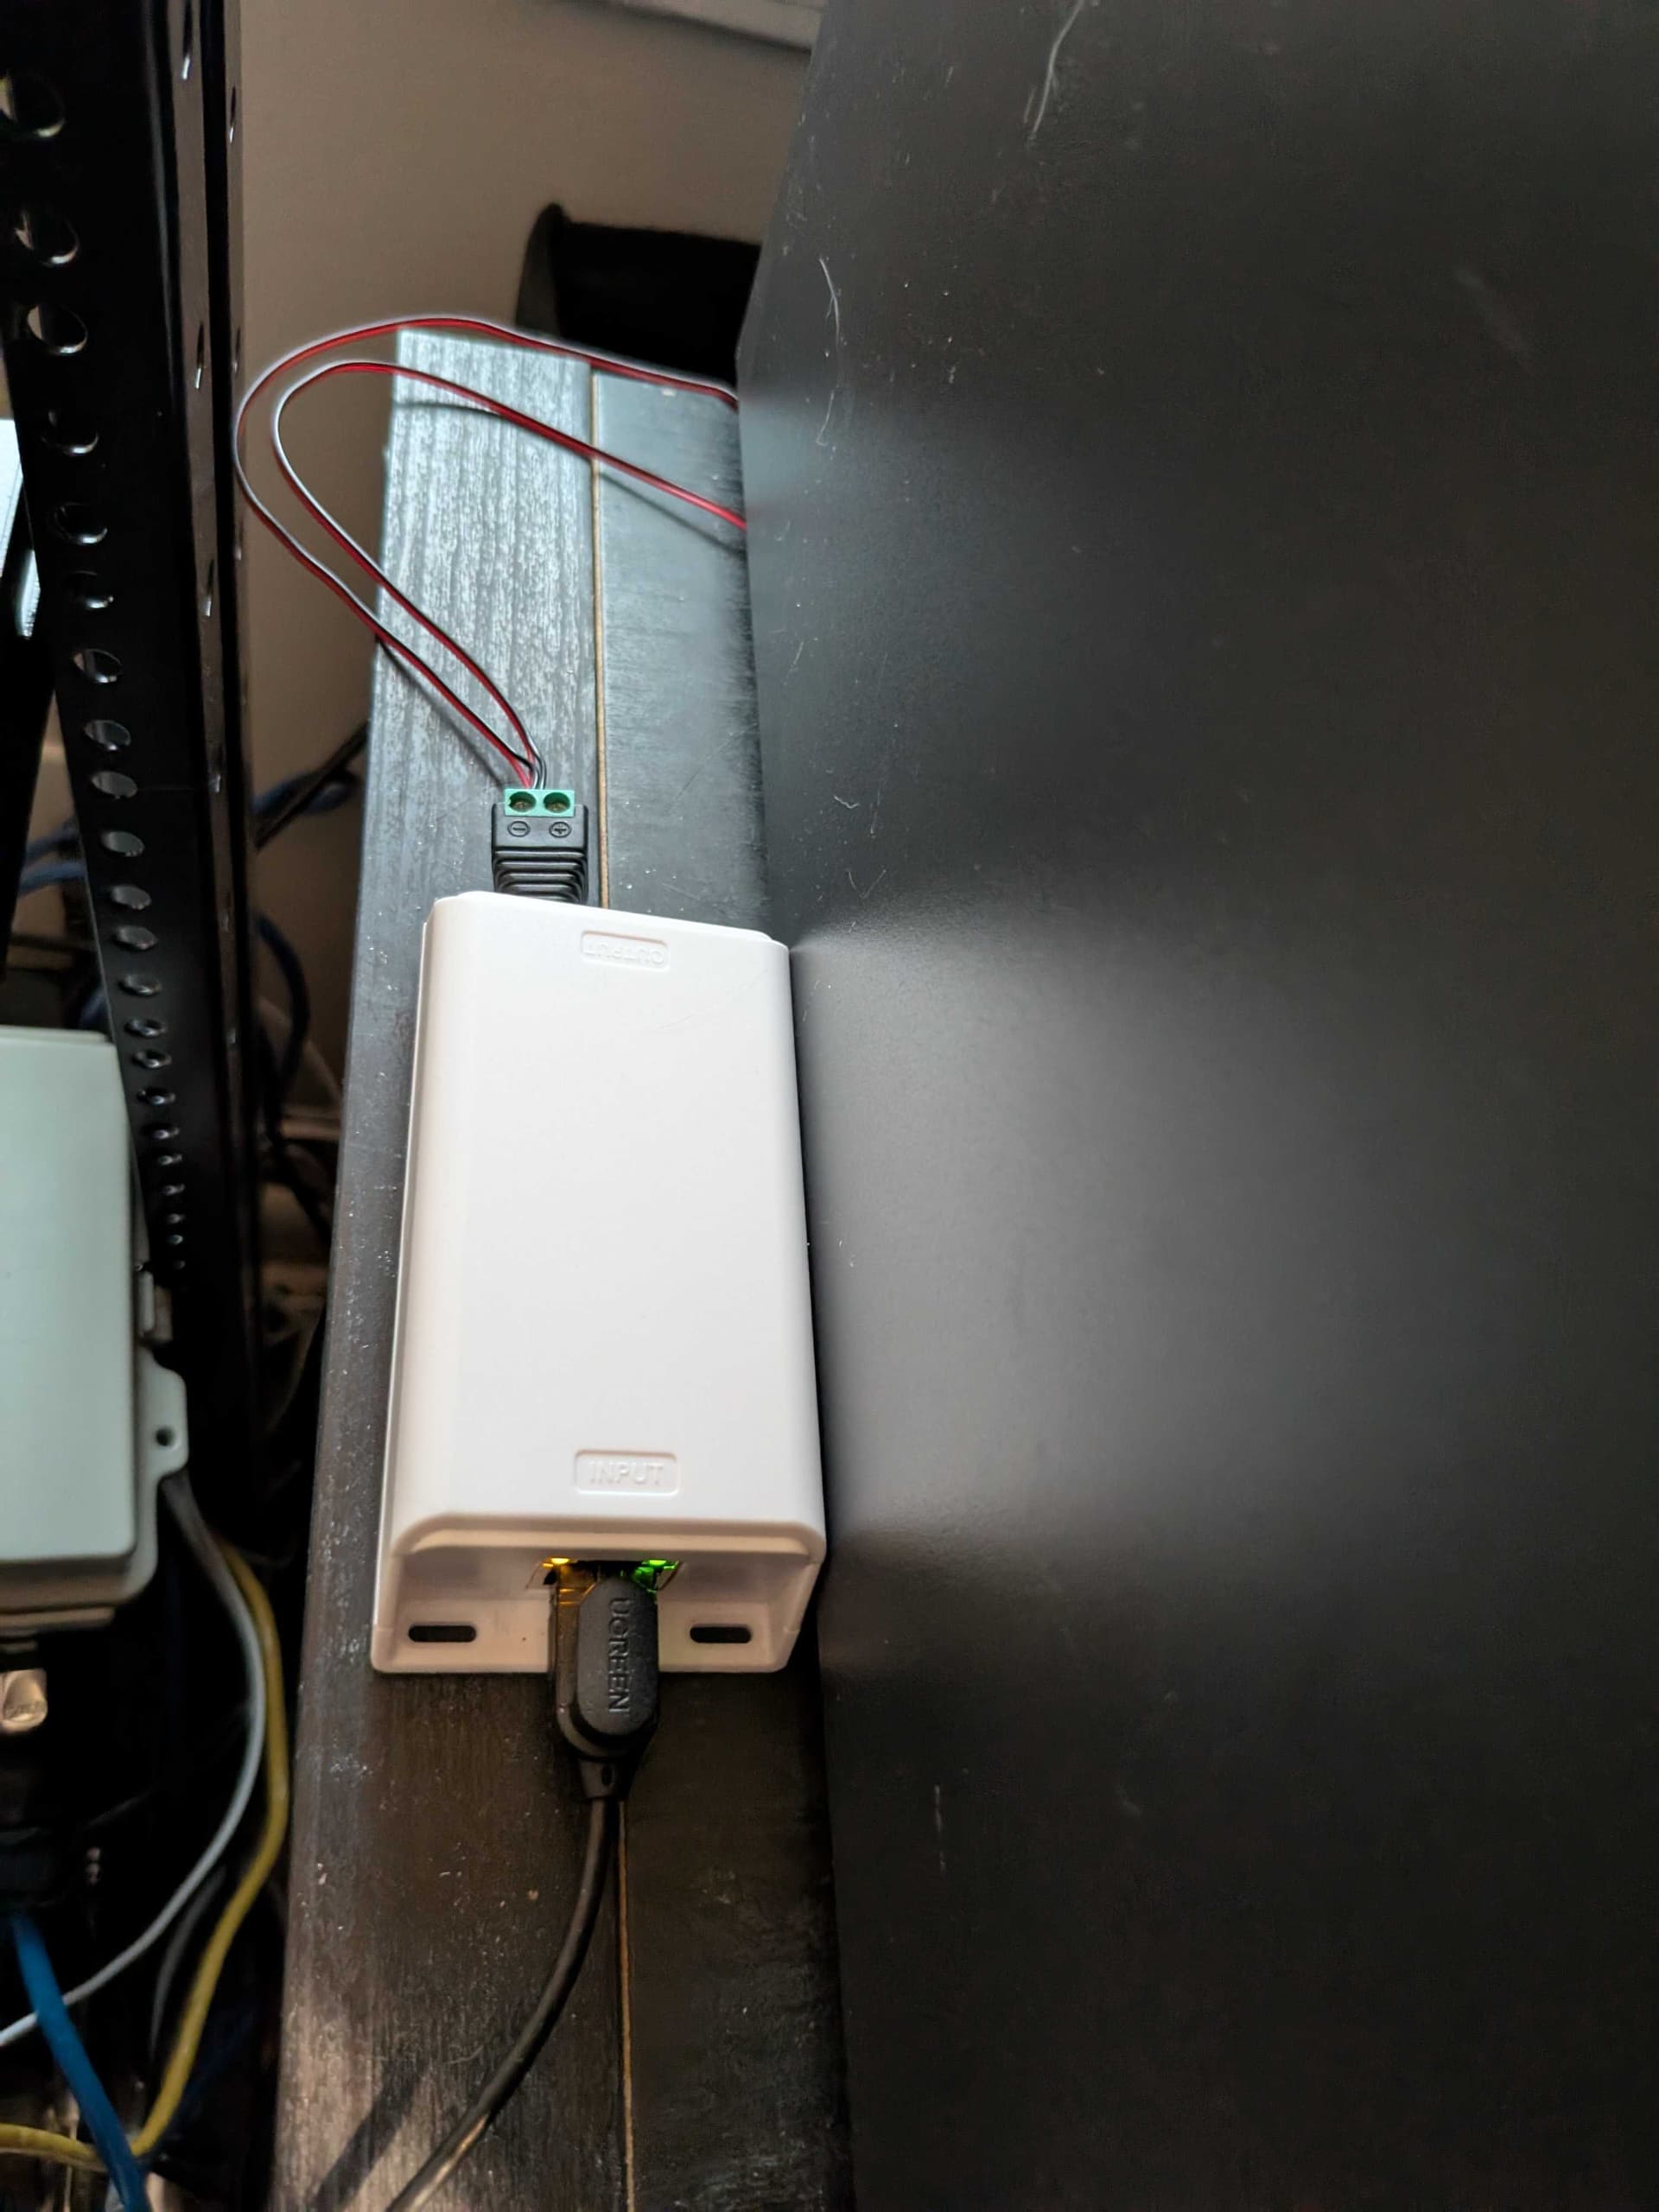
So I bought a Bento Box air filter for my Bambu lab P1S. The kit came with 24v fans and a 24v 1A power supply. I didn’t really want to wire it into my printer’s power supply and I didn’t have room for another wall wart (and definitely not a smart plug).
My solution: Get a 24v PoE splitter and power it with my ethernet switch. I also wanted to be able to turn it on and off when the printer is not running. Although I use UniFi equipment, I’m not fancy enough to have a UniFi PoE switch that easily integrates with Home Assistant. Instead I just rock the Cisco Catalyst 3750G 48 Port PoE switch I got for free years ago. I followed this guide to add a switch in Home Assistant that controls that specific PoE port via SNMP. Then I made an automation in Home Assistant to automatically turn on the PoE port when a print starts and turn it off when it finishes.
A super over complicated solution to my niche problem, but it works so well that I just bought another PoE injector and Bento Box to do the same with my other P1S ![]()
PS: Huge thanks to @StarGazer1258 for letting me know these Cisco switches can have their PoE ports controlled via SNMP!
3 Likes
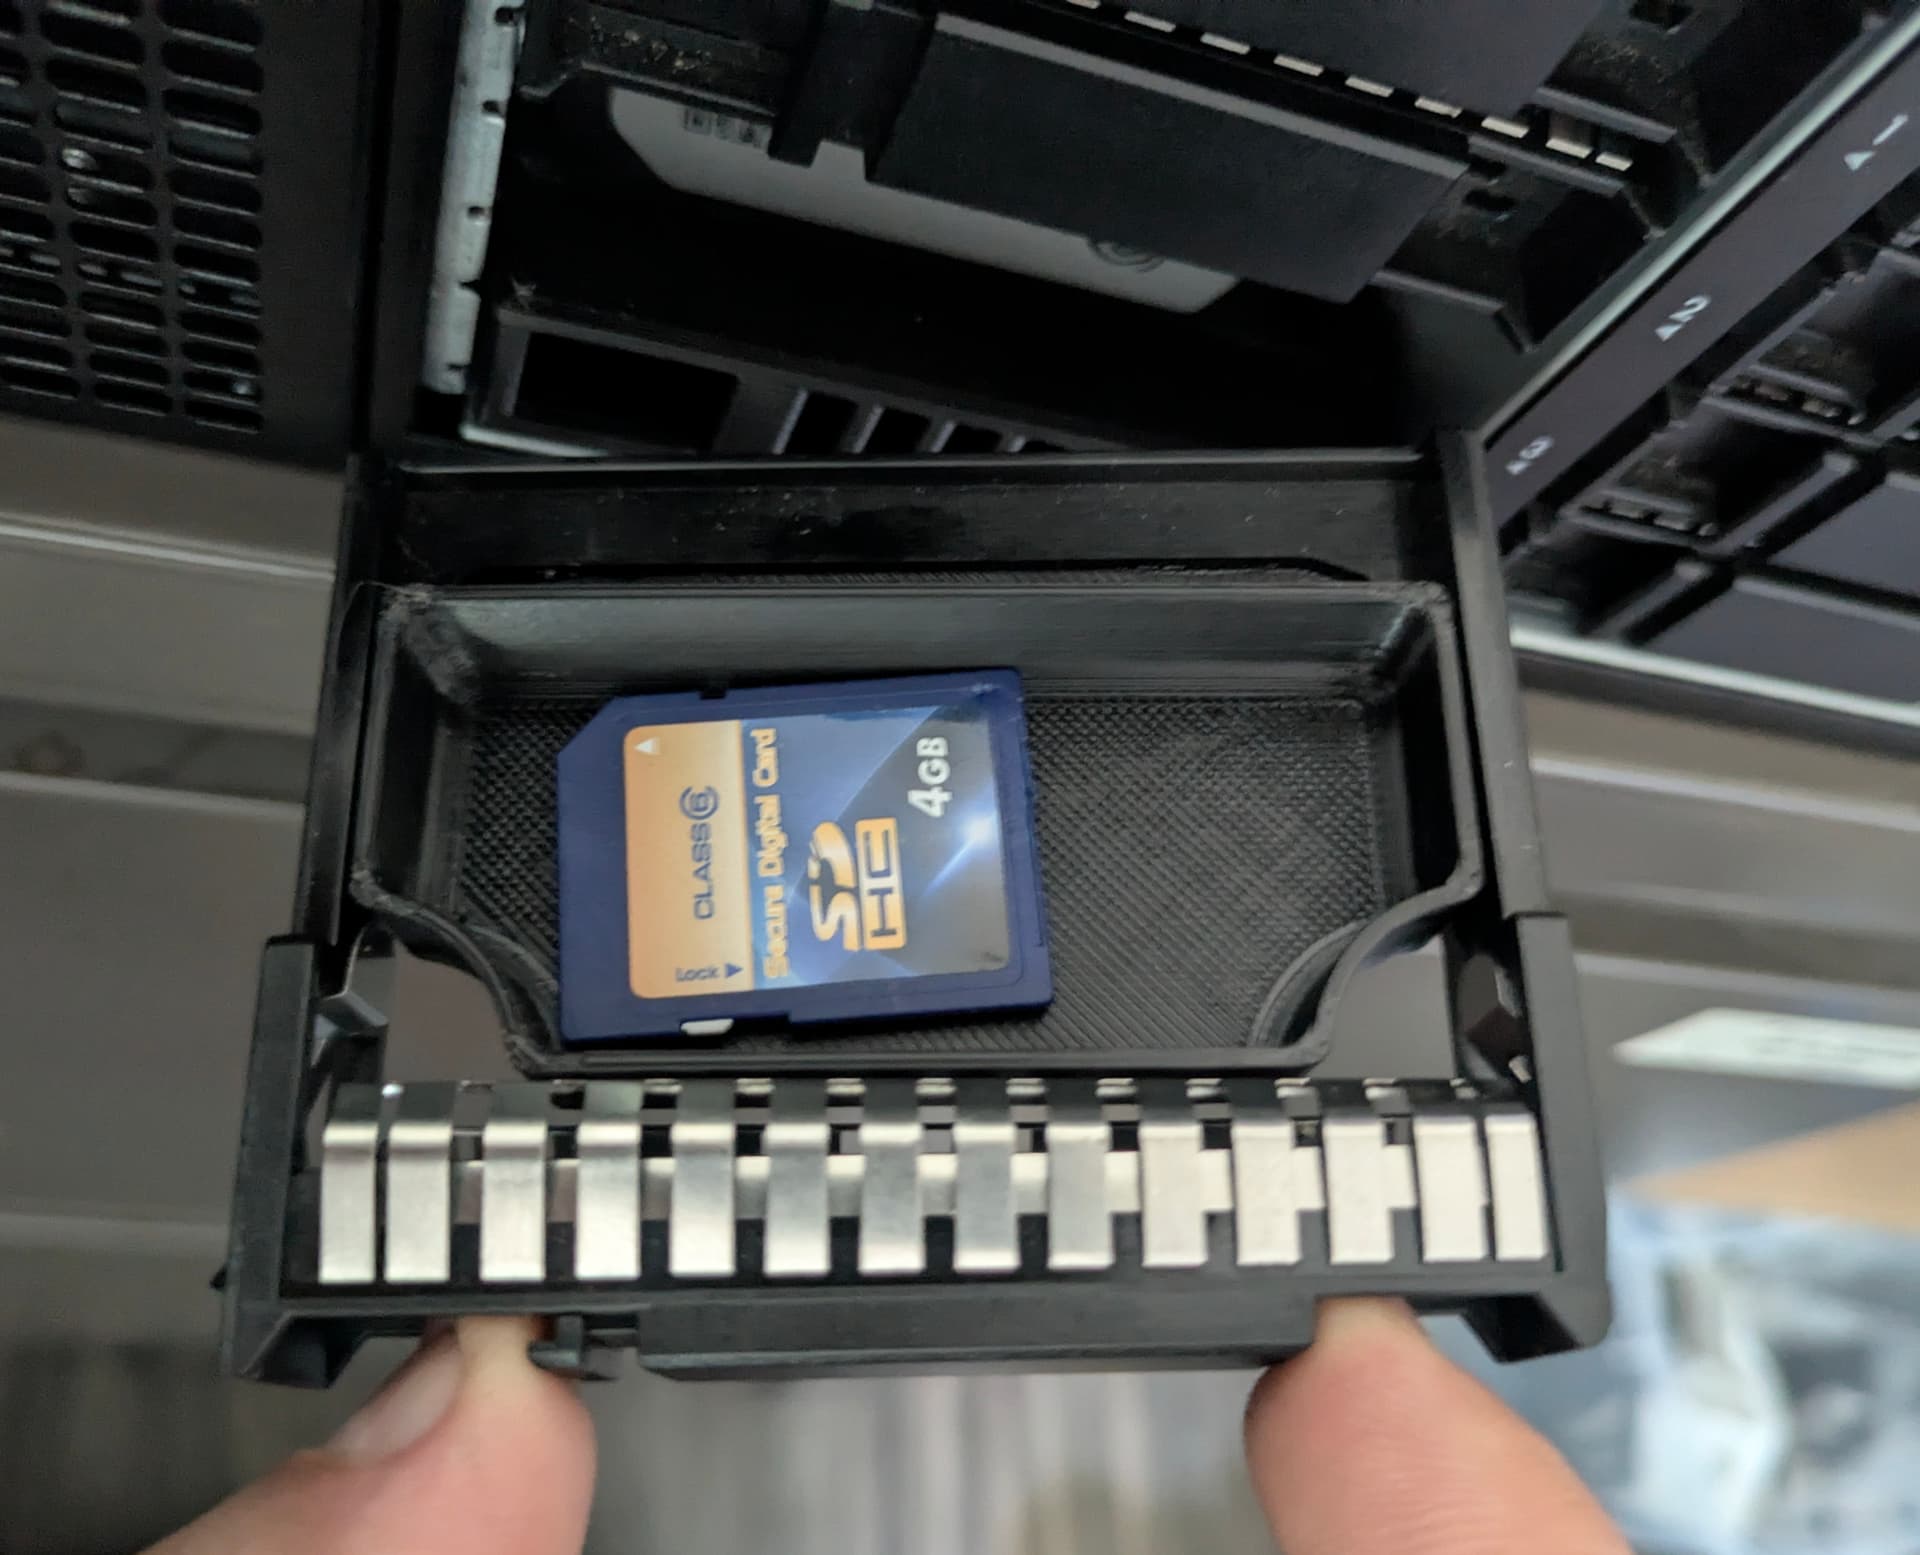
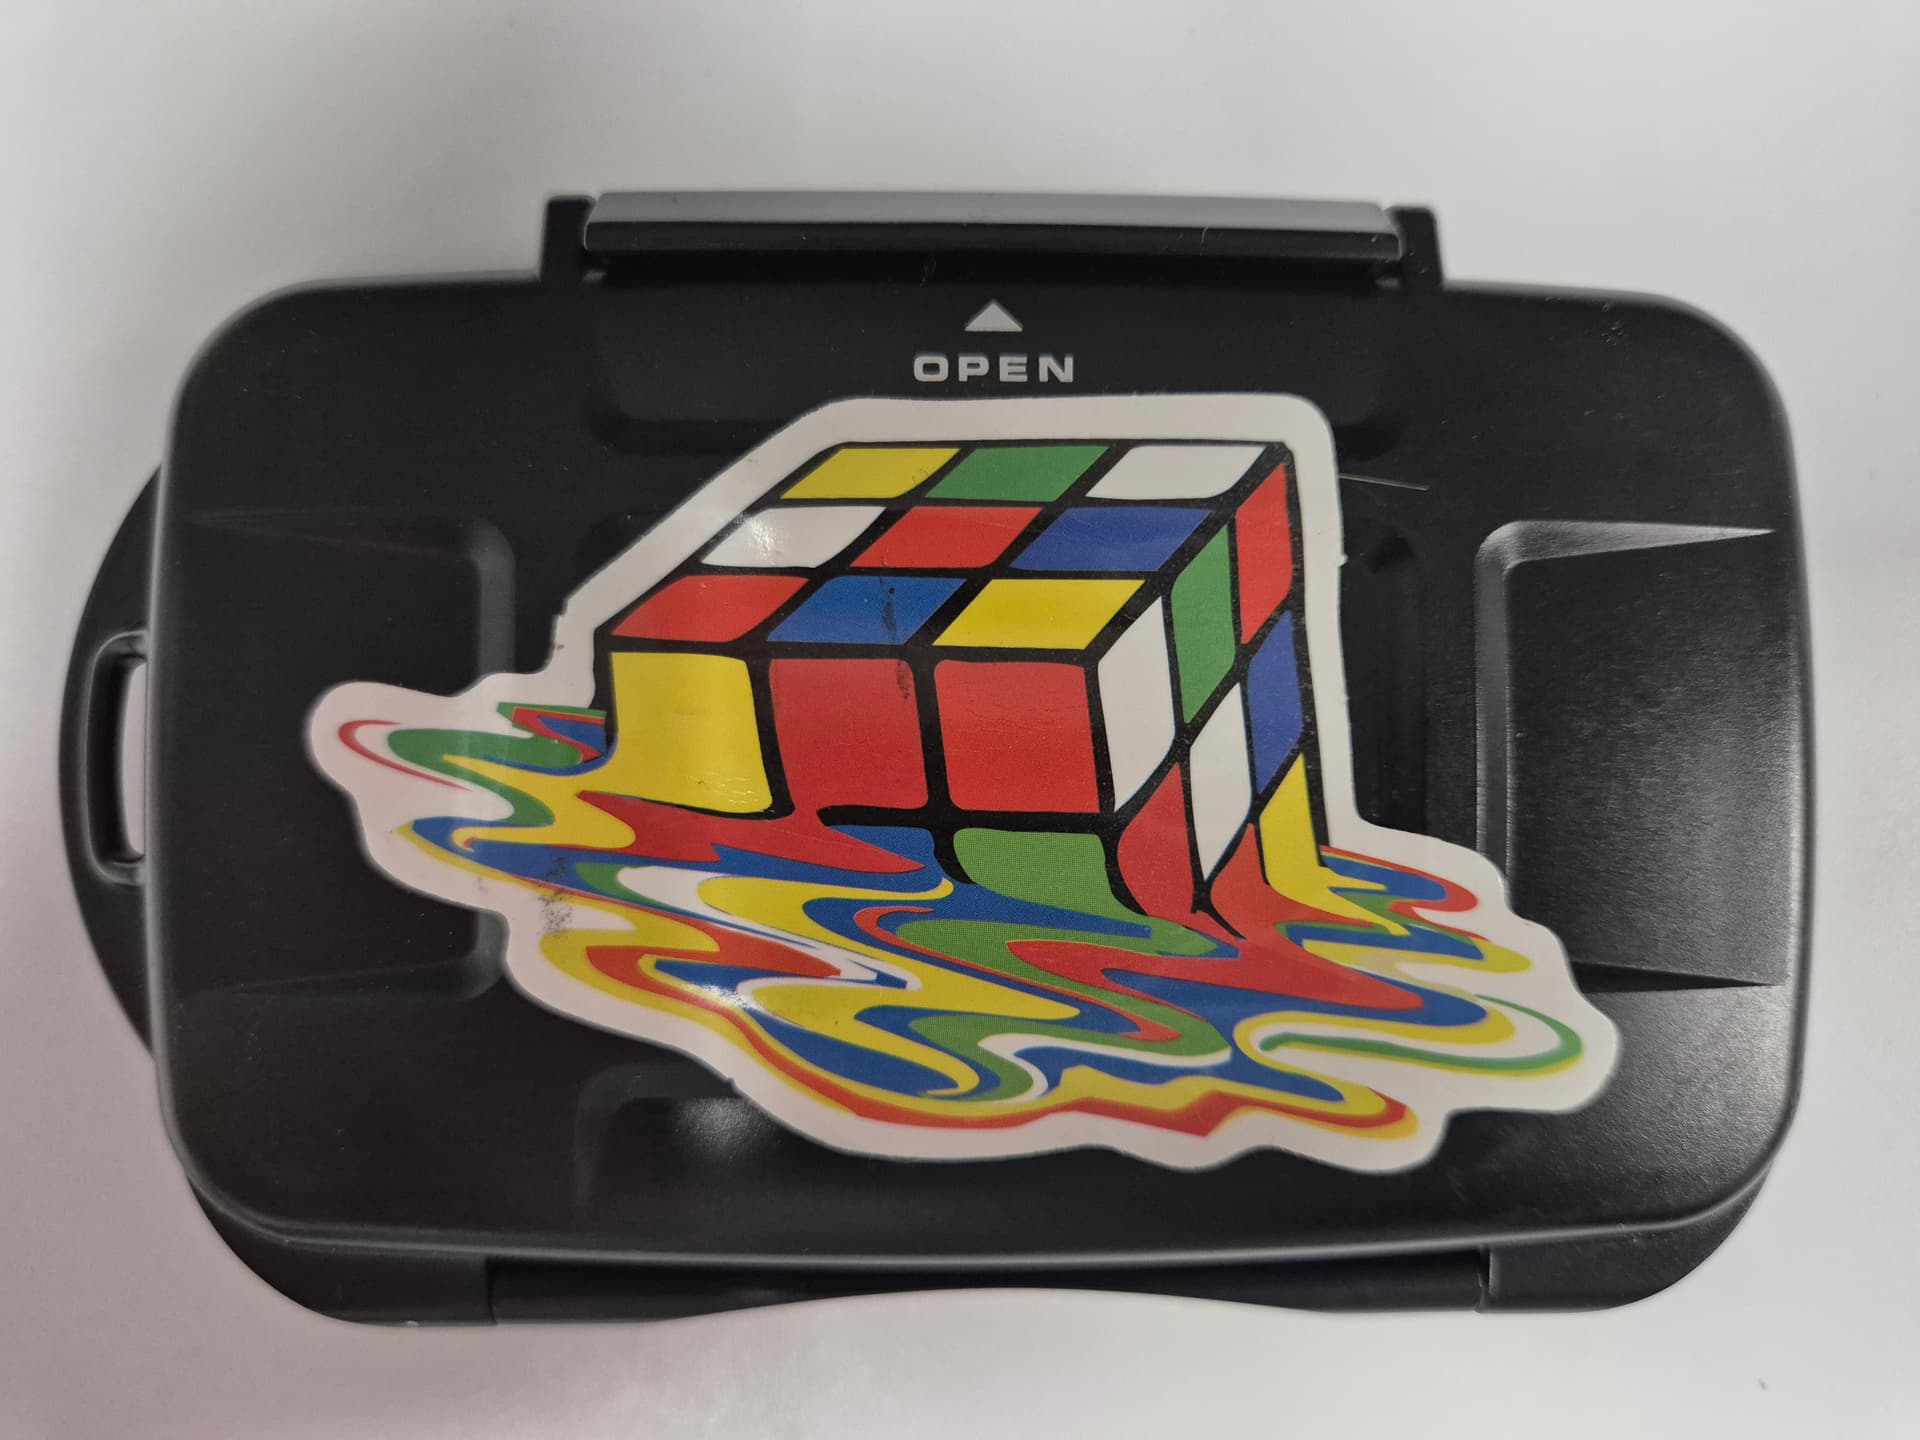
For a long time I’ve carried test cards, ive had them in a variety of containers.
My latest is an adapted Pelican 910 Memory card case.
I pulled the memory card inserts out

Cut some flex tape to be the new base for top and bottom, since it sticks like shit to a blanket, plus is thin and malleable

I cut some holes in some thin foam for Hammy repeaters and detectors

More foam for some test cards
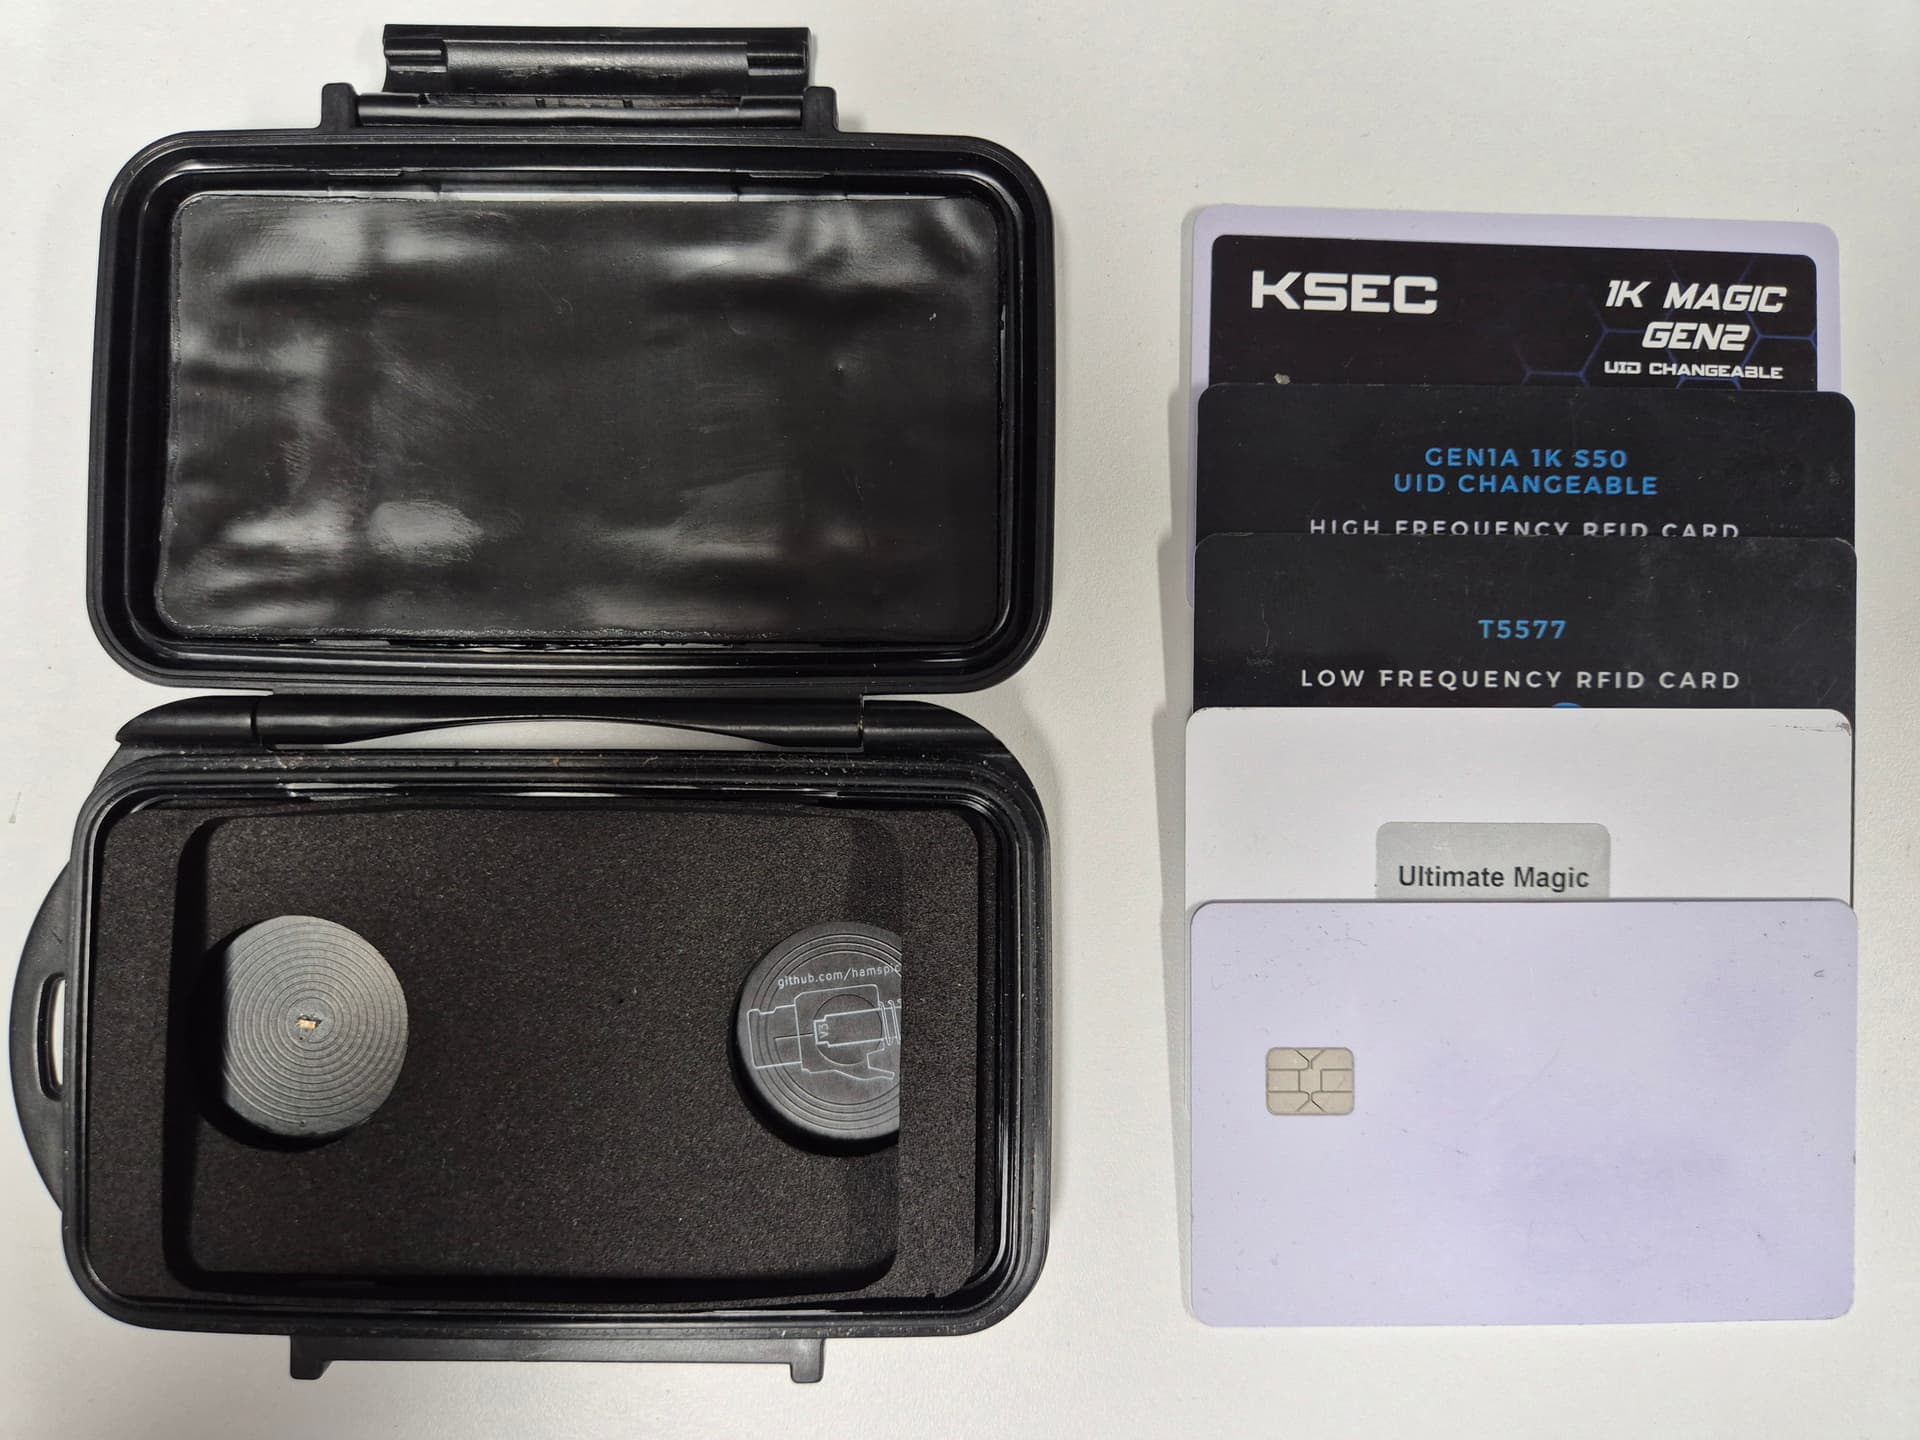
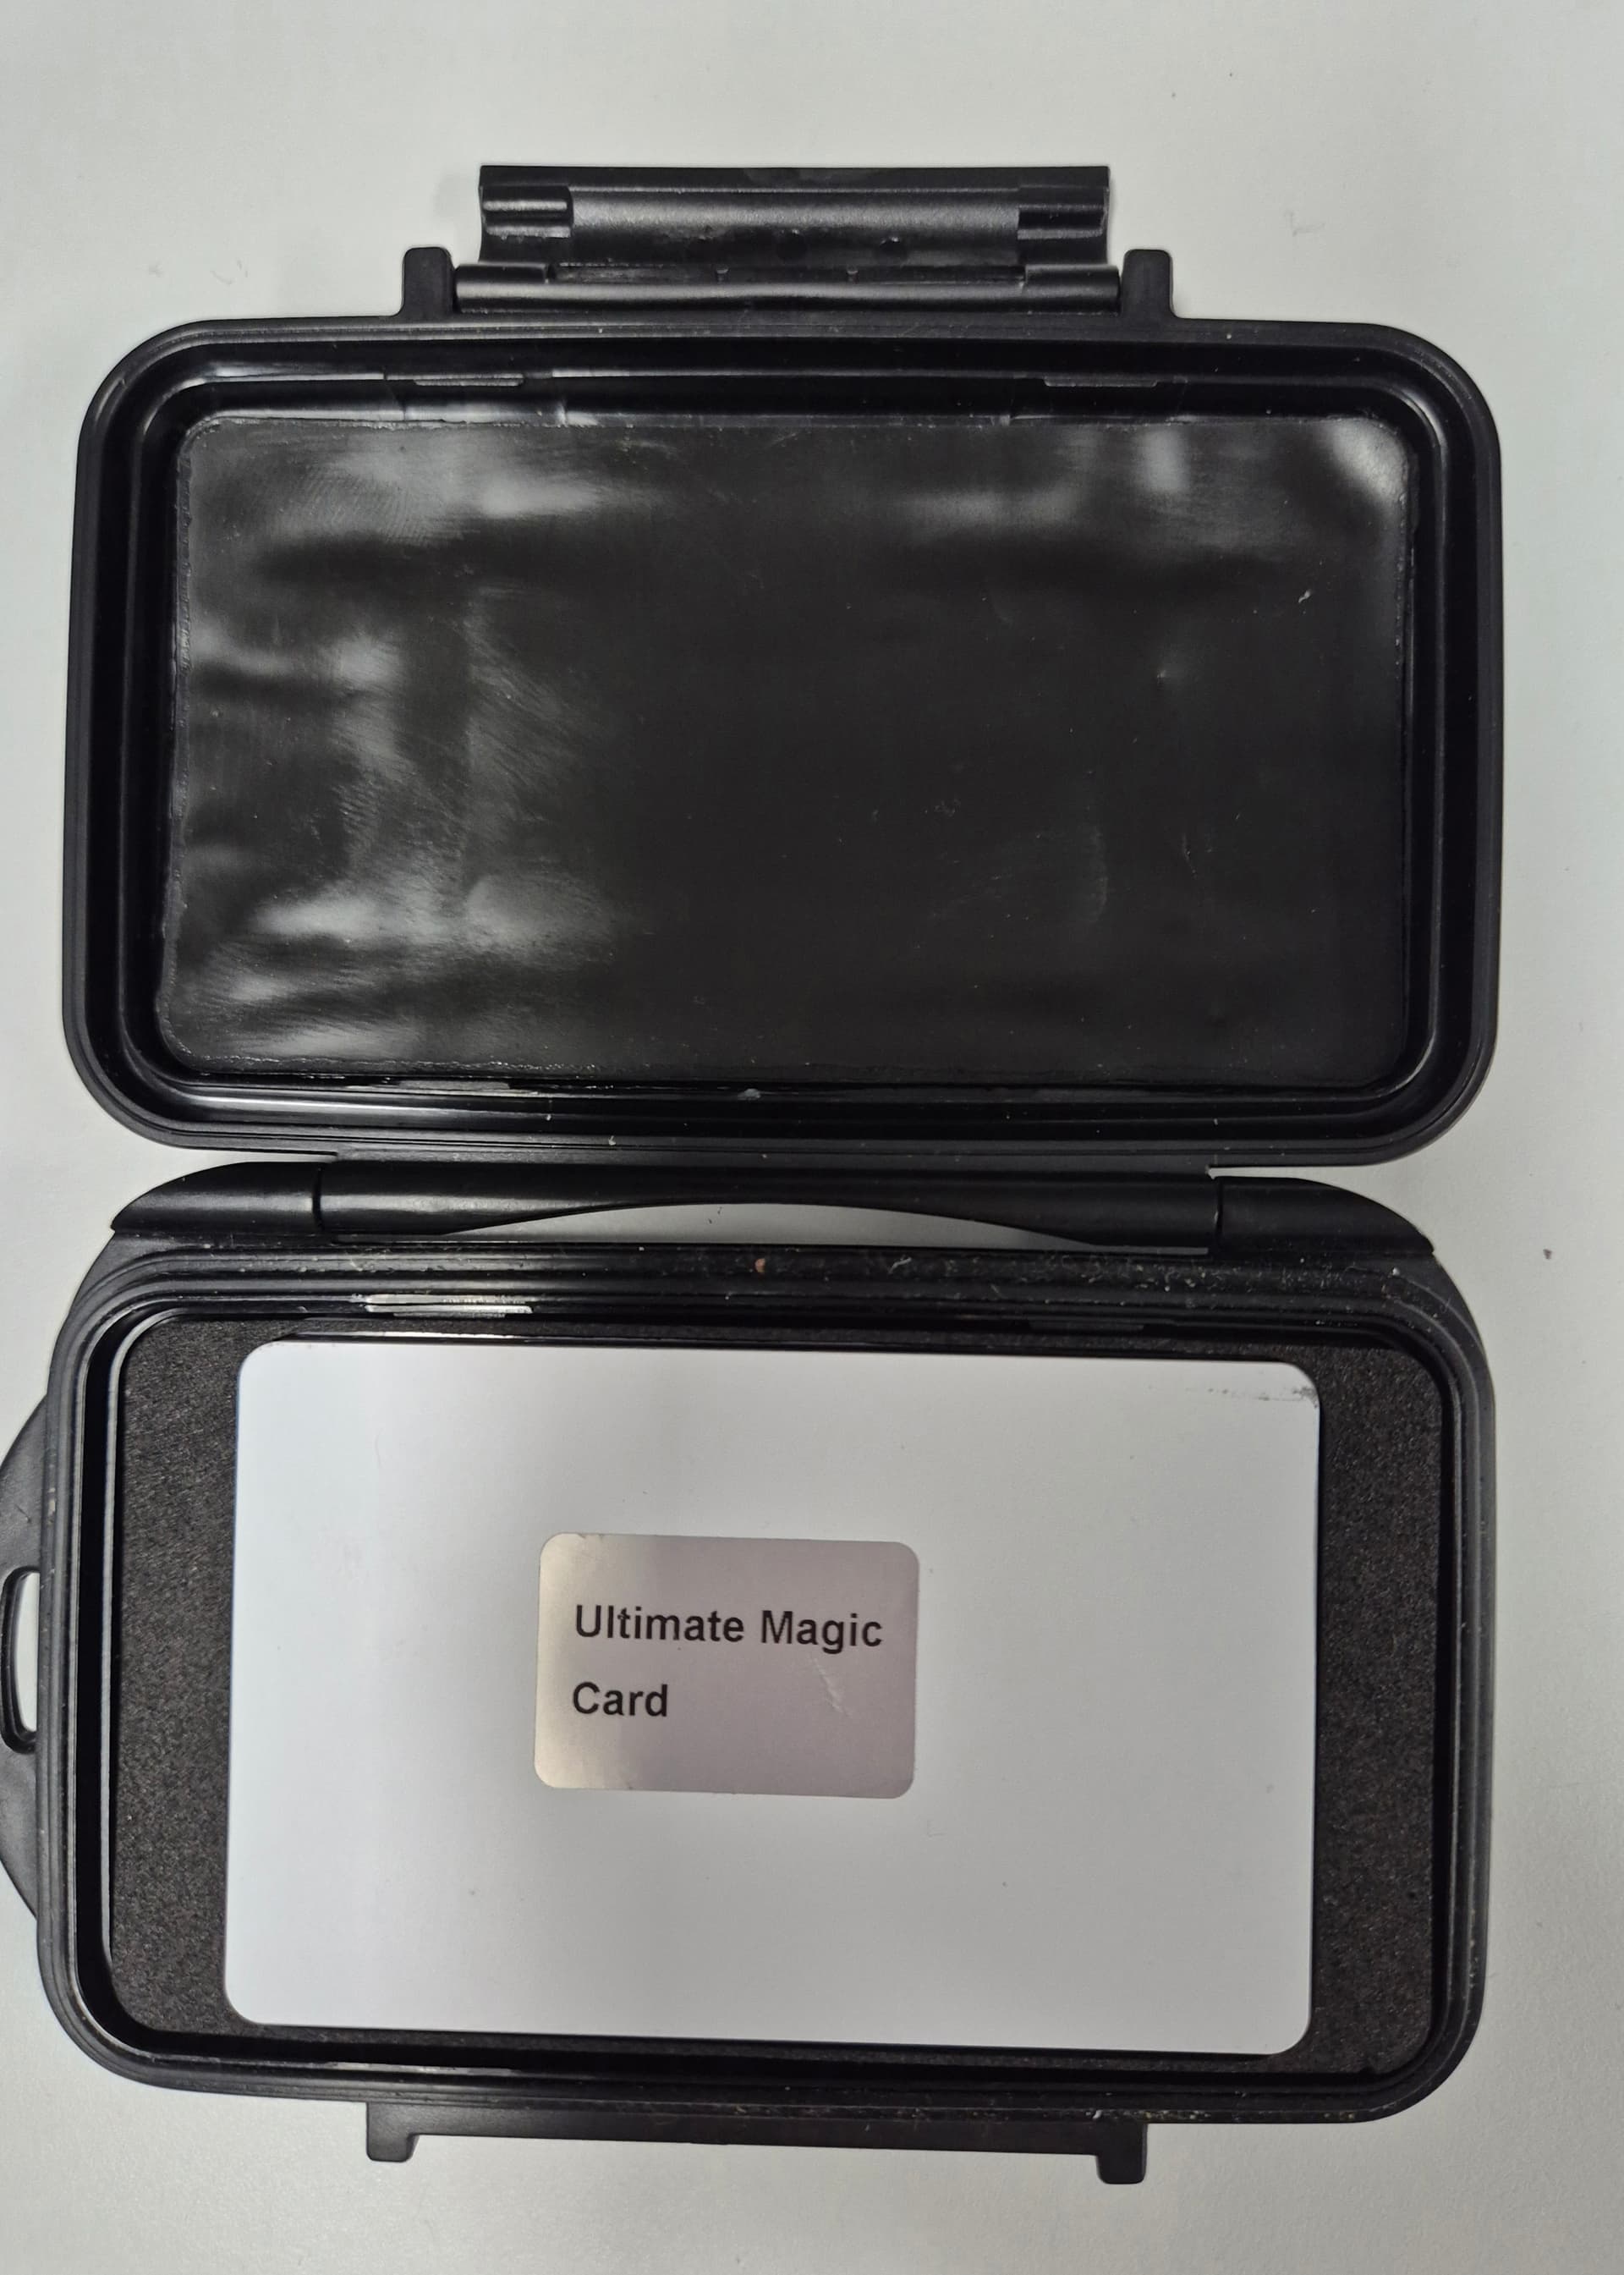
There will be some tweaks to come (i won’t bother sharing, because its boring), but you get the idea
3 Likes