At Dangerous Things we offer the PMK , as well as a very effective topical anesthetic patch. Both have down sides. The PMK itself and/or the use of it is heavily regulated in many geographies. The patch is highly effective, but also very small… about an inch in diameter, or about the size of a US quarter, or a 1 Euro coin.
In an earlier experiment I tried using a commercial large surface area topical lidocaine patch, which ultimately failed to produce desired results. After thinking a bit about it, I tried constructing a custom made topical patch. This time it worked perfectly!
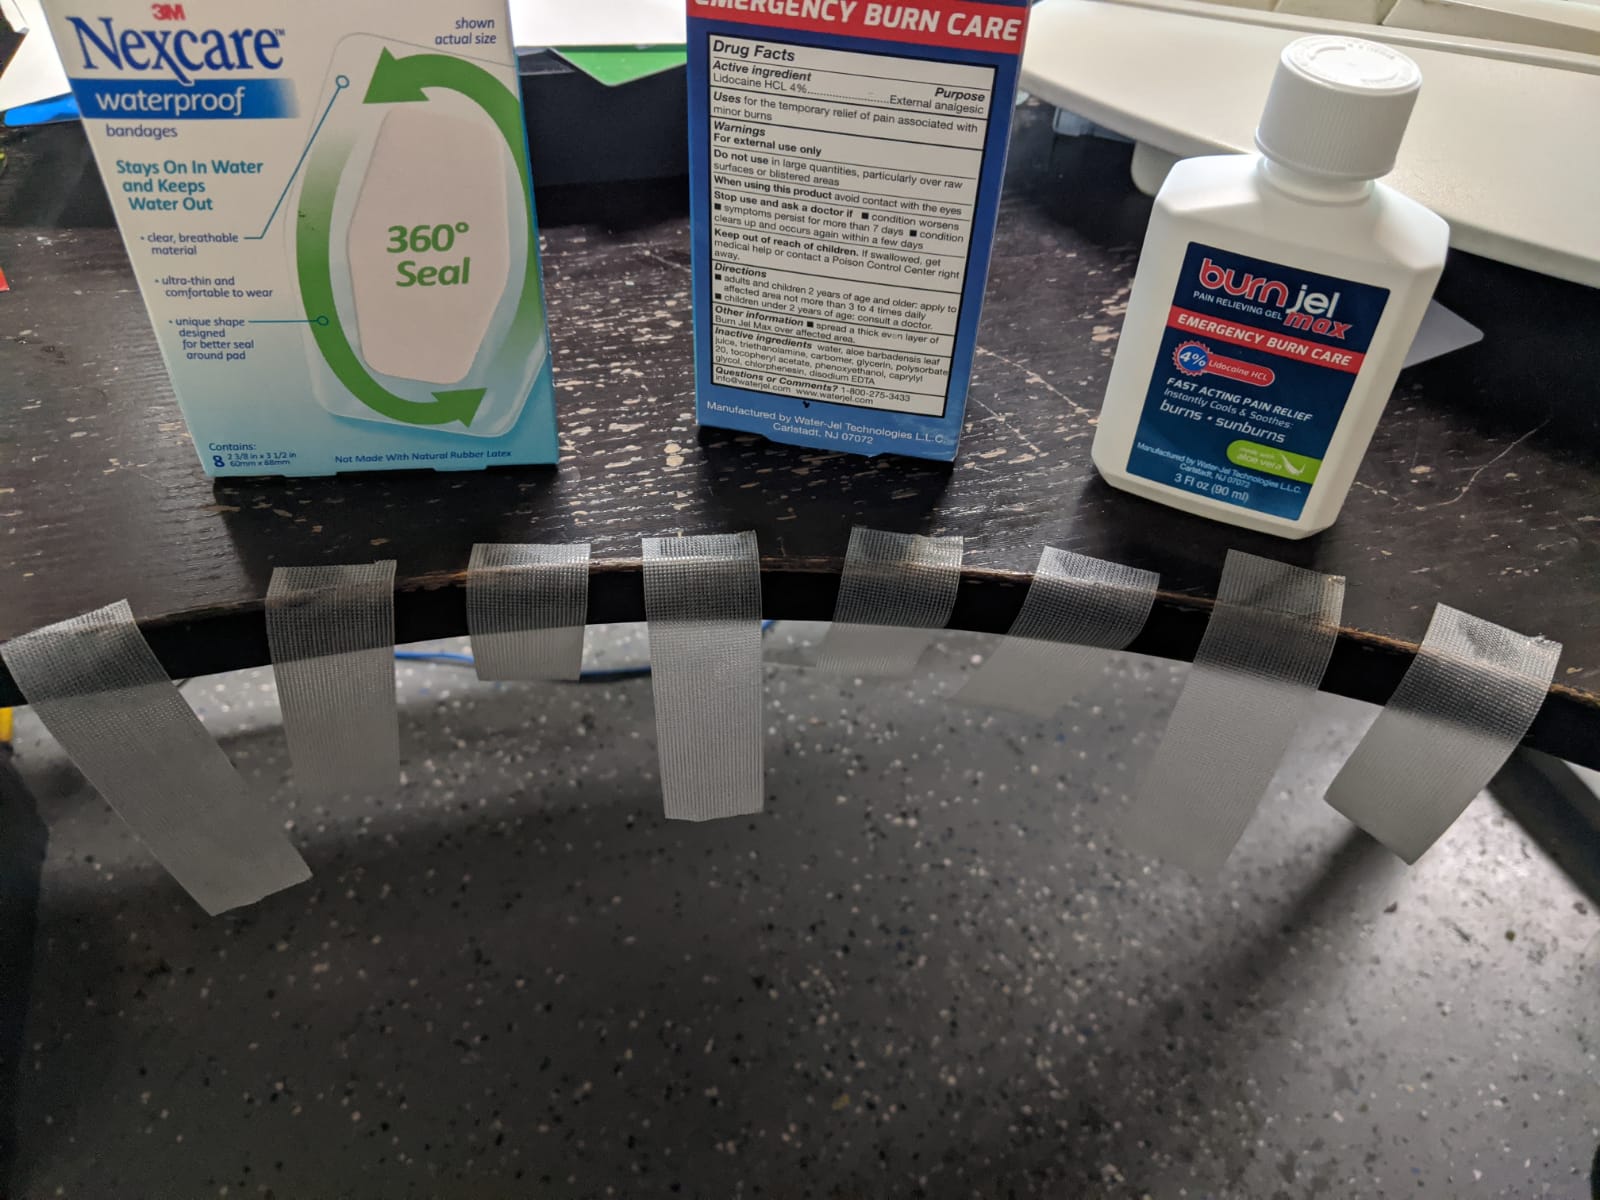
1. Collect the materials
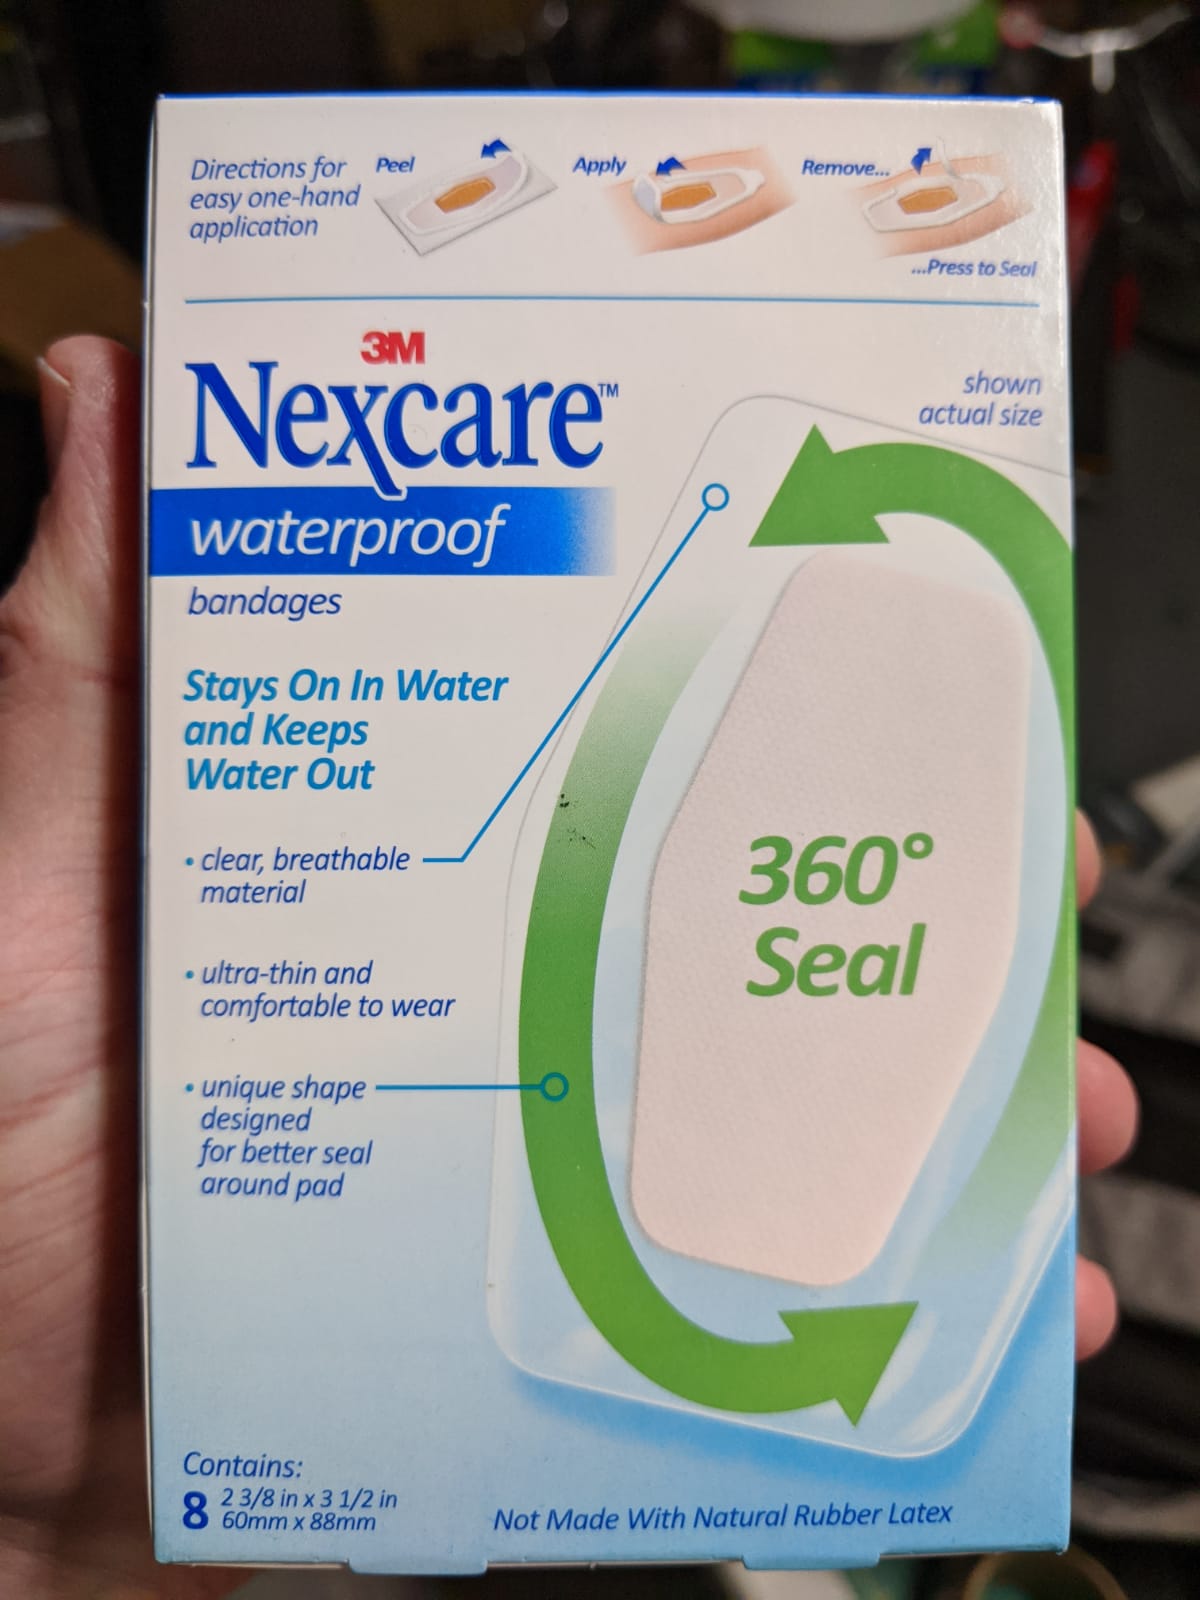
First you will need some waterproof bandages. The patch needs to be left on the skin for 2 hours for maximum effectiveness, so the bandages need to be waterproof to ensure the topical gel stays confined and does not leak out or dry out. I used Nexcare brand. Any brand should work, as long as they are waterproof and large enough that the gauze pad covers the surface area you need.
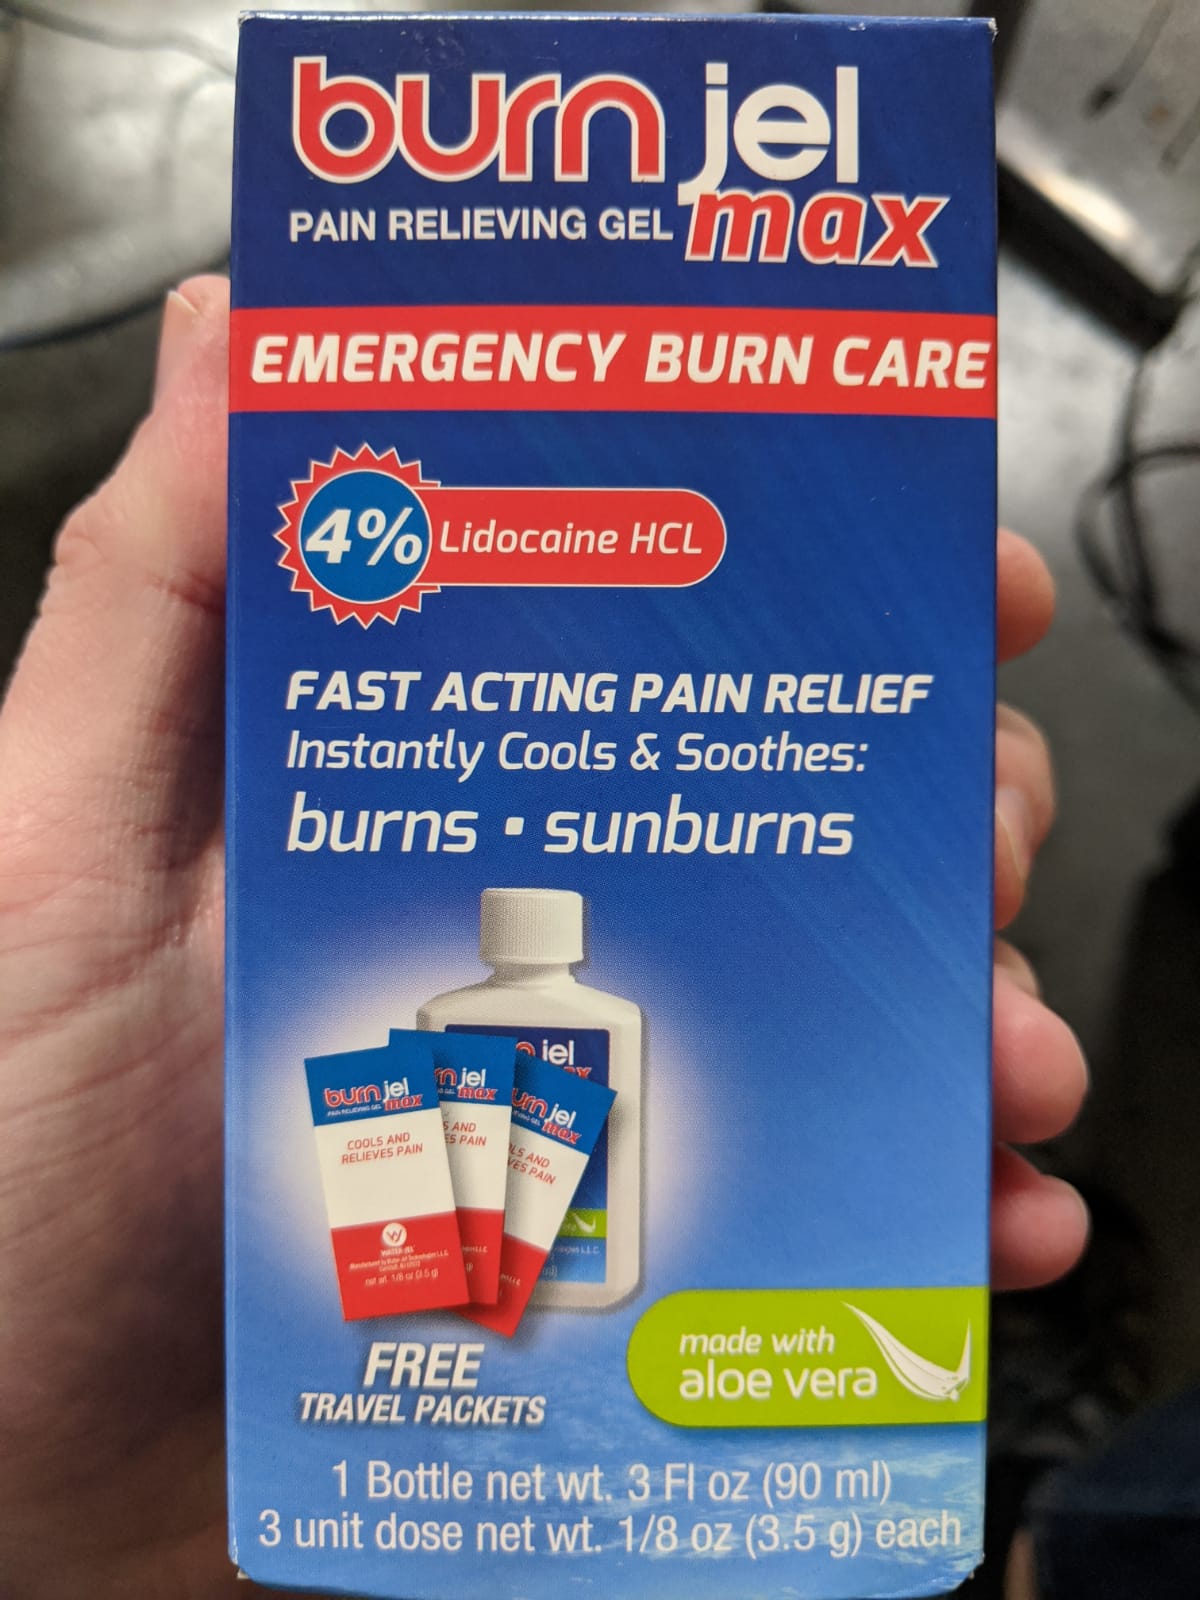
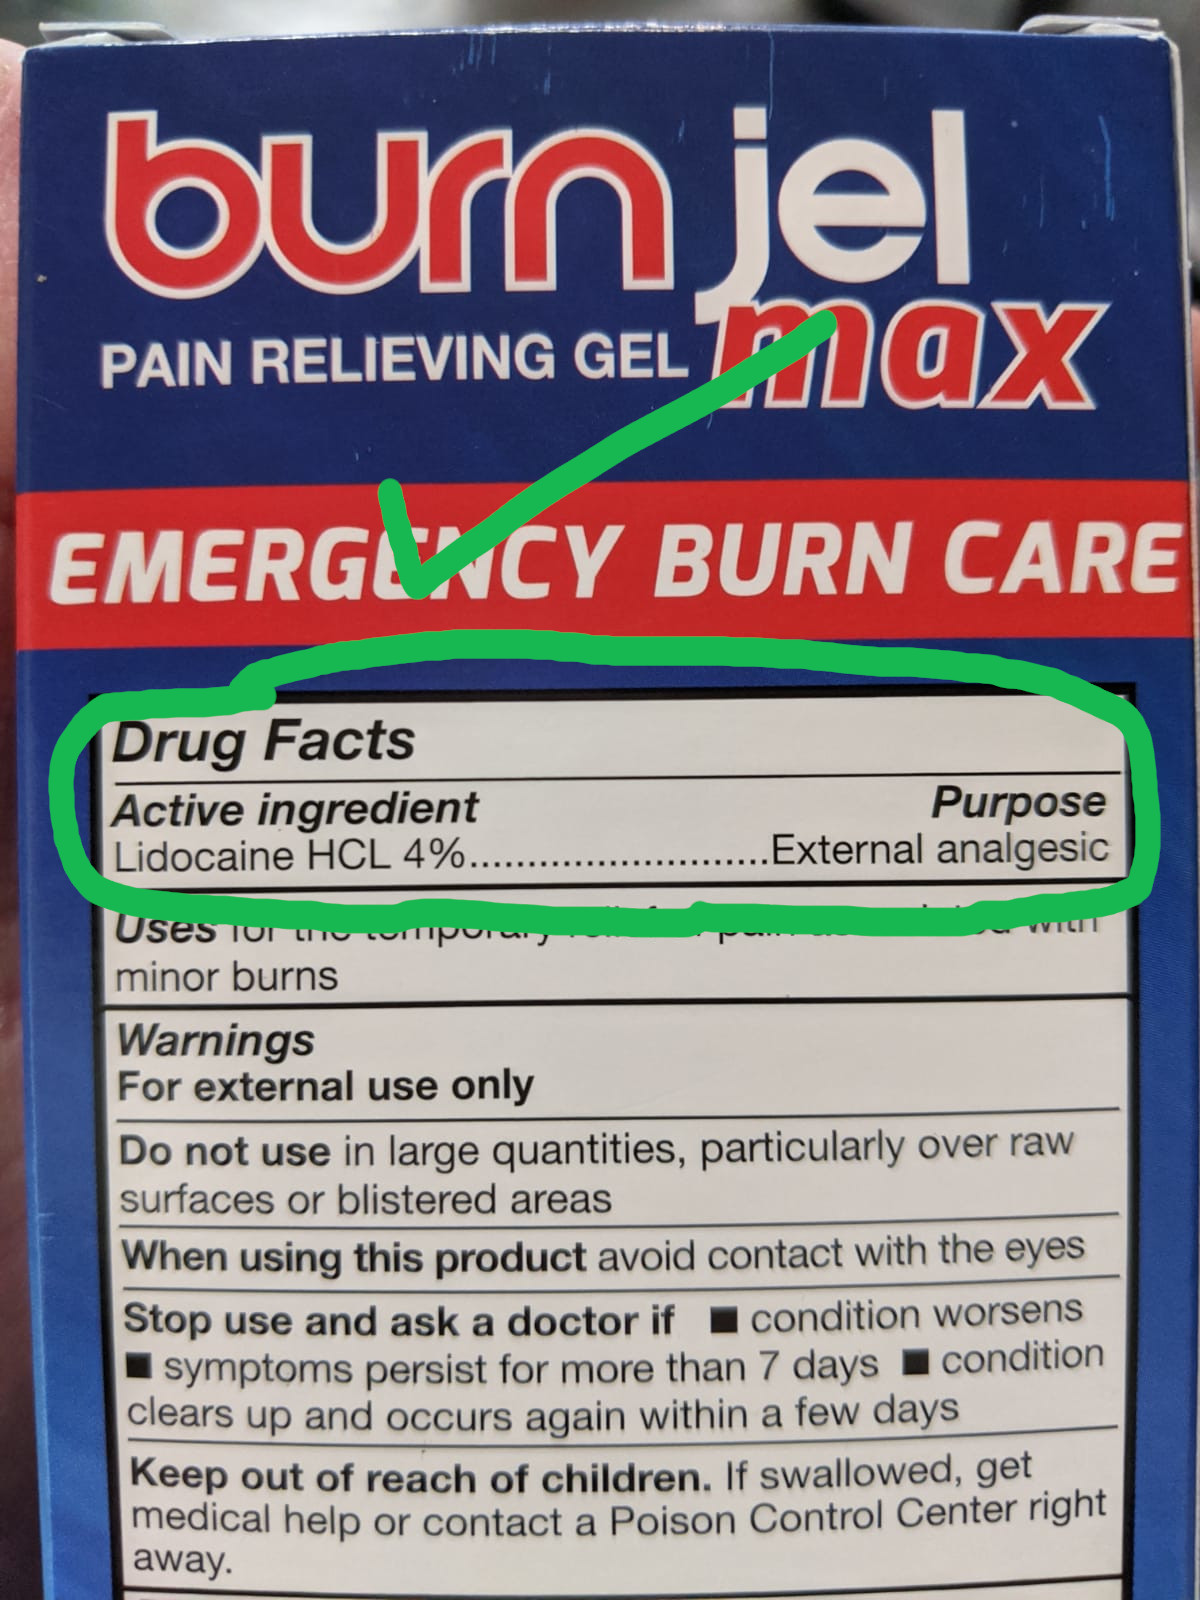
Next you will need some topical gel with at least 4% lidocaine. In some areas you can get 5% lidocaine or some mix of lidocaine and prilocaine which totals 4% or 5% (like 2% lidocaine + 2% prilocaine). They might be sold under any number of brand names or purported use cases from burn gel to baby teething gel, but if you flip them over and just see lidocaine (or a combination of lidocaone + prilocaine), then they are all the same exact product and any of these should work.
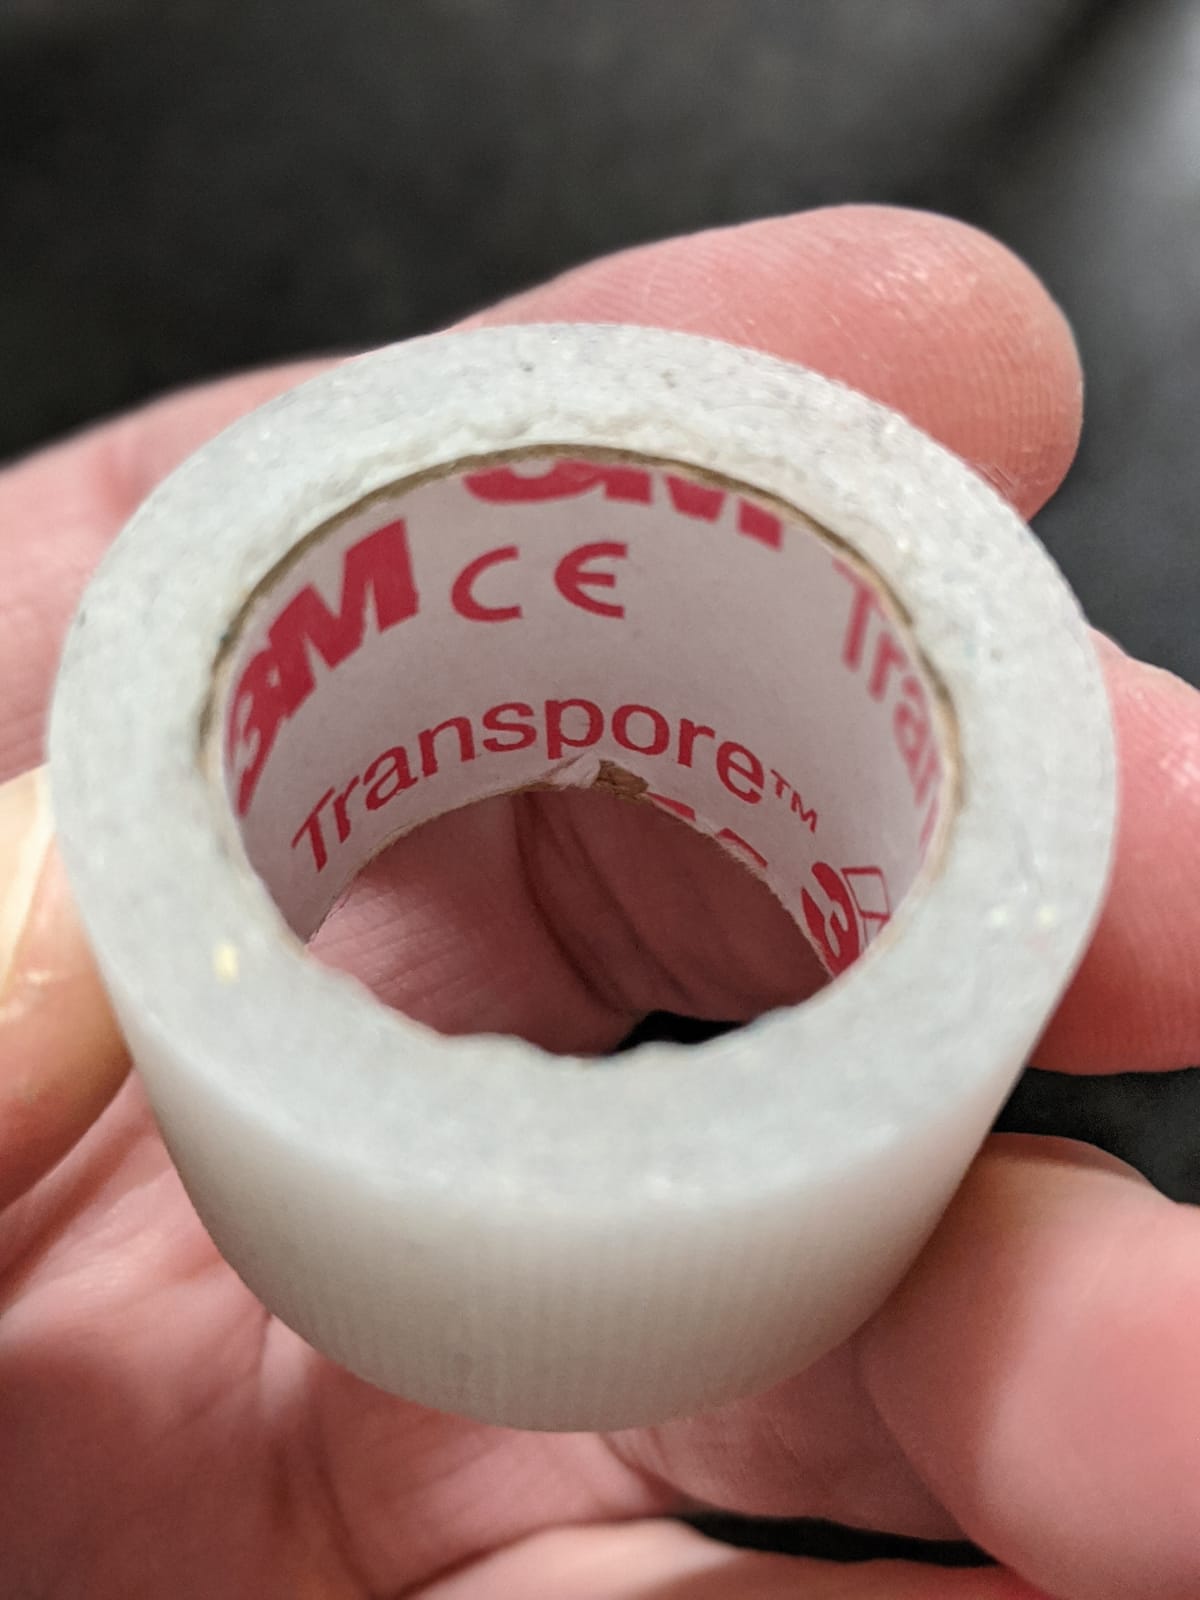
Finally you will need some sort of skin-safe and skin-effective tape. I prefer 3M medical tape because it’s guaranteed to be safe for prolonged contact with the skin (2+ hours) and effectively stick to skin without being terrible to remove later.
2. Prep the bandage
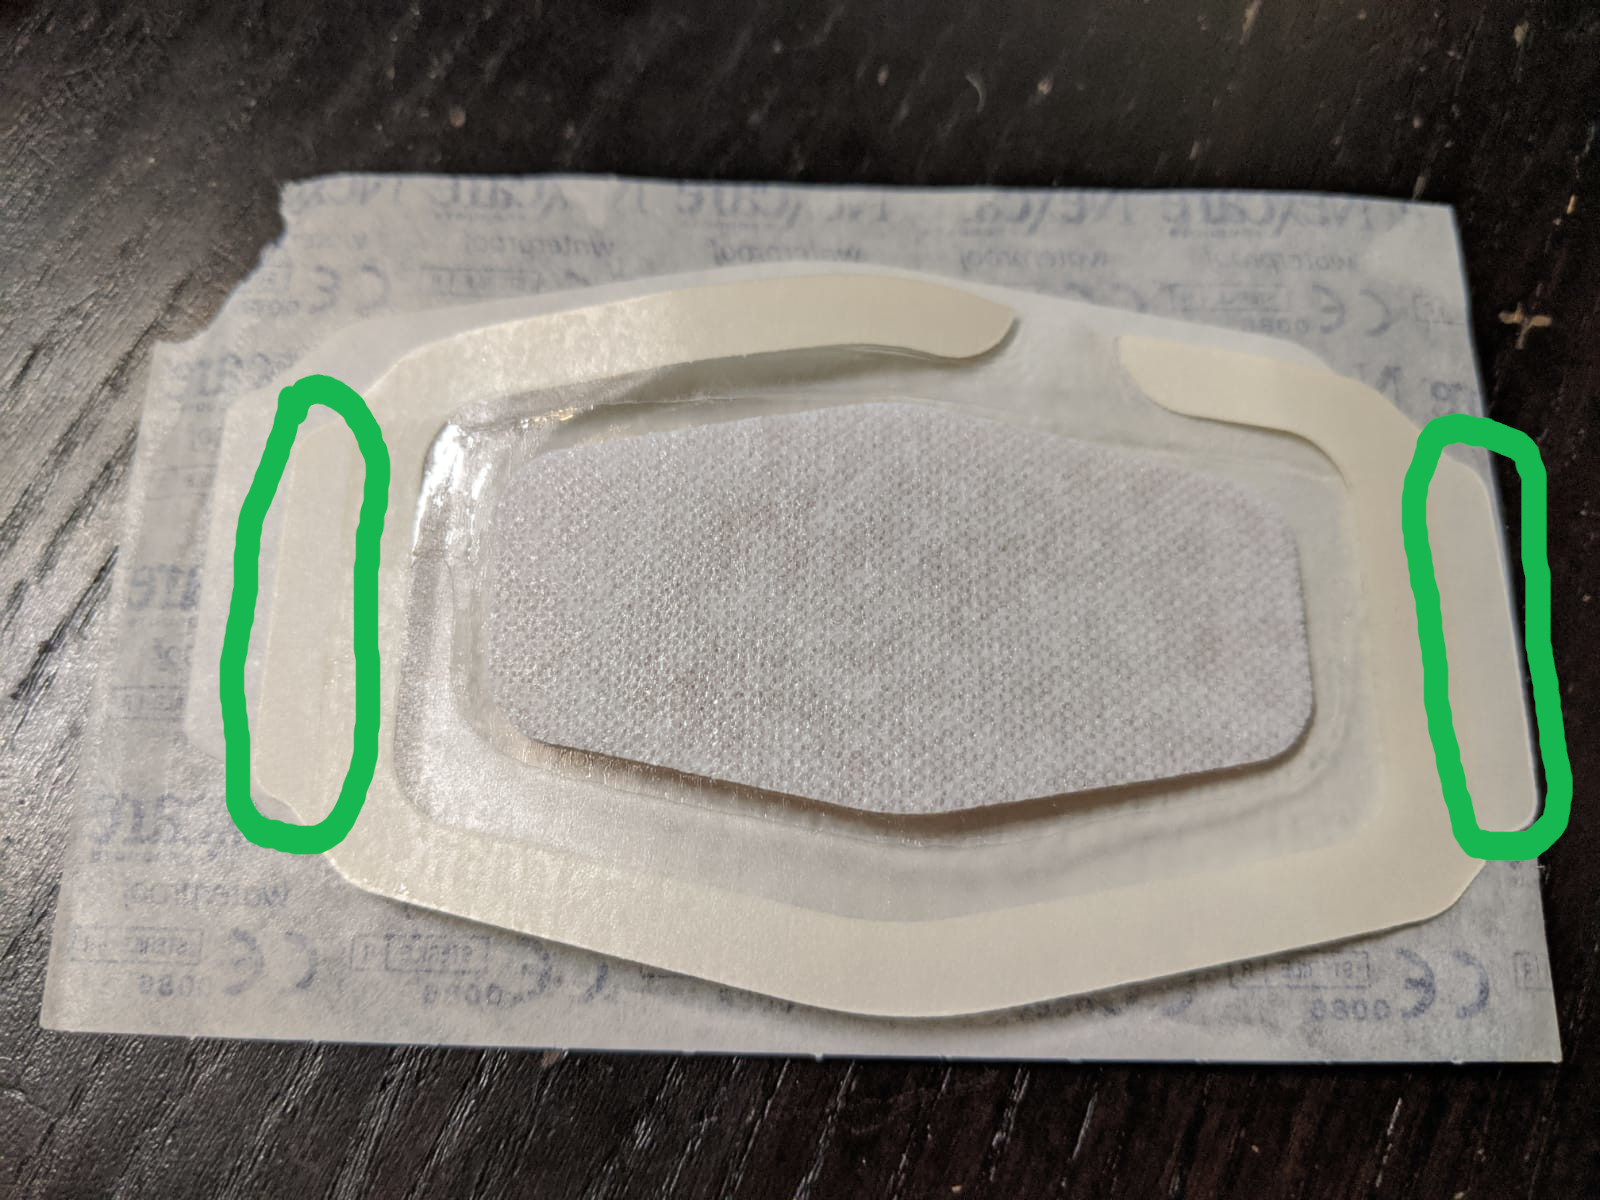
First open the pouch and carefully remove the bandage. You may need to peel it off of a special backing which stays with the paper pouch. Lay the paper pouch down and place the bandage on top of it face up so you can see the gauze. Handling the bandage can be a pain because of the adhesive, but there are two small edges on either side with no adhesive that make it easy to handle the bandage without getting your finger stuck to it (marked in green below).

Carefully apply some lidocaine gel to the gauze pad of the bandage. Do not apply too much because it is critical that none of the gel squeeze out over the gauze pad on to the adhesive perimeter. If you need more you can always apply more, but it’s harder to remove excess from the gauze pad.
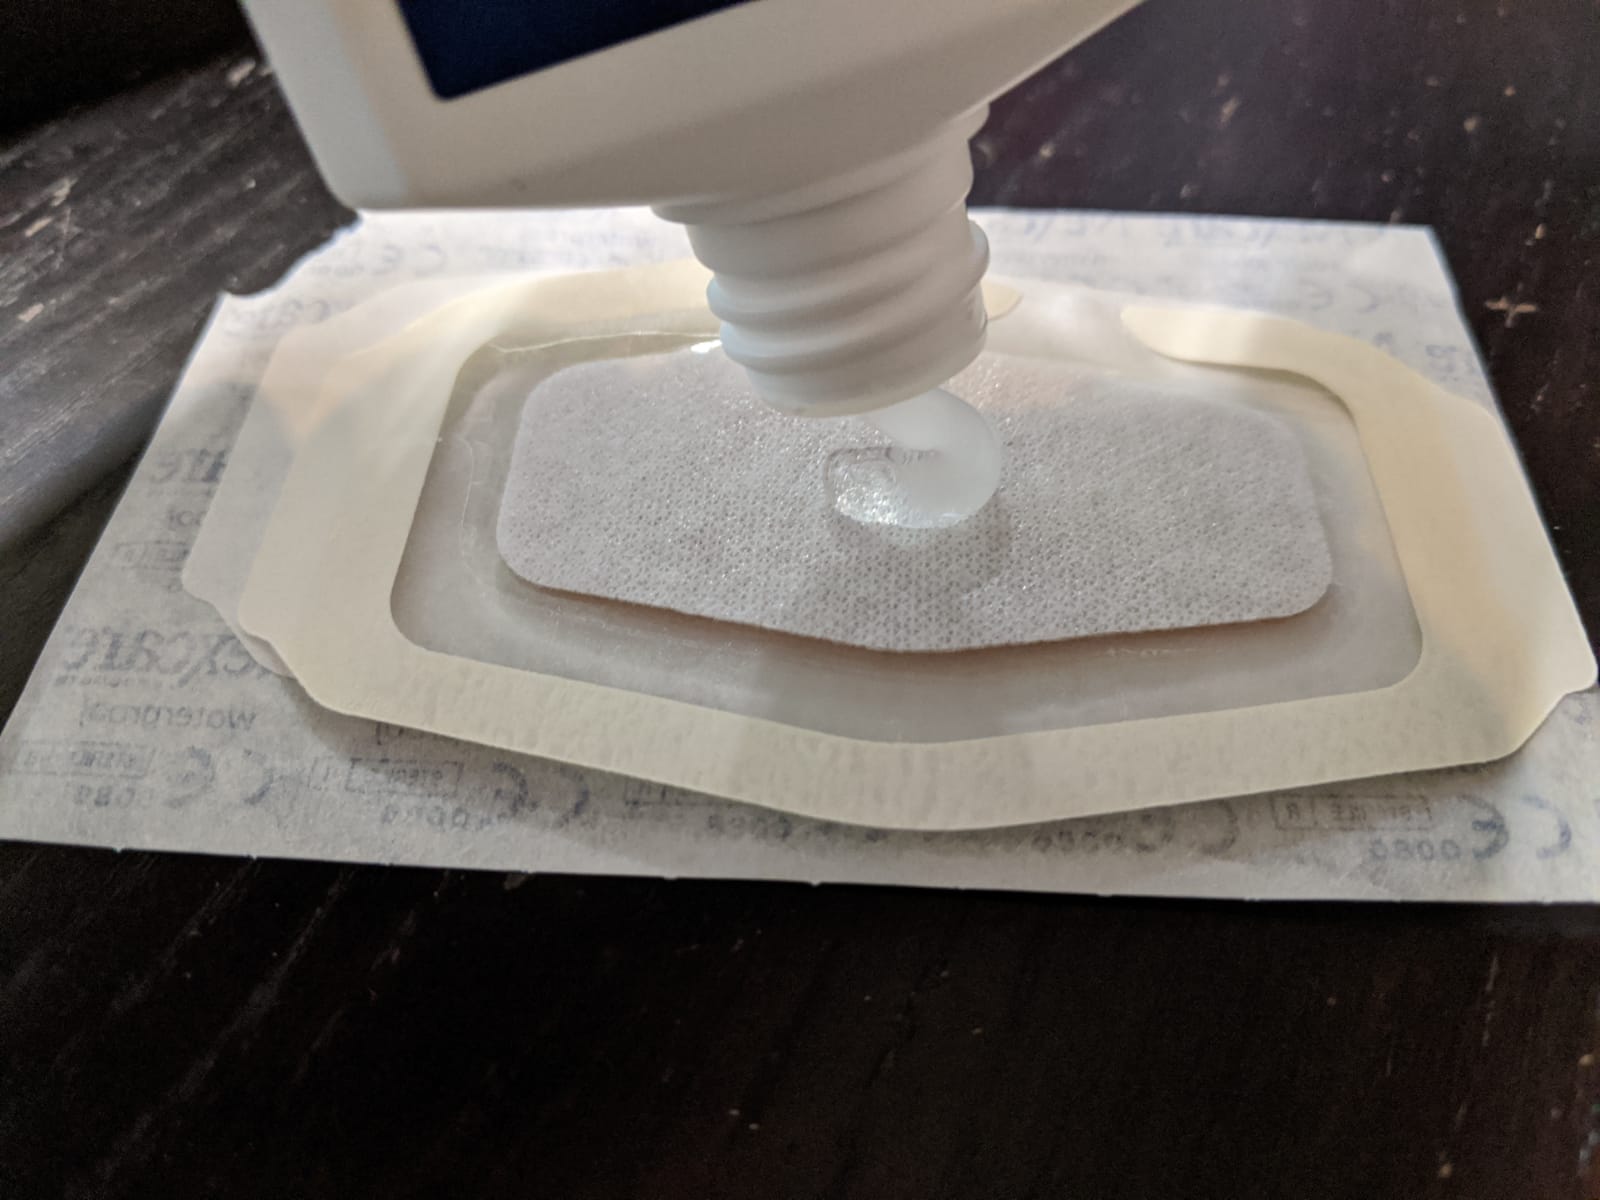
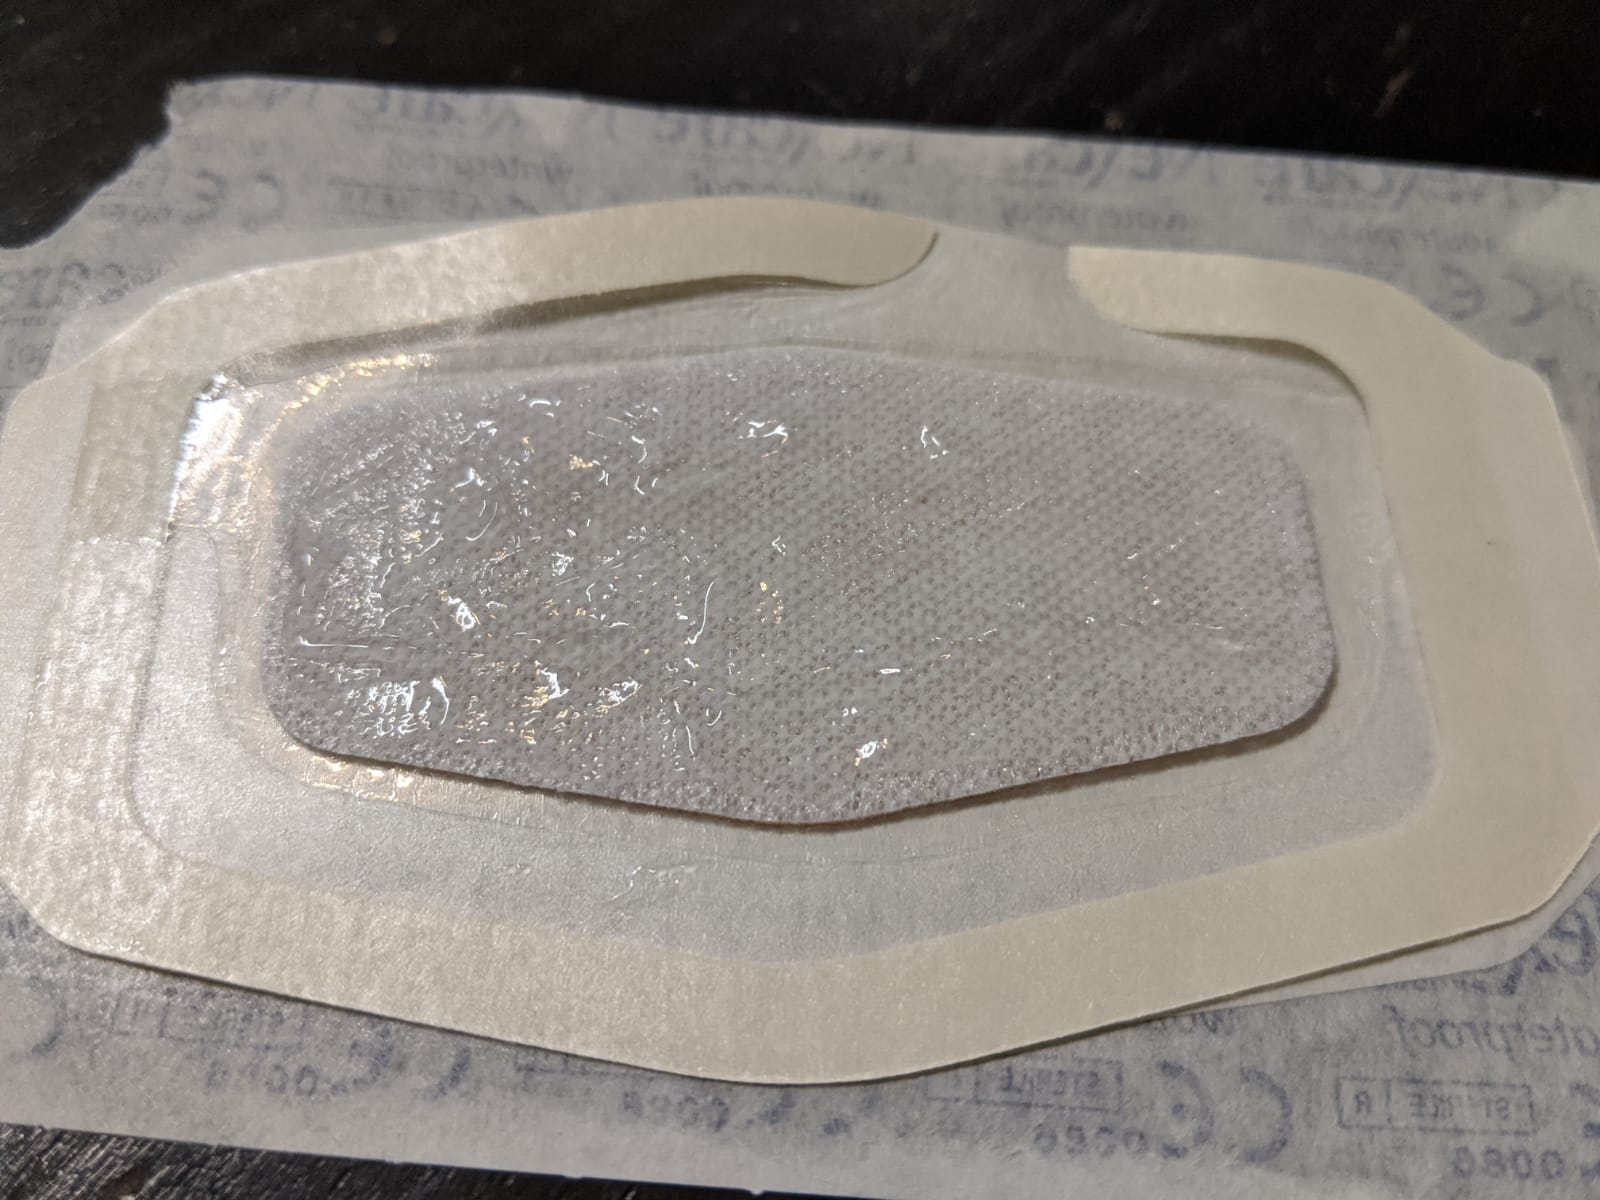
Carefully spread the gel to the edges of the gauze pad. Because it’s important to not get any on the adhesive areas, I suggest using a tool you can easily control and see around. Fingers are a bit too obtuse for this kind of precision work. I just used the backside of a hobby knife, then switch to the blade for the edges.

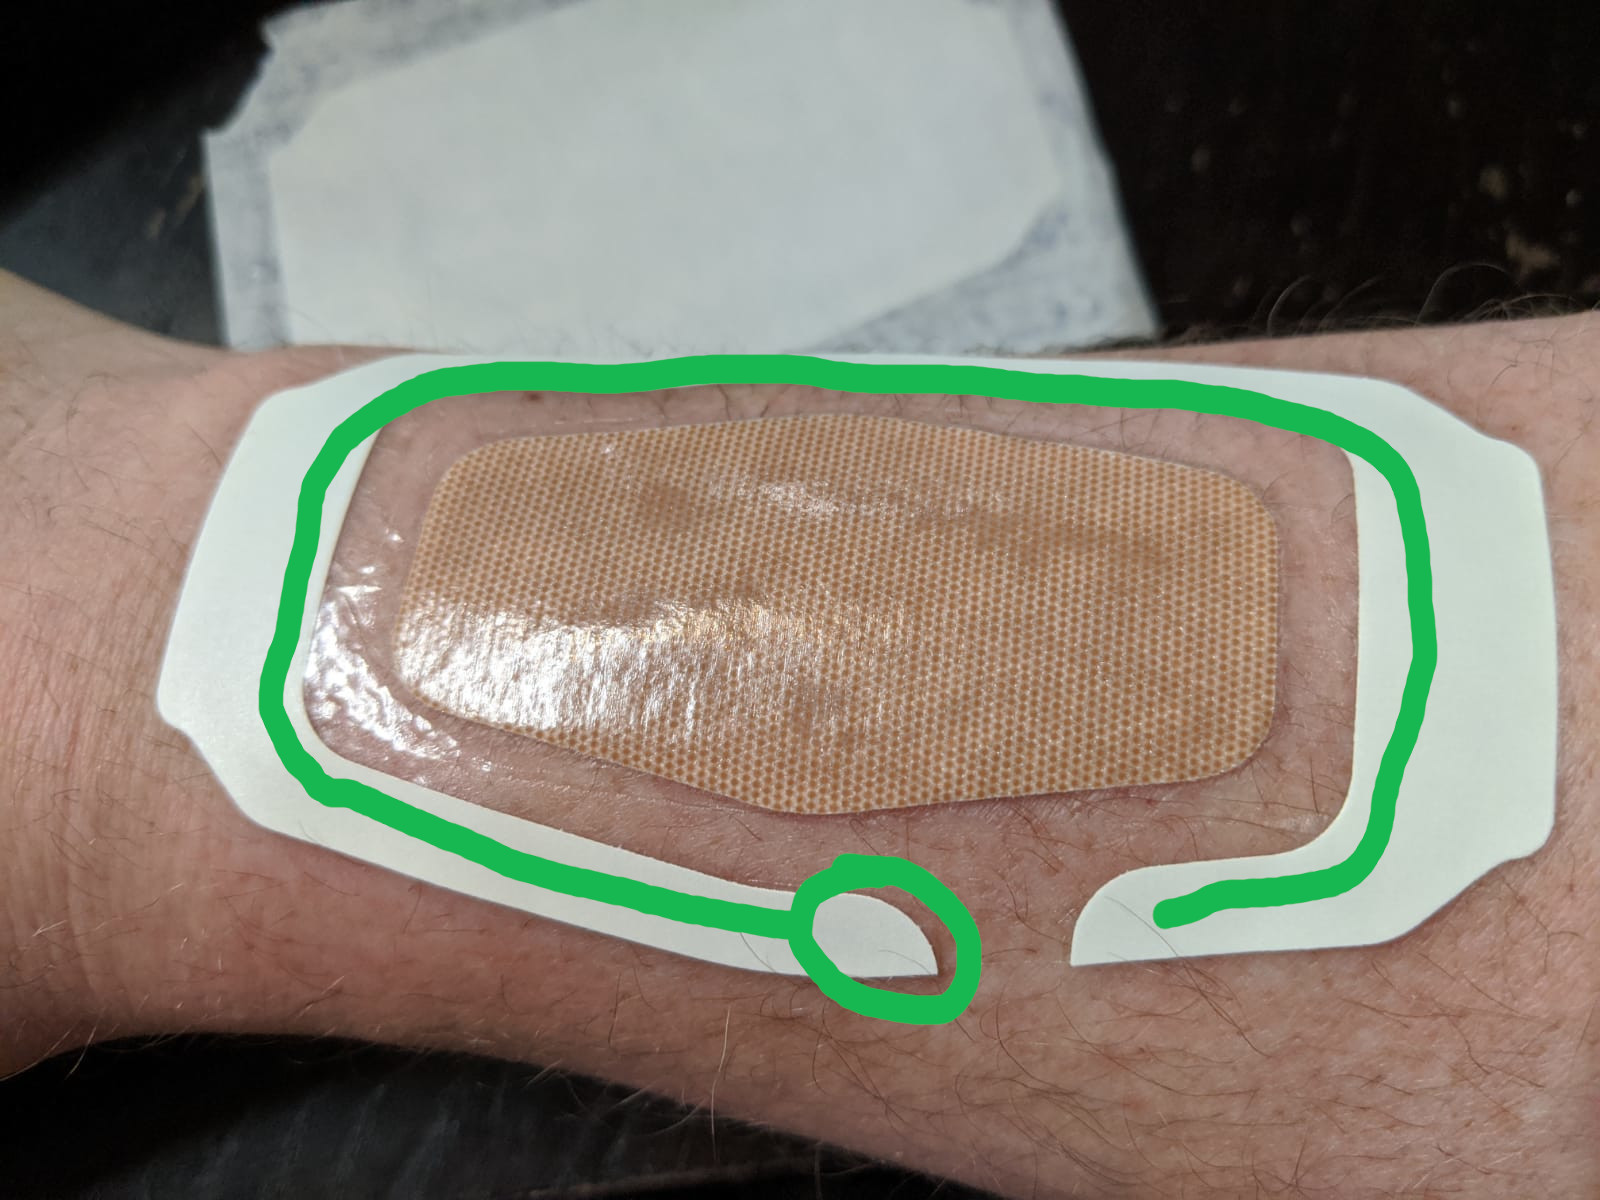
Once you’ve completed this step, it’s time to apply the bandage to the area you want to numb. Again, it is important that you not force any gel out of the edges of the gauze pad, so apply carefully and gently. It’s a tricky game because you need to be sure the gauze pad is held to the skin well, without pushing the gel out to the sides, and then you need to apply enough pressure to the adhesive perimeter to firmly seal the bandage to the skin. Once firmly adhered, remove the white outer strip by starting where the green circle is and gently pulling the strip off… patting down the adhesive film as you go to ensure it’s fully sealed.
4. Prep and apply tape
Now you need to prep your medical tape. Prepare enough strips to cover the bandage completely, with lots of overlapping pieces.
When you apply the tape, the goal is to both seal the bandage, and ensure the gauze pad is held tightly to the skin… so with the bandage’s own adhesive film firmly applied, you can apply the tape with a little more pressure to ensure the gel is in constant contact with the skin for the entire 2 hours.

5. Wait… 2 hours…
It might seem easy enough, but depending on where you are placing the bandage, waiting 2 hours without breaking the seal on the bandage might actually be quite difficult. If the tape begins to peel or come up, press it down and apply more if necessary.
Very soon after applying the bandage you might notice an itching sensation, particularly where the gauze pad is located. This is normal - it means it’s working! If, however, you are itching around the perimeter where you applied the medical tape (you did you medical tape didn’t you), then you might be allergic to the tape or adhesive on the bandage itself. Check for redness, and if there is discoloration, swelling, or the itching becomes too intense, remove the entire thing and wash the whole area with warm water.
6. Remove bandage and proceed
After two hours, the gel should have had a chance to fully saturate the dermal layer. You should have anywhere from 15 to 30 minutes of full effectiveness before sensation begins to return to the affected area.