As promised, this is a thread detailing as much info about the process of getting a flexNExT installed and going through post-op as I could synthesize. Some of the pictures that I’m going to post are going to be repeats from around the forum, so you may have seen them before, but I figured having them all in one place and going through what happened over the course of the healing process would be beneficial.This thread is gonna be a bit large, so feel free to skip around if you’re looking for something in particular.
Finding an installer
I found a bod mod artist near me using DT’s partner map, and contacted him after I looked through some of his portfolio and read about him. Having never had a flex installed before, I wanted to make sure I was going to someone that I believed would do a good job, and his portfolio and resume seemed impressive enough, so I got in touch through email. I mentioned that I found him through the partner’s map and asked if he still did flex implants. I gave more information about the new implant, since it would be one he’d never seen before, and I wanted to make sure that he was going to be able to install a flex that was so much bigger than the previous one’s he worked with. He responded a few days later, confirming that he would be able to do it, and after some back and forth, he quoted me a price and we set an appointment date.
The day before my appointment, I was in a head-on collision while riding my motorcycle home. Obviously, I’m fine, but I include this info for context so you can know that some of the swelling and discoloration of my skin is in part due to that and not just the implant procedure.
Installation
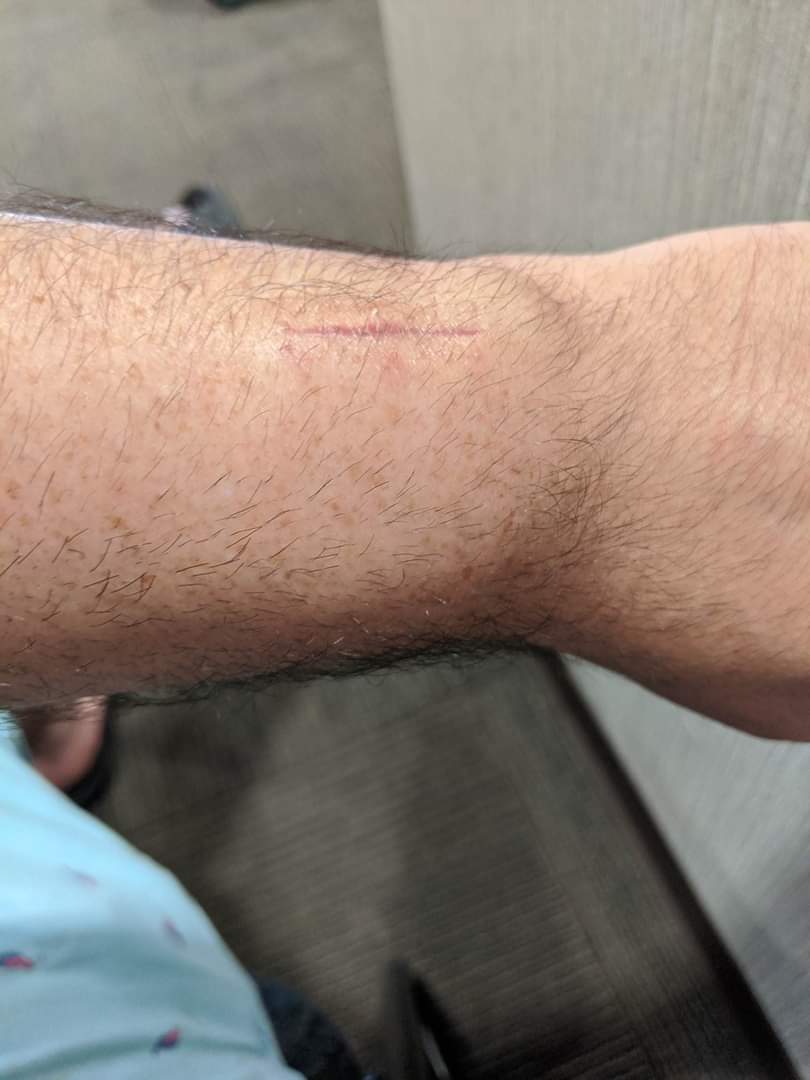
On the day of my appointment, I arrived and immediately washed my hands and arms. The installer grabbed a variety of tools and ran them through his autoclave. Once we were sorted, I sat down across a table for him, and got ready for the process. He started by shaving the part of my arm I wanted the implant installed at, then marked out where the implant would sit. We determined it would be easiest for him to make the incision parallel to my forearm as opposed to perpendicular (you’ll see the orientation in the coming pictures). A local anesthetic solution was applied, and once it has started working, the install proceeded. An incision was made along the marked line with a scalpel, and once enough space had been made, the installer used a series of dermal elevators in a variety of different sizes and shapes to make the pocket that the implant would sit in. This entire process was pretty painless - the only part that hurt was a portion of skin that I believe the local anesthetic missed or didn’t affect fully, and was it was separated from the layer below, the pain went away almost immediately. When the installer went to put the implant in, he realized that the initial incision was a tiny bit too small. There was no way to flex the implant to get it to fit in the smaller-than-its-diameter incision (nor did we want to press our luck of flexing it too much and damaging it), so he came back and ended up making the incision large enough to get the implant in. Once it was placed, he sutured the incision up, and I was sent along my way. All in all, I was totally impressed with my installer’s work, and at how relatively painless the whole process was. I think I do have a pretty high tolerance for pain, but I would garner to say that I think that any given person could go through this process and come out on the other side okay. The “hardest” part was definitely watching as the installer pulled the dermal elevators in and out and watching assorted bloody tissues being yanked out of my body, but that was more an idea that was just uncomfortable to think about rather than something that I would say is a barrier to entry (especially since you can just look away during the whole process if that kind of stuff bothers you. It doesn’t bother me, so I watched the full thing). Side note: if you’re looking for an installer and you leave anywhere near the Texas area, I can fullheartedly recommend Pineapple Tangaroa over at Shaman Body Modifications. If you couldn’t tell, I absolutely adore the job he did, and will definitely going back to him in the future when I need more installs done (I’m looking at you, Apex Flex ![]()
Post-Install
Because of the nature of the install process, there wasn’t much of any blood on the stitched up wound after it was done, so we opted to not immediately bandage it to allow it to breathe. The installer gave me pretty precise post-care instructions though. My friend and I stuck around the area to eat dinner and go for a little moped ride around town, and during that time, the wound began to bleed a decent amount. By this time, we had stopped to pick up some first aid supplies that would be needed, so I applied pressure to the wound with some gauze to help stop the bleeding, and once the bleeding had subsided, I put a piece of Tegaderm over it to help keep it from bleeding more. About a 3 hour drive later, I arrived at home.
and took the Tegaderm off. I washed my hands and forearms with anti-bacterial soap, then used a paper towel to dry off a little bit. I applied a thin coat of triple anti-bacterial ointment to the incision and put another Tegaderm bandage over it. This ended up not working out too hot - though I had dried off my hands and forearms with the paper towel, the skin was still residually wet enough to cause the Tegaderm to not adhere completely. I also started to notice to some swelling at this point.

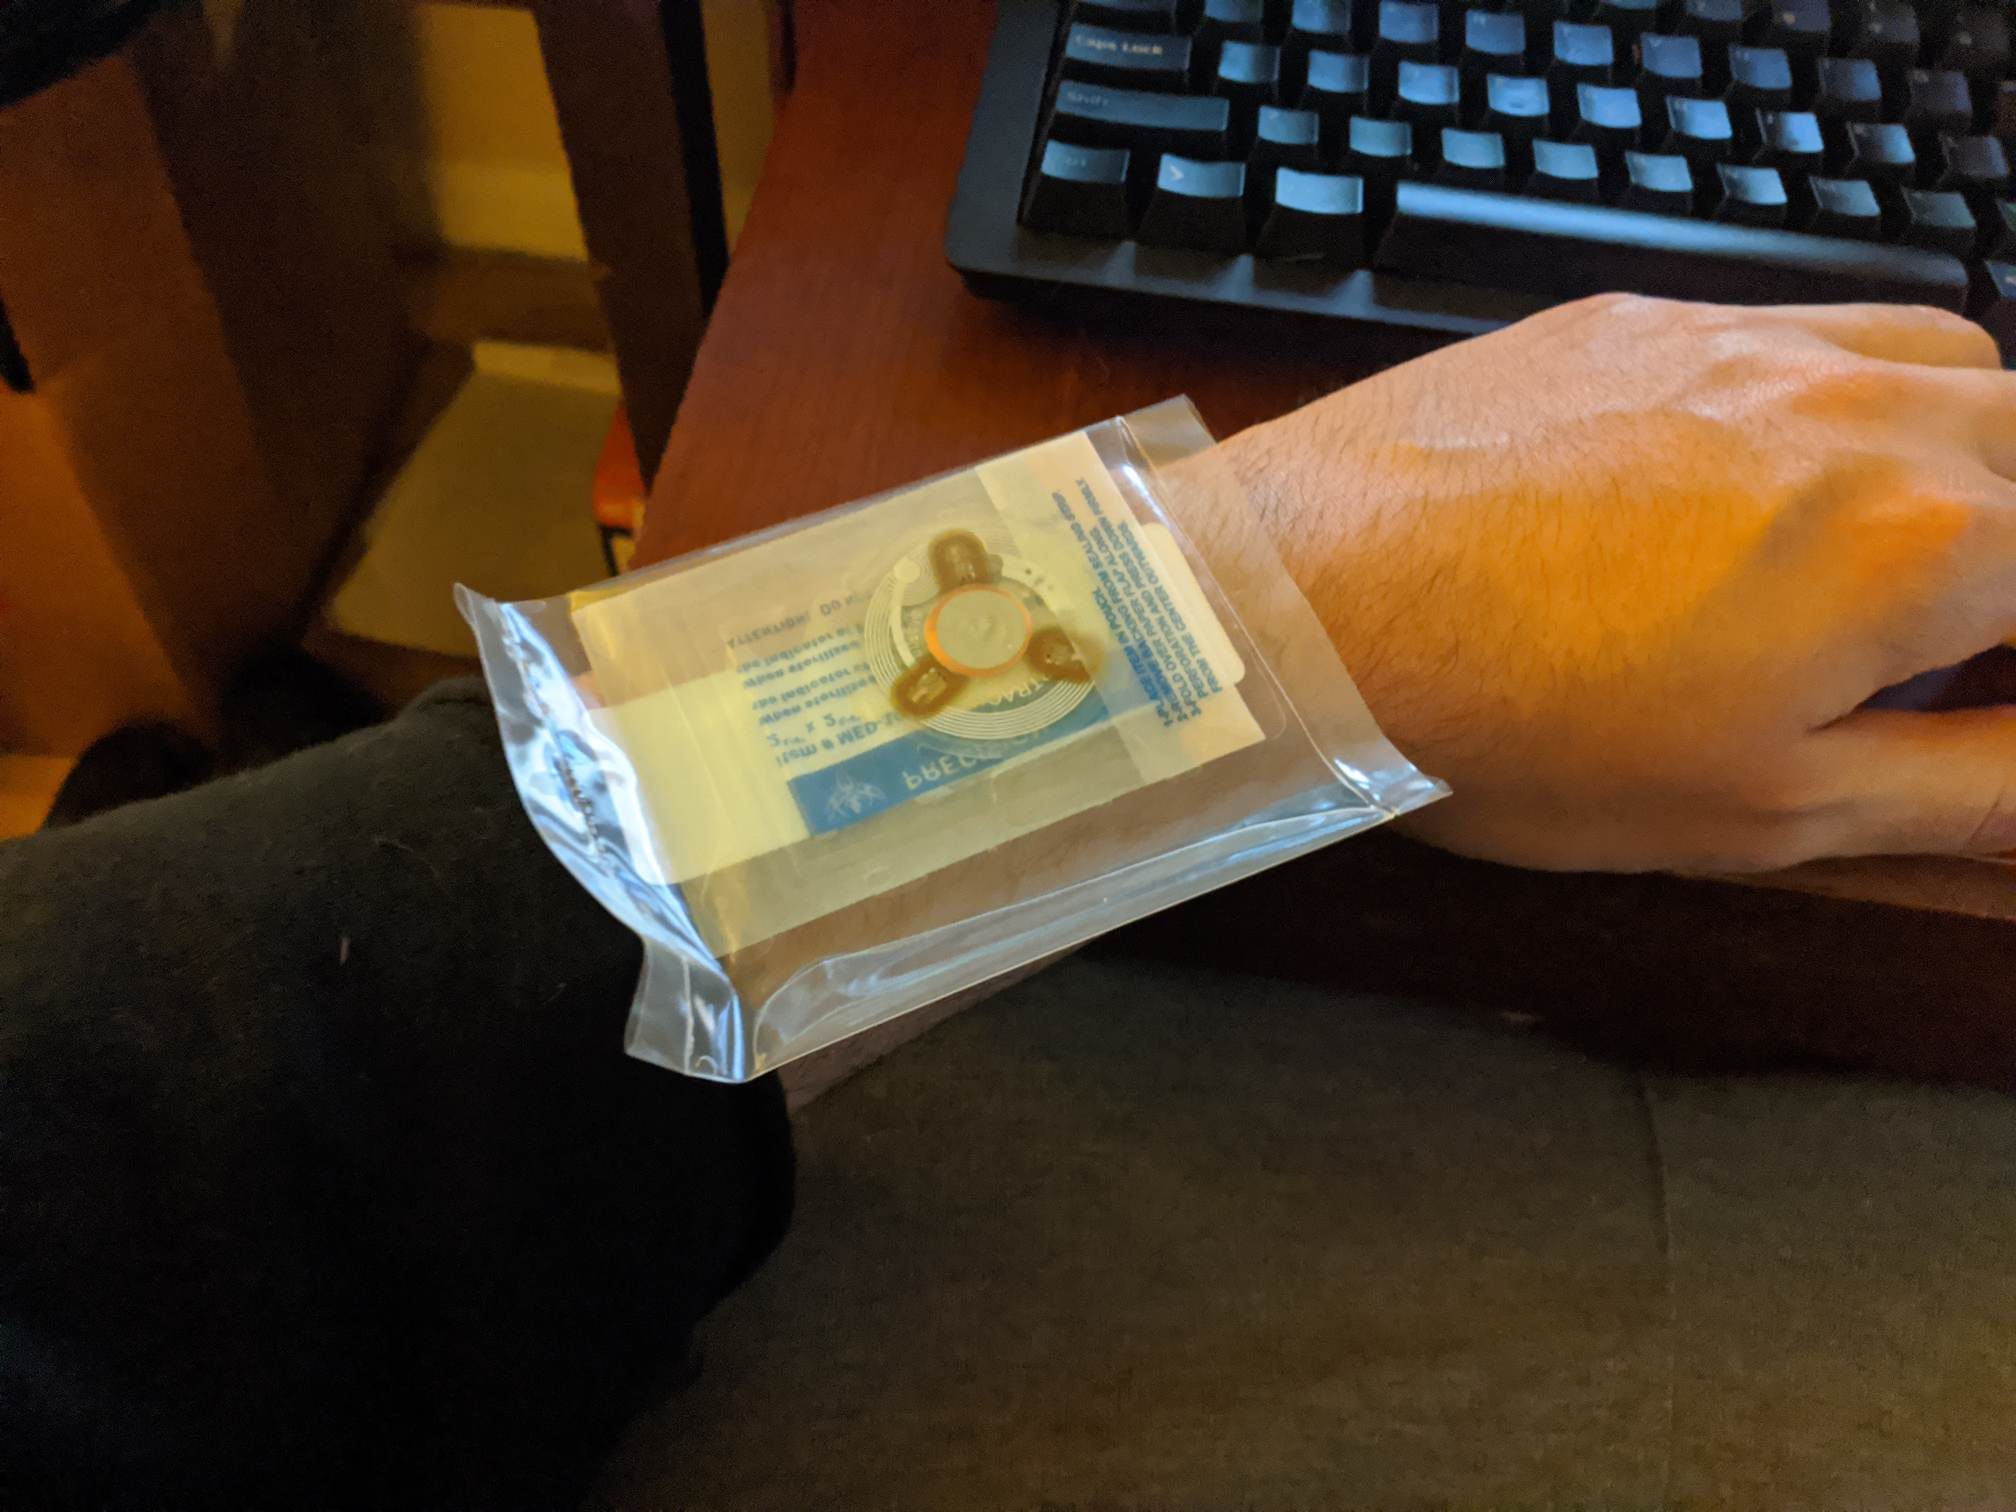
With this Tegaderm still on, I took a shower (it had been a long couple days ![]() ), and once out, I took off the Tegaderm and let the arm air-dry completely before applying a new bandage. This one adhered much better. Once applied, I would alternate periods of icing (in 10 minute increments) to help keep the swelling down, and bandaging it (for about an hour at a time, if that) to keep slight pressure on the installation site to help keep fluids from pooling on top or around the implant itself.
), and once out, I took off the Tegaderm and let the arm air-dry completely before applying a new bandage. This one adhered much better. Once applied, I would alternate periods of icing (in 10 minute increments) to help keep the swelling down, and bandaging it (for about an hour at a time, if that) to keep slight pressure on the installation site to help keep fluids from pooling on top or around the implant itself.

Throughout the next days, I kept keenly aware of how my body was reacting to the process to log it for later. The implant was tender to the touch, but did not hurt in and of itself. As the swelling went away, the tenderness of the touch dialed back as well. As of now, even applying firm pressure to the center of the implant does not hurt in the slightest. After 5 days, I changed the Tegaderm bandage out, following the exact same procedure as before.

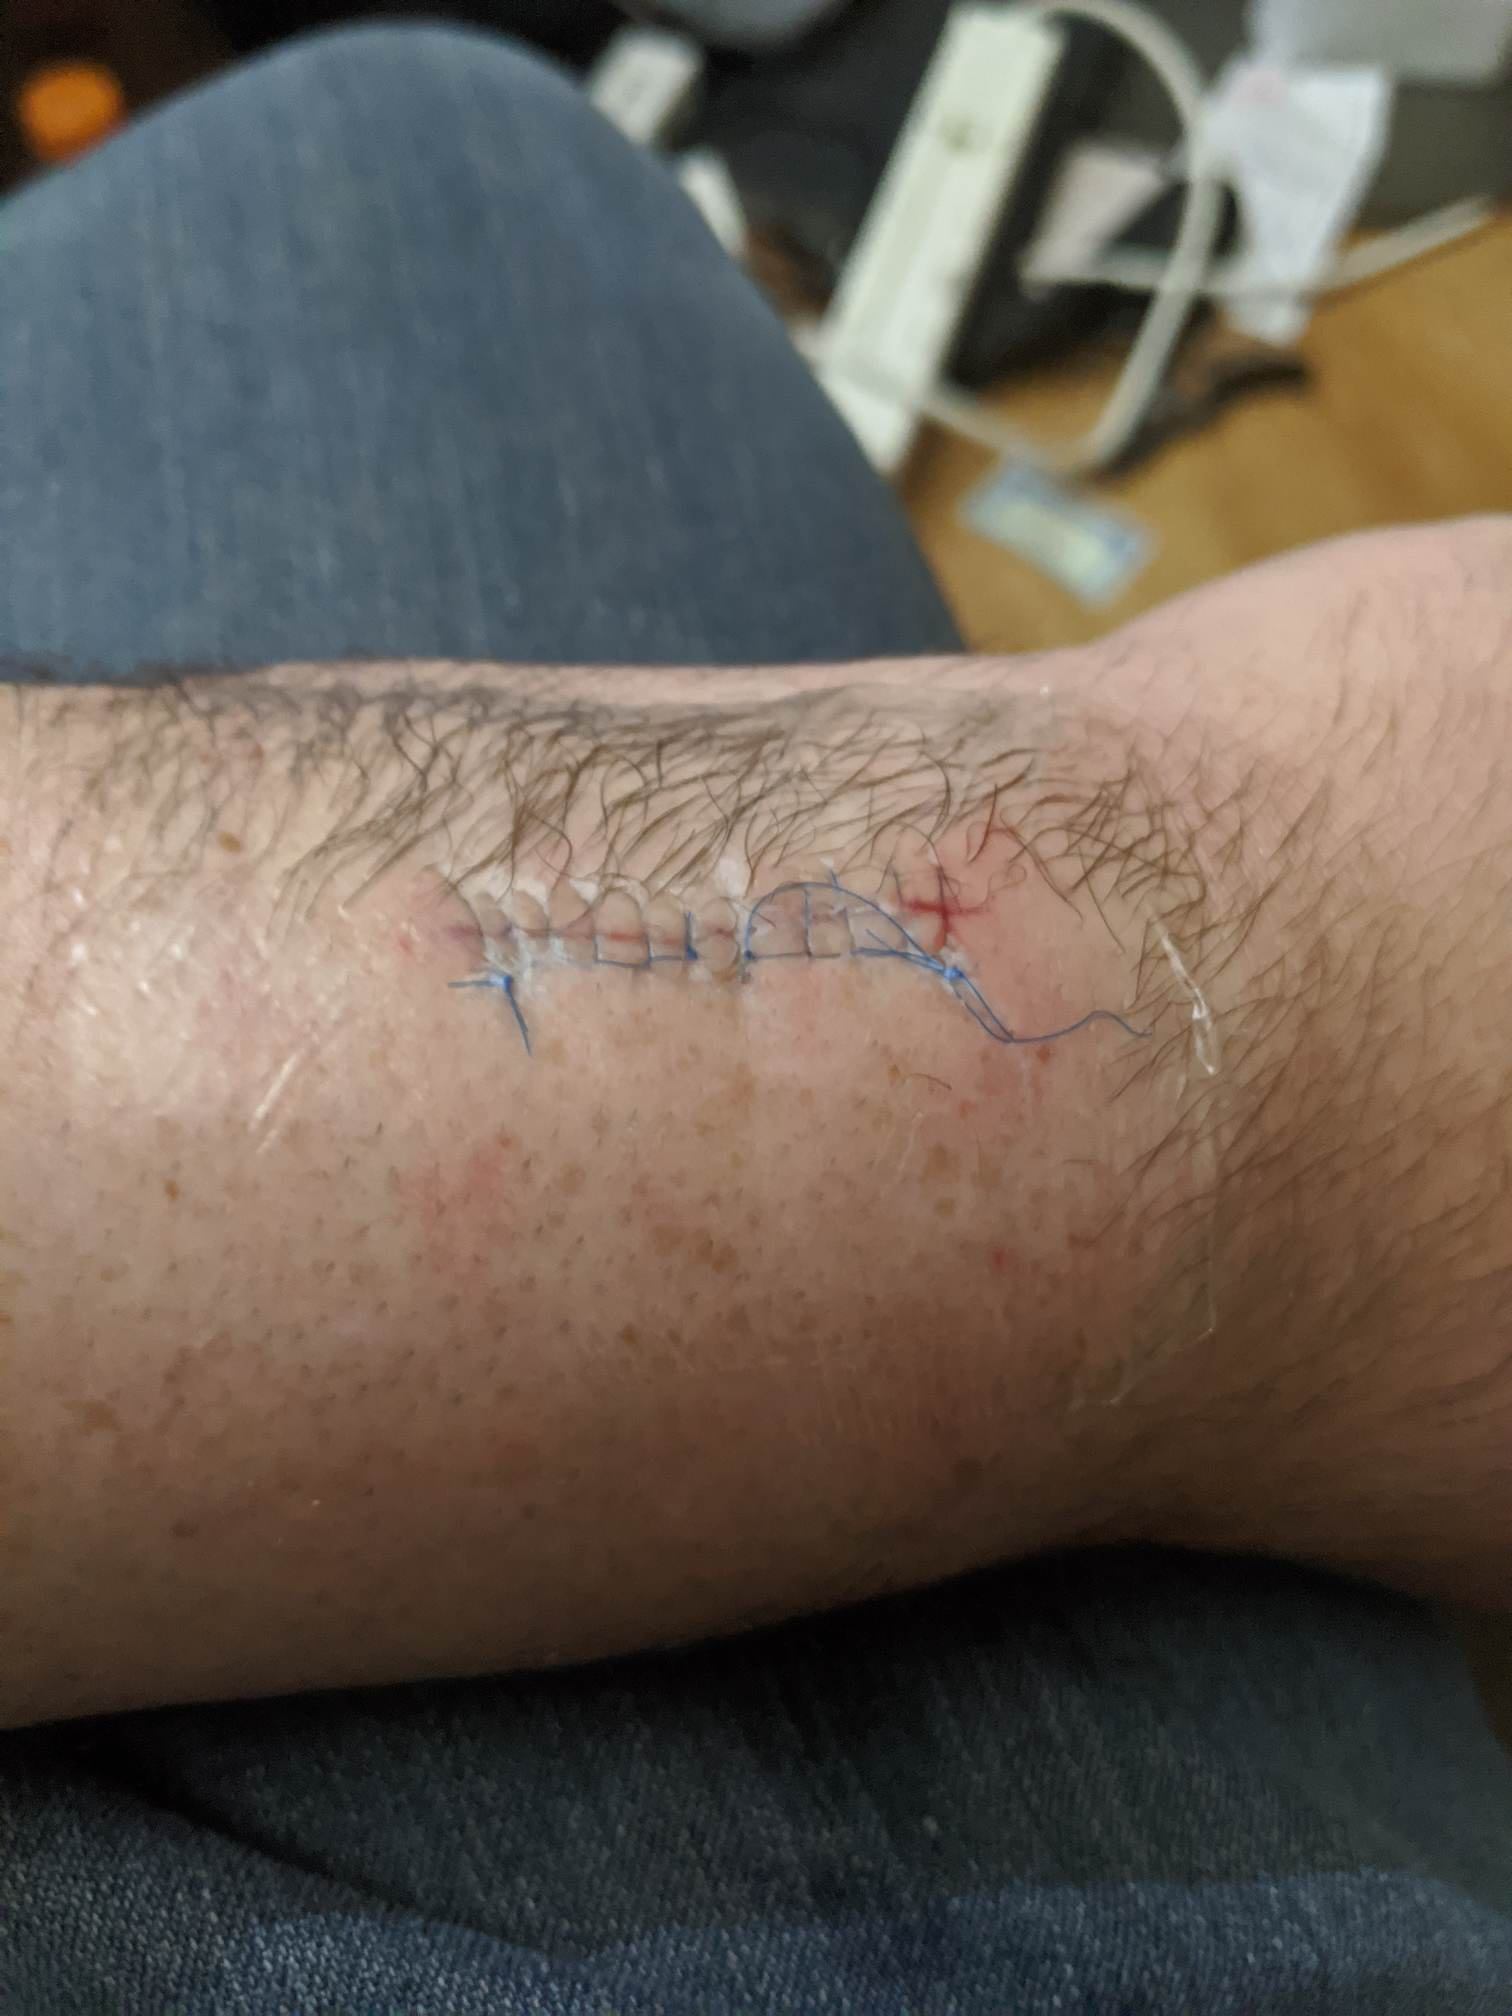
The installer told me that after 10 days, the stitches would be ready to come out. On the tenth day, I removed them myself. I began by removing the Tegaderm and washing with anti-bacterial soap once more. I had bought a brand new pair of cuticle scissors and tweezers from the dollar store, so I opened the packages and doused them in rubbing alcohol to try and cursorily decrease chances of infection. I used the scissors to cut the stitches down the length of the incision, then used the tweezers to pull the ends of the twine out of the wound. Luckily for me, my installer was a real pro at suturing, so this process was very easy and painless, even for someone who had never removed stitches themself before. As soon as I had removed them, however, I could tell that I had pulled them out a little too early. While the incision itself didn’t look to be in bad shape at all, I could tell that the very ends of the incision weren’t completely set yet, and soon as the stitches were out, they pulled away from the each other a decent bit.
I applied another Tegaderm bandage and wrapped in the Ace bandage I was using previously to hold pressure on the incision while I ran to the store for some butterfly closures, which I applied immediately after getting home
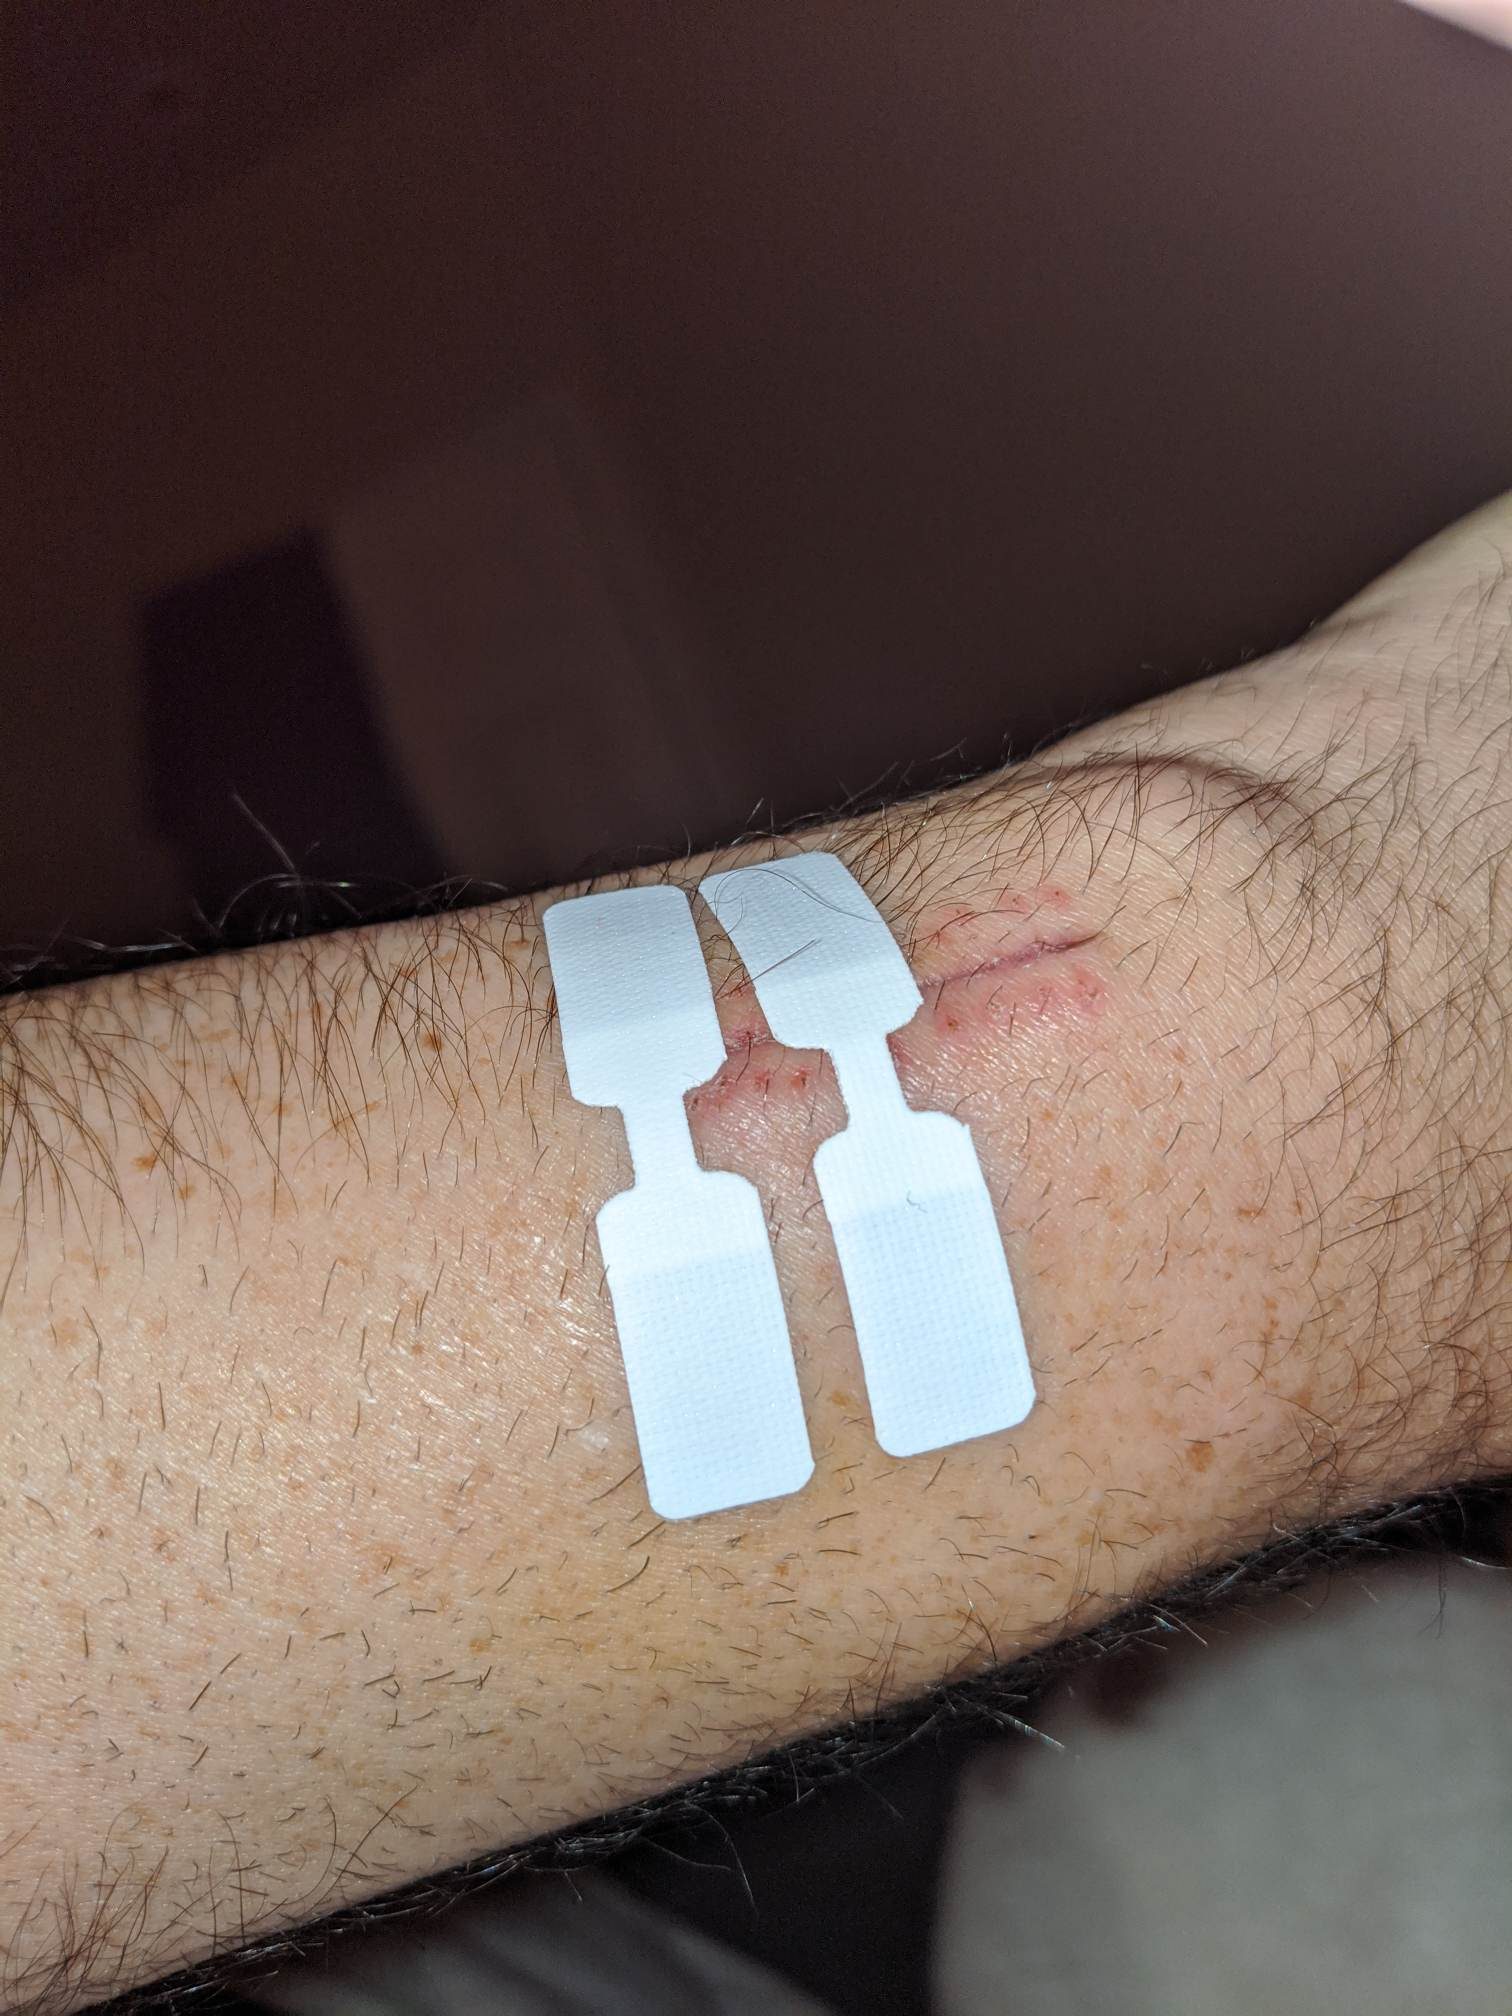
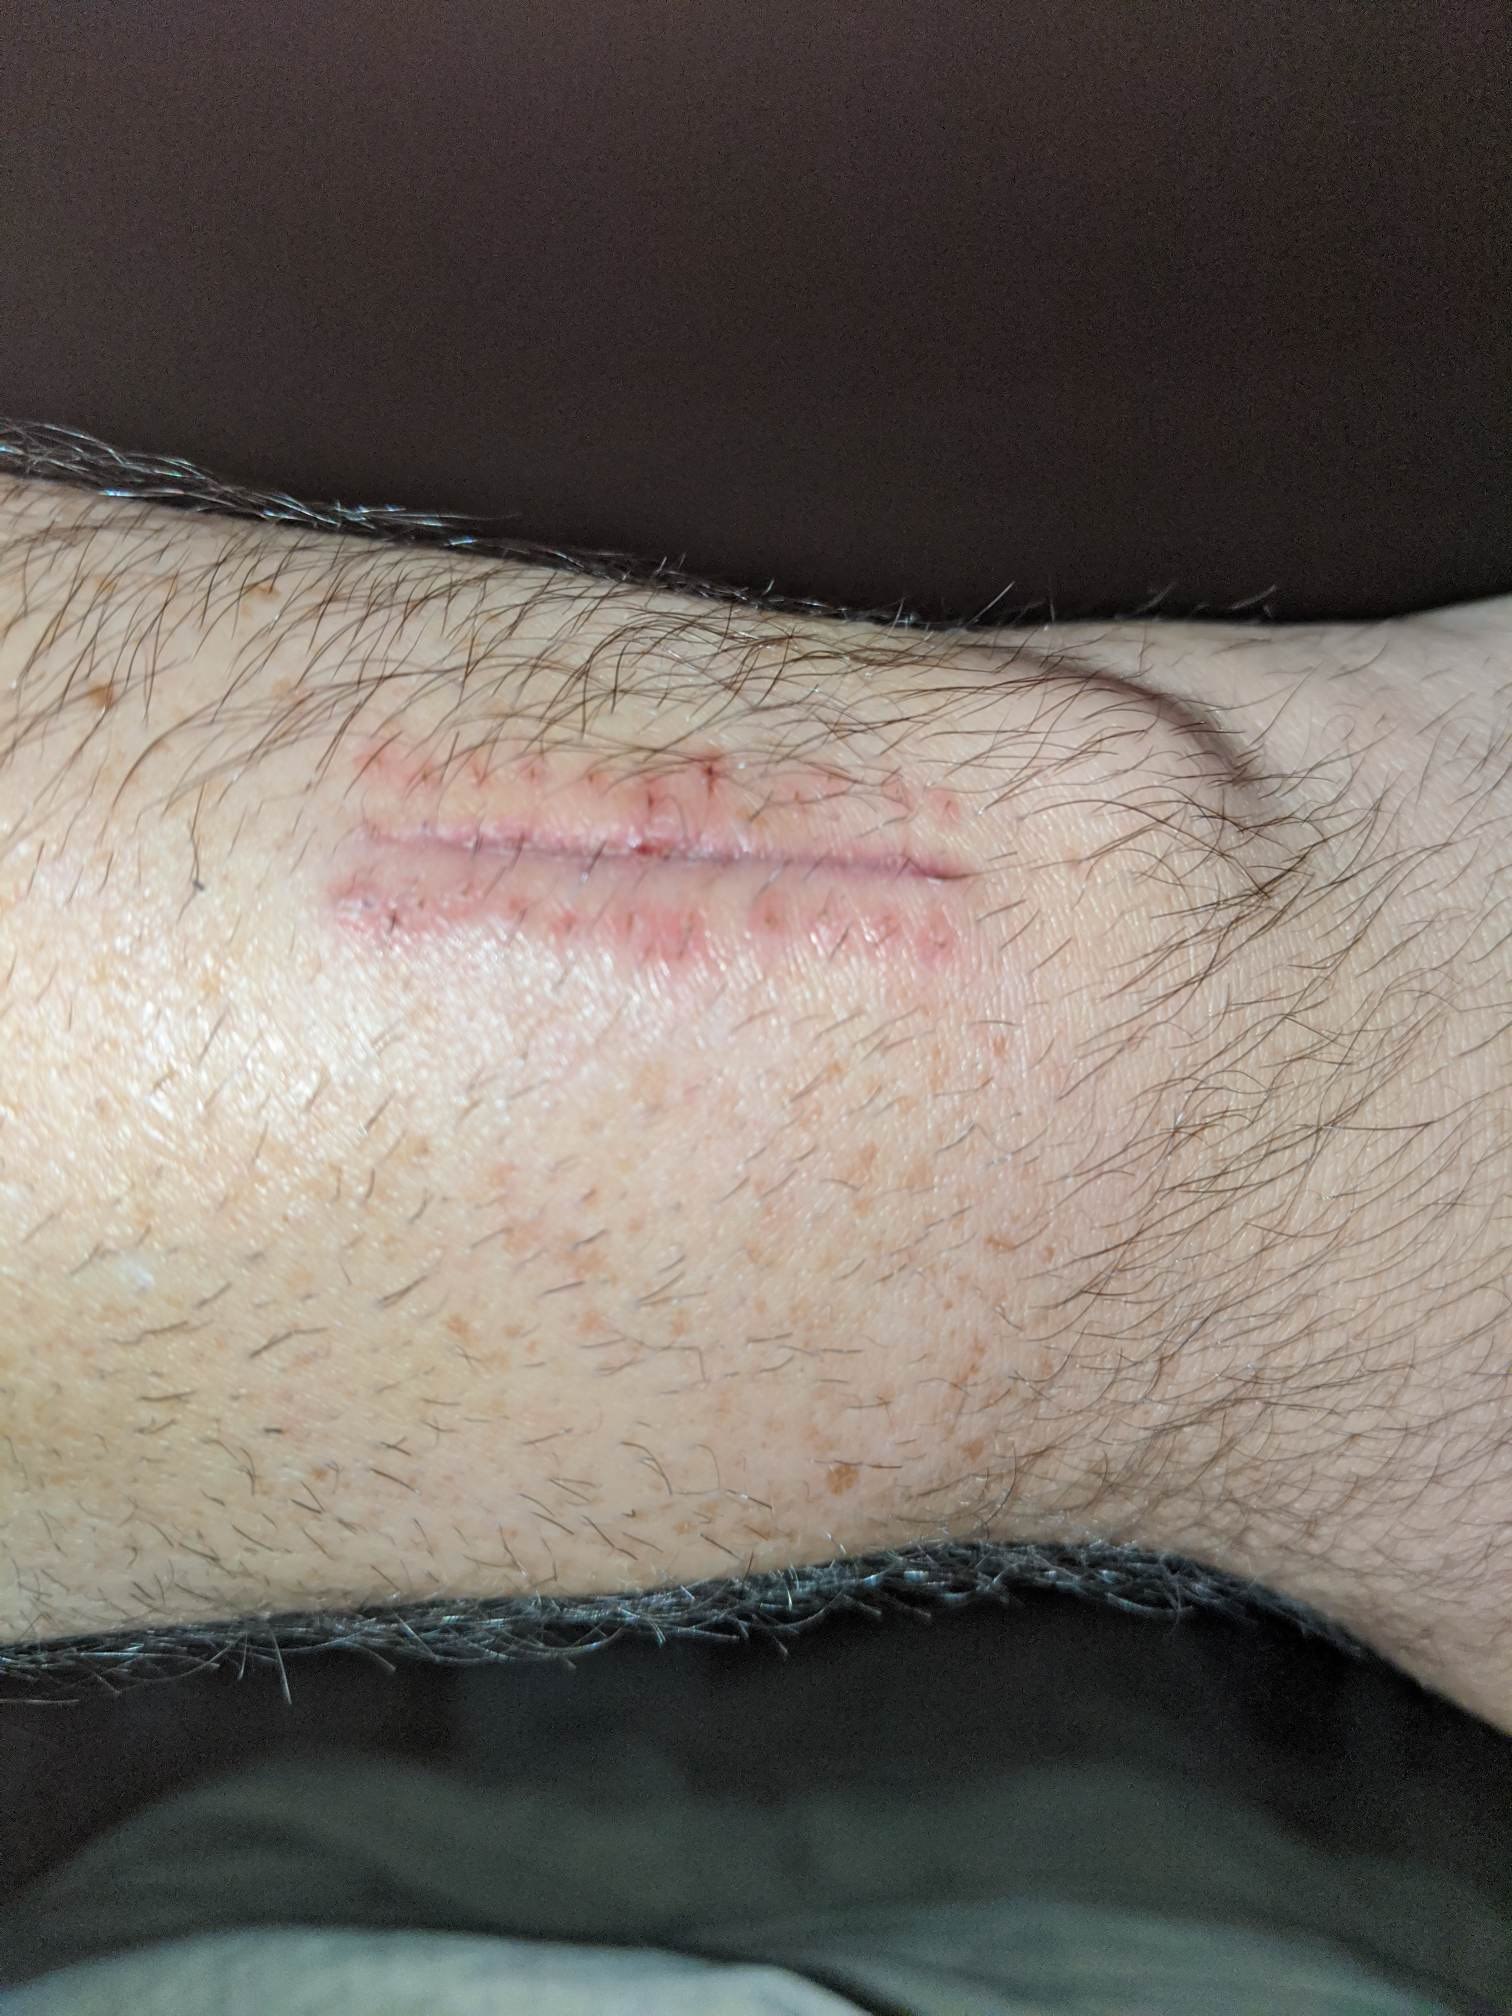
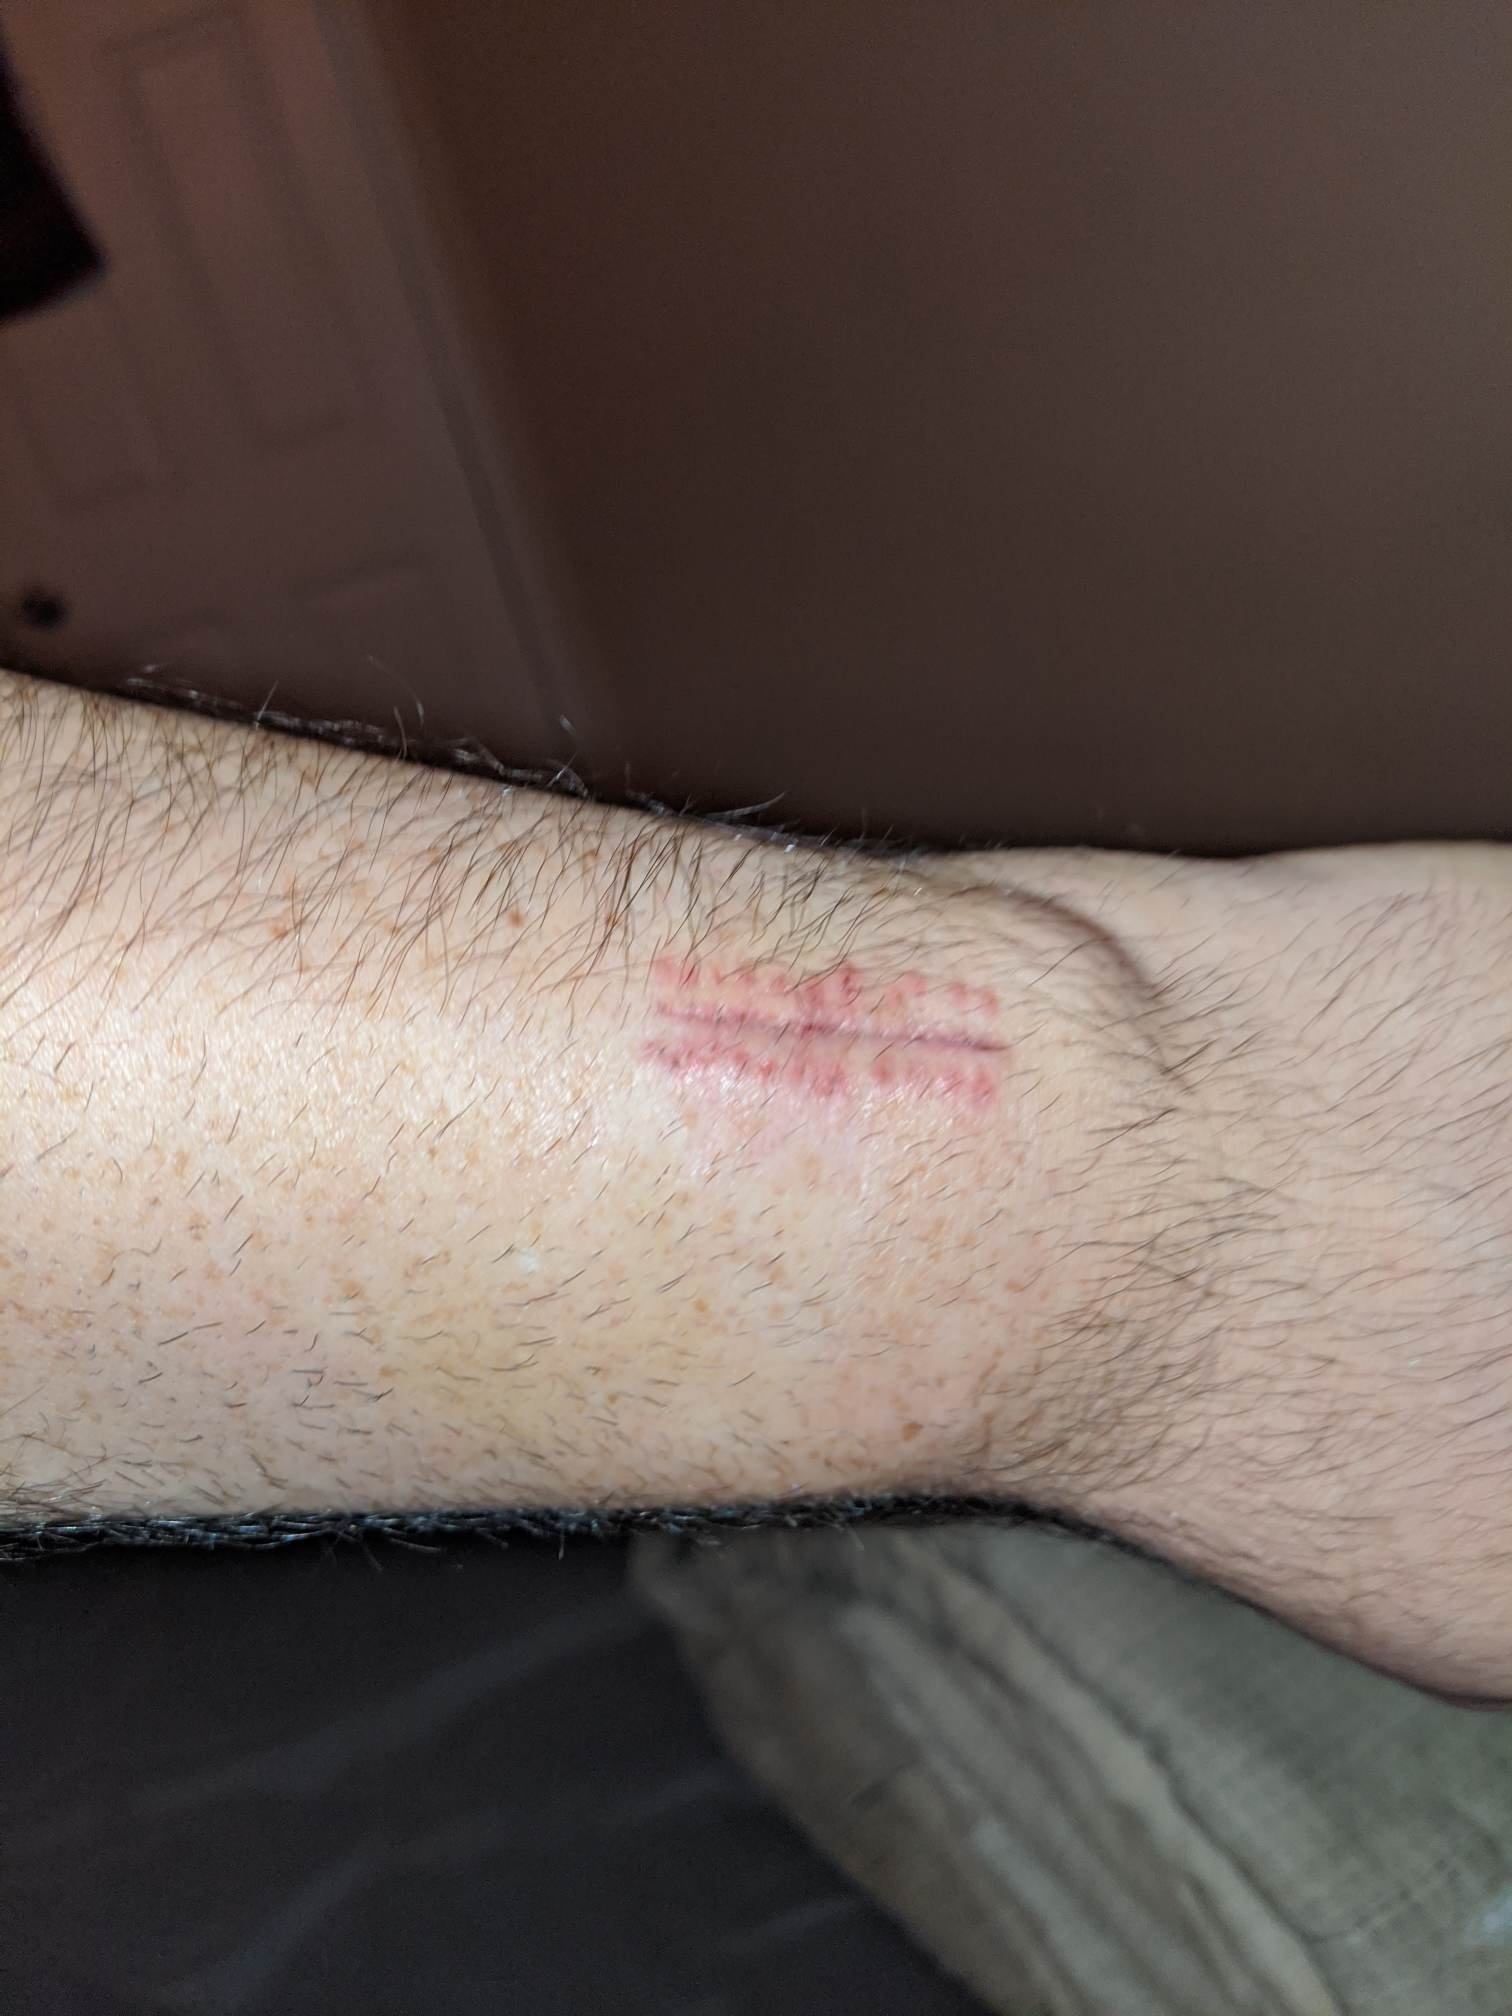
After about a 30 hours, I inspected the incision and saw that it was in pretty good shape at this point, so I removed the butterfly closures and have been letting it be exposed freely since. Here are some pictures I’ve taken over the past few days cataloging the process:

Performance
Ultimately, the reason I wanted one of these implanted over x-series form factor was performance. So how did it hold up on that end? Using my phone, I’m able to get a read distance of about 1.5 cm at most. That doesn’t sound like much, but my phone’s NFC antenna is pretty bad (as I understand it, the Pixel line of phones have a pretty notoriously bad NFC scanner). What I can say is that I noticed a marked improvement in read consistency over the x-series implants - when I go to scan my Spark 1, it usually takes anywhere between 10 and 30 seconds to find the right placement and angle of the phone to be able to pick up the antenna, and you can be assured that the phone will be touching the hand. With the flexNExT, it takes no more than a second or two to scan with the phone on skin level, and maybe about 5 to 10 seconds to scan it from a distance. However, with the ACR-122U, the scan is immediate, with a read distance of over 2 cm.
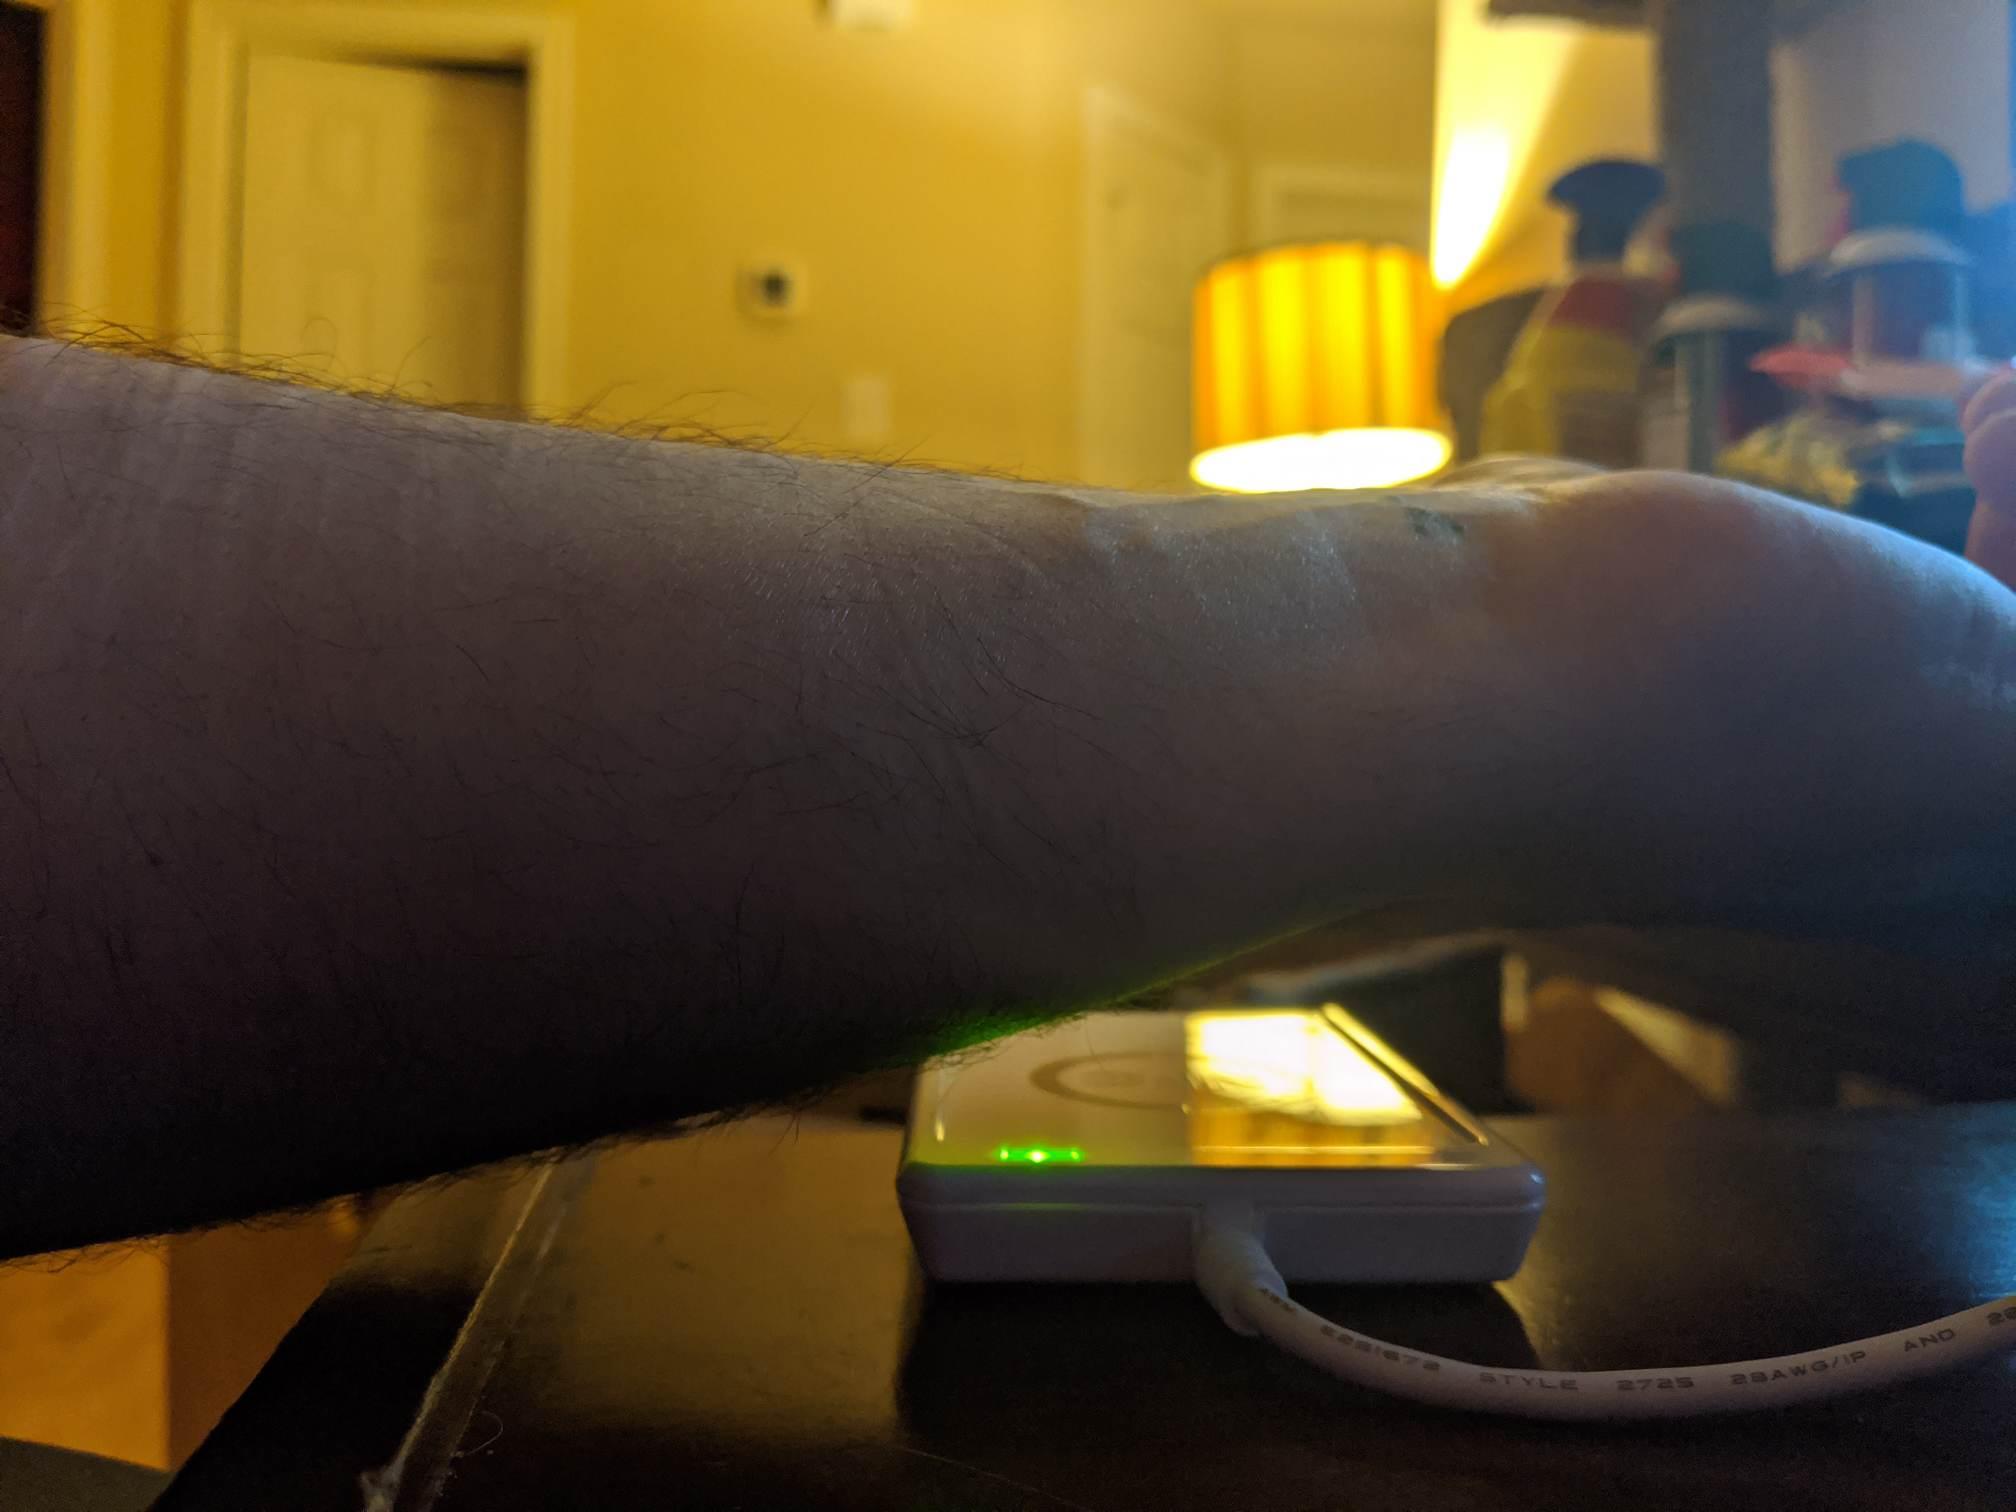
The last thing I tested was the ability to get a scan from below the arm. With my phone, I knew this would be a no-go, but I held out hopes for the ACR to be able to get there. Alas, it seems the range is just short of what is needed to get a successful scan. With some finagling, I was able to press my forearm against the ACR to get the LEDs to just barely light up, but it wasn’t able to scan the actual chip itself.

Definitely will be looking into making a tank circuit range extender here at some point, but for now I’m quite pleased with the chip and the performance of it at large.
I think that covers everything that I wanted to touch on. Ultimately, I’m really happy about the way it turned out; so much so that I have been mulling over getting a FlexMT, even though I don’t have a current use case for it… addiction is real. If you guys have any questions, I’d be happy to answer anything else for ya!