So, I got the Bluetooth thing all worked out for it already. Now I just have to figure out how to get an NFC reader integrated. I’d magine it won’t be too hard.
Oh we’ve all said that right before a project ends up being insanely difficult. I agree with you here, I just thought it was funny. I said the same thing the other day before getting bombarded with complexity in a project
2 Likes
Surface mount LED bypass it now on the board. If you want to skip the surface mount component you can use this solder bridge and it will skip over to the Extra RGB headers that you can do with that what you please. (I use mine with an LED strip so that I can do more with the lights) These pins are the standard spacing so they should work with the modules you posted here.

I am working on adding options for those other board we talked about, but nobody has made footprints or symbols for them yet so I am having to make those before we can add them to the base board design. (The information is limited on the site so it’s proving difficult without have them on hand) Yet progress is being made.
1 Like
Thank you! It will definitely be easier to solder on LED’s. How are you using the LED strip? Do you have any pictures? I’ll send some emails and see if I can get some more information
Right now I am just using it like this
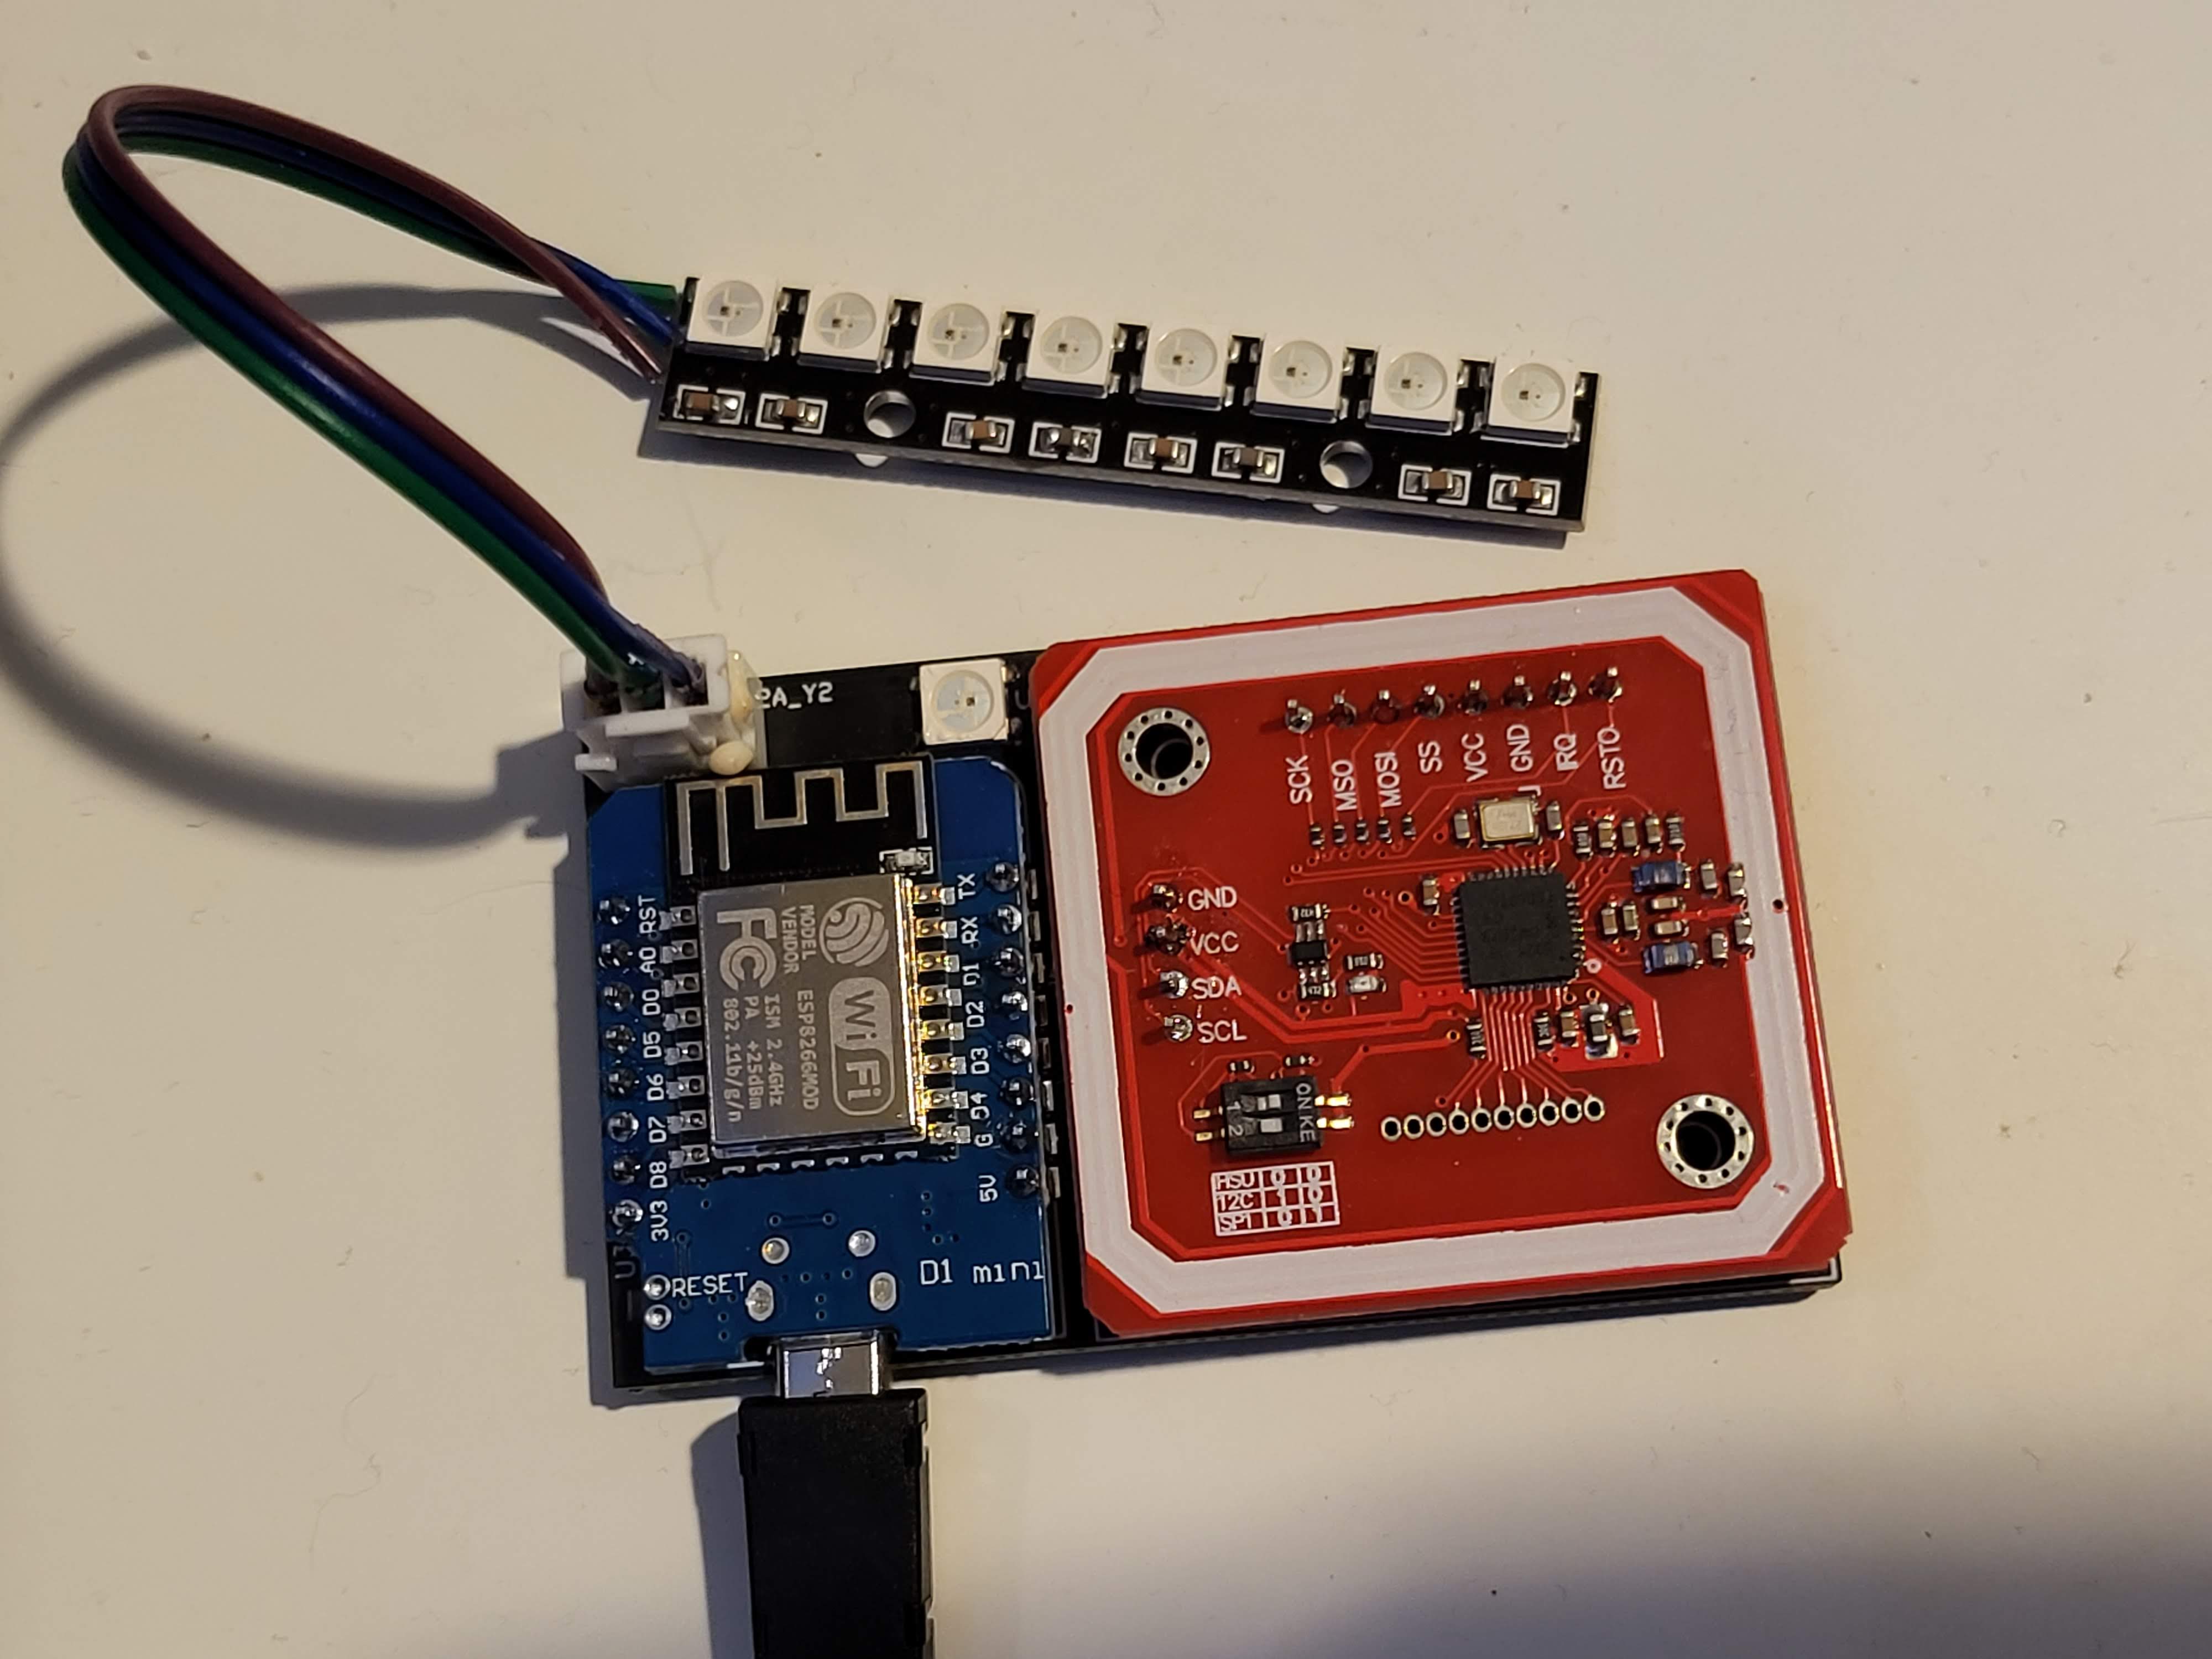
I had to change the firmware for it to control the strip but it works now. So I can control the surface mount and the other 8 at the same time (ignore the melted connector I was possibly drinking and soldering…). The idea was to make it so the whole reader could be edge lit or something if you wanted.
4 Likes
I definitely have to try this! Where did you get the stip?
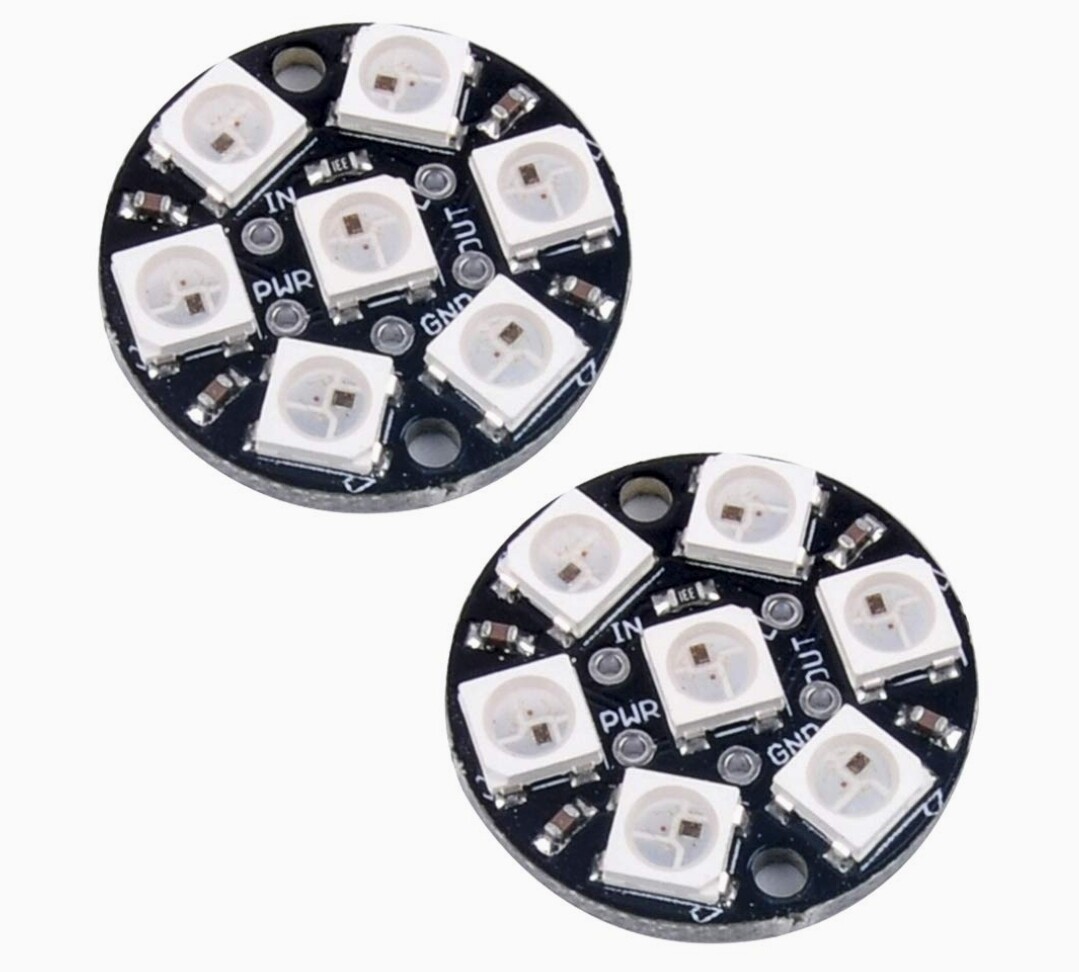
I got them on amazon by searching “ws2812 5050 rgb 8 led” But my amazon ones had terrible soldering and I had to fix them. I know they sell them on adafruit also but they are just a lot more spendy, but probably work out the gate. But you can really use any WS2812 chips/boards you want as long as you don’t go to crazy.
Can you control each LED individually?
Yeah you can for sure! they daisy chain on the data line so in esp-home you can control each one individually. You just have to change some of the code to make it know that it has more leds
1 Like
Then we should add something like this to the new design:
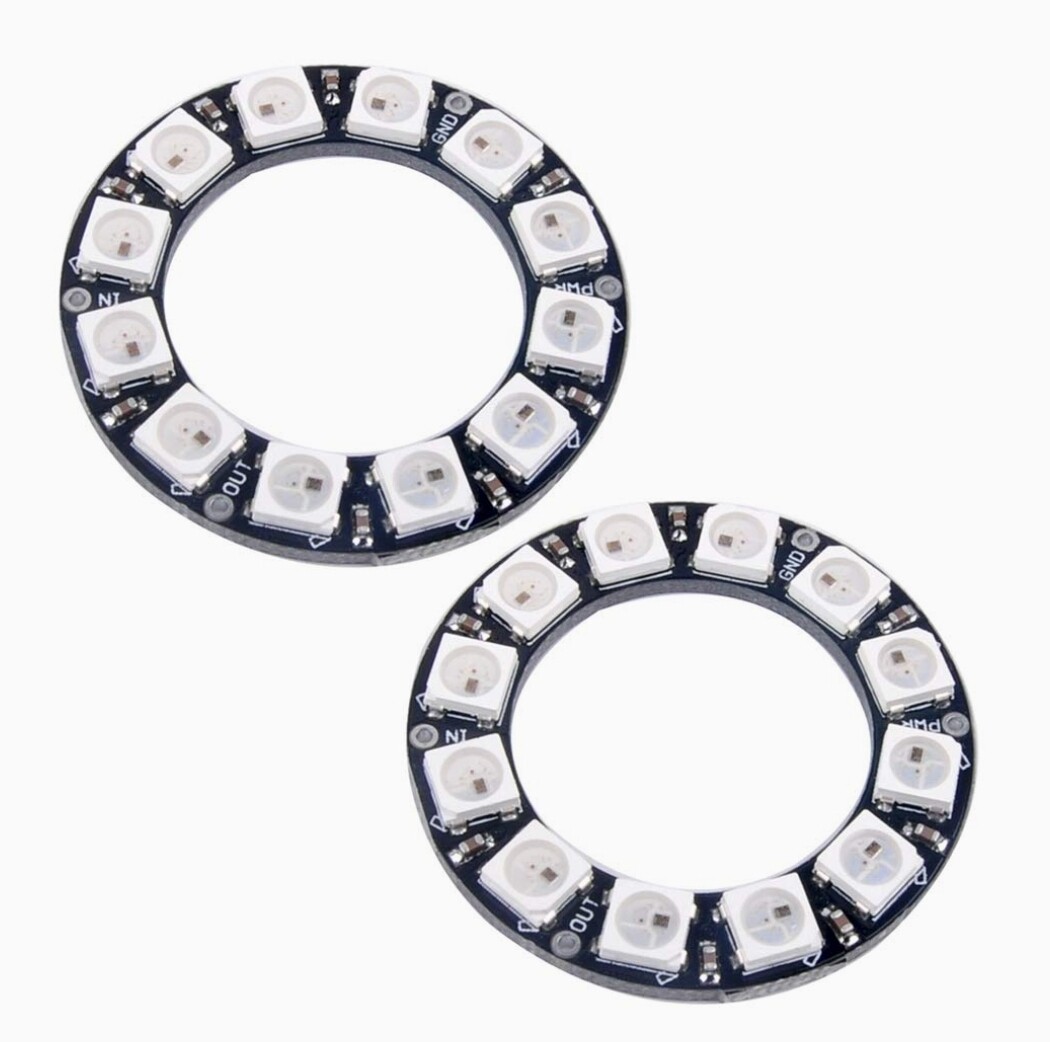
The default on the original tag reader is 1 LED that flashes green when scanned. The colors can be customized but it is only the 1. If we had several then they could preform a spinning effect instead which would look cooler
the RDM6300 have bad range.
i suggest go for https://www.sparkfun.com/products/11828 the id-20.
I have one for my garage door and range is like 1 to 2 cm.
id-12 is bit smaller and cheaper, probably still good range. But haven’t got that one.
I do have some ID-3 with selfmade antenna and have ranges between 1 to a max of 4cm (in lab environment)
currently one installed hidden in the wall ![]() (drilled a hole from the backside of the wall that fit a cylindrical antenna)
(drilled a hole from the backside of the wall that fit a cylindrical antenna)
all testing done with NeXT and regular arduino script. Soon i will update to the HA environment
The reason we chose the options we did was because they are supported by esp-home. I think making a fork of the original board to do non esp-home, but still homeassistant integration would be a good idea.
For sure can. The nice thing is that’s all code, no need to change the board layout at all.
What would need to be done to the code to get them to be individually recognized?
Also I just received an email from Elechouse. What information do you need specifically?
Update your yaml anywhere you see light.turn_on with this Addressable Light — ESPHome
1 Like
It’s all part of the light component Light Component — ESPHome
1 Like
Ok, I finally got the boards and the parts.
After I solder them together, do I just have to follow the video on Youtube or what are the next steps?
How do I program the components?
And once again, thank you for the great project!!
I can make a short video on the process if you need.
1 Like