Upgrading Proxmark3 Easy

Edited original post to reflect suggested changes

If you are updating the client after an already fully compiled build, you dont need to make clean && make all as this will compile all the code again.
A faster way to compile the code from scratch is using the switch -j which takes advantage of hyper threading on your CPU (if supported of course). So compiling for the first time try: make clean -j && make all -j.

If compiling after after git pull on a compiled build before try just make -j as this will only compile newly changed files and use hyper threading to speed that process up.
If you have changed the makefile.platform the youll need to run make clean -j first.

Flashing the bootrom is very rarely needed so I usually skip manually flashing bootrom unless the files from git pull affect anything to do with bootrom.
There is also a combined command for flashing bootrom and then fullimage for you; pm3-flash-all.

The difference between running ./pm3 and pm3 is about local directory vs usr/local. If you usually like to call pm3 from any directory you must then, after compiling a new build, run make install -j to update the files in usr/local.
The script pm3 is just a little magic to automatically determine what port to use for the connected proxmark. This only becomes a little issue if you have multiple proxmarks connected to the same machine thus you would want to specifically call the client and tell it what port to use to ensure you are connecting to the correct proxmark.

No need to run hw tune as this is purely informational and does no active tuning of the antenna. Id generally only recommend running this command if you have made your own antenna and testing out its performance. However, if you are solely using the stock antennas, then no need to run hw tune

In short, to update from a previously compiled build I usually run:

  1. cd proxmark3
  2. git pull
  3. make -j
  4. ./pm3-flash-all
  5. ./pm3
    5.1. coffee
2 Likes

-j may or may not be useful depending on your machine. My machines are all ARM based so I never use it.

Doing a clean isn’t going to hurt anything but if you really want to speed it up then sure, skip it.

Personally I think 5.1 should be split into two (or more) tasks…

  1. Prepare drink of choice
  2. cd proxmark3
  3. git pull
  4. make -j
  5. ./pm3-flash-all
  6. ./pm3
  7. Partake of drink of choice.

The last task can be inserted at any point after the first task, and can be performed multiple times (repeat the first task as needed)

2 Likes

Using the -j switch on an ARM based machine doesnt do any harm and still allows for additional jobs to be run.
Doing a make clean also doesnt hurt but its generally unnecessary if you are just looking to compile the client again and get going.

The steps I listed were all commands with 5.1 being executed within the client. I shouldve added on some additional non-command to make sure we are all getting our hydration in.

I agree that -j won’t do any harm. I just don’t see the point of adding it on my current machines.

At work I deal with “the cloud” or very large AIX systems. At home I go small and cheap. I am always impressed by the difference in size and compute power between when I first started and now.

FYI, in case you haven’t noticed, V4.15864 was released on Oct. 29, 2022.

Change Log is Here

image

V4.16191 was released on Jan. 29, 2023.

Change Log is Here

One thing I noticed is “Added hf tesla info - intital information command to read TESLA cards”
To bad I don’t have a Tesla to test though… :frowning_face:

Screenshot 2023-02-08 132457

huh! i wonder if it works on Apex with the Tesla keycard applet loaded.

That’s what I was wondering too…

Looking at this it should:

It appears to just try selecting the tesla AID and sending some APDUs to it.

1 Like

So if I was scared to flash my proxmark, do I just skip step #4?

  1. cd proxmark3
  2. git pull
  3. make -j
  4. IGNORE
  5. ./pm3
    5.1. beer

~Blackhawks

Not quite, step 4 that was listed was the combined method to flash both image and bootrom. If you only want to flash the image, thus skipping bootrom, then you’ll need to explicitly run . /pm3-flash-fullimage.

To clarify, if you entirely skip the mentioned step 4, of flash-all, you are flashing nothing to the device. You’ve compiled the client then done nothing with it on the device side thus the client will be mismatched against the full-image/bootrom of the device versus that on the computer.

If you want to compile the client and only flash full-image then:

  1. cd proxmark3
  2. git pull
  3. make -j
  4. ./pm3-flash-fullimage
  5. ./pm3
    5.1 coffee

Small disclaimer: my original comment was over a year ago and I have not actively kept up with the development of the Proxmark3 nor it’s github repo. Please take my comment with a pinch a salt and verify it’s accuracy with your own research.

1 Like

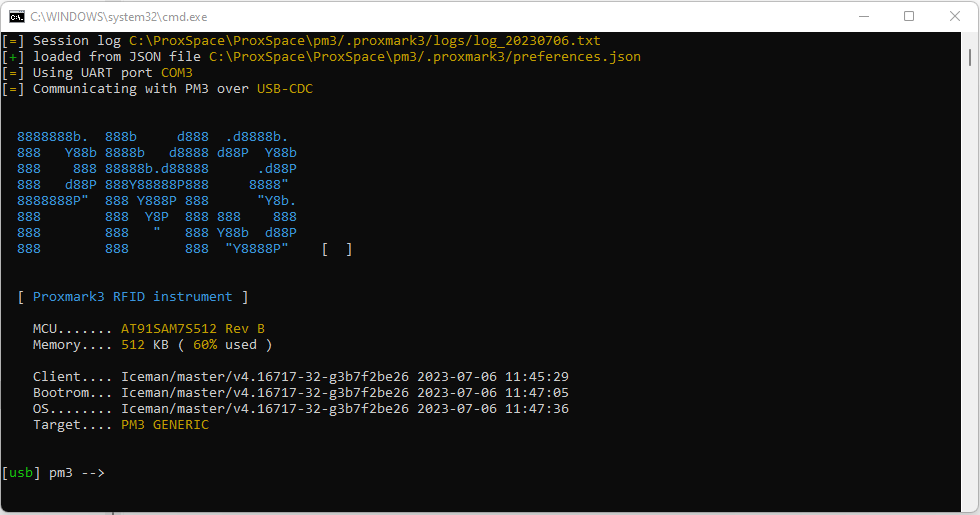
V4.16717 was released on Jun. 25, 2023.

Change Log is Here

One thing I noticed is “Changed hf mfu info - now detects Philips Sonicare devices".
@darthdomo posted a while back about the toothbrushes…

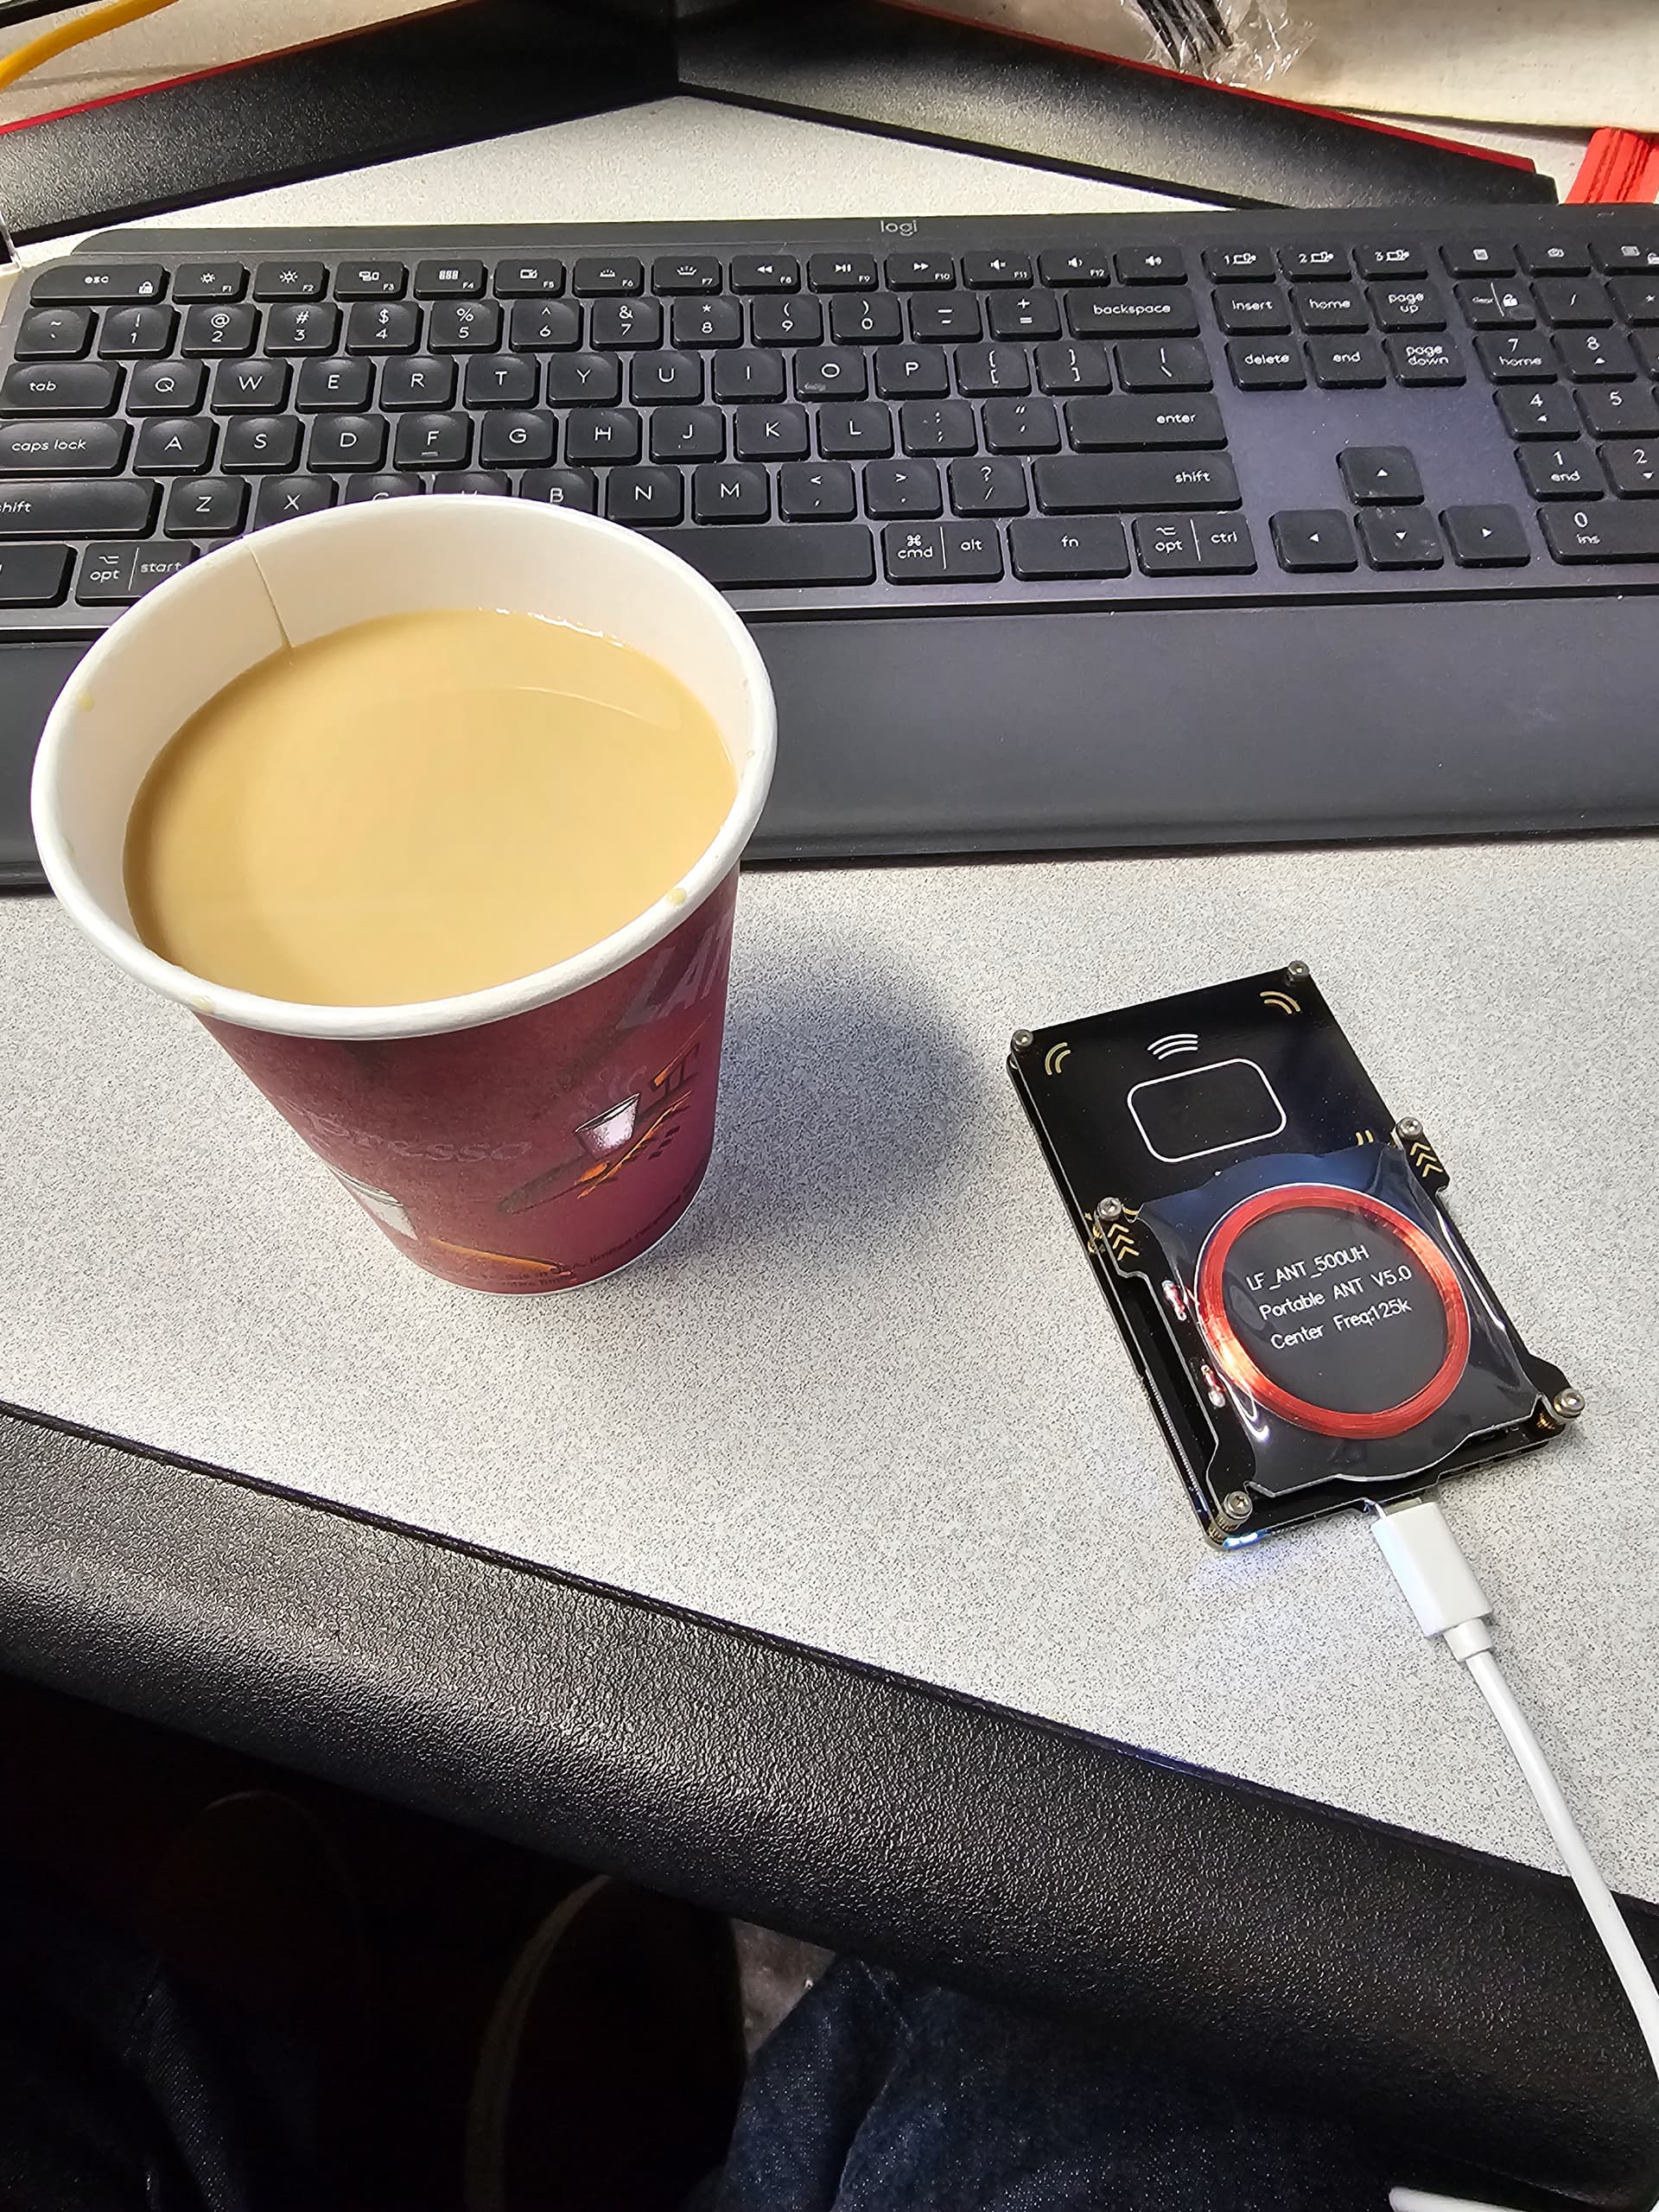
Choice of beverage today was Green Mountain French Vanilla Coffee with French Vanilla Coffee Mate Creamer. Not the best, but when work provides you will free coffee, you don’t complain! :slightly_smiling_face:

3 Likes

This worked perfect for me, i would add 4.1 Hold Button, Plug cable in. otherwise in my case, the device wasnt recognized

Your device should be recognised without the need for using the button trick. In your case, I’d do the same process, do the button trick then flash bottom (or flash all). Once complete, unplug then replug and it should be recognised without the need of the button.

The button trick is a way to force the device into bootrom so it can be flashed after a corrupt/bad image.

I thought so too, but I’ve always chocked it up to using osx and it being different than most setups

Still odd but I don’t have enough Proxmark experience on mac to really comment or help further.

From my understanding, it should still be recognised without the need of using the button trick as that’s how it’s intended to be used; compile, flash, plug in and use.

Welp. I’ve been away for awhile…

V4.17140 was released on Sept. 9th, 2023
V4.17511 was released on Nov. 13th, 2023
V4.17768 was released on Jan. 3rd, 2024
V4.18218 was released on Feb. 18th, 2024, with a special “thanks @dangerousthings !” in the Change Log

2 Likes

Good or bad?
Who knows. As long as we have some progress.

3 Likes

V4.18340 was released on Mar. 20, 2024. Change Log is here.

1 Like