What are you making ⚒️ / 3D printing 🖨

image

I relate to this far to much :sweat_smile:

6 Likes

Before the sealing success rate was around 50-60%

I sealed 3 implants today and 10 test implants just filled with resin and glass beeds before that to tune in the laser power output and laser focus.

After everything w as dialed in the success rate was 100%

You made me save such a lot of glass and solder work… It was so frustrating to solder the circuit for an implant for around 1-2h and then just destroying it on the laser lathe…

4 real

Thanks!

5 Likes

I’m working on a 3D printed vibrating massager which I print a mould for and cast in silicone rubber. Inside is a NRF52840 chip from Nordic Semiconductor, a battery, charger circuit, and motor controller as well as two Vybronics 310Es from DigiKey. Here’s a photo:

What are you working on? A vibrating massager
How are you making it? I print a mould and a positive (a smaller shape that fits in the mould), epoxy it, duct tape it together, pour silicone rubber in it, assemble the electronics and program it, and then build a website to remote control it with a websockets.
Why are you making it? For fun (and pleasure)
What’s a struggle? It’s overall a pretty easy project, but I struggle with getting it to be pretty quiet
What’s satisfying? The vibrating massager! And feeling the remote working perfectly with a websocket, sending and receiving messages from the server to change the settings.

my Hyundai Key fob broke so i decided to spend too many hours learning to 3d model simple shapes, and a few hours of failed designs, printing a new one :laughing: but got it to an acceptable design. Works well enough for now!

5 Likes

Been printing and playing with gridfinity stuffs per above

Designed a handy dandy little soldering helping hands…. I’ve never actually used one or had one because I hated all the designs I saw… so I finally made my own

Currently it’s just a 1x1x3 unit, I may make a 2x2 or a 1x3 when I post the official file online
I currently have 3 designs for the 1x1
1 arm in the middle
4 arms in the corners like below
8 arms in the corners and center edges

It’s modular so you can use all or only what you want, and mix and match arm lengths etc

Here’s the raw print (I’ll make it blue later, I prototype in white, but I’m making all my gridfinity electrical stuff blue

Heat inserts, currently a #4 because it’s what I had because the “screw together grid” designer used those for his design… eventually I’ll use m3 or m4 since that’s what all the printer peoples like :unamused::roll_eyes:

image

Specifically using some 12g solid copper from house electrical wiring scraps… nice and stout but bendable

image
Some alligator clips from Amazon, gave it the clamps
(In a couple different ways I suppose)

Stick the wire in the vertical slots and screw a screw down till it captures and secures the wire

image

You wouldn’t think it because of the small footprint, but it’s surprisingly stable even by itself

If you magnetically attach it to a grid section, it’s rock solid

Because it only takes a second the take the arms off, I also used some of the white 12g to make some short arms also… I’ll eventually maybe make a .5 wide bin for the arms or something

7 Likes

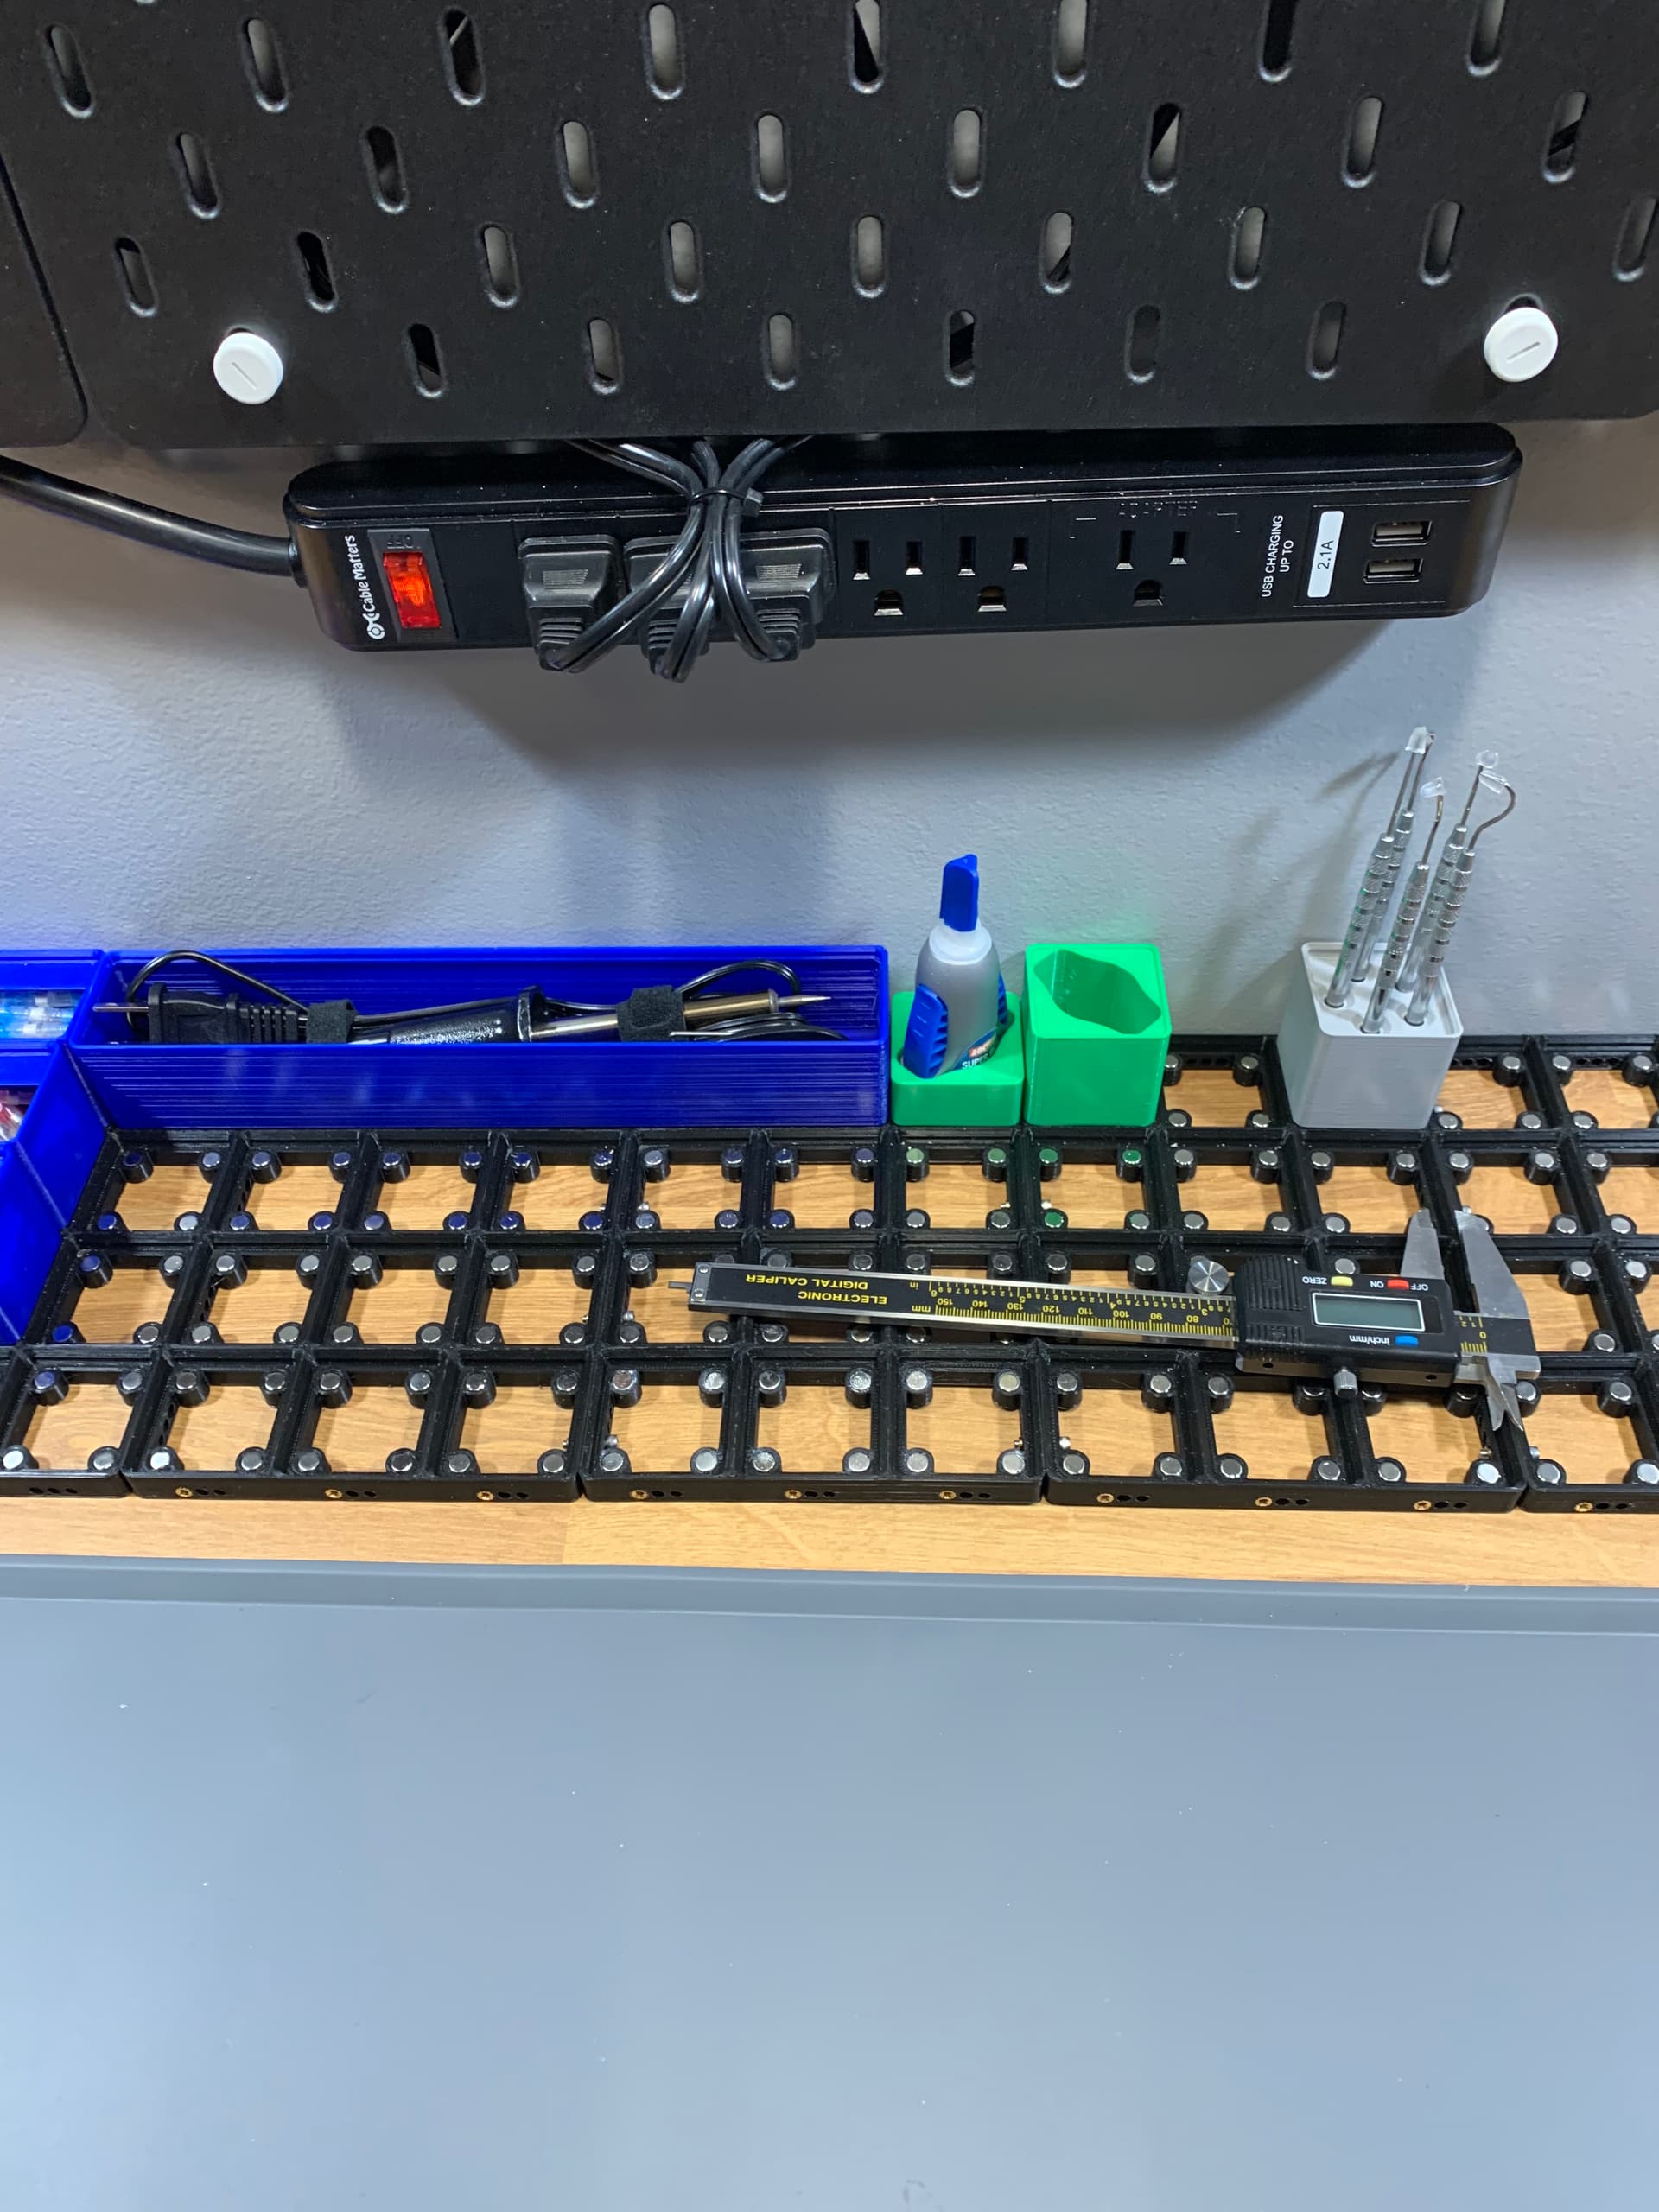
Not technically 3D printing, but for facilitating my making my tinker bench just took another big step forward, been wanting these skadis pegboard for a while because of the myriad of existing designs for it

(I’ll admit I’m a little underwhelmed on how they mount, the bottom isn’t secure… but I’ll figure something out to take the flop out of them)

Also finally mounted my lights securely


Excuse the middle bulb not matching, haven’t had room for 3 proper work lights in forever so I don’t know where the matching bulk went…. It’s weird that it looks so pronounced in the photos, in real life it’s barely noticeable, end bulbs are 5000k middle
Bulb is 4200k

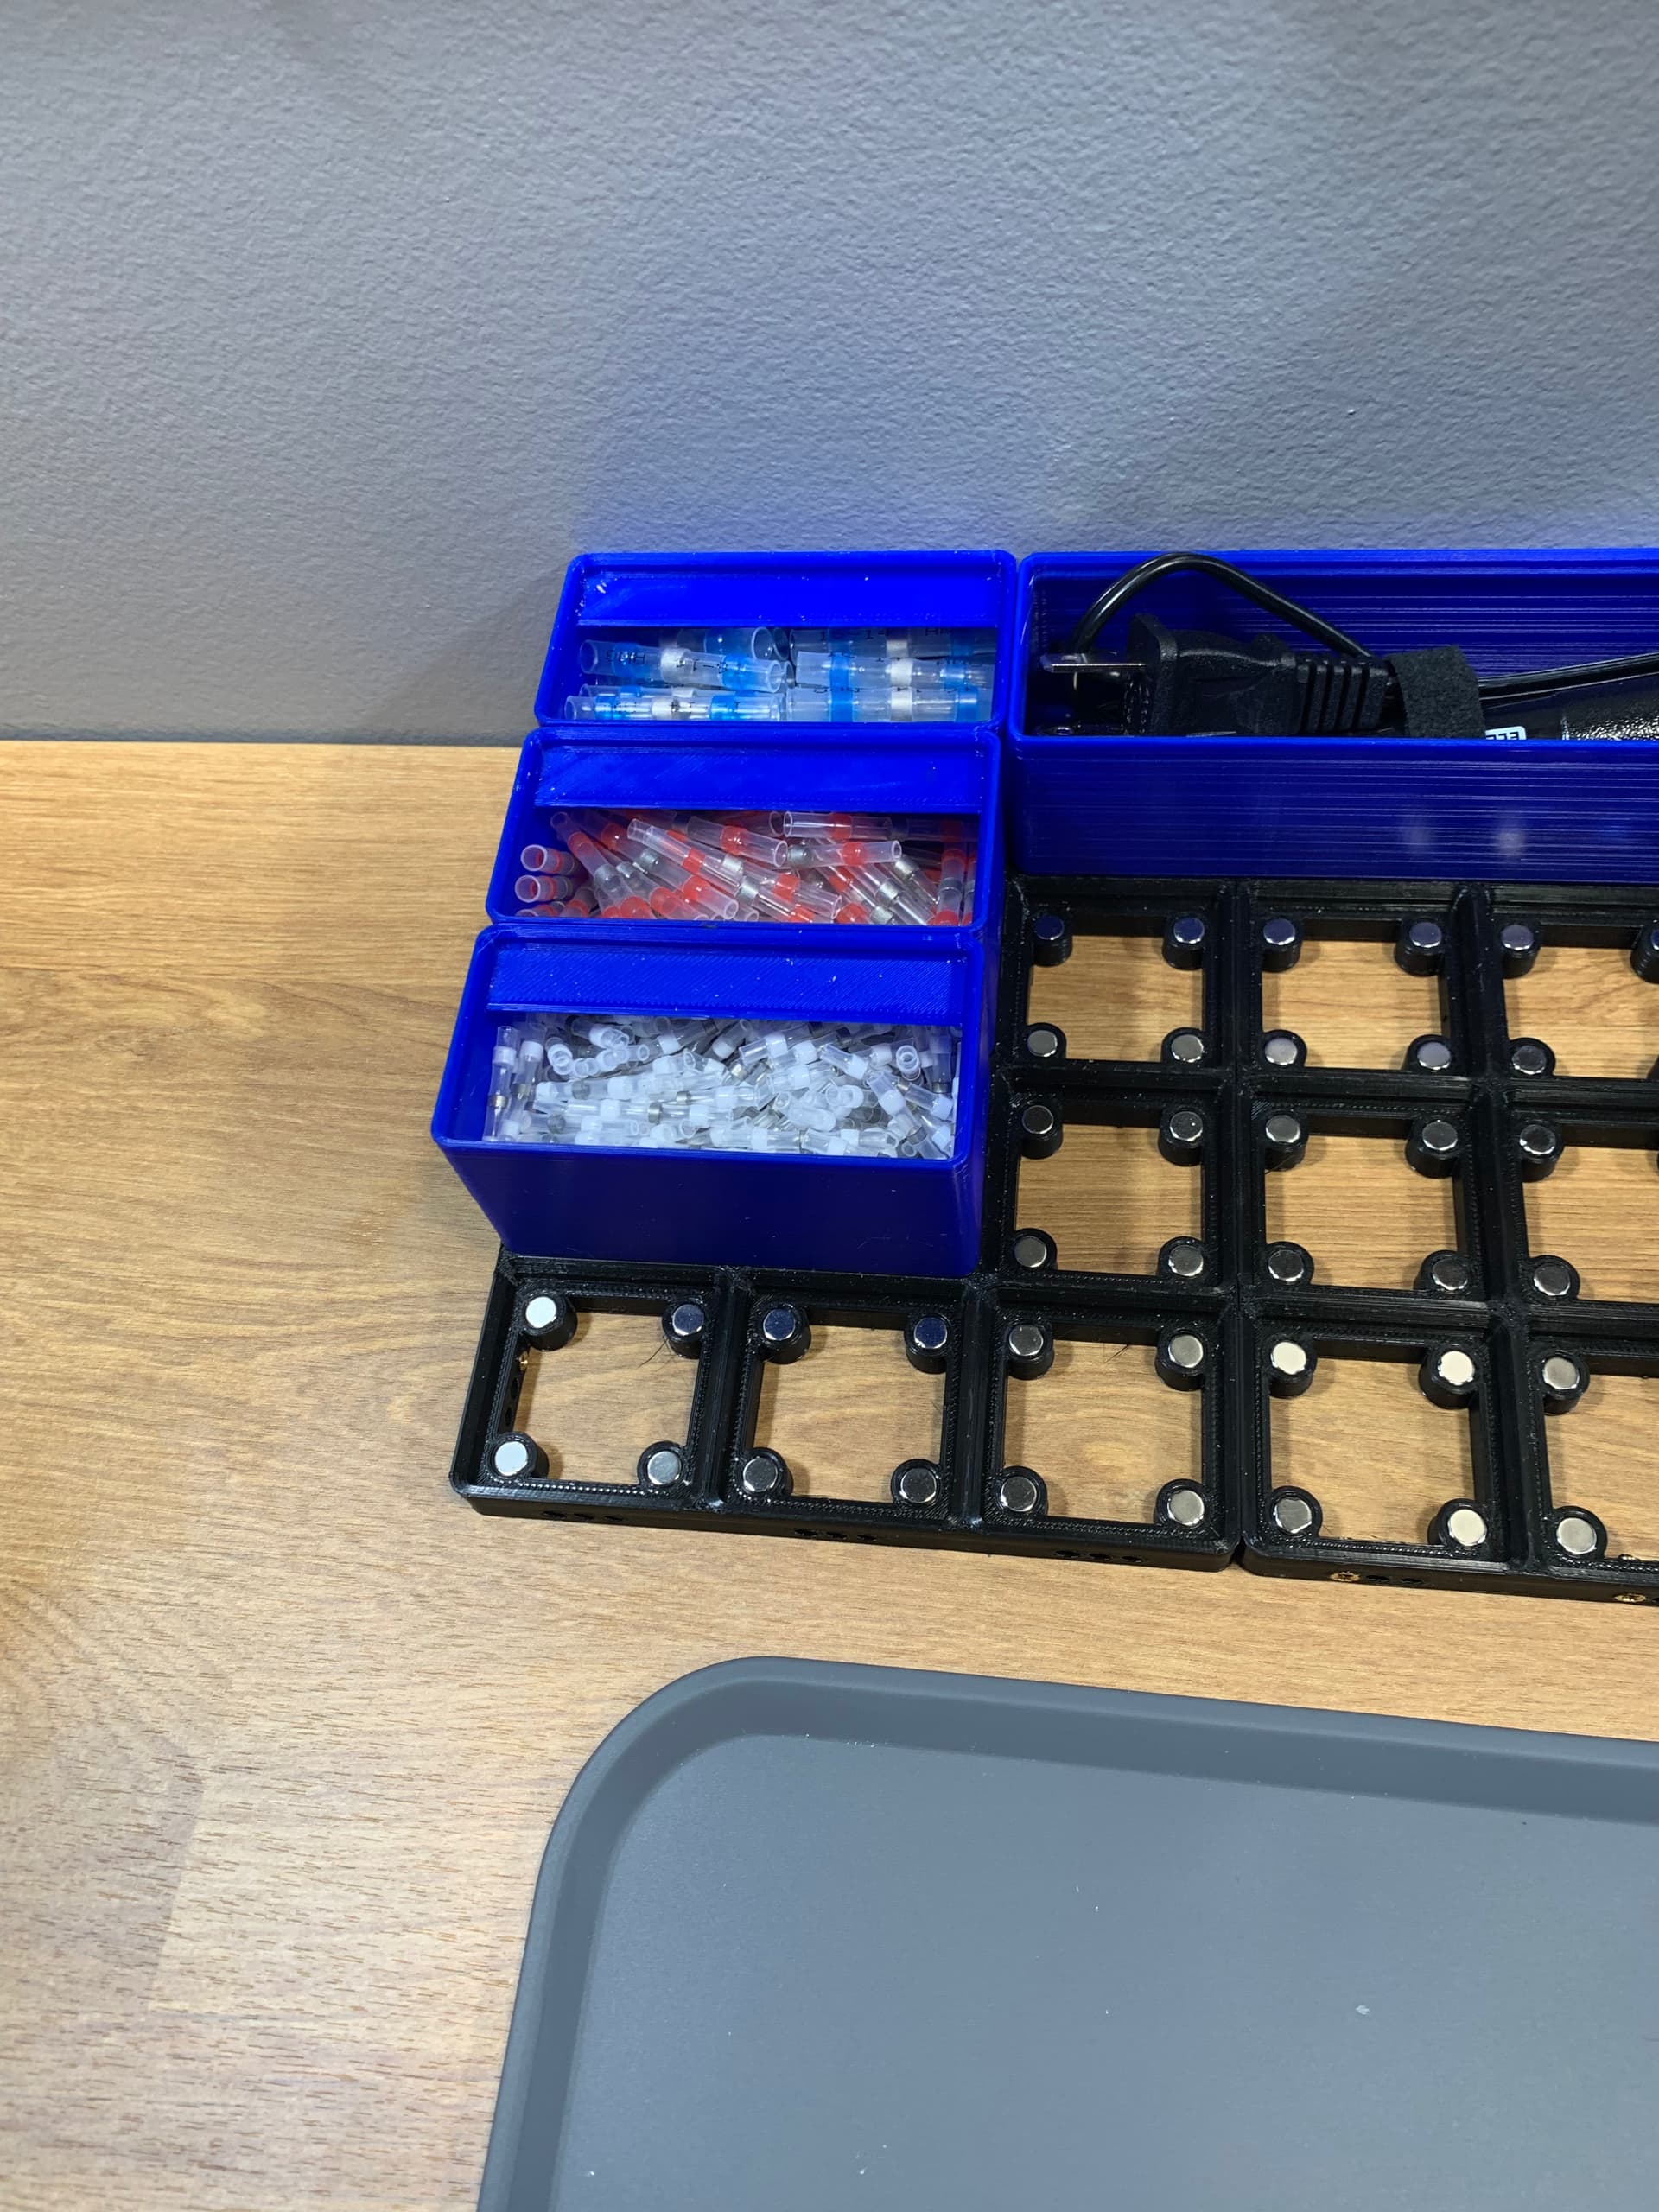
My progress so far with gridfinity
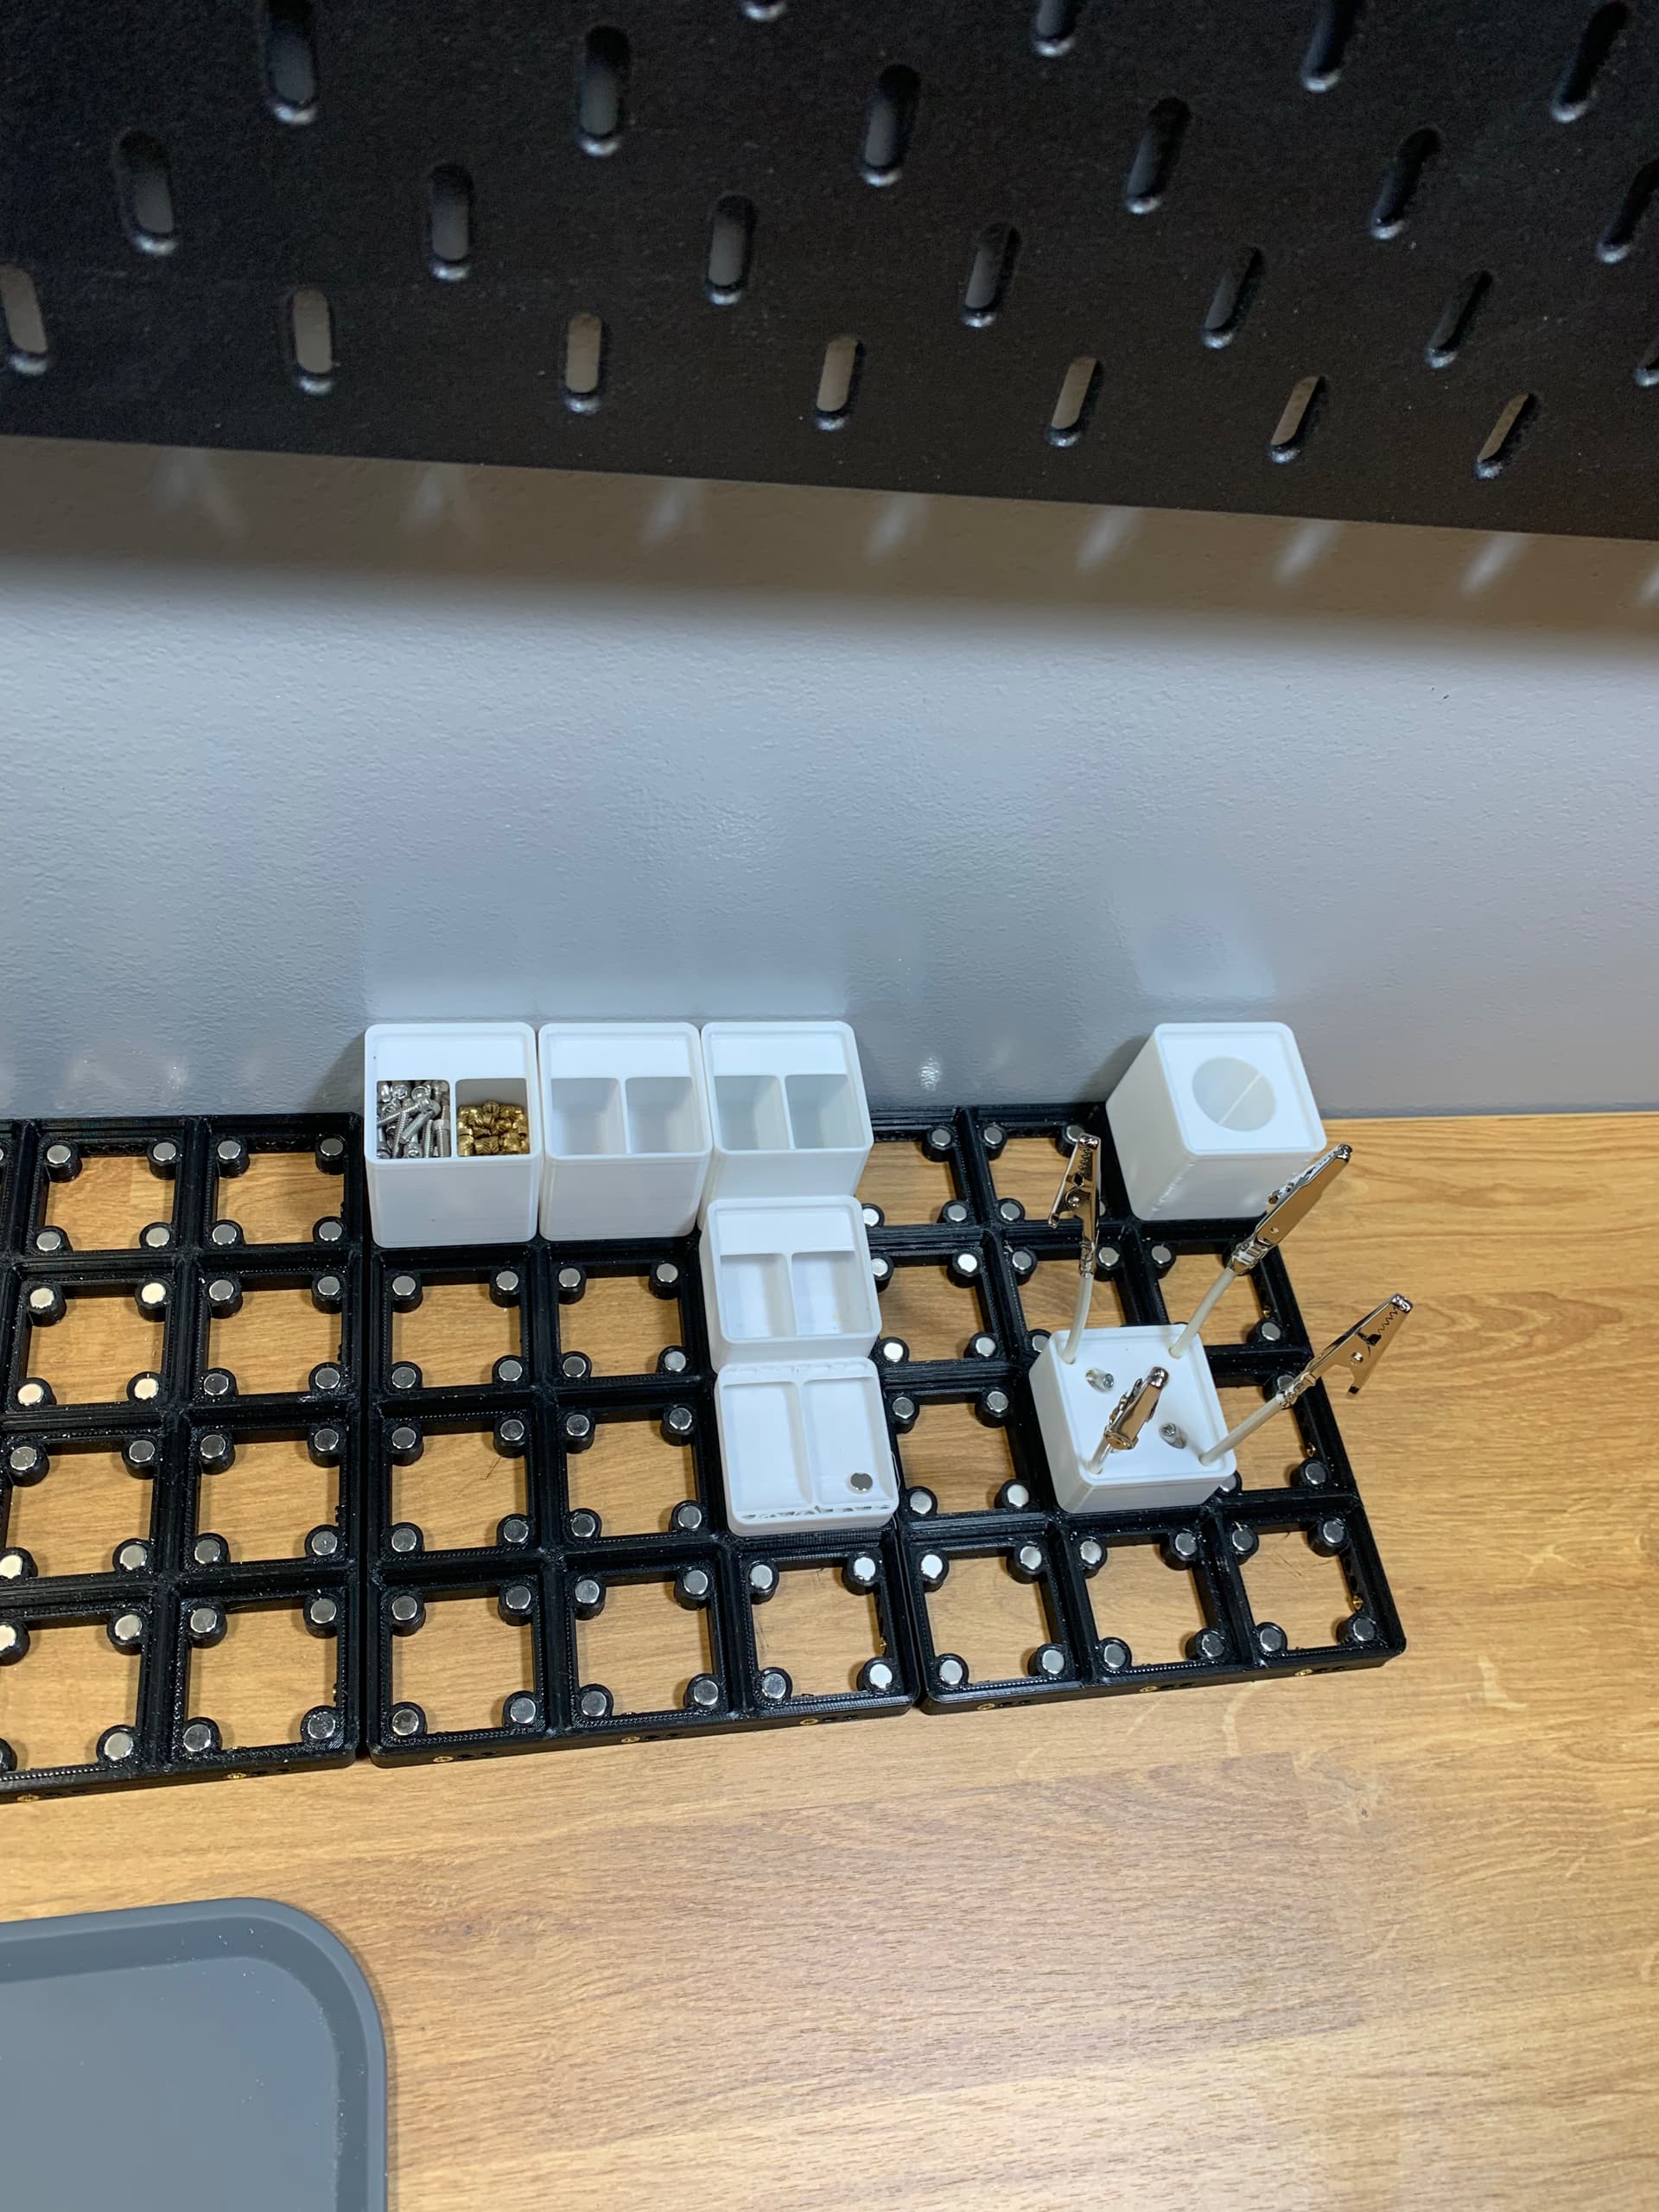
5-10 other grids in other drawers, but starting into bins and holders now


10 Likes

That looks great!! I’m getting jealous, can’t wait til I have the room to go grid-insane.

3 Likes

The stethoscope holder is working out pretty nicely!
Might print some out for some other the other students in class.


A good portion of the class are attending the fire academy, so they love the red lol

6 Likes

That’s freaking awesome! :heart_eyes:

2 Likes

More gridfinity
Designed a holder (and tip holder) for a butane soldering iron, I usually only use it for the hot air component

Printed a 8x arm helping hand version

3 Likes

Your workbench is unacceptably clean!!!
Get to work!!!

:grin:

2 Likes

It gets trashed, the nice thing about having a growing a ridiculous number of drawers is things go back into their places very quickly

Also if you notice on the left, there’s a old corner desk that’s currently just a junk collection zone… it will eventually turn into a second printer location

Also… desk is clean. Excuse I just built it and wanted to show it off

1 Like

My custom tshirts just came in :classic_grin:

8 Likes

Want.

1 Like

I uploaded it to my Etsy store, but if anyone here wants one, I can manually ship one through my Printify account so it’s at cost. Would be $27-31 depending on size including shipping. Printify is fuckin expensive, I’ve gotta find another POD service if I actually want to sell shit through Etsy haha
If anyone has experience with other PODs let me know!

As long as the screws are easily available and work well, I don’t see a problem.

*hopes not to get lynched for suggesting that freedom screws are ok and that there’s no need to order metric oned

2 Likes

I was working with a guy today who is helping me get up to speed with the laser for glass and other uses, and he mentioned this design looks great but would be good also to have a depth stop ring around so every time you place it into the chuck, it’s going to the same depth into the chuck. Basically it’s like a guard of a sword… but an entire ring… something like this;

sorry for the terrible drawing haha but you get what I mean? That way I can insert it into the chuck and it will butt up against the ring / “depth stop” every time, so then I can just load up my laser profile for whatever glass I’m working with and it will all be aligned and ready to go every time.

1 Like

I still have a package to send you, in it I’m including a 1/4 hex extension

I was using the hex as a bottom stop reference,

I can try and add in what your asking, but essentially what you want is a T shape, which doesn’t print good without supports, and supports may make that ledge rough and inconsistent

I’ll show some pictures later and try to get that package in the mail tomorrow

1 Like

Why not a through hole you can put a pin in to be that depth stop.

Or lengthen the hexagonal bit to reach the back of the chuck?