Sorry forgot to reply
Just want to add a few leds under my print head, want to be able to adjust it so it isn’t too over illuminated
Have 24v power supply. So I’d rather use a 24v ribbon than adding a buck unnecessarily
Trying to keep it simple
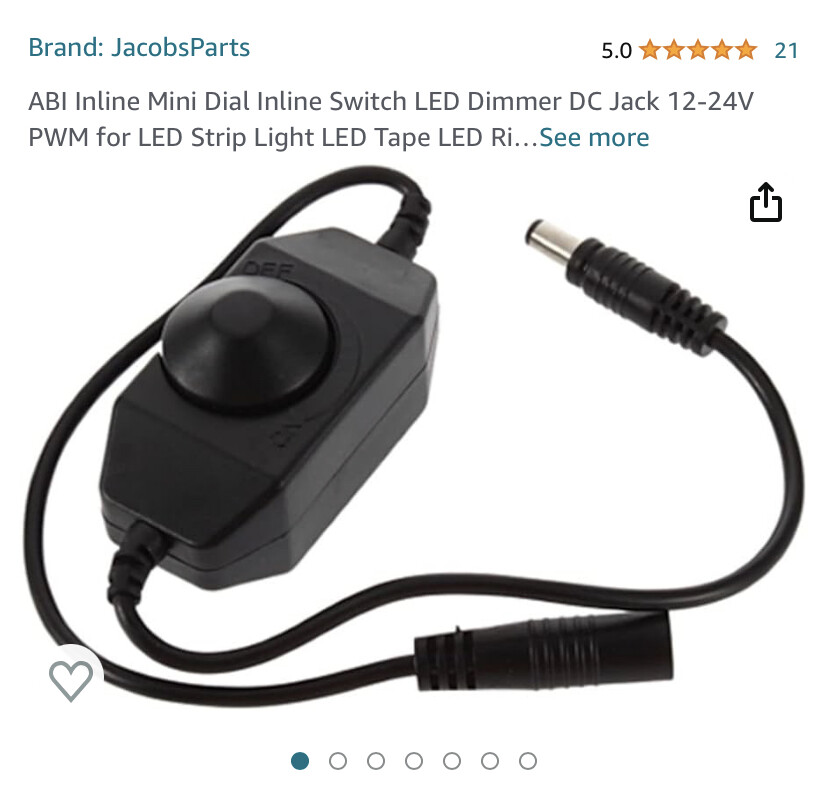
just looking for a led brighter and lower analog knob… I think I found something I can use
Yea arduino and micro controllers in general and I are super oil and water, I’d sooner ditch the entire thing than try to mess with those…. I’m sure I could figure them out if my life depending on it… but juice isn’t worth the squeeze for me
I’m just looking for a led brighter and lower analog knob… I think I found something I can use
I can just solder this in