Haha makes me feel a little better about my piss poor trouble shooting skills earlier!
Ahh, the first half of the resin printer experience…
And don’t forget about the part where you brick the machine and need to contact support to get a new firmware image… And I hope that you’ll never have to go through this as I did. With a machine that wasn’t mine!
The second part of the resin experience involves spreading resin everywhere and making your home smell like alcohol…
2 Likes
ok…
my resin process… take my advice for the amount of money you paid for it…
Step - Slice and Dice

this is a good link to understand resin supports vs fdm supports

Step - Spatula massage

Fill your vat and then run a scrapper or silicone spatula around to mix up and more importantly make sure there’s nothing stuck to the fep sheet… I like to wipe in a way that you can see the fep directly… video isn’t great because looking through a camera… and too much resin
-optional… be smarter that EQ and reverse the order so there’s less resin to slosh around trying to make sure the feps clean
Step - Lollipop jizz hands

make sure you wipe anything that’s on the top or near the edges of the vat, resin will slowly run and get under on your screen ![]()
-optional… be smarter and less complacent than EQ and wear available gloves…
Step - haha 3d printer go gloooop

very important… you must watch the printer go gloooop
-not optional
Step - Till the sweat drips down my…

a lot of printers come with a little bracket, or method to tilt the bed so you can let it drip more better-er than perfectly vertical… more resin in your vat, less resin in your wash tank
I found a file for a little drip\splash protector
-optional… don’t be like EQ and don’t require a bib
Step - Till the bubbles stop


I found some files for a handy little step that holds my build surface… keeps the surface from sloshing around so much… and no jigs or other stuff to mess with… very simple
-optional… actually read and follow the mod designers instructions unlike EQ, and print it honey comb with no top or bottom surface to allow the alcohol to wash the top easier
Step - Spin Cycle

turn on the wash stations agitator
-optional… maybe do some research about how long you should be washing your parts for? unlike EQ you just sorta plops it in there for 3-5 minutes with literally zero informed decision making process
Step - Drip dry

pull your print surface out of the alcohol and let it dry
-optional… have more patience that a goldfish like EQ and wait for it to stop dripping properly instead of “ill just go really quick it’ll be fine”
Step - Get under their skin

keeping your hand clear, use a scraper or razer scraper to SLOWLY get under the edge of the print, once underneath you simple need to wiggle foward and your good to go… the sharper the scraper the better, I like to use razor scrapers for difficult parts… you could even sharpen the cheapo included scraper
-optional… wear gloves like a smart person, unlike EQ
Step - Hot Tub Spa day

using water about as hot as you can handle without getting burned… lightly soak your print, this will help wash off any remaining alcohol ( I find if its wet it cures weird)
start at the delicate parts your worried about first…
re-soak as you go, I like the break the island into smaller pieces so things come off cleaner and more controlled
-optional… use less supports? EQ tends to go a little wild
Step - Nit Pick

Really good tweezers are your friend here, sheering force works better and cleaner that tension
-optional… actually make a good plan about what to do with your supports… unlike EQ who just tosses them back into the water to deal with later
Step - Razor burn

once I think I have all my supports off, I like to use the edge of my tweezers to help deal with any zits or blemish’s from support removal… you can feel and hear with the pop off
-optional… come up with something EQ did wrong here
Step - The Marilynn Monroe

my carbon air filter blows air out the top I use this to my advantage and place my parts on top to dry off quicker…
once clean give it another once over because you will see more blemishes or supports the water hid
-optional, just wait for it to dry instead of overcomplicating it like EQ
Step - Melanoma

once I think I’m done its time to go in the curing station, afterwards ill flip it 90 degrees on its side and give it another shorter cure
-optional… do any amount of research and have a better idea than EQ as to how long things should be cured
sounds like a lot, but its probably only 20-30 minutes on top of print times
4 Likes
Haha XD
Just skimmed the top of the post, I’m out with my drinking club with a running problem, doing a charity run. Not in the state of mind nor will I be til hangover stops tomorrow. But I LOVE the names of the steps! XD
I did watch the what makes resin prints fail already, been watching a few since I pulled the trigger on the printer!
Thank you!!!
1 Like
Got home, made dinner, and started watching your vids while eating so much needed nutrition (which is instant ramen tonight). Love the vids and the info, thank you EQ!!!
You did not use the proper equipment to masterba…I mean sharpen your sword. Never use metal on metal to sharpen a sword.
2 Likes
I know that we all want to have as much metal as possible inside of ourselves but this might be a bit too far. Or perhaps not, I’d get so many upgrades that I’d end up looking like a robot if they were available so I can’t really judge.
I still need to watch those videos and might have something to add from my own experience.
1 Like
I think I need another desk for workspace lol
The resin printer is 9 stops away so I cleaned up my desk to make room for it.
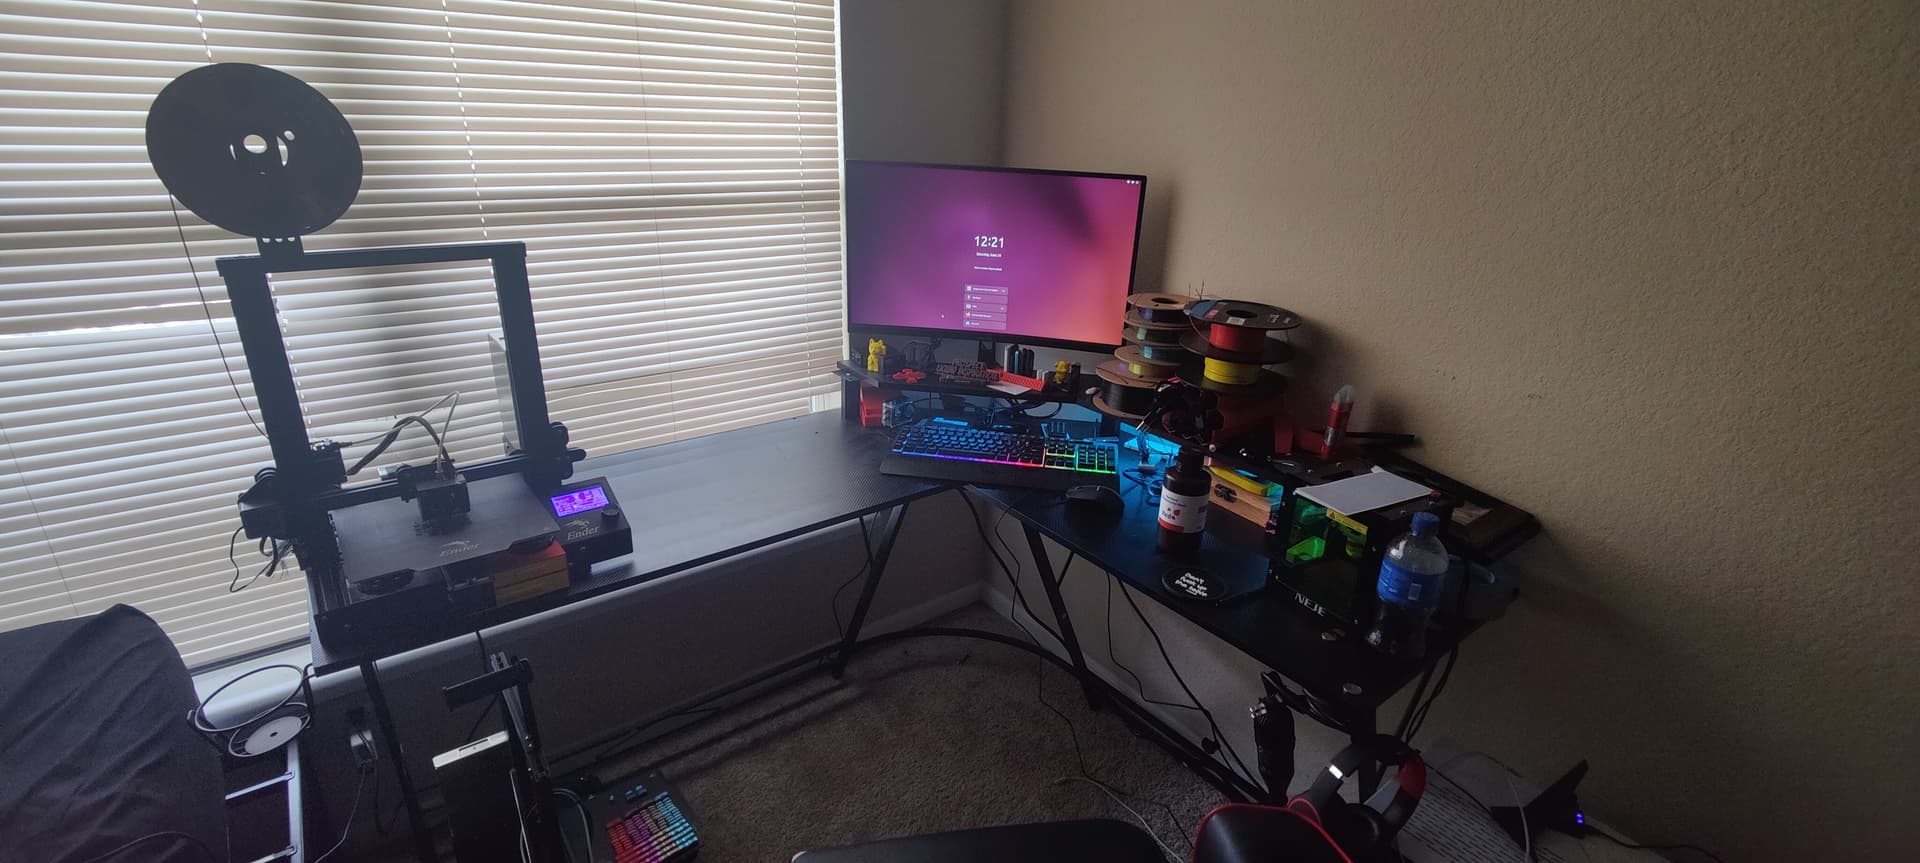
Edit: It’s here!!!
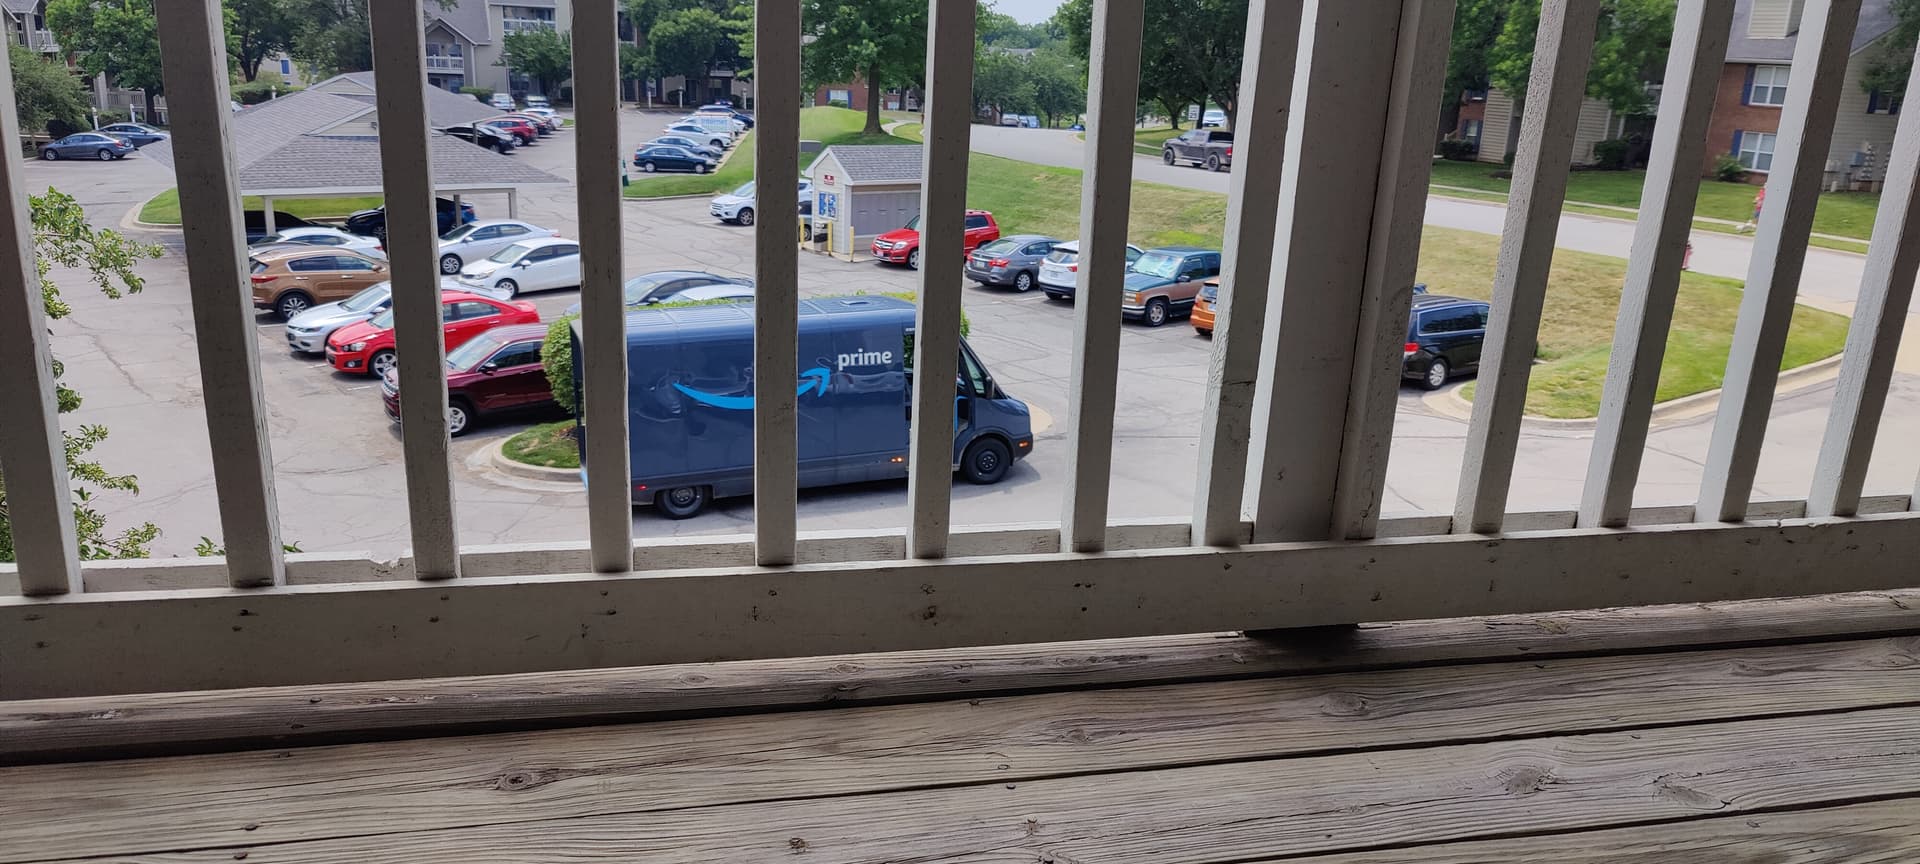
Pretty sure those are my packages lol
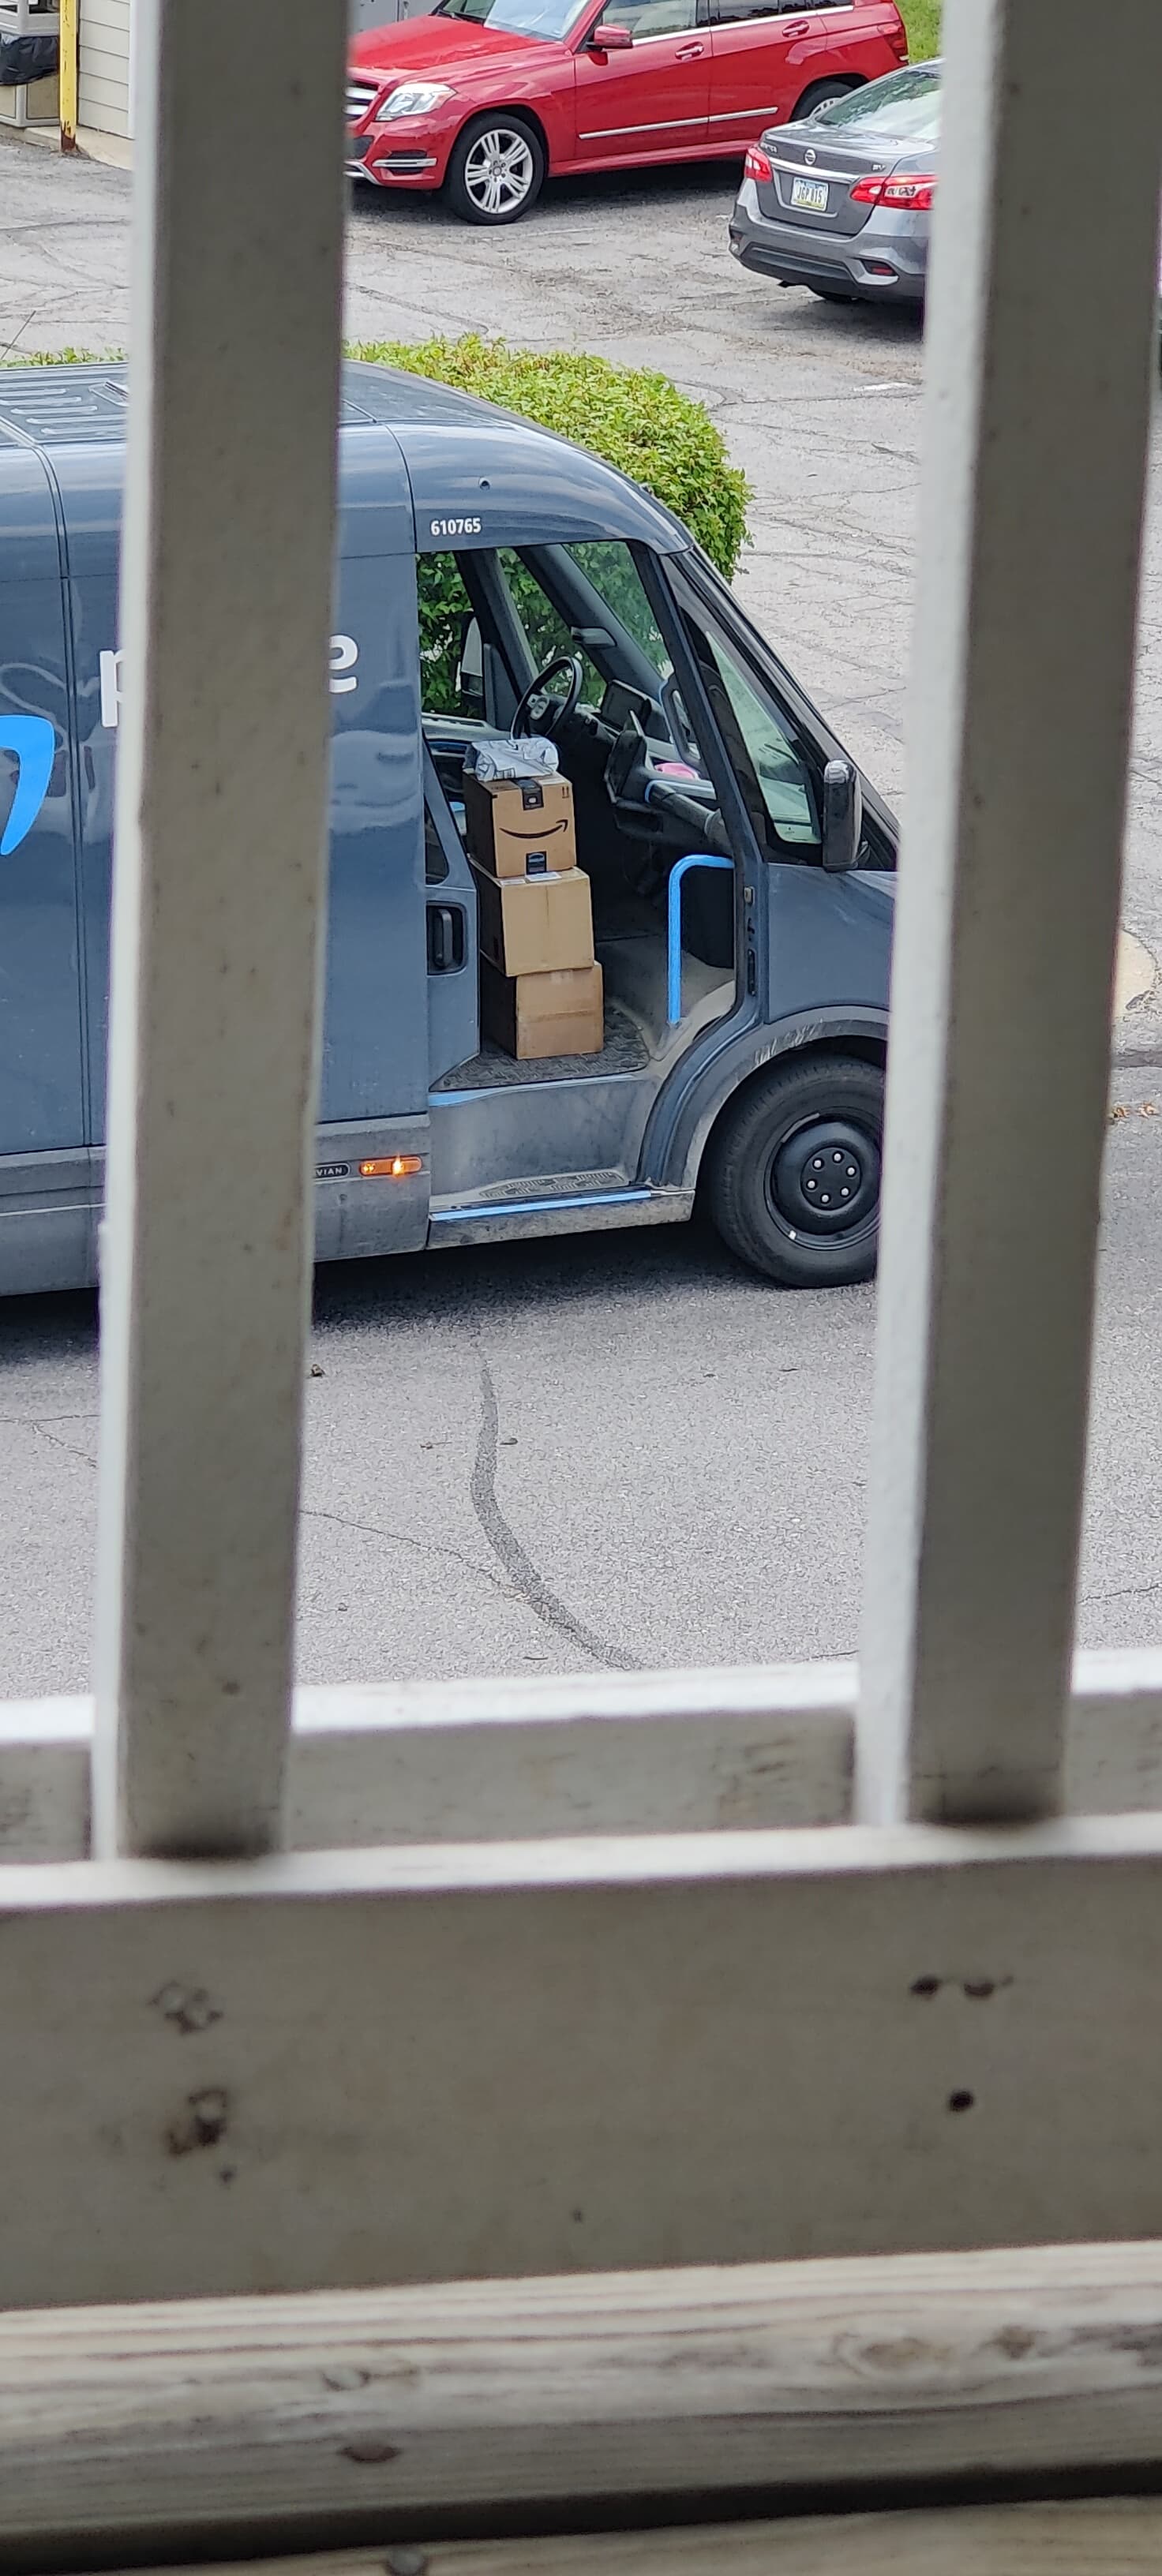

2 Likes
Got the Anycubic set up and doing the test print now.
Moved the Ender to my bed since it was shaking the table and I’m not sure if that would mess with the resin printer during a print.
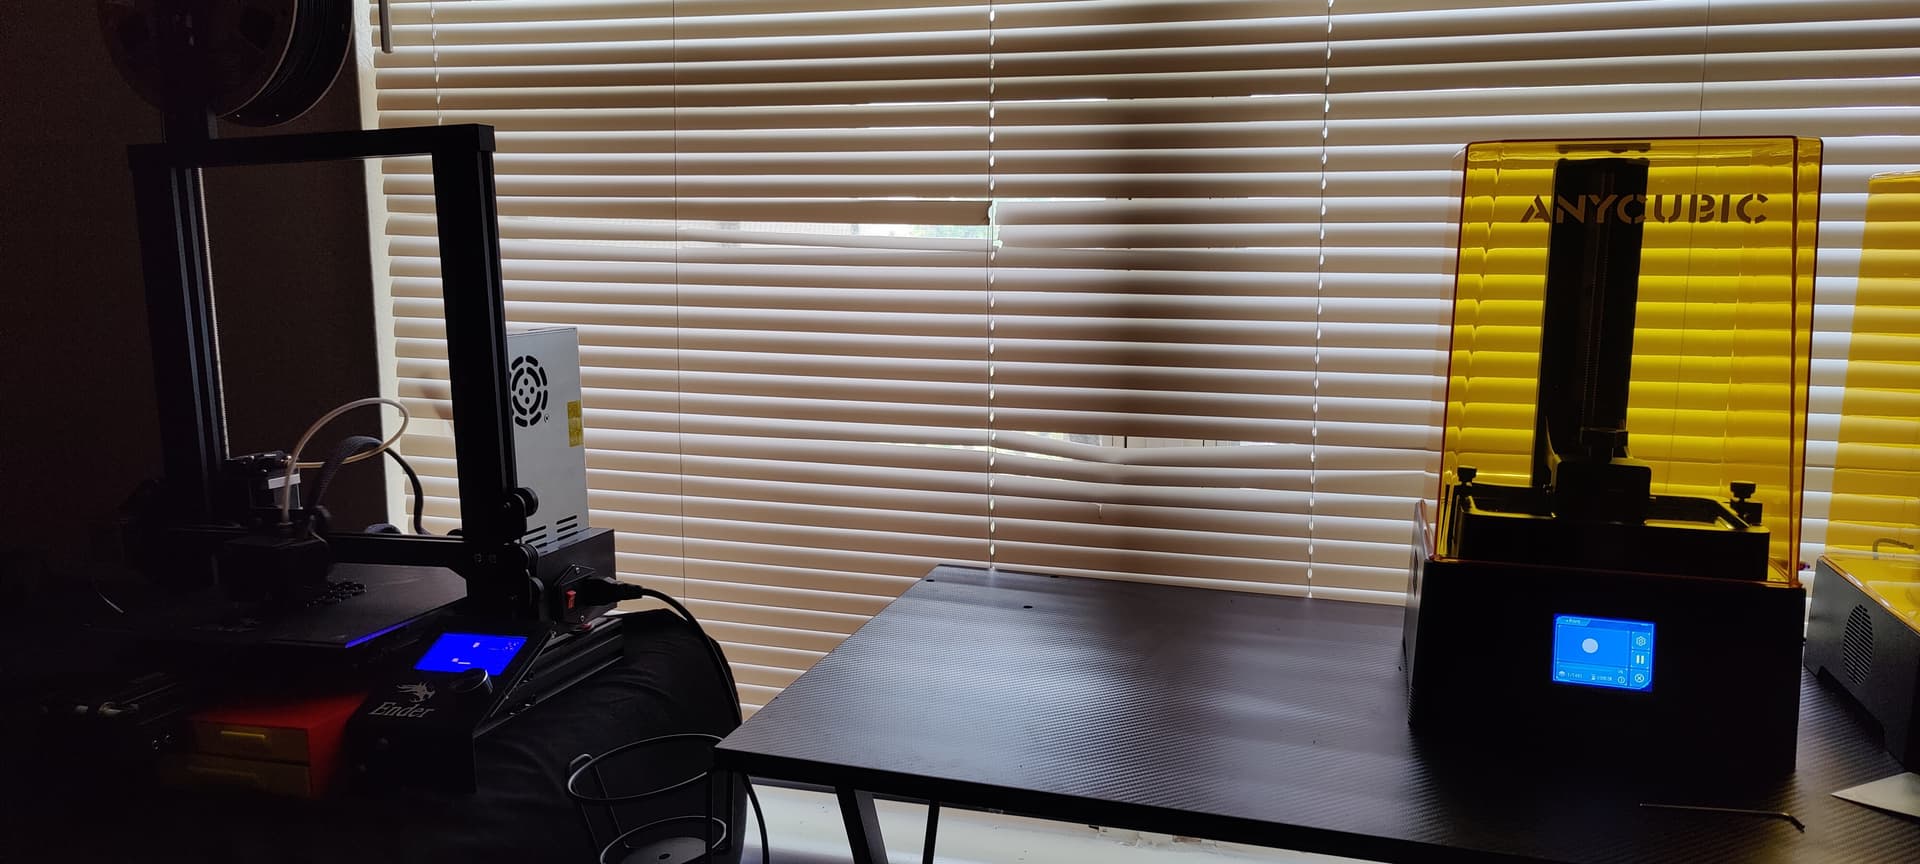
Do you think I need to cover the window behind it with a blanket, or should the yellow UV color be good enough?
1 Like
Now it’s shaking the bed all day? Your neighbors are going to be impressed ![]()
4 Likes
that could be an issue… its not something I’ve had to deal with though so I don’t know how good the cover is
1 Like
I commit the mortal sin of straining and pouring unused resin back into a spare bottle because it’s expensive and I’m cheap. So I try to work with as little light as possible.
I even have a yellow light setup similar to an old fashioned darkroom red light. If you always pour the old in first and refill the vat when it’s almost finished you can get quite a bit more mileage from your resin.
4 Likes
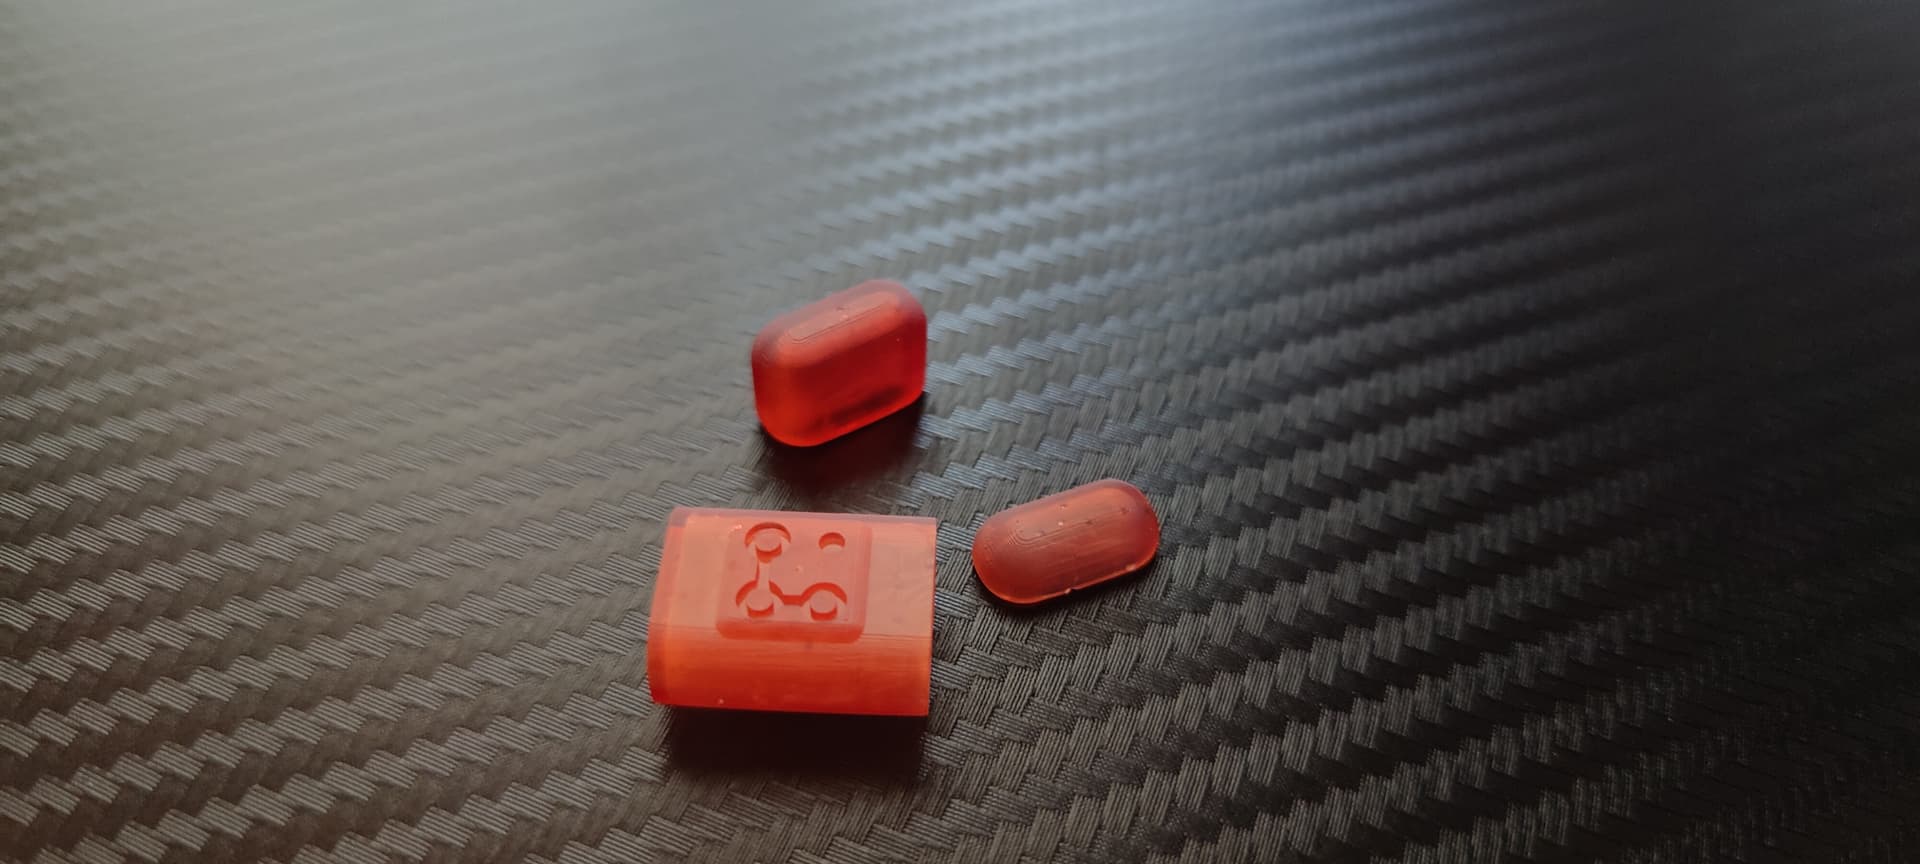
Got my first resin print done! ![]()

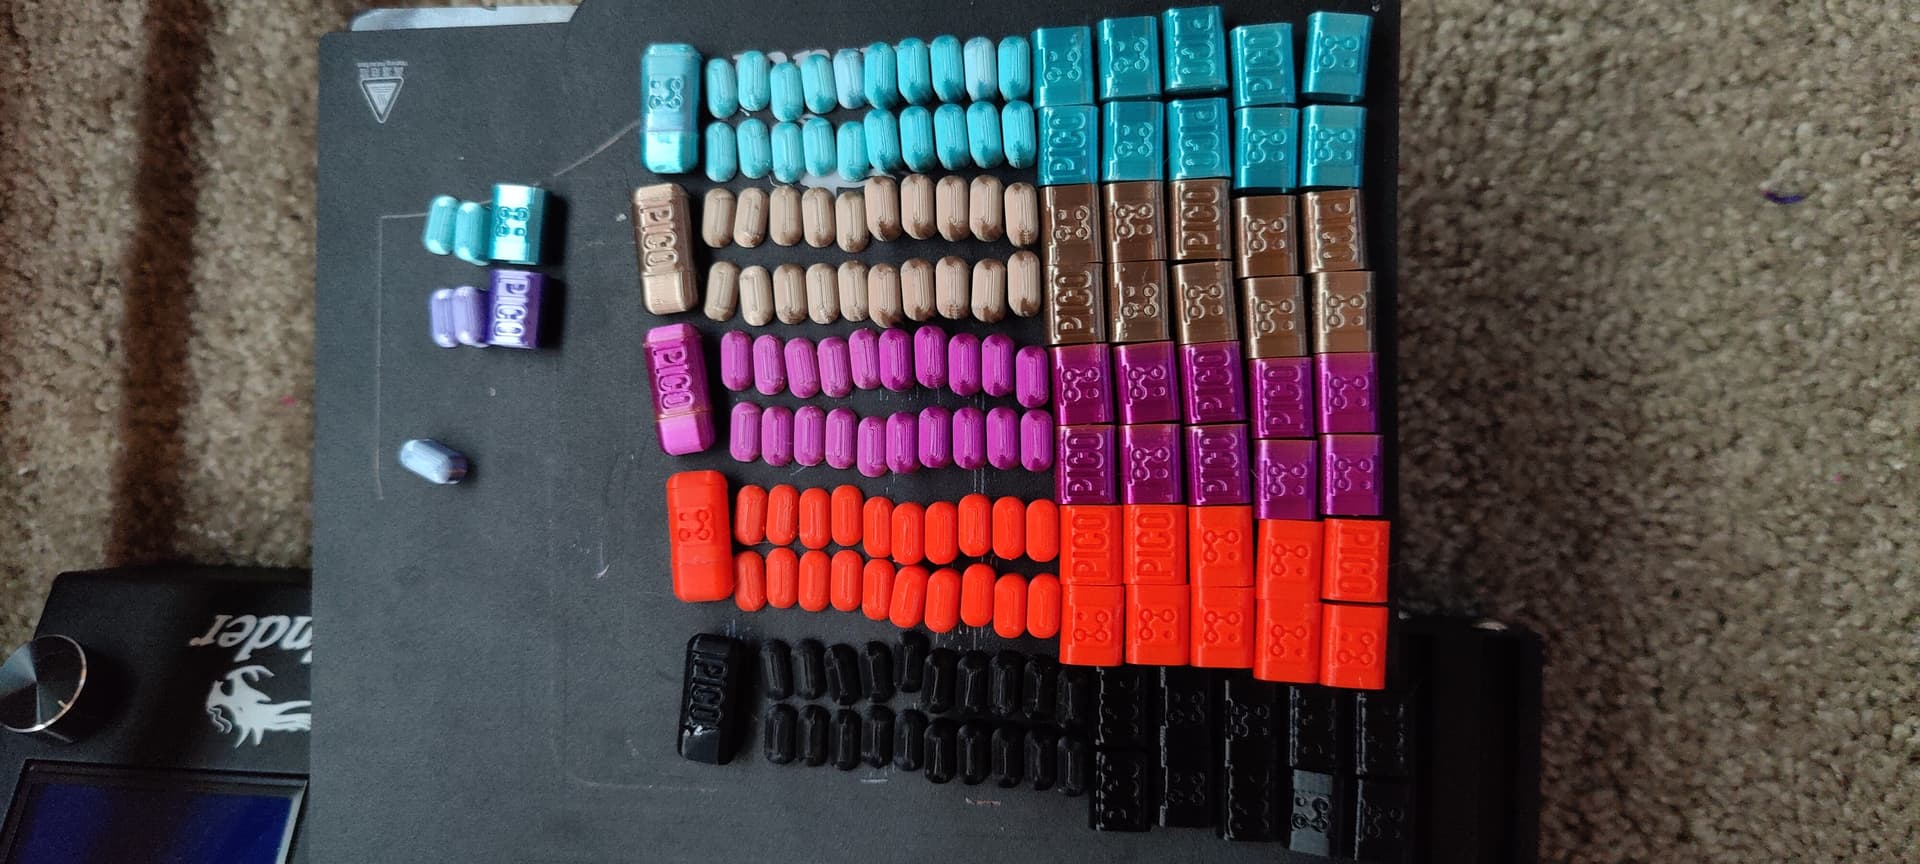
And did my last run of Pico prints on the Ender with the new black filament. I think the black came out looking better than the others. I’m attempting to print a Pico case on the resin printer now. Got 55 more minutes before it’s done. I hate not seeing into the vat to see if it’s working or not lol

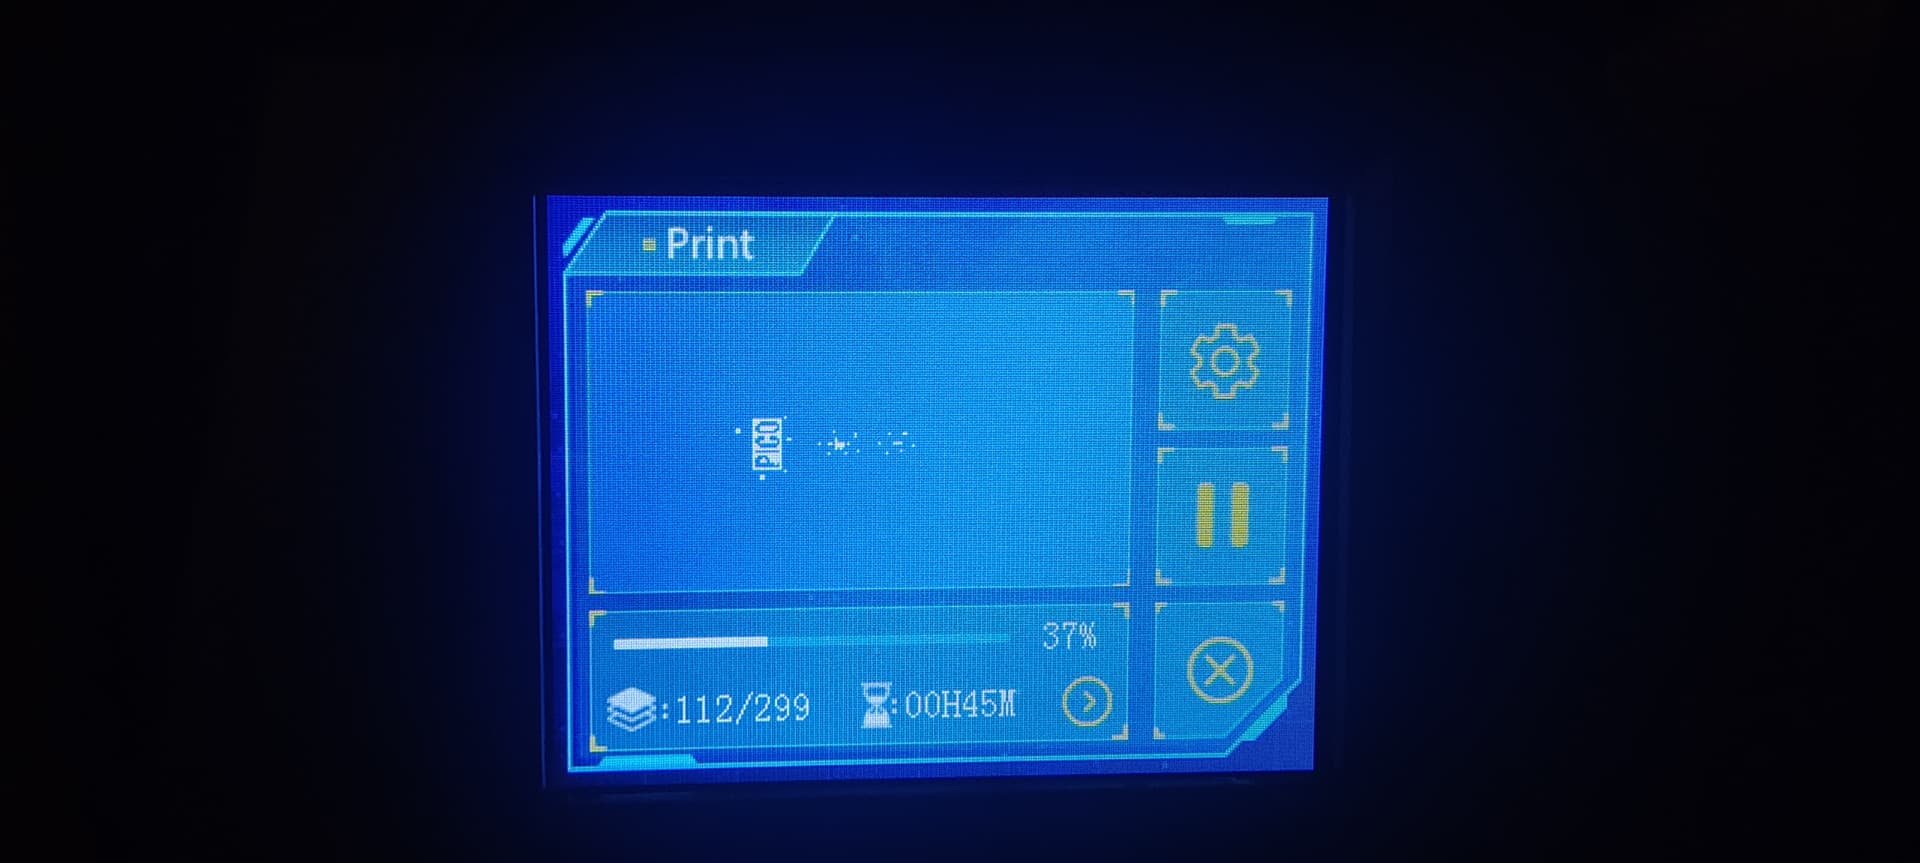
Didn’t turn out too bad. The PICO side though looks a little rough from the supports so I’ve changed that up and reprinting.
Also, I need a better way of recording, these knock off gopros suck XD

3 Likes
That looks fantastic ![]()
2 Likes
Looks incredible!! ![]()
1 Like
Oh my god that print looks so good. I really need to get my resin printer online. I’ve been putting it off due to the fumes. Do you use anything to vent/filter the resin fumes from your printer/curer?
1 Like
I should, but I’ve just got the window cracked. The fumes aren’t bad as long as I’ve got the lid on. I started looking into venting it like this with a computer fan somewhere inline.
1 Like
Woah that’s a pretty sweet hose setup. Definitely something I’m going to consider. I’ve mostly been putting it off since I was planning on making a whole enclosure to keep things contained… but you can see how much use I get out of my printer while I procrastinate that.
The only restriction I really have is not having easy access to a window. I rent and my printer is basically on the opposite side of the room from my only window, leaving the options to just opening the exterior door (or what I’m also planning) multiple inline filters and then just recirculating the air back into my room.
1 Like
One of the really cool effects you may not have realized yet is that you can print your pico parts
(I have no idea what this is btw) in large batches waaaaay quicker
Filament print time is roughly how much material you extrude
Resin is directly related to how tall the print is,
So let’s say 1 pico thing takes 20 minutes to print
If you can squish 50 onto your plate, that will also take 20 minutes
2 Likes
That was definitely a factor behind getting the resin printer. Want to start printing stuff for events with my drink/run club so it would be more efficient with the resin printer as well as look better.
I changed up the supports on the body of the pico and added 3 more sets and printing again. Hopefully this one comes out looking good, then I’ll print out 30 or so.
Pico is @Az_F’s project for messing around with magnets and is part of the functionality of his cyborg swiss tool app.
1 Like