Hey everyone, in light of @StrwbrrySam’s topic about his bricked PM3 easy, I thought I’d post a guide on how I recovered my PM3 after purposefully bricking it (yes I’m crazy, but it was as a test of the process).
First: DO NOT BOTHER WITH THE BUSPIRATE - while it is recommended elsewhere as an easy / cheap option, it was painful to use and did NOT work (for me).
Please feel free to make suggestions / give feedback. If you are trying to follow this guide, feel free to PM me here, message in this thread or ping me over on the discord server at DonFire (DonFire34) - I’m happy to walk people through the process / give as much help as I can, even if you’re using a different setup. Saying that, you follow this guide at your own risk, and I take no responsibility for any damage which could occur should something go wrong.
A few notes:
- This guide assumes you will use linux to unbrick your PM3 - if you want to use windows, see the j-link unbricking link in the useful links section
- You could probably use a Linux live USB, but you may encounter storage / software installation issues - see how you go
- There are multiple JTAG programmers (probes) which theoretically could work - only some are supported out of the box by the proxmark recovery scripts (Raspberry Pi, j-link, c232hm, and a few others - buspirate is on this list but does NOT work)
- I have personally tested this using a Raspberry Pi 3B model B as a JTAG probe - this thread / post is updated as other probes are tested
- I have assumed some basic knowledge regarding using Linux - e.g. how to open a terminal, copy files, extract 7z files, edit files and change directories. If you need help with this, please let me know.
The overall general steps are:
- Disassemble back PCB from upper two PCBs by removing the 6 screws on the back of the easy
- Short pin 54 and 55 together on the AT91SAM7S512 and the power the easy for at least 1 second while shorted (then stop shorting / power off the easy) - this only needs to be done once, if you brick your easy again you can skip this
- Install openOCD
- Download the iceman repo if you have not already done so (looking at you, windows users)
- Get a copy of proxmark3_recovery.bin - either by compiling proxmark, using an existing installation of proxmark (as I did from Laptop to Raspberry Pi) or using the precompiled builds (see useful links at bottom)
- Put this .bin in proxmark3/recovery/ if needed
- Edit the config files and script in proxmark3/tools/jtag_openocd/ to match your JTAG probe / system
- Connect the easy to a JTAG programmer of your choice
- Run the proxmark3/tools/jtag_openocd/openocd_flash_recovery.sh script
- Wait for script to finish
- Enjoy your unbricked PM3 easy!
If you somehow manage to brick your easy again, continue from step 8 assuming everything else is still installed (live USB users will need to start from step 3).
Here’s a table listing the JTAG probes and whether they do / should work:
| JTAG probe | Works? | Notes |
|---|---|---|
| Raspberry Pi 2/3 | yes | Tested on Pi 3B |
| Raspberry Pi 4 | not currently | JTAG opens with errors - different CPU |
| Raspberry Pi 1/0 | probably | similar CPU, Pi 1 has different pinout |
| Segger J-Link | probably | Not tested, often recommended / has proxmark guide |
| BusPirate | NO | Tested using BPv3.6 with v6.1 and v7 FW |
| FTDI c232hm | maybe | Not tested |
| Wiggler | maybe | Not tested - discontinued? |
| ARM USB ocd | maybe | Not tested |
| Shikra | maybe | Not tested |
| JTAG key | maybe | Not tested |
| BusBlaster | maybe not | By same people as BusPirate - risky |
| Other probes | maybe | Needs custom config, at your own risk |
Now for some more detailed instructions (somewhat RPi focused) and additional links:
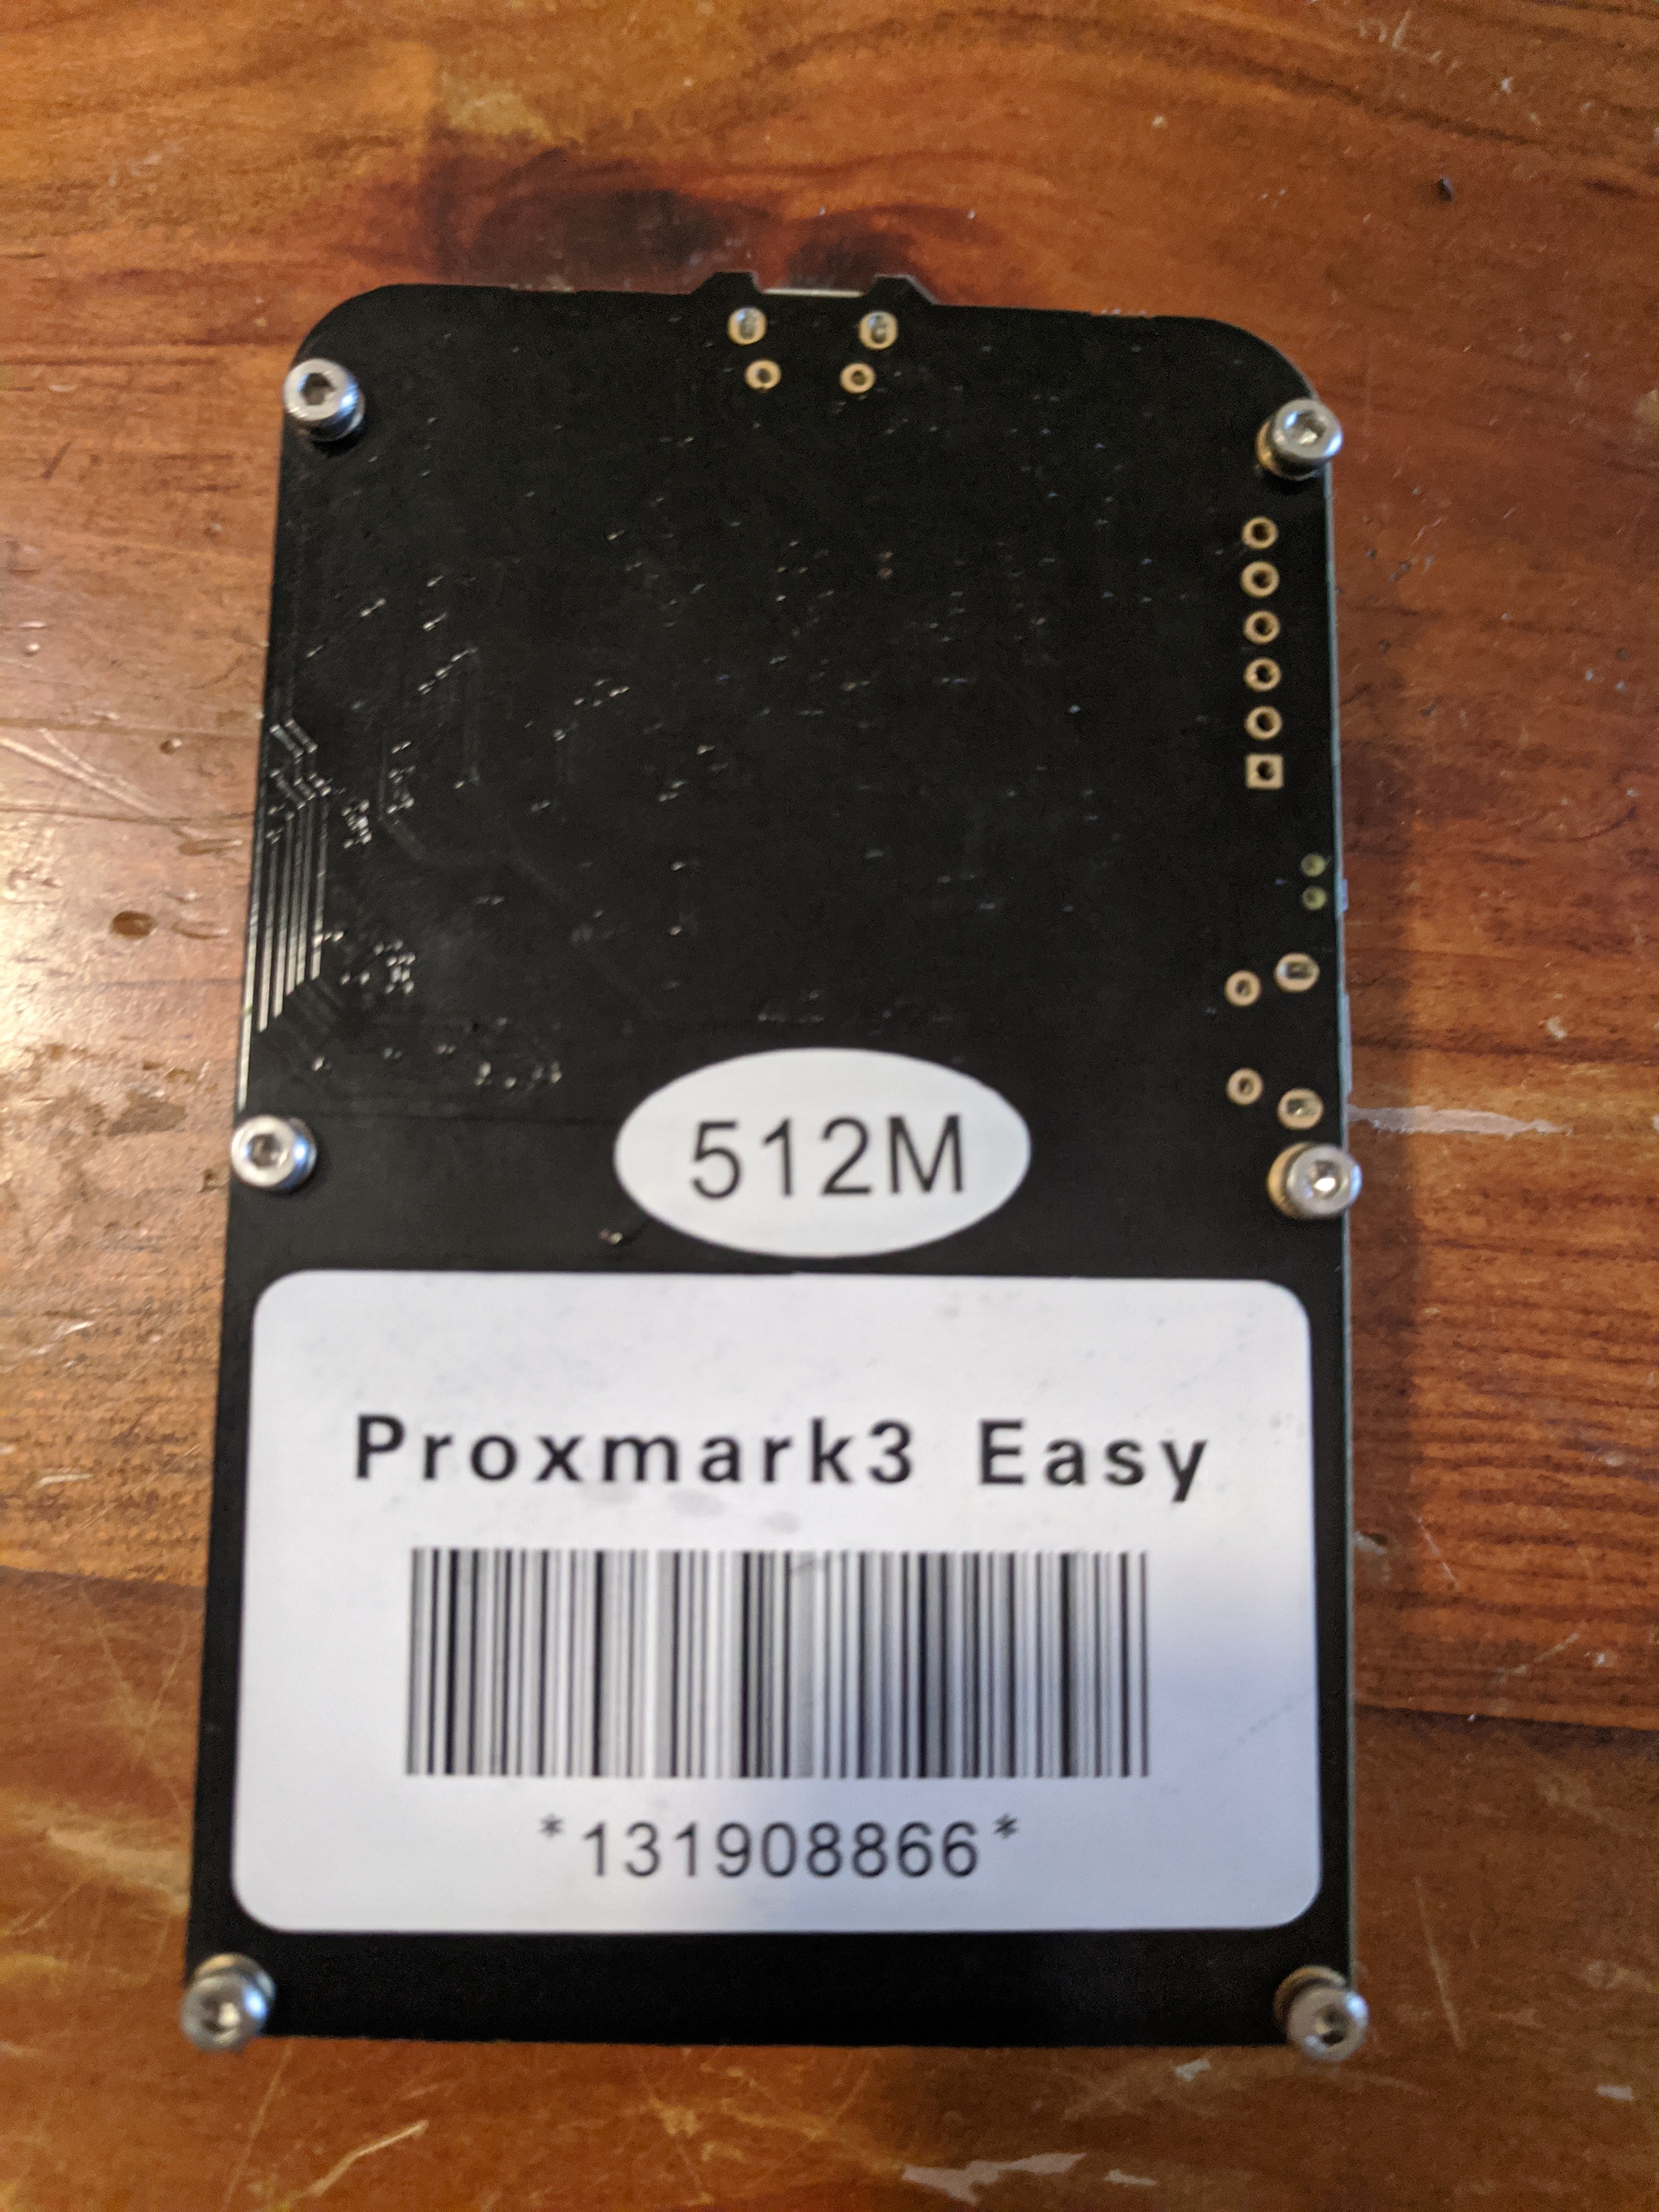
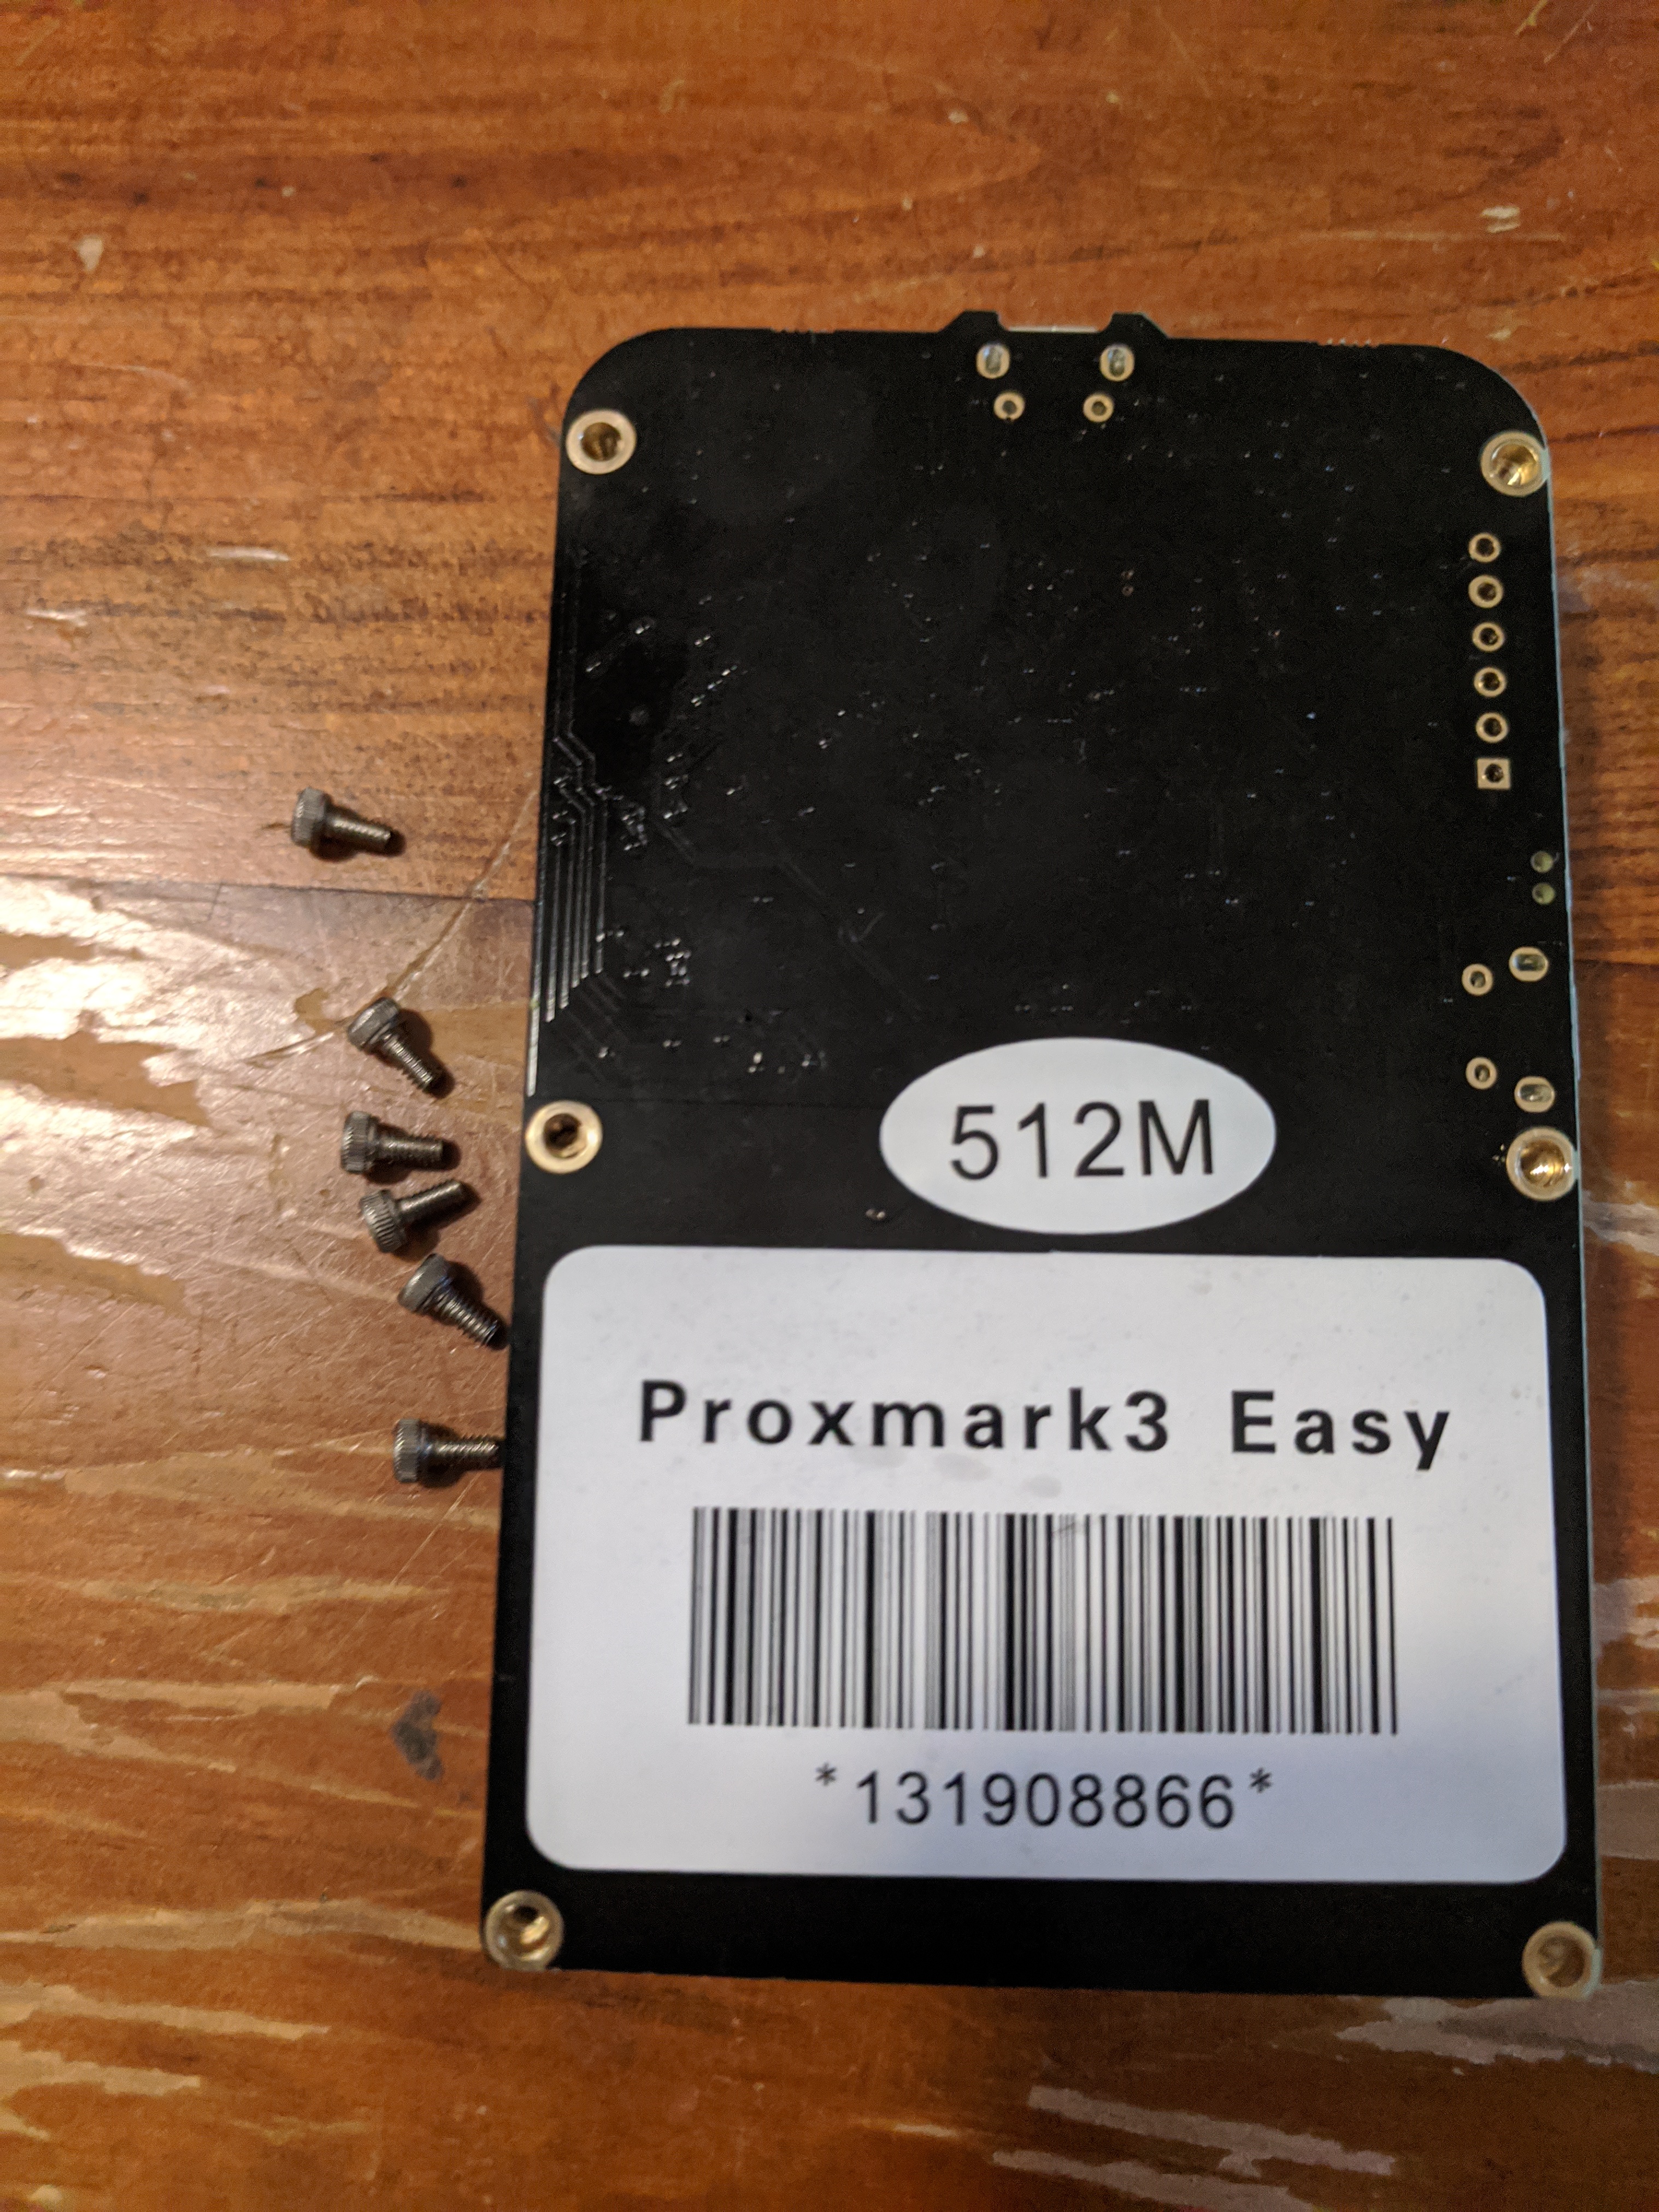
1. Separate main PCB from upper two PCBs
Pretty self explanatory, I used a 1.5mm hex bit. Here are some pictures, sorry about the quality:
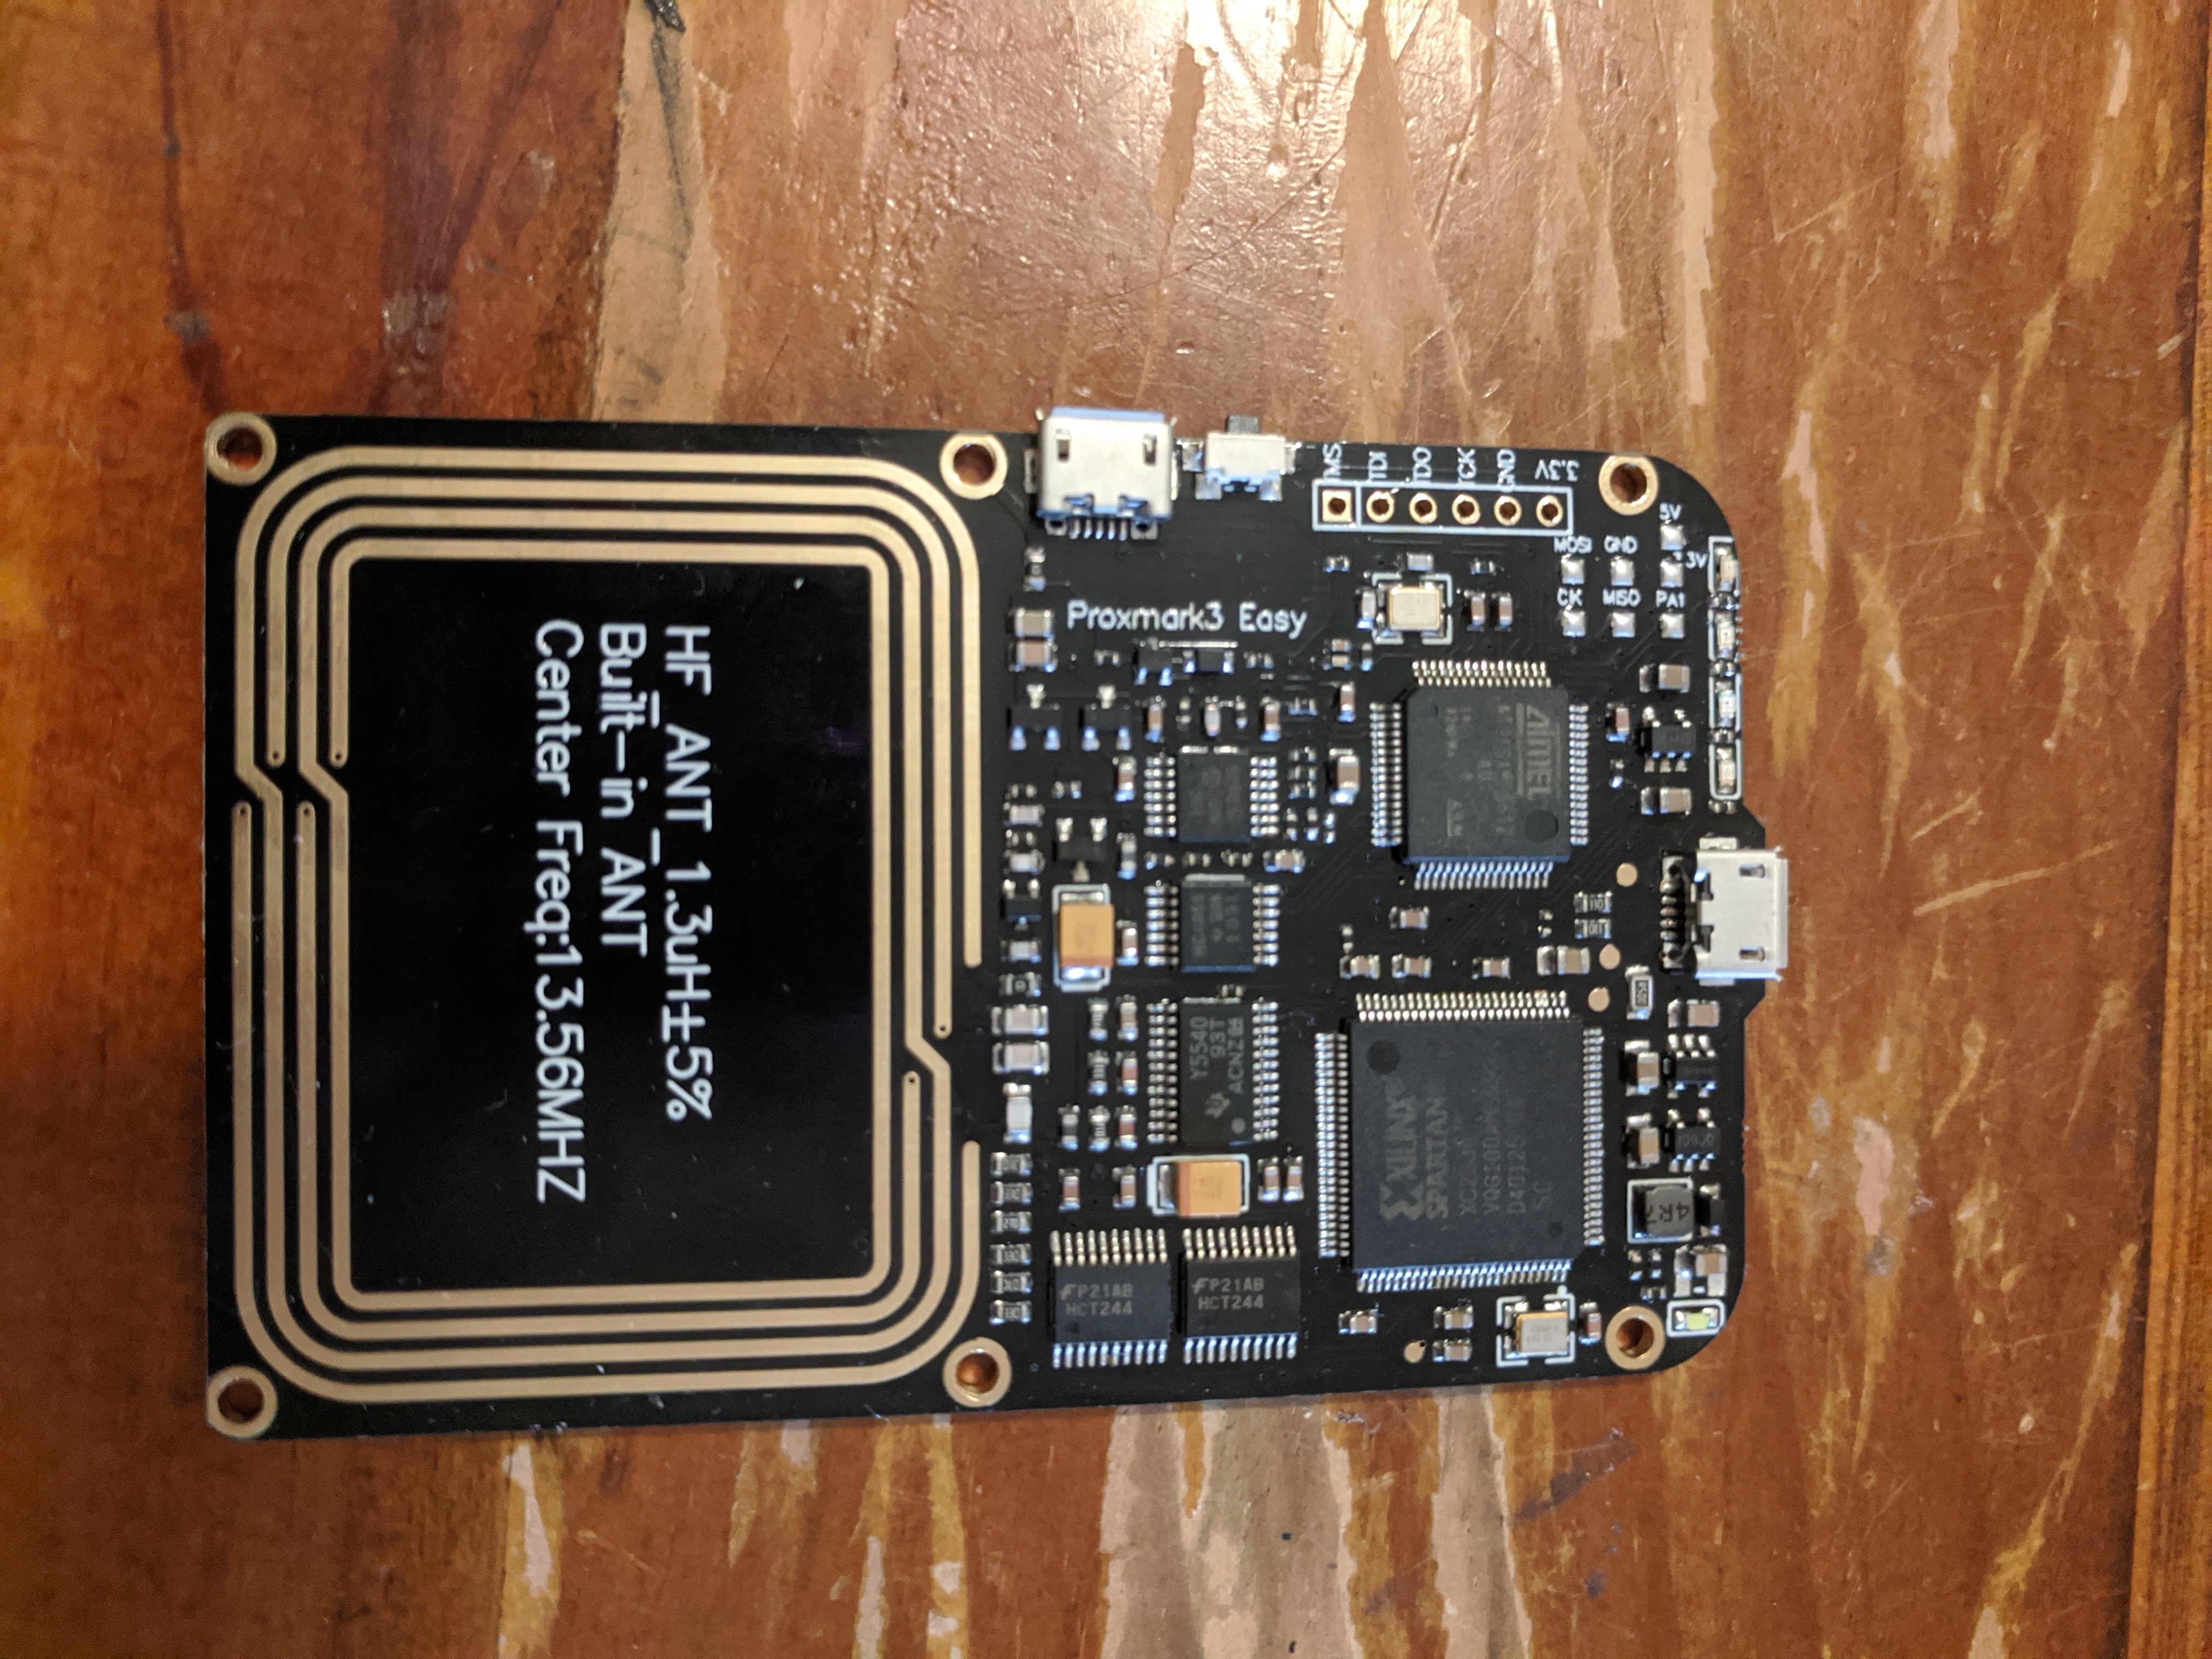
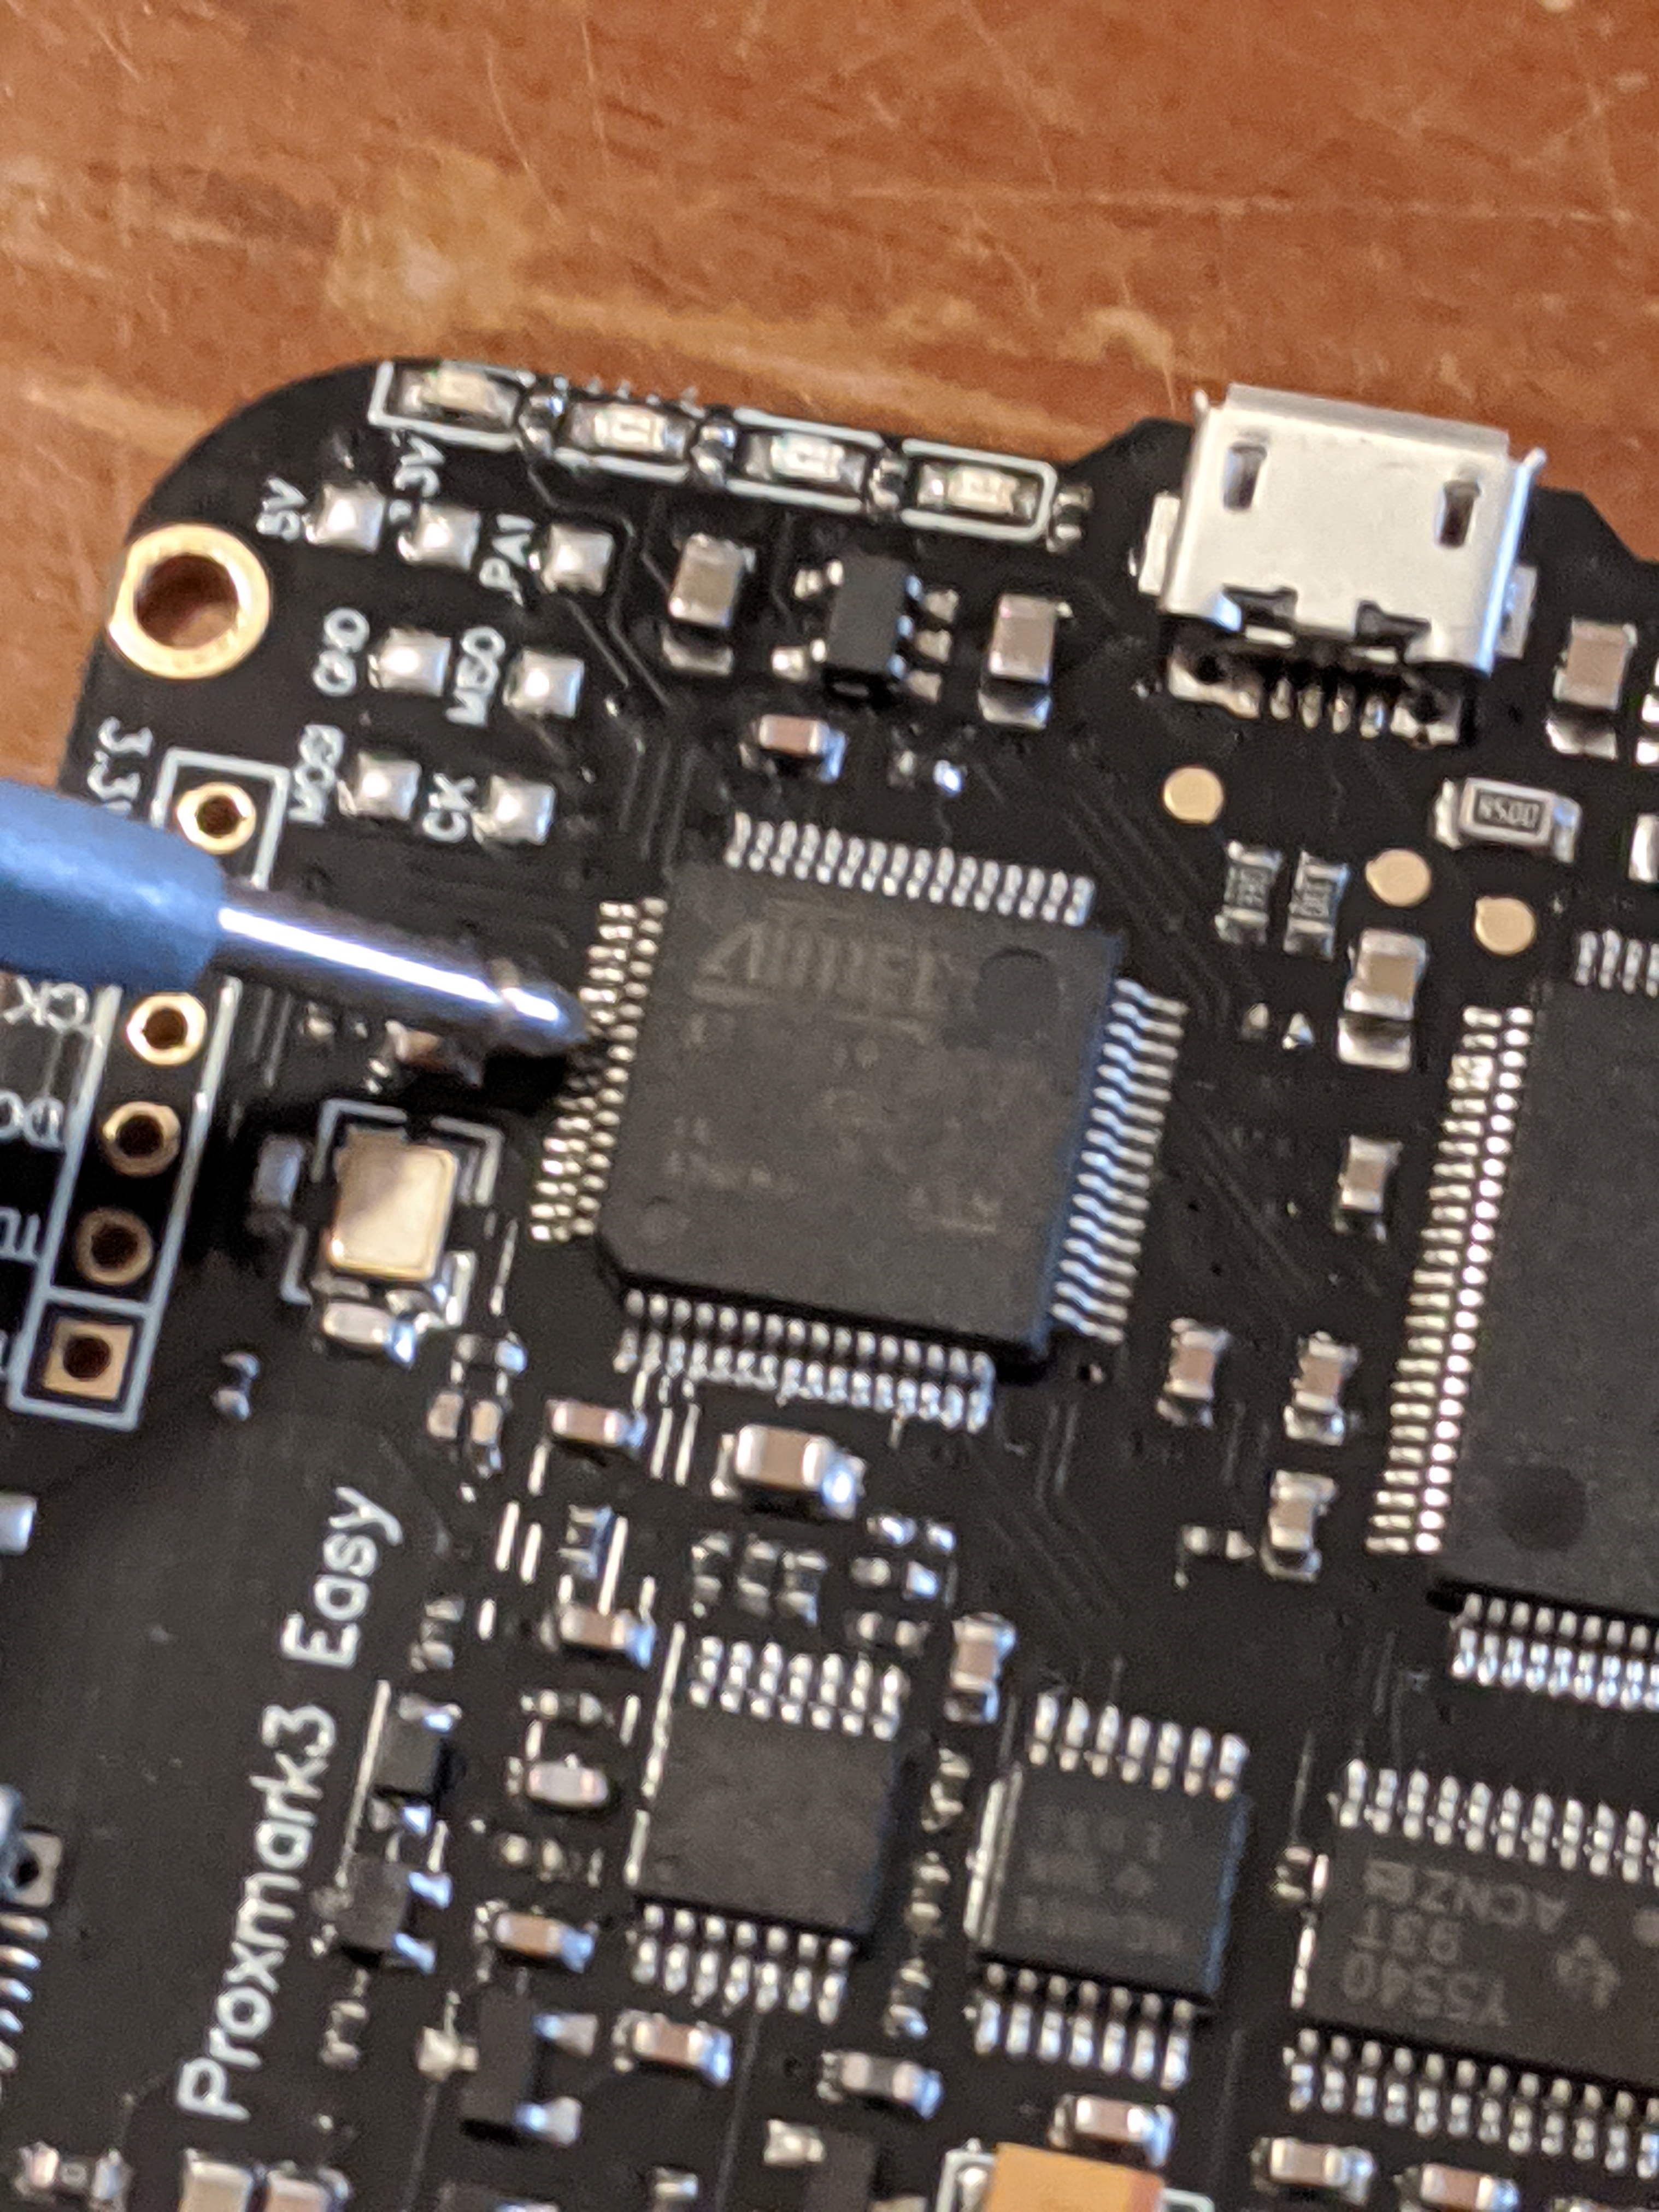
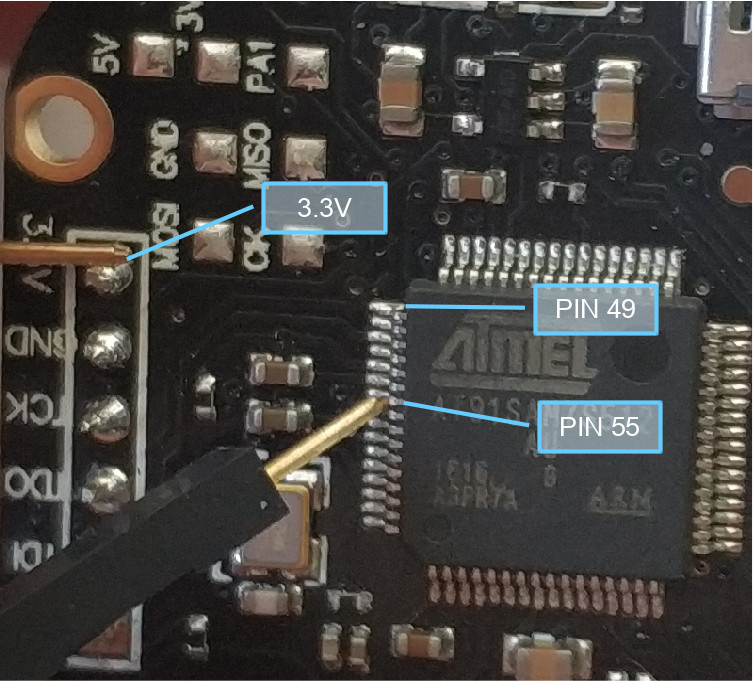
2. Shorting pin 54 and 55
Main things to know are that the MCU is the smaller of the two big black chips (towards the left side of the PCB when the main USB port is at the top), and that pin 49 is the top pin on the right side of the IC (i.e. one down towards bottom is 50, then 51 etc.)
Here’s a bad / blurry pic of me shorting pin 54 and 55 with a multimeter probe - a normal male jumper cable would work too:
Here is a third party photo showing pin 55 and 3.3V - this is an alternative to shorting 54 and 55, but I’d try shorting 54 / 55 first because its easier / probably less risky. Just use the photo as an additional resource showing pin 55 location:
Power the PM3 for at least a second while maintaining the short, then remove power / short. The 4 LEDs should all be dimmly on now, if they were not already.
If you want to know what this does / why it is necessary see here - long story short chinese manufacturers set a security bit to prevent users reading their firmware, this resets it / wipes the easy so we can write our firmware back onto it.
3. Software install (Debian based - e.g. RPi OS, Debian, Ubuntu)
I installed openOCD from apt repositories rather than compiling / building from source - some guides say to build it to get all newest features, but I did just fine with the older apt version (we are programming a device using a relatively old hardware design after all).
The command I used to install openocd was:
sudo apt install openocd
Answer yes to continue install if needed.
4-6: Get required files
If you already have a compiled Linux installation of PM3 on the machine connected to the JTAG probe, you can skip these steps. If you have one on another system (e.g. if using a Raspberry Pi) copy it across to the Pi and move onto the next section. Otherwise, read on:
To download, the iceman PM3 repo, I recommend using git, which should be pre-installed on most Linux OSs:
git clone https://github.com/RfidResearchGroup/proxmark3
Then you need to download a precompiled copy of iceman PM3 (here - pick rrg other 64 bit) or compile the repo (follow instructions here)
If using the precompiled .bin, copy rrg_other-xx-.../firmware_win/JTAG Only/proxmark3_recovery.bin to proxmark3/recovery/proxmark3_recovery.bin
7-8: JTAG config and connection - Raspberry Pi 2/3
All file references in this section will be in relation to proxmark3/tools/jtag_openocd/. In general, configuring the software is pretty easy for the raspberry pi.
Copy openocd_configuration.sample to openocd_configuration, and change the line starting with “CONFIG_IF=” to “CONFIG_IF=interface-raspberrypi2.cfg”.
To connect the Pi to the easy, follow the pinout in interface-raspberrypi2.cfgusing female to male cables - you might find https://pinout.xyz/ useful. RPi pin numbers are on the left, PM3 JTAG header connections on the right. I also powered the easy from the Pi’s 3.3V pin, this doesn’t always work, but its worth trying.
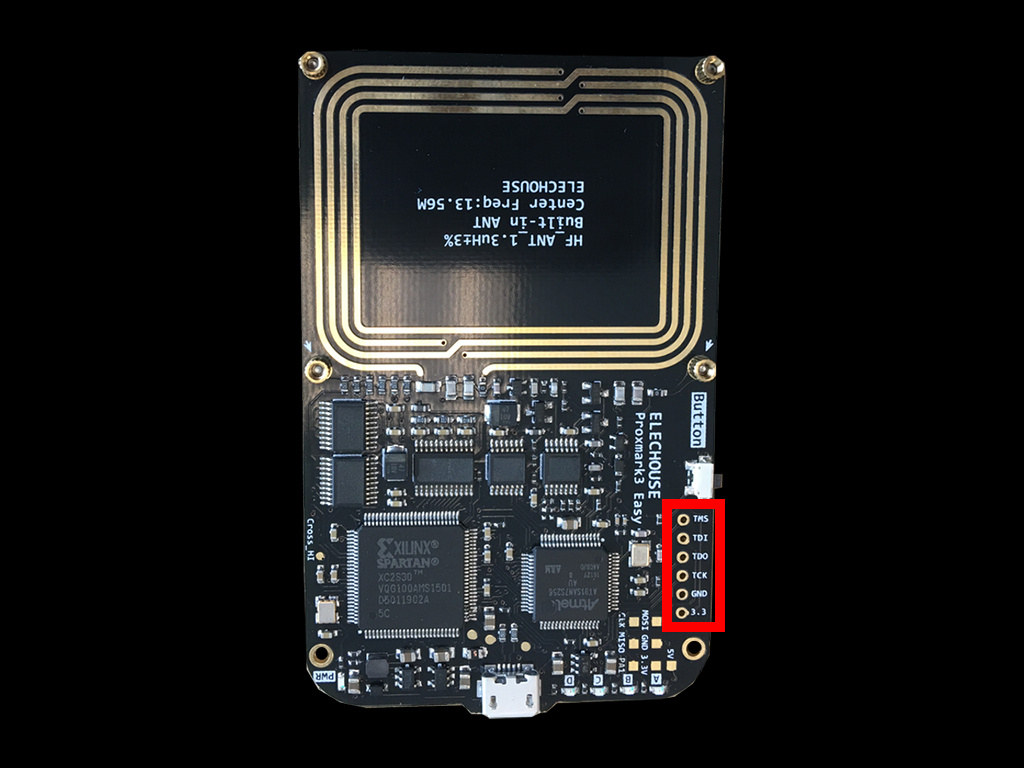
Here’s a good pic of an easy with clear pin markings in case yours was partially cut off like mine:
7-8: JTAG config and connection - general instructions
All file references in this section will be in relation to proxmark3/tools/jtag_openocd/.
For non Raspberry Pi probes here is a general outline as to what you need to do:
- Copy
openocd_configuration.sampletoopenocd_configuration, and change the line starting with “CONFIG_IF=” based on your interface’s cfg file. - Edit your interfacts cfg file if needed to point to the correct device etc.
- Connect your probe to the easy - each pin to another of the same type - consult your probe manual if you need to work out which pin is which - it is likely that you will need to use female to male jumper cables
Here is a nice pic of the PM3 easy headers:
9-11: Run script and unbrick
Here comes the moment of truth: run proxmark3/tools/jtag_openocd/openocd_flash_recovery.sh while holding the jumper cables firmly in place and wait for it to flash the pm3 easy - depending on your probe / settings this could take a while or just a few seconds. When its finished it should show that erasure and flashing was successful.
If so: ![]() - your PM3 is back alive! Reassemble your easy, and try not to brick it again
- your PM3 is back alive! Reassemble your easy, and try not to brick it again ![]() (I’d recommend using pm3_flash_fullimage instead of pm3_flash_all to reduce chance of the bootloader being corrupted)
(I’d recommend using pm3_flash_fullimage instead of pm3_flash_all to reduce chance of the bootloader being corrupted)
Troubleshooting
If you get an error when installing software, I can’t give much advice other than Google it or post the error here for people to have a look. However, if its a permissions issue, make sure you’re running commands as sudo.
If you get an error when flashing using JTAG, first check your config files, making sure the correct interface is in openocd_configuration and that the recovery.bin is in the correct location. If everything looks good check your JTAG connections and make sure the proxmark3 is being powered sufficiently - you may have to try USB power instead of using the 3.3V pin.
For all other errors, try Google and post them here / DM me / ping me in the Discord server.
Additionally, here are some useful links I found while researching how to do this - note that many of them are outdated… so be careful.
Useful links
Precompiled rrg (iceman) pm3 software -
https://www.proxmarkbuilds.org/
General Proxmark JTAG notes / links - proxmark3/doc/jtag_notes.md at master · RfidResearchGroup/proxmark3 · GitHub
JLink debricking guide (shows how to unbrick on windows with J-link hardware) - De Bricking Segger · Proxmark/proxmark3 Wiki · GitHub
Some notes on JTAG / scripts and more links (some are listed here) - proxmark3/doc/jtag_notes.md at master · RfidResearchGroup/proxmark3 · GitHub
Old RPi proxmark unbricking - Luca Soldi is under construction
Upgrading easy / flashing from factory using proxmark - YobiWiki
Nice diagrams / pinouts, but uses BusPirate which does not work (for me at least) - https://scund00r.com/all/rfid/2018/05/18/debrick-proxmark.html