Hello Folks!
As of 1 week ago, I did a self/assisted install of a custom Flex chip on my right hand!
Would’ve posted earlier but I decided to keep my hand on a splint for a full week (and left-hand typing is a pain).
This is going to be long, so I’ll section up the post.
Also, before you proceed, here’s a Disclaimer!:
Complex and risky installs such as this should rather be done by a professional whenever possible!
This article is meant to educate about the risks and possible mitigation incurred with self/assisted installs, not meant to make it look easier than it is!
Now, what is this all about?
The Chip
This is a custom Dangerous Things chip.
It’s a flex DesFire Evolution 2 with an extra red LED light added.
This caused the shape to change into a wedge, going from 7mm wide in the tip to 11mm wide at the base (near the LED), along 35mm length, with something around half a mm on the highest segment.
Here’s @amal’s post about it:
Some custom flex work
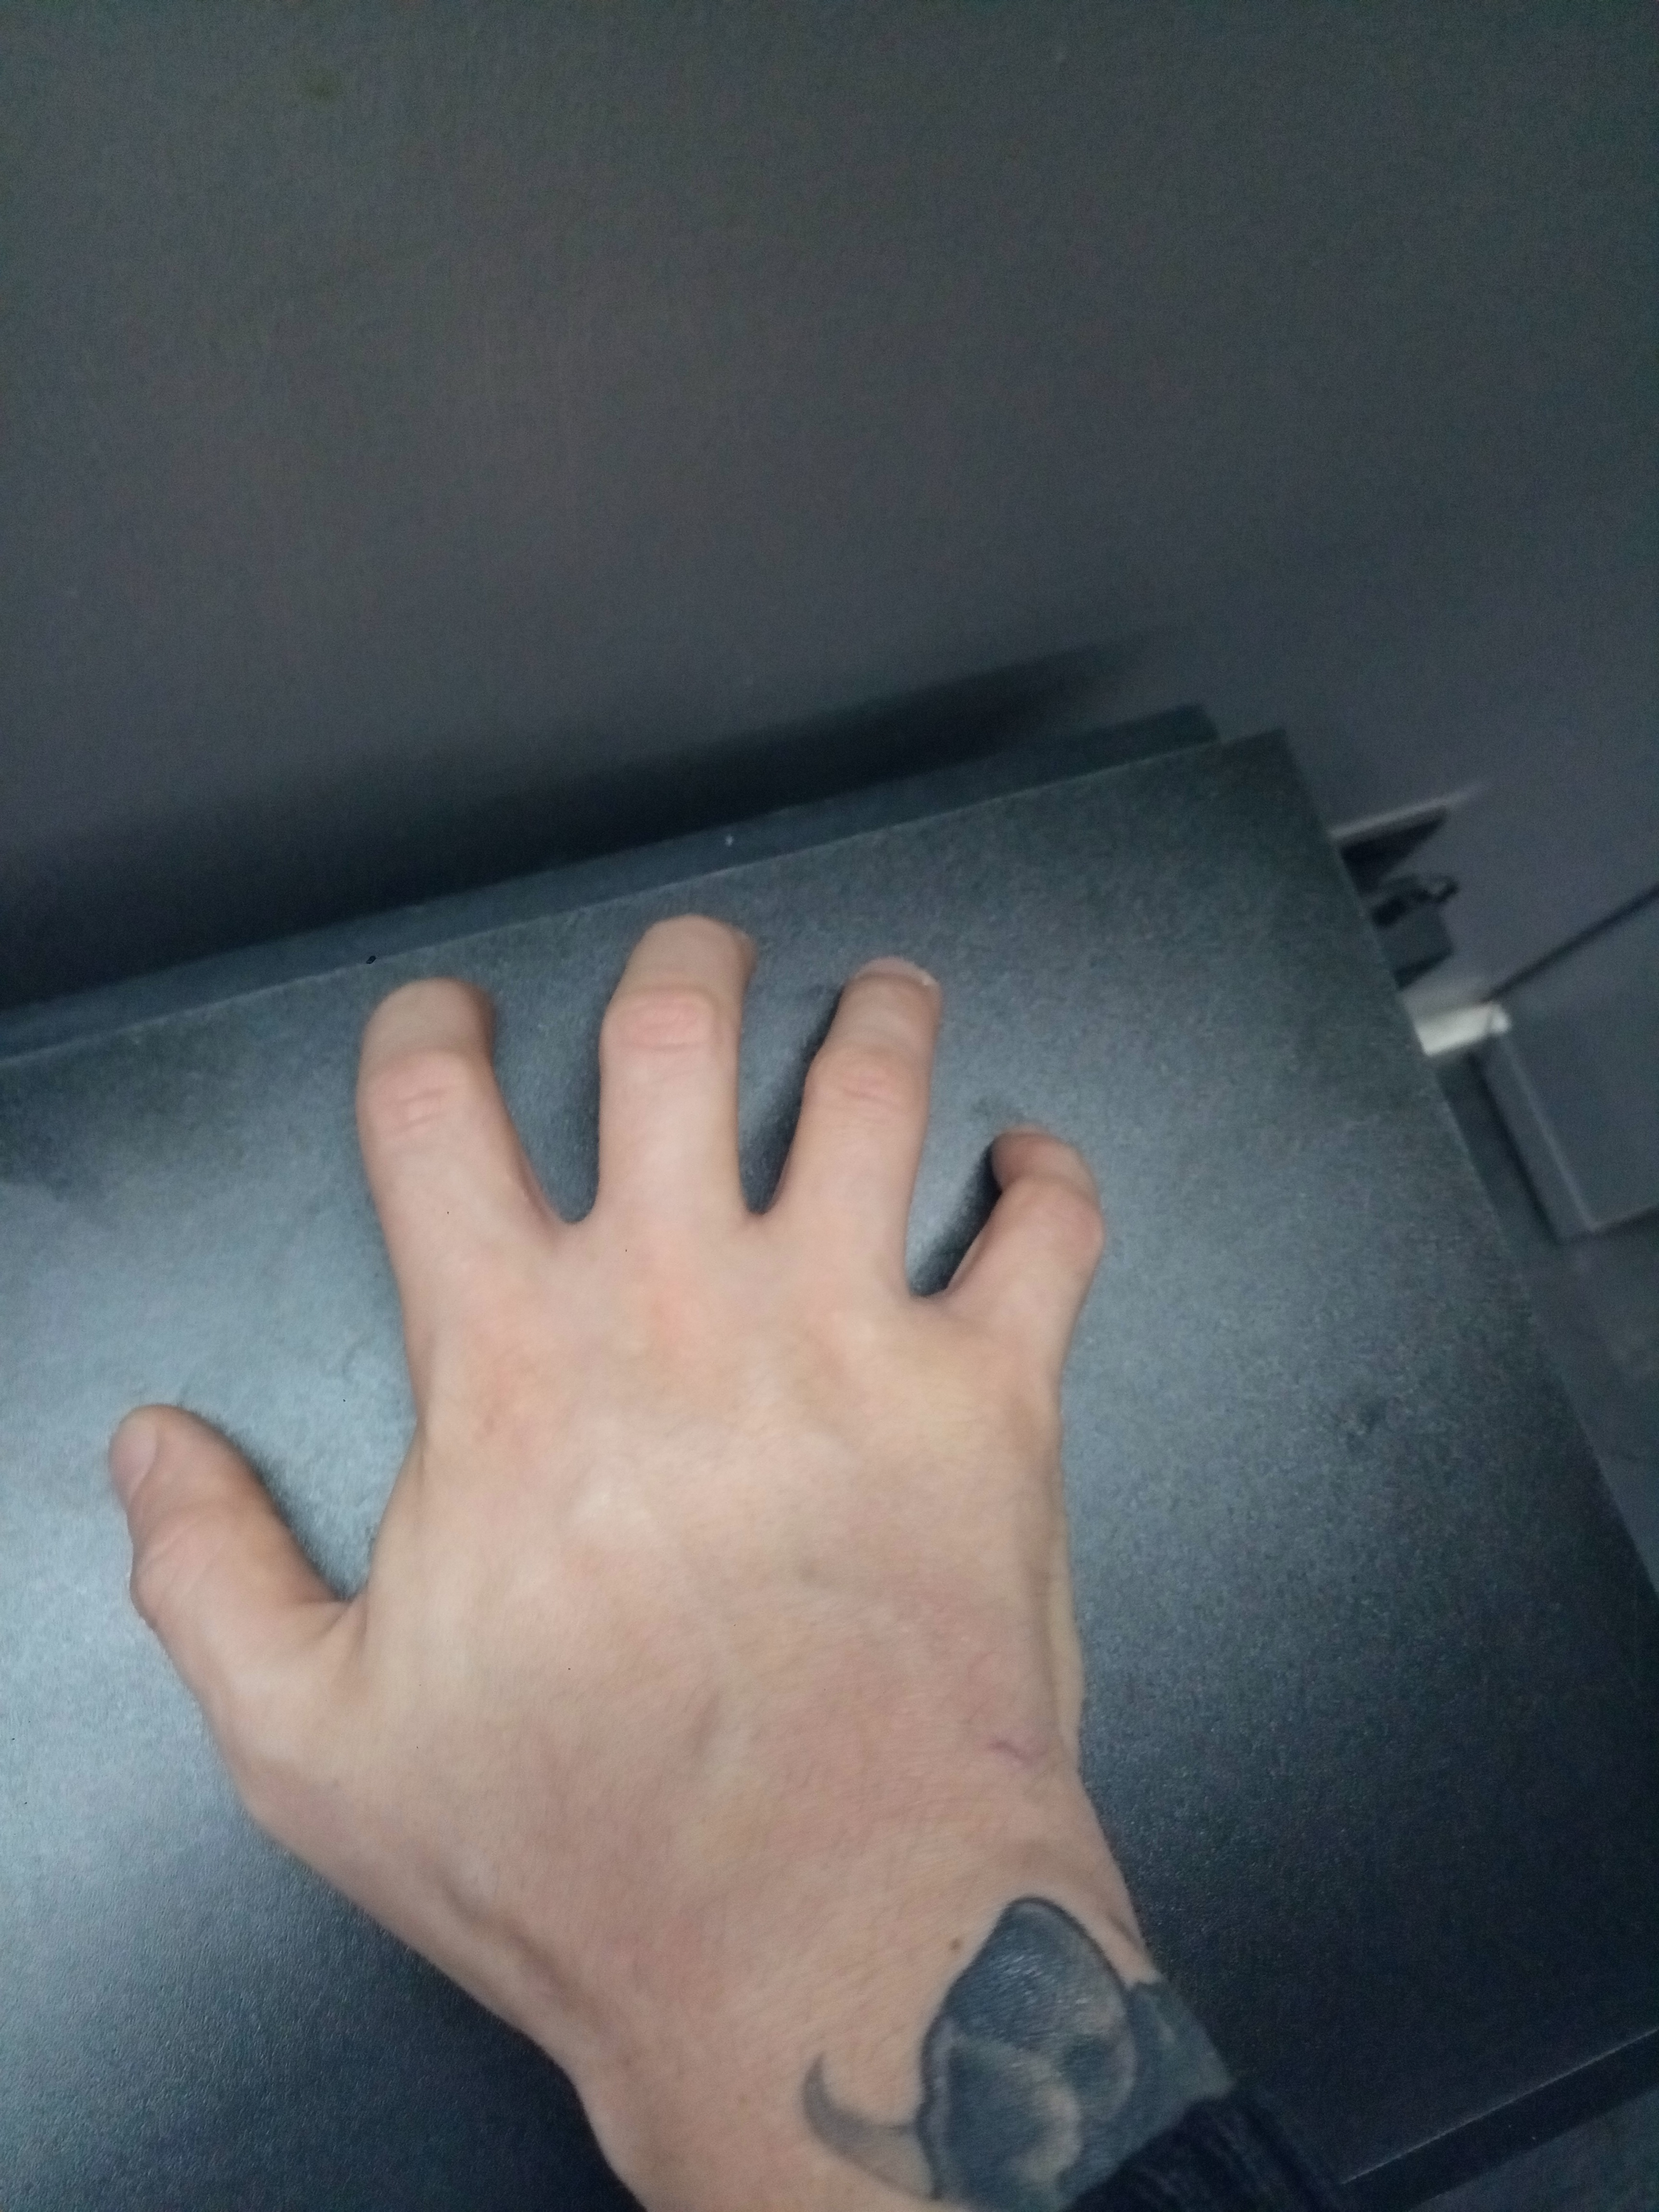
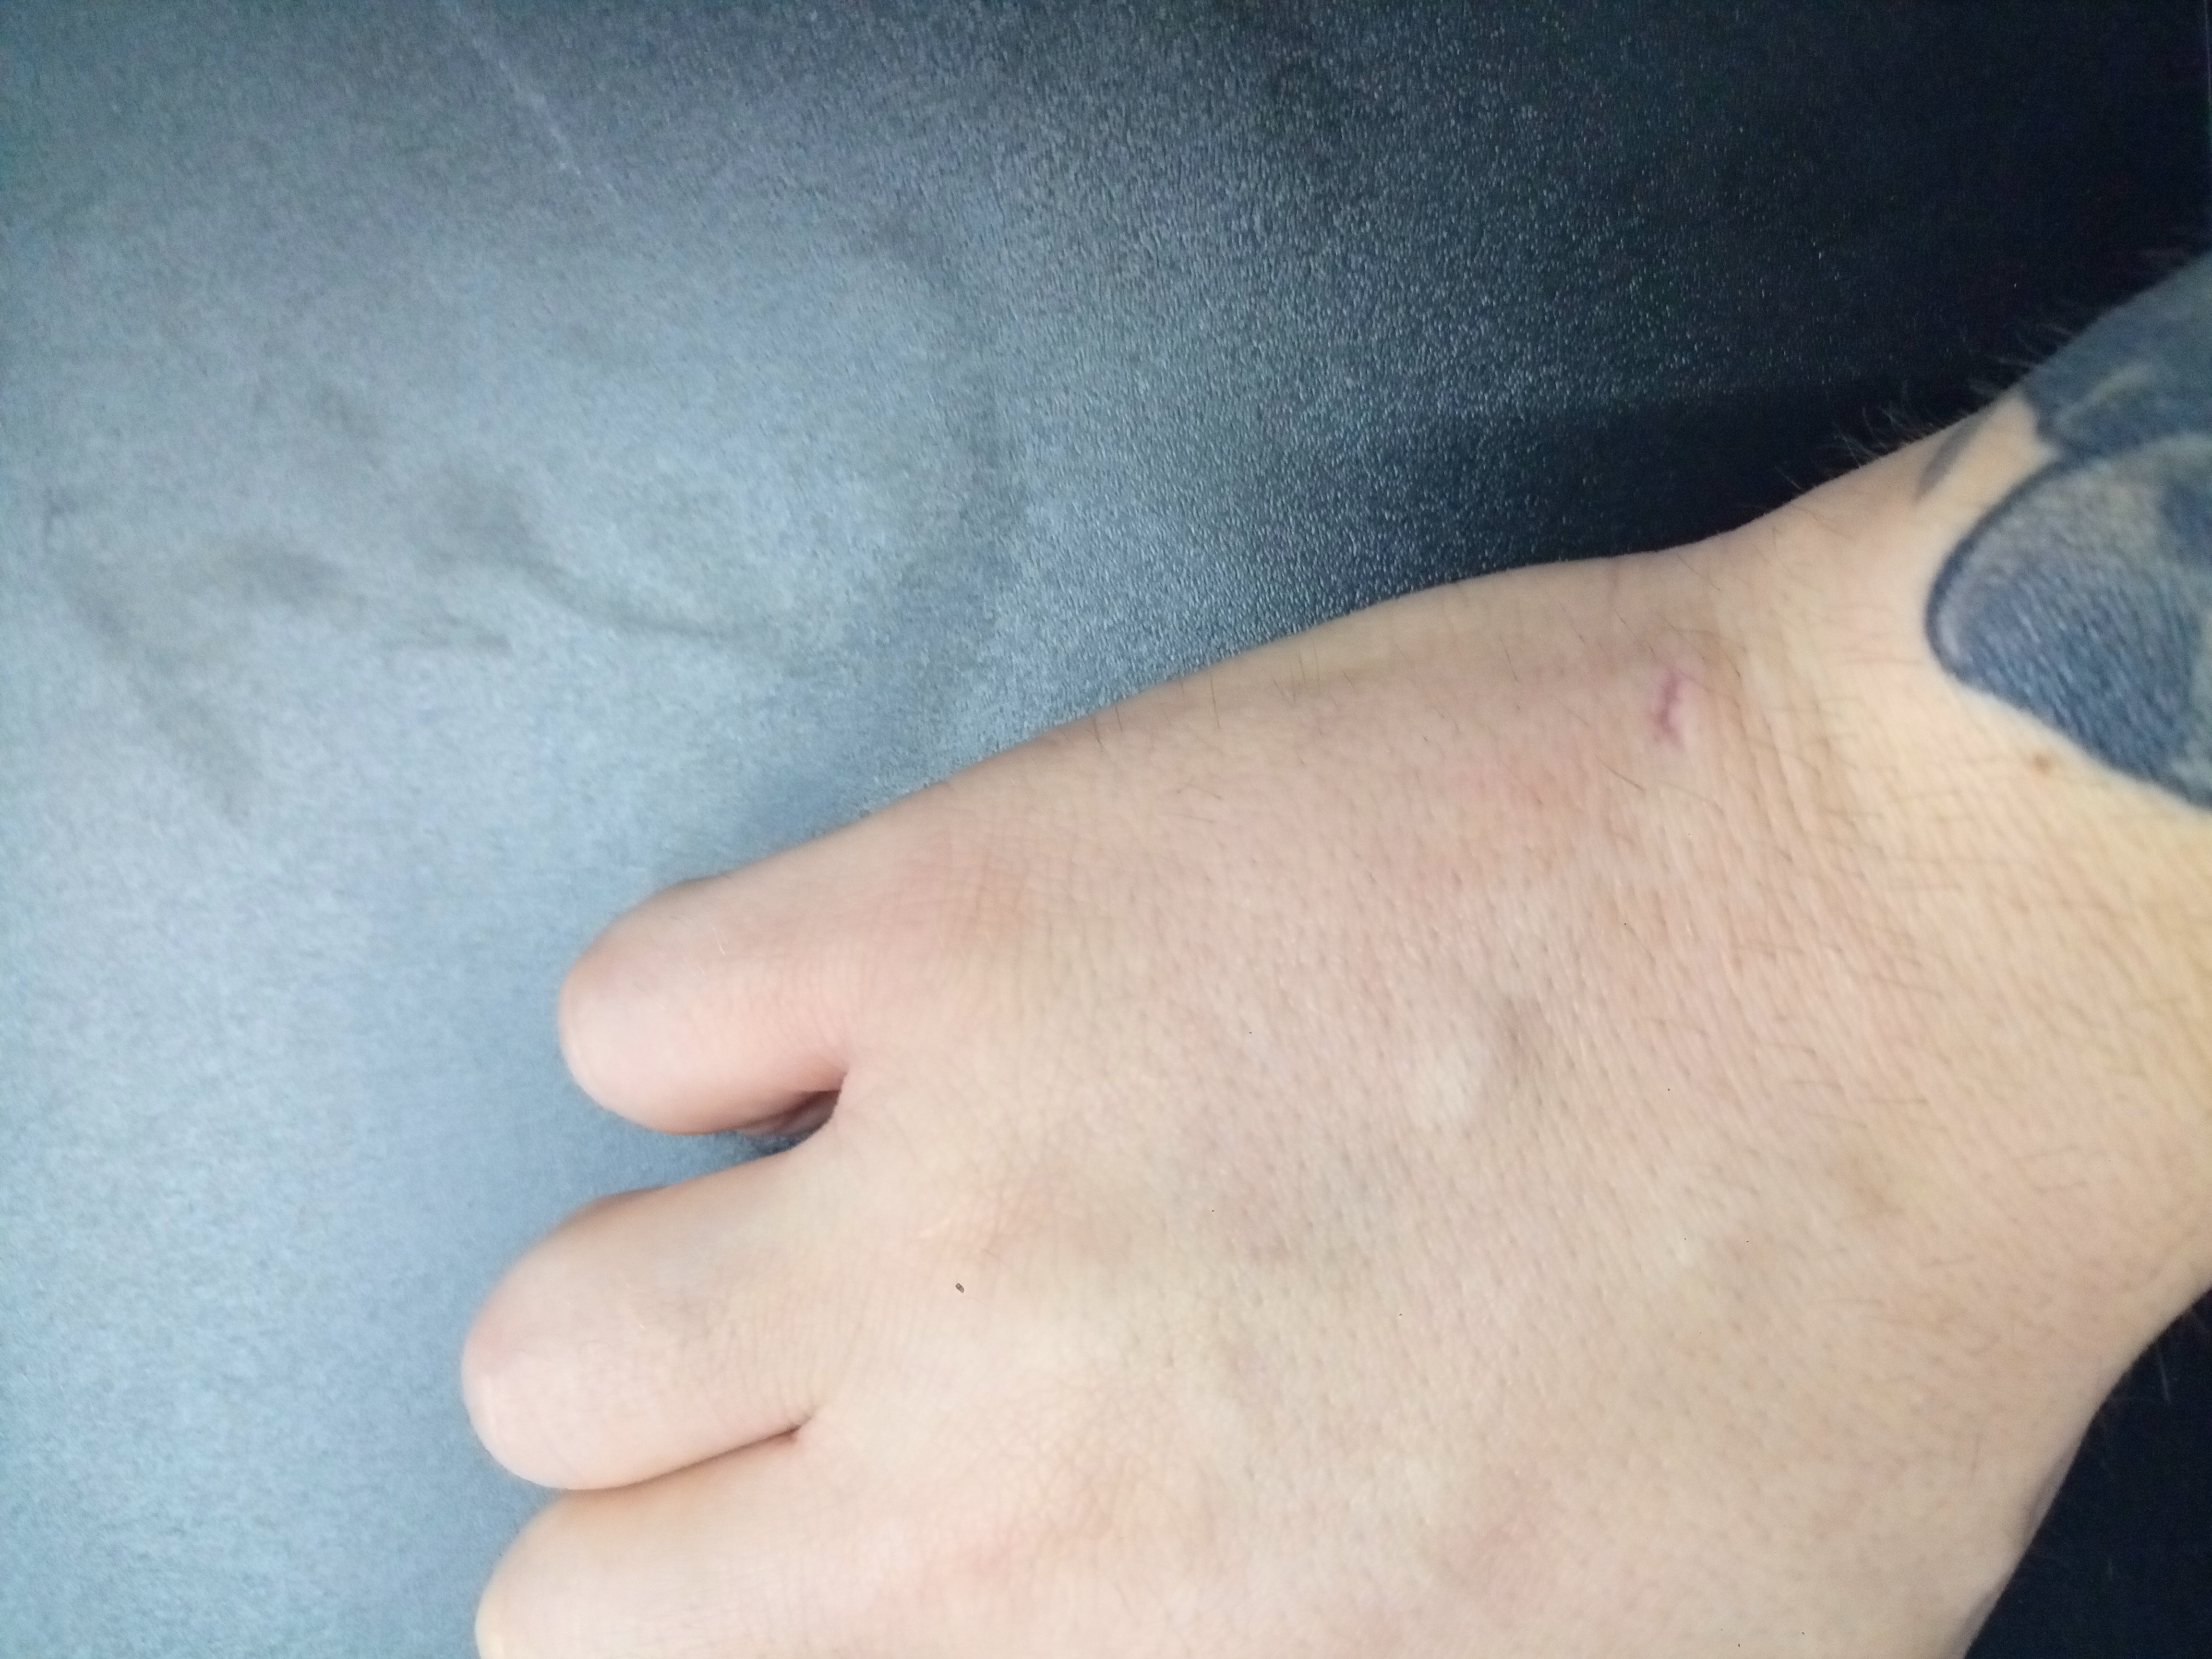
The Placement
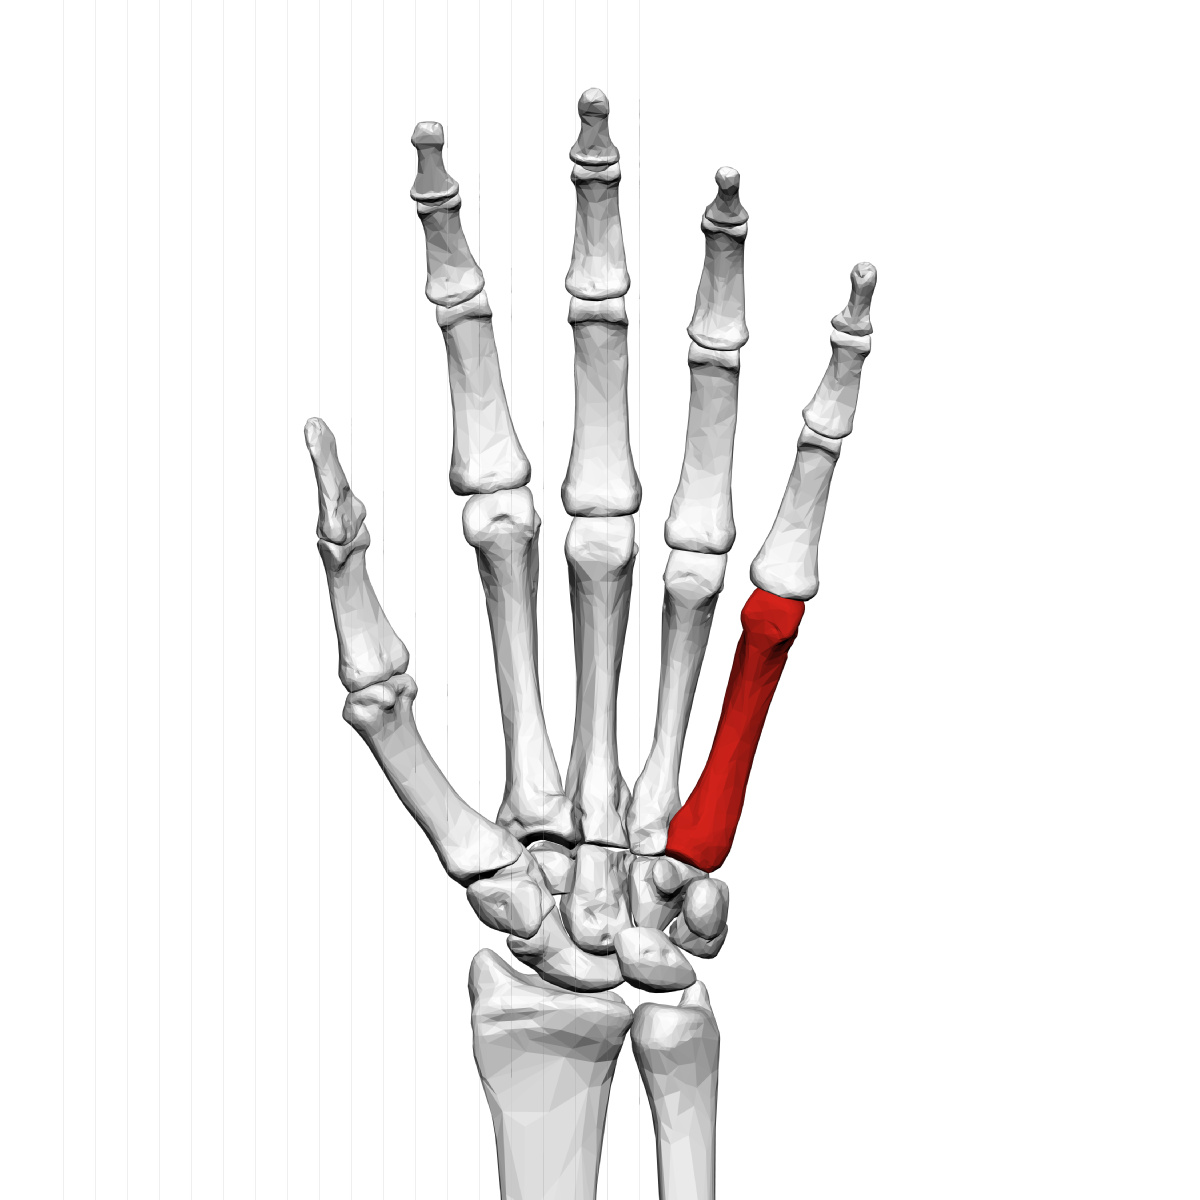
It’s a Flex, so I decided to place it on top of my right hand fifth metacarpal bone.
It’s a personal use-case choice, but also based on the idea that a Flex chip, despite it’s name, should rest somewhere where it will suffer the least deformation possible.
So resting straight atop a bone sounds like the best option to me.
The Challenge
It’s a complex pocket install, on top of a risky place (nerves, blood vessels,etc)… And on my right hand. So originally the idea of a self-install went out the window.
Also, I’ve spoken to @amal before and we both were curious to see if I could use a 5mm custom needle to perform an 11mm wide implant placement (the chip could not be bent sideways on it’s 11mm section, so this would be a challenge).
I could think of a few techniques that could make this possible, but I would need a good professional to pull this off safely.
Since UK law makes everything harder for the bodymod scene, I planned on getting my implant done in Norway…
Then Covid fucked my plans again. Yay! ![]()
Instead of waiting a good… 6 months? I decided to go for an Assisted install… Which meant I would have to rely on a friend who had literally never even seen a piercing needle before in his life.
But he’s smart and trustworthy! So I thought I could teach him what to do.
Again: Do not try a complex self install with someone who has no clue what they are doing.
I only trusted this scenario because I do have years of experience as a body-artist, and was ready to pull the plug if needs be.
Before the procedure:
Pain Mitigation
If this was done by a professional I would rather not use anaesthetics. Partly for personal belief reasons, Partly because I do have a really good endorphin reaction.
But since I’m doing this with someone fresh, I had a big challenge ahead:
I needed to numb myself enough not to scare him, and also to avoid any reflexive reaction which he would obviously not know how to react.
Yet I needed to keep myself feeling as much as I could in order to identify if something was going wrong, if he was carving the pocket in the right direction and depth, or even if it was risking to nick a vein or nerve.
Given my personal fast metabolisation of those drugs That also meant I should have about 20 minutes of partial numbness to work this over.
I did had a patch of Lidocaine Gel I got from DT just in case, so had to dose (time) it properly.
Honestly this felt much worst than not using any anaesthetic, since it actually inhibited my natural endorphin kick, and the feeling became much more of a “ripping” motion than a cut.
Anyhow, I managed to get it in the perfect dose since I was still able to feel perfectly where the needle was, whilst still keeping a (moderately) calming poker face.
Pre Procedure Checklist
Then I made sure I had everything I could need:
- Sterile Field supplies
- Professional grade Clorhexidine soap
- Sterile, individually packed 75% isopropyl Alcohol Swabs
- Anti-bacterial Surface cleaner (Dettol)
- Surface rubbing Alcohol
- Sterile, individually packed Gauze Swabs
- Sterile individually packed Eye Wash (sterile water + 0.9% Sodium Chloride.)
- Micropore/Tagaderm tape
- Cotton balls
- Steristrips (a shitty but less allergenic version of butterfly bandage)
- Metalic Trays
- Fresh paper towels
- Emergency Sterile surgical Suture kit
- The needle
- Sterile Scalpel blade (I am better using them without the handle, for some stupid reason)
- Needle lube (came with the needle)
- Latex Gloves (for my friend’s safety. there was no point for me to wear gloves on my own procedure)
- Metallic scissor
- Metallic pliers
- Silicone Gel (anti-scar. This actually works better to stop the bleeding than Vaseline)
- Right hand shaped Velcro Splint.
- Pre-Natal vitamins (actually never used them before. giving a go since feedback from the community)
- Assortment of moisturiser creams and anti-bacterial soaps, mostly for the days after
- Huge 2 weeks worth of single-handed-preparable food shopping. (I never ate so much ravioli in my life)
- paper salt bags. As long as no one is hypertense, throw one of these under the tongue if you feel your pressure might drop.
- Camera/Phone
- Tripod/Phone holder/Friend who won’t pass out.
Yeah, I know this is way more than “needed” for most scenarios, but old habits die hard, and I knew there was a huge chance of things going wrong, so better be prepared.
Preparing the Sterile Field
This begun a few days before the procedure.
I dumped all the metallic elements into isopropyl alcohol and chlorhexidine baths for 72 hours. This includes the trays where I would rest everything.
I also begun taking the prenatal vitamins 3 days before. I’ve never used them before, but following community advice. Picked one that’s stinky but packs a great deal of lysine and threonine, plus all the vitamins you’d want. ![]()
Despite the fact that nothing was meant to even touch the table, I still scrubbed it with alcohol until no paint came off of it anymore (reeeeally scrubbed), then I added a layer of Dettol surface cleaner and wiped off with a fresh paper towel right before the procedure.
Tie your hair behind your head.
Trim your nails.
Throw some rock salt in my mouth. (do NOT do that if you’re hypertense. I only did this because I was expecting a blood pressure drop)
Finally, Wash the hands (up to elbows) with chlorhexidine soap for a good 3-5 minutes. Rinse with sterile water.
Then rinse each metallic component thoroughly with sterile water and lay them only on the trays.
Pre-Open some of the servings which might be needed fast, such as gauze swabs, and lay them ready, at the trays.
Wash the hands again, same drill, then we’re good to go!
I personally dislike those paper/foldable sterile fields if I could use another, flatter, option.
The Procedure!
The Technique
I wanted to experiment with a needle install, so we would go for a needle pocket.
- First pinch the skin to form a Tent.
- Do that a LOT before starting. you want to make sure the skin there is as separated from the muscle as can be. Also, this helps the body to start sending in some endorphins.
- Then you use your offhand to pinch a Tent out of the skin.
- Use your index finger pressed against the guide bone so you always know where to go.
- If you have enough practice you can angle your thumb almost like holding chopsticks, so you can easily “roll” it back as the needle goes through. Otherwise you will need to keep a cool head, let go and re-grab a new Tent, while inserting the needle.
- remember that because you are pinching it both the centre point and the width of the pocket are distorted. there isn’t a clear formula here since it depends a lot on how you grabbed the skin… so practice makes perfect.
- if you press correctly with your thumb’s tip you should have a flattened area resembling a classic Trapeze shape. that is your puncture point and will also tell you how deep are you going. If it’s not as you want, let go and re-do the pinch. as many times as needed.
- Before piercing, swab it once more with a new sterile alcohol swab.
- Apply sterile lube to the needle.
- Hold the needle with 3 fingers, and behind the etched line. Keep a fourth finger behind the needle to avoid it from slipping.
- Keep the bevel face down.
- The initial puncture will probably be much harder than you expect, but please refrain from applying too much strength, else you will stab the poor victim as soon as the initial puncture happens. the shift in resistance will be great and sudden! keep ready for that.
- keep the movement steady and slow. We might want a quick and fast puncture for a piercing, but we want something far more uniform for forming a pocket. better to go slower than needed that too fast and fuck up irreparably.
- As you slide the needle in you should keep the Tent tense, but must also reduce the pressure as the needle comes. this is achieved by steadily “rolling” the thumb back. Never drag the thumb back or you might slice the skin against the bevel and distort the pocket.
This is the most challenging part because:
- If you keep too much pressure the needle cant come between the fingers, so it will slide downwards.
- If you keep an uneven pressure you might end up pressing the walls of the tent against the bevel, possibly even cutting through the skin and into your own fingers.
- if you apply too little pressure, the Tented skin will be lost, and then we’re just carving in the dark.
Given my chip’s wedge form-factor, I would like to try the pocket with an “angled retrieval”, where you insert the needle straight, but start angling it ever so slightly, putting pressure on the bevelled edge, so that when you reach the exit you increase the incision by 1mm.
It’s a precision game and quite hard a trick to pull, so I do not recommend that unless you really know what you’re doing!
Surprise Surprise! How did it went.
First off I gotta say my friend was amazing. He reacted promptly to every instruction I gave, with a cold and level head and thanks to his attitude we avoided a couple of pitfalls!
At some point he started angling the needle down after meeting some resistance. This is absolutely normal and even seasoned piercers can do that without noticing! Sometimes the angle is such that you can’t even see it’s wrong.
I would say this might even be the most common pitfall self installers will face. And usually isn’t that much of a big deal.
As in… If you have enough meat to go there you might just lose some range from your implant’s read… (although if you have too much meat and we’re talking about a cylinder chip, the implant might just sink in beyond reach)
But in the back of hand this is a serious threat. not only you might end up hitting badly the Ulnar nerve, but you can easily hit the bone!
And trust me, you don’t want to risk an infection on your bone (which has no means of defending itself and is a perfect place for bacteria once you give it a new micro-fissure).
Or you do… it’s a great way to be the first guy around implanting a chip on your new hook-for-hand! ![]()
Gladly I felt it and helped him correct the angle, and he did a great job there!
Then comes the point where, as expected, I had to tell him to let go of the tent and make a new one. This distorted a bit the desired pocket but he did quite a good job in keeping straight!
At some point, near the end, I felt he was about to pinch a vein. I am pretty sure he nicked it, but nothing serious, I could feel it happening and he halted as soon as I said it. Had I been a tad bit number the needle could have carved straight into that vein which goes over your pinkie’s knuckle… and then things would have became messy! (and dangerous)
now we got it deep enough, and between the ripping feeling and the stupid amount of blood flowing out (it was pouring over my feet), my pressure begun to fall, as predicted. Not sure if the salt thing really helped here, but it works for me, I believe… Anyway, I powered through it till we patched the wound.
Time for the retrieval!
As expected, he didn’t manage to use the bevelled edge to cut down 1 extra mm on the side of the incision, but that wouldn’t stop me. ![]()
I took the chip to insert myself.
Half of it went easy.
Then became harder…
And I barely got the implant all the way in.
That extra 1mm cut on the way out would have made all the difference!
Since I risked damaging either the pocket or the implant if I forced it further down, I decided to adapt to the situation and went for a Dermal Hook application trick:
I pulled out the skin behind the incision to stretch it a bit. Because the way the tenting technique works, I should have a couple of millimetres in there, like a mini pocket.
This way I slid the back of the chip “backwards” under this new space, similar to how we place the smaller side of a dermal hook jewellery, but without the sideways twist.
It worked! ![]()
Now the chip was completely inside the skin and I could close the wound.
Only drawback here is that now the “incision” rested on top of the chip. Well, not exactly a drawback per se, but because of the way pockets heal, given that there isn’t any hole in the implant, there was a small risk that it could be “spat out” through the incision hole.
Also that meant I could not use Super Bonder to seal the wound.
( I know, polemic statement! but don’t forget Super Bonder was developed for suturing flesh and has been utilised successfully in it’s fair share of complex surgeries already… and on a cuntload of scarless sutures I did on myself.)
Regardless, I had already opted for not using it anyway just to avoid any potential chemical reaction between that and the implant’s encasing.
Suturing
This part was a bit problematic.
I opted for doing a quick suture with a tight gauze on top knowing that I would have to re-do it within the hour.
Also applied a tiny bit of silicone gel to help boost the healing and achieve faster homeostasis.
Technically you’re not meant to re-do Steristrip applications, but I wanted to make sure the would was well shut while the implant danced around before it’s initial settling, to reduce the risk of rejection.
Also holding down a gauze would help make sure I would have stopped bleeding completely when I came around to change the steri-strips, one hour later.
For that first change, I cleaned up with the alcohol swab first (not touching the wound directly), then just some sterile water.
Dry it gently with another sterile gauze swab, let it finish drying naturally, then apply the steristrip, making sure it pressures the wound gently into a sealed position.
I then covered the wound with some Micropore tape over and across the steristrip.
Then apply another fresh sterile gauze pad on top, and secure it with Micropore tape, this time not tight at all!
Finally add a sprinkle of anti-bacterial spray on top of the gauze, just for good measure!
Aftercare
You are not meant to replace steristrips like that, but the swelling (see bellow) went away very fast, so every day the strips would need replacing to maintain the wound appropriately closed.
I kept an eye on it and replaced the gauze two or three times per day following procedures by the end of “Suturing”.
Also plan on keeping the hand on a Splint for 10 days, then wearing the splint only to sleep for another 30 days, just in case. (overzealous, I know).
I’ll keep the hand high as necessary to manage swelling.
Let’s get explicit!! ![]()
Warning! the following video contains a cuntload of blood and some cringy graphic scenes. watch under your own discretion!
Link: Install Video
Progression, w/ photos:
To make this cleaner, I’ll keep updating this post with each new photo instead of adding many replies.
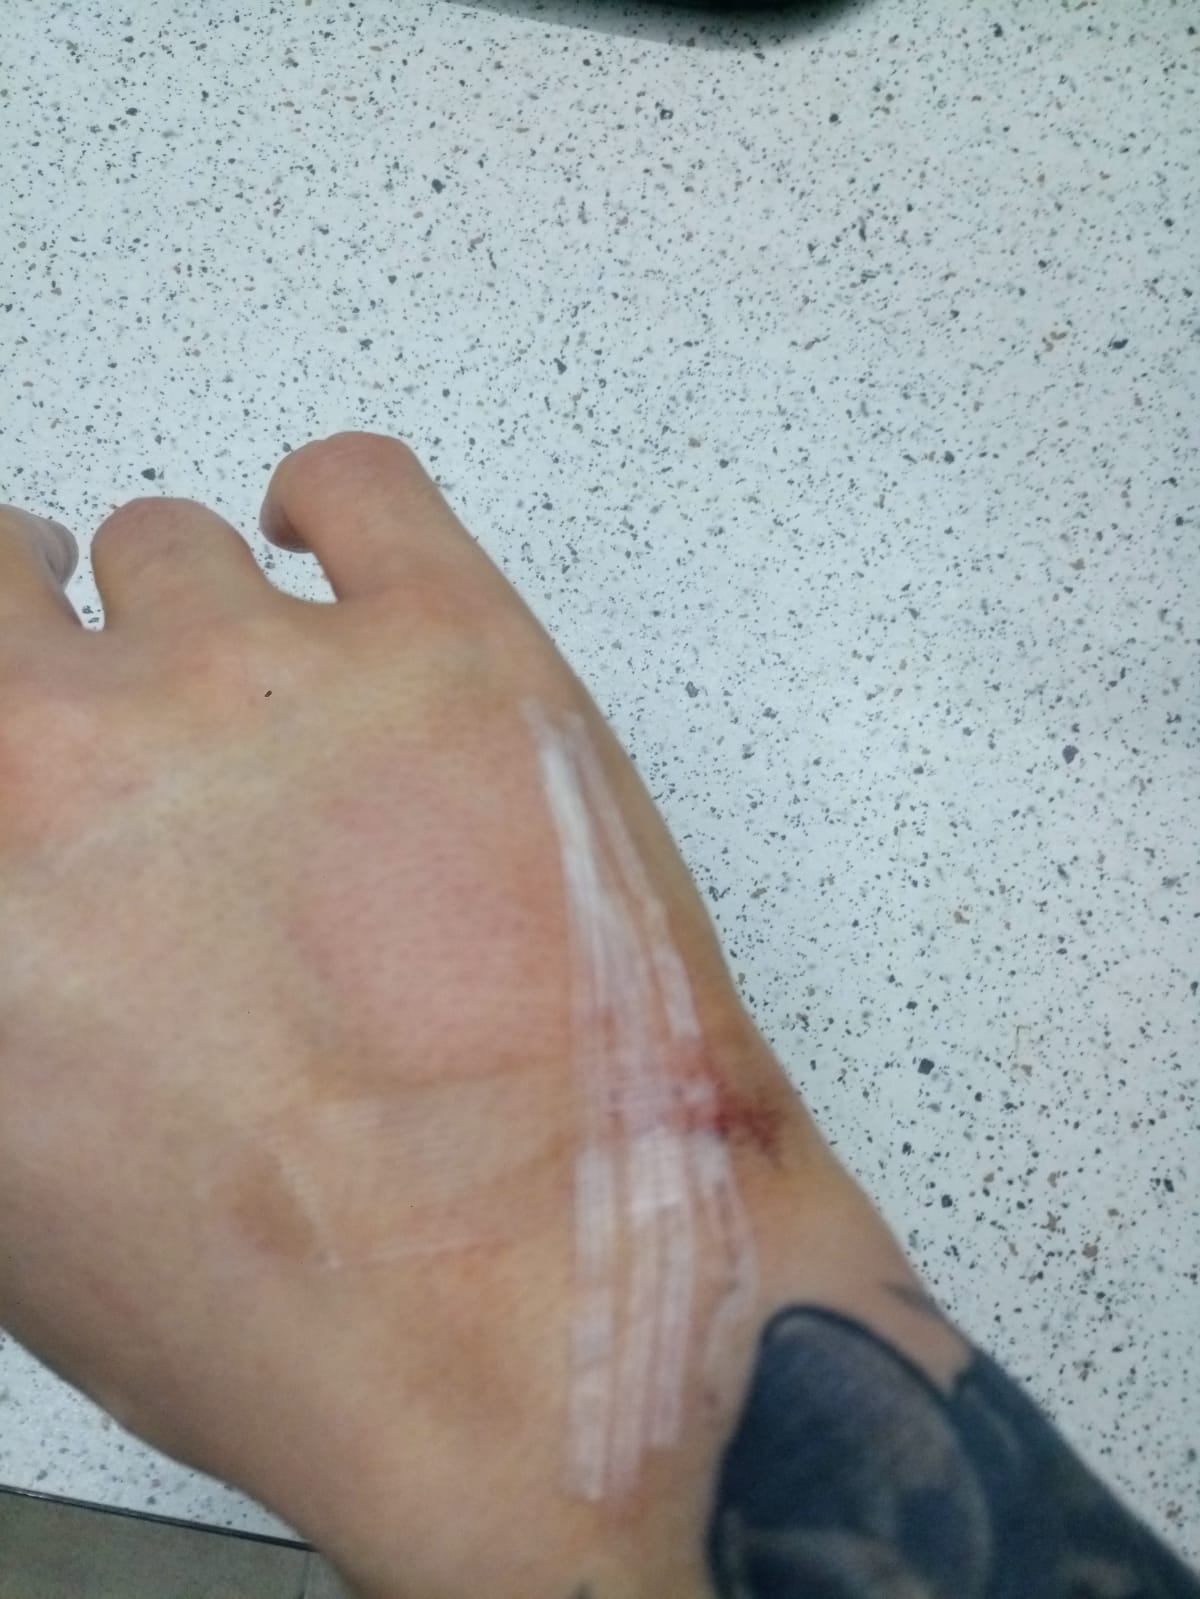
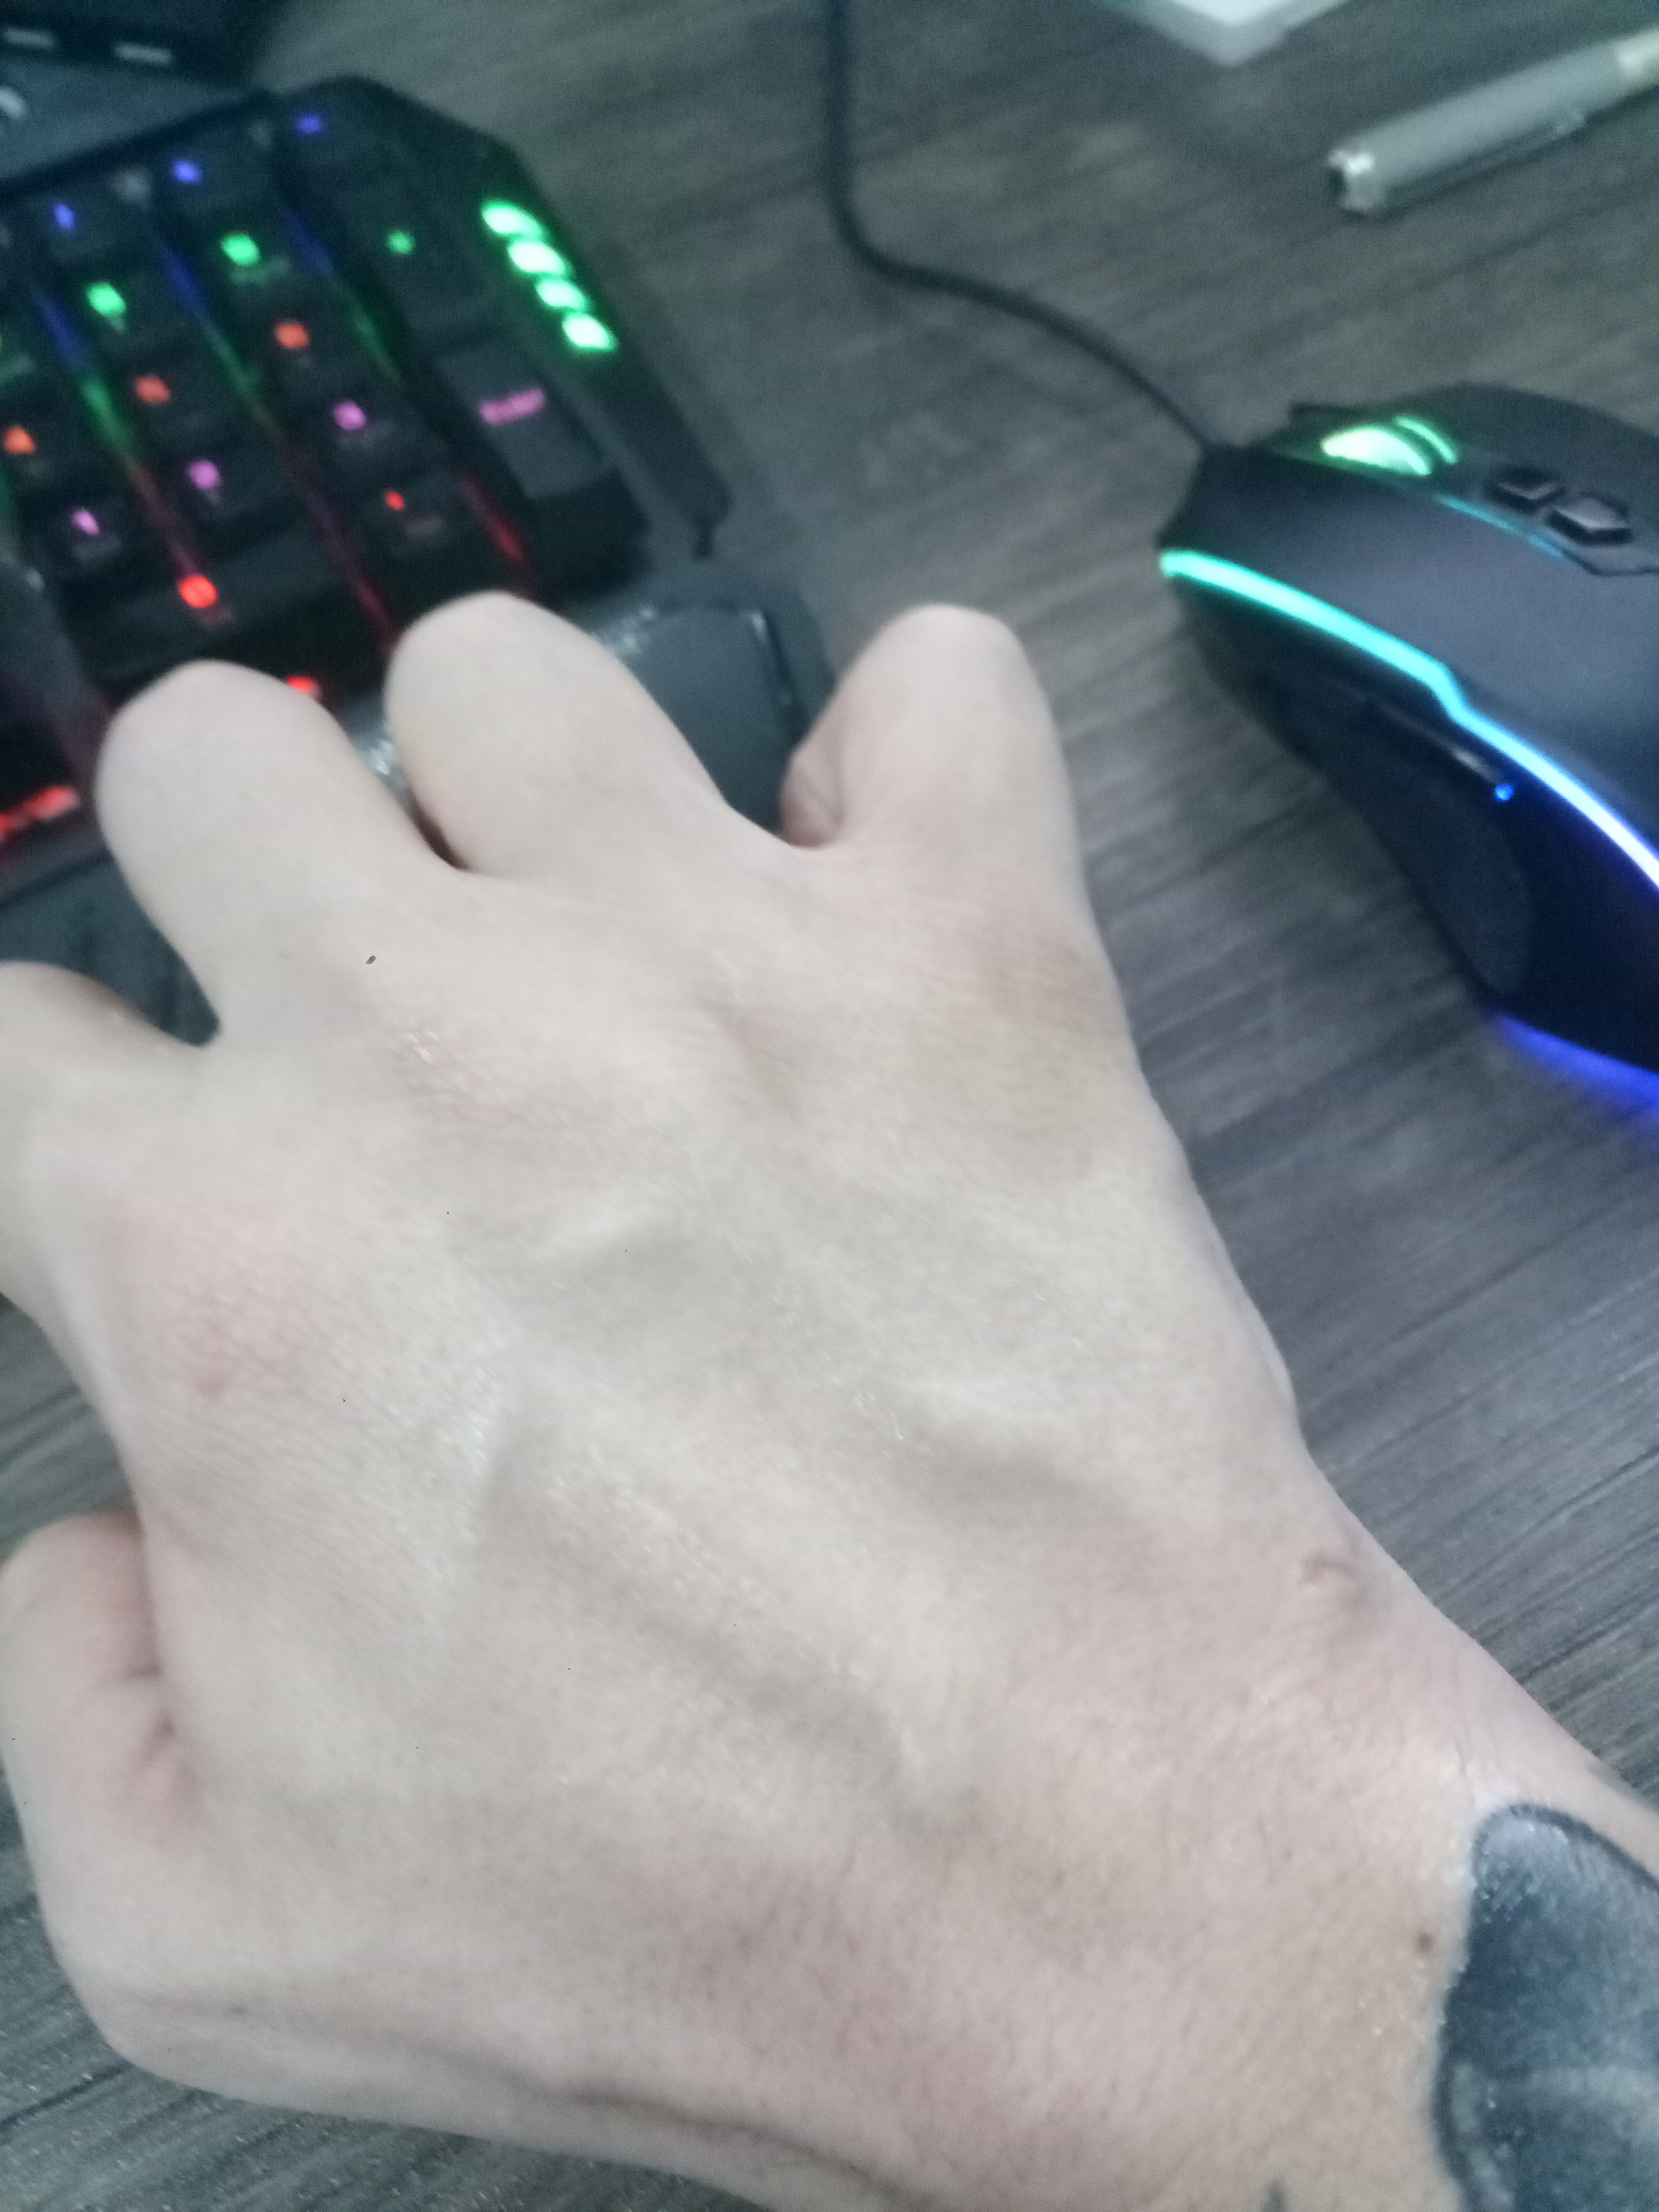
Day 0
Immediately after the procedure:

This tight gauze kept there just for the first hour (a bit less)
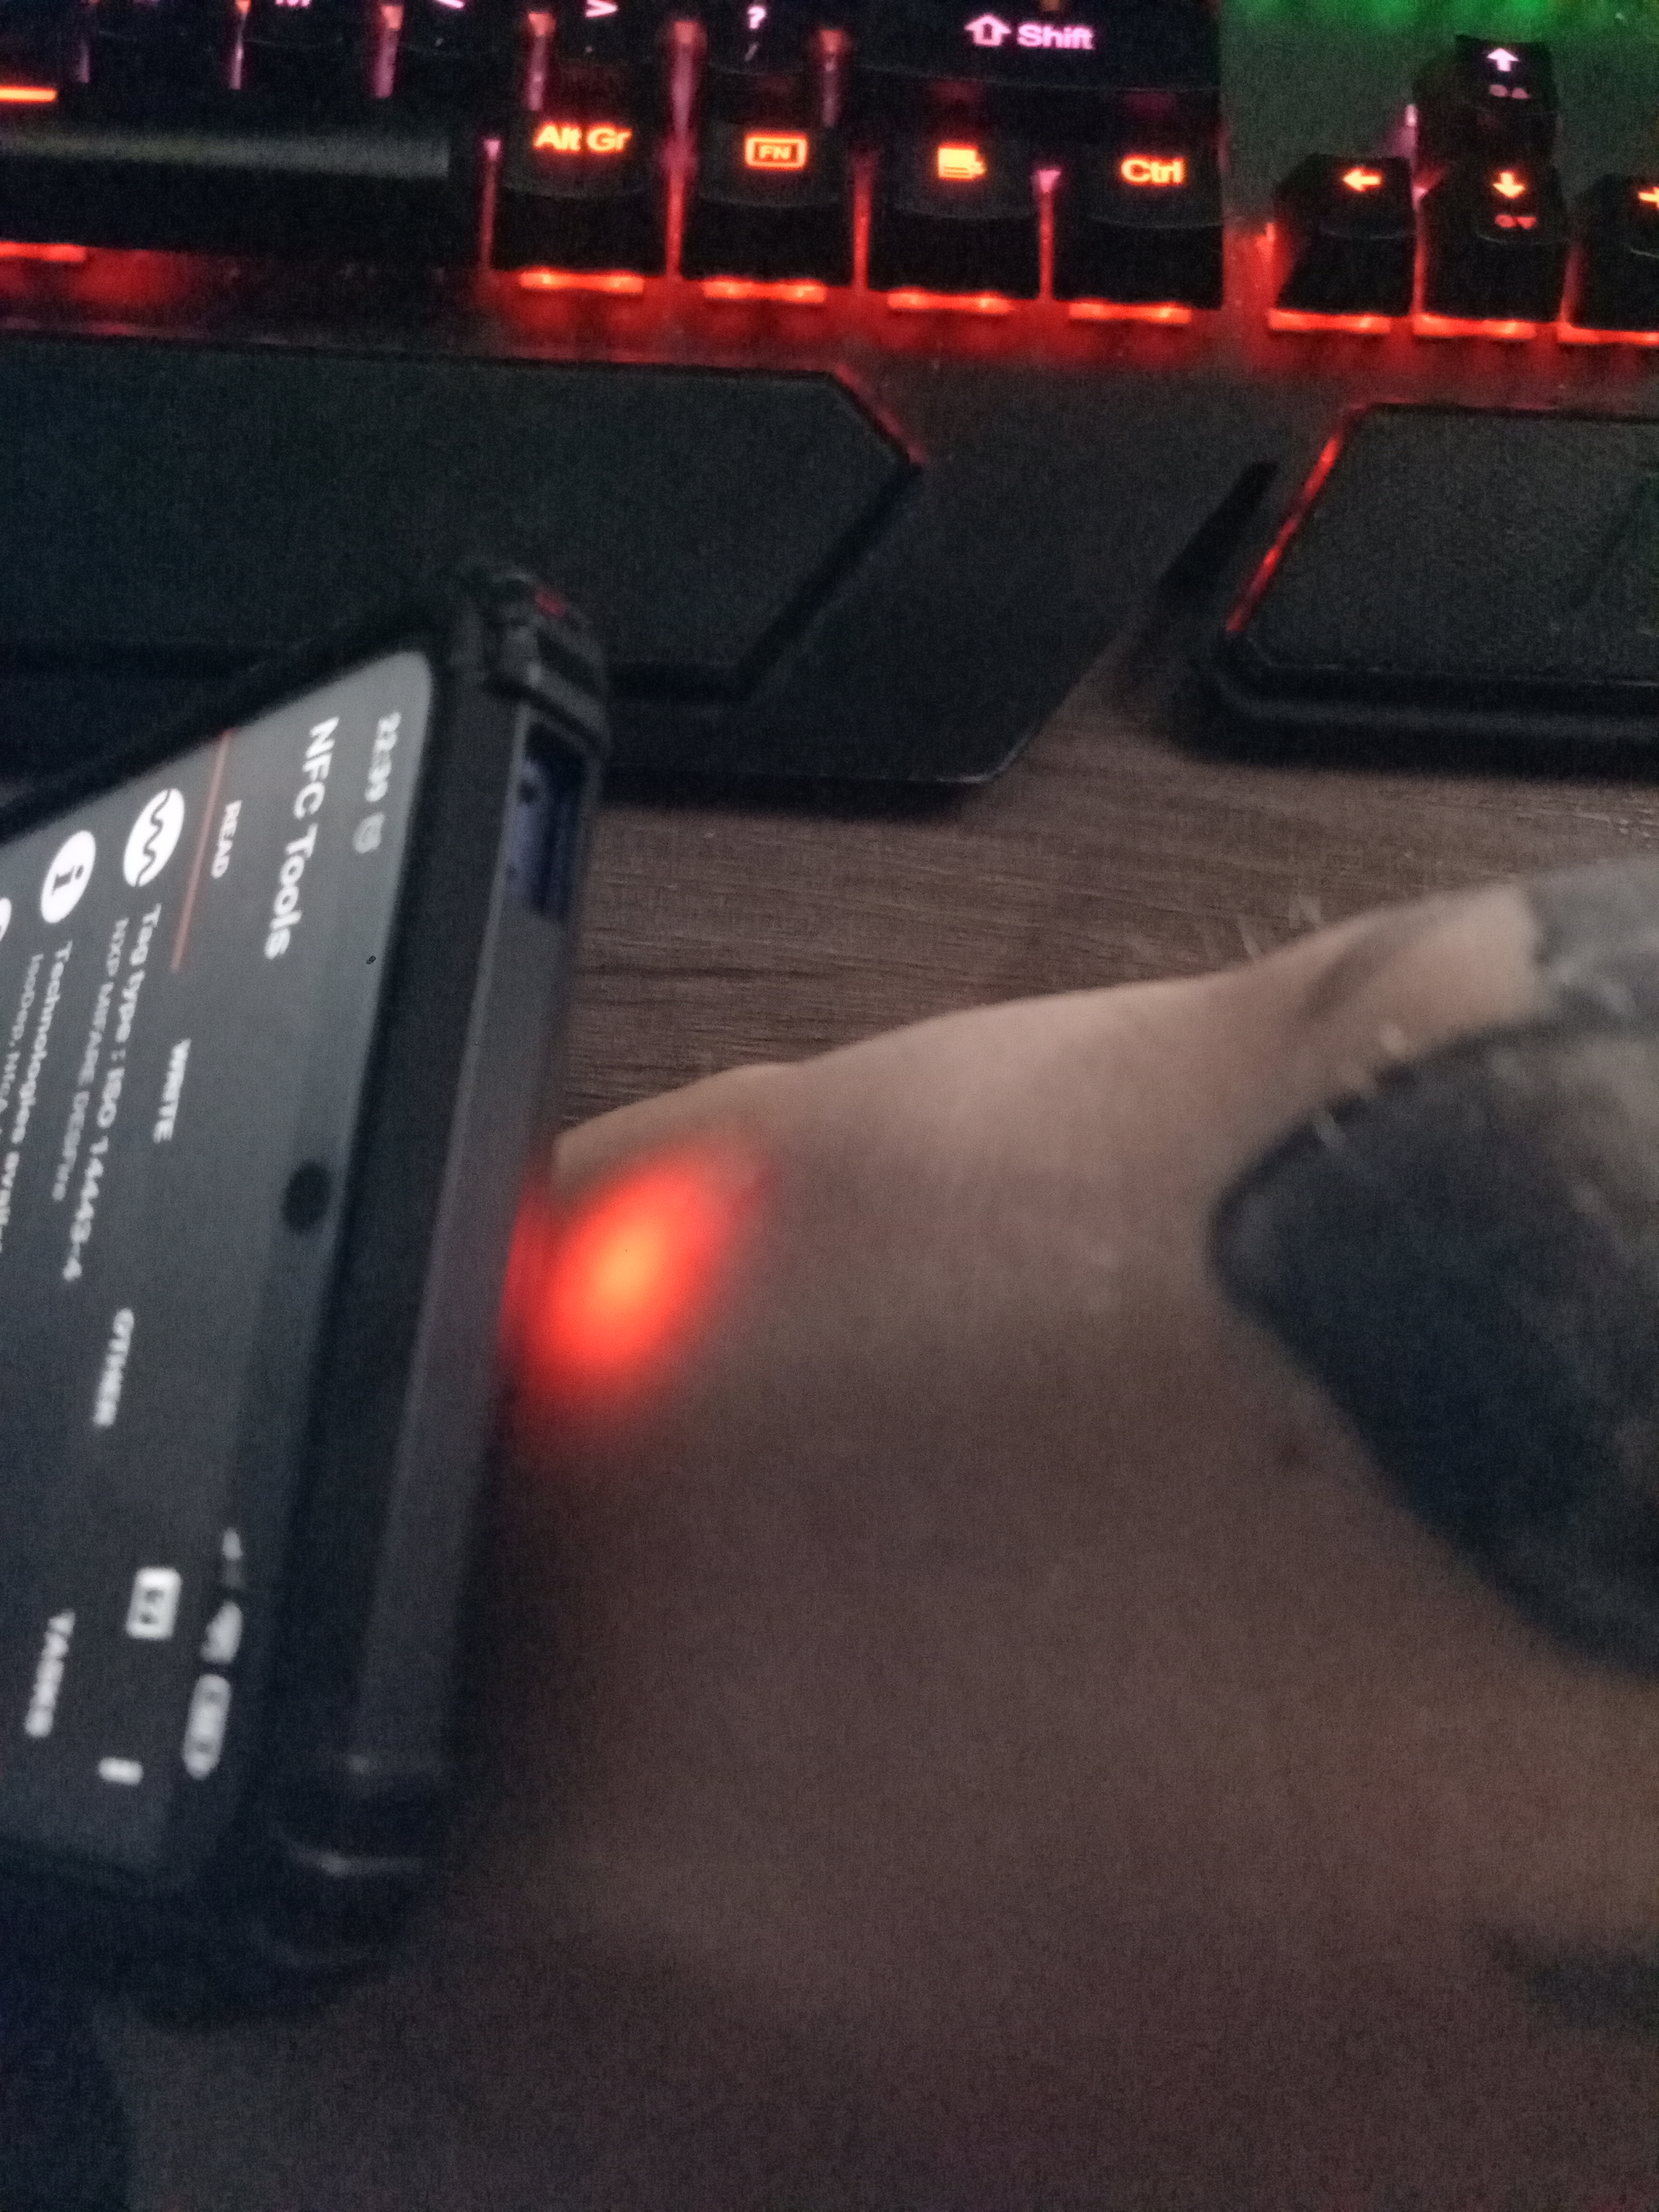
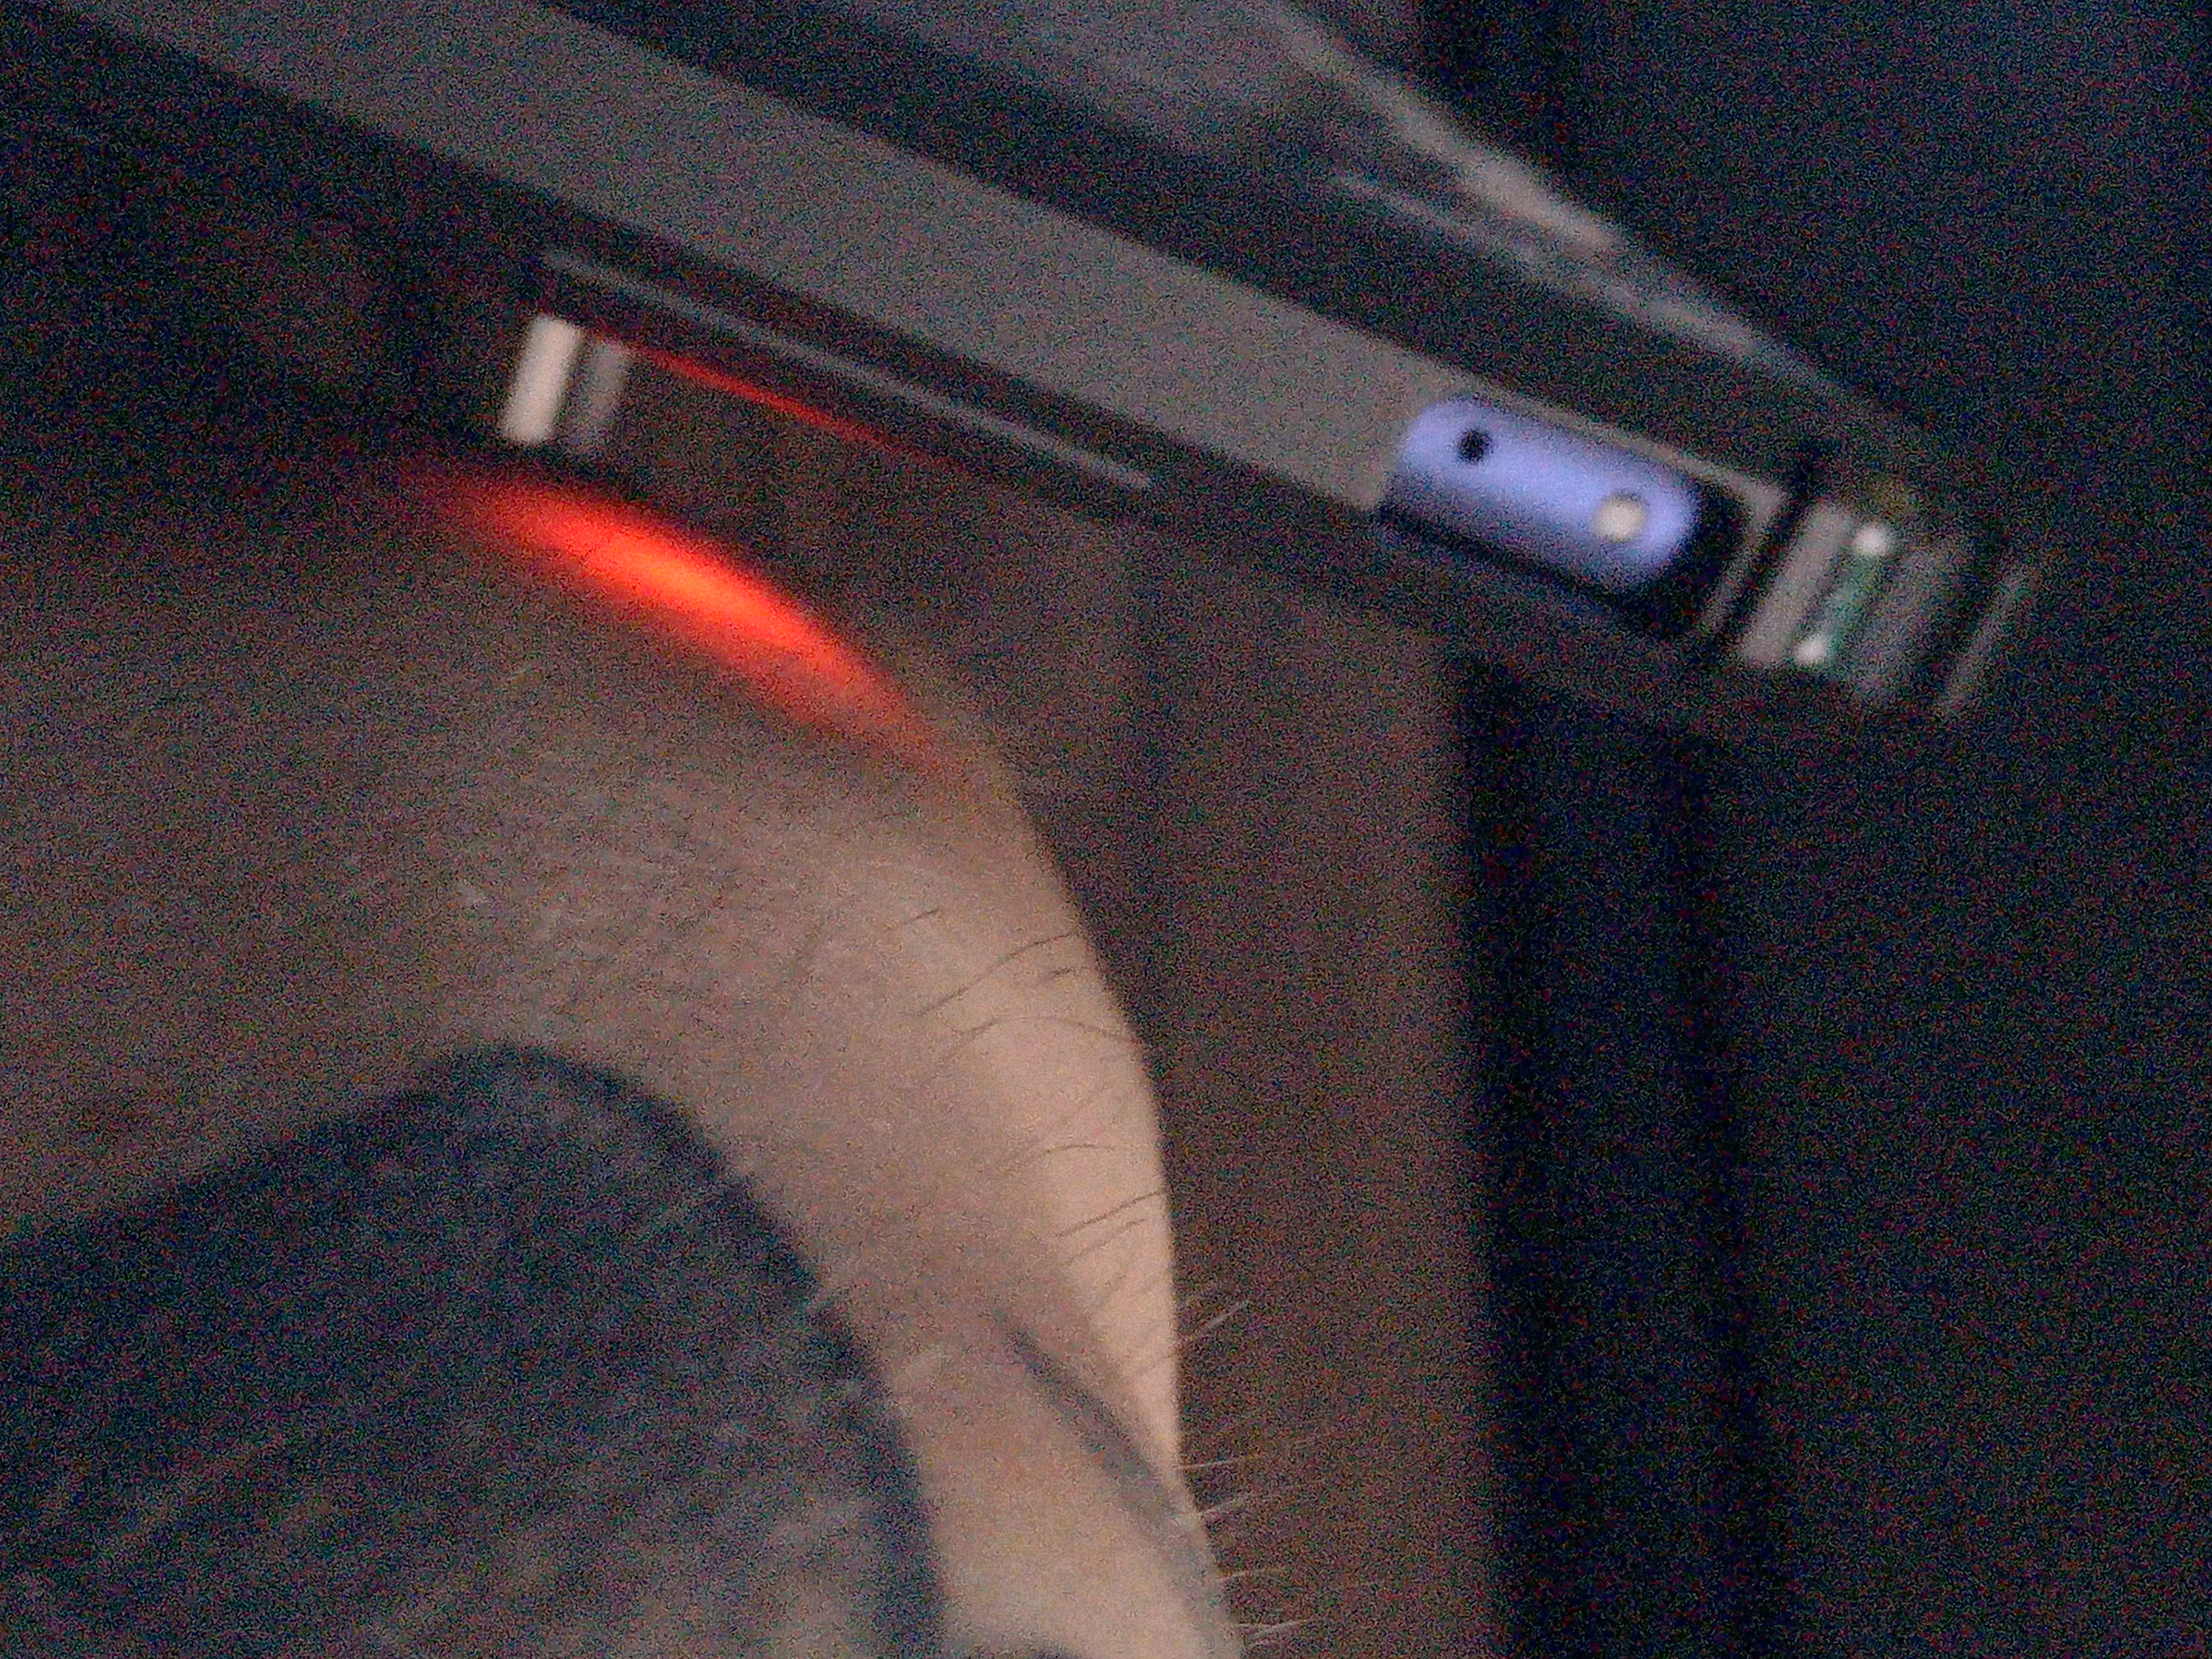
And of course, the first test! ![]()
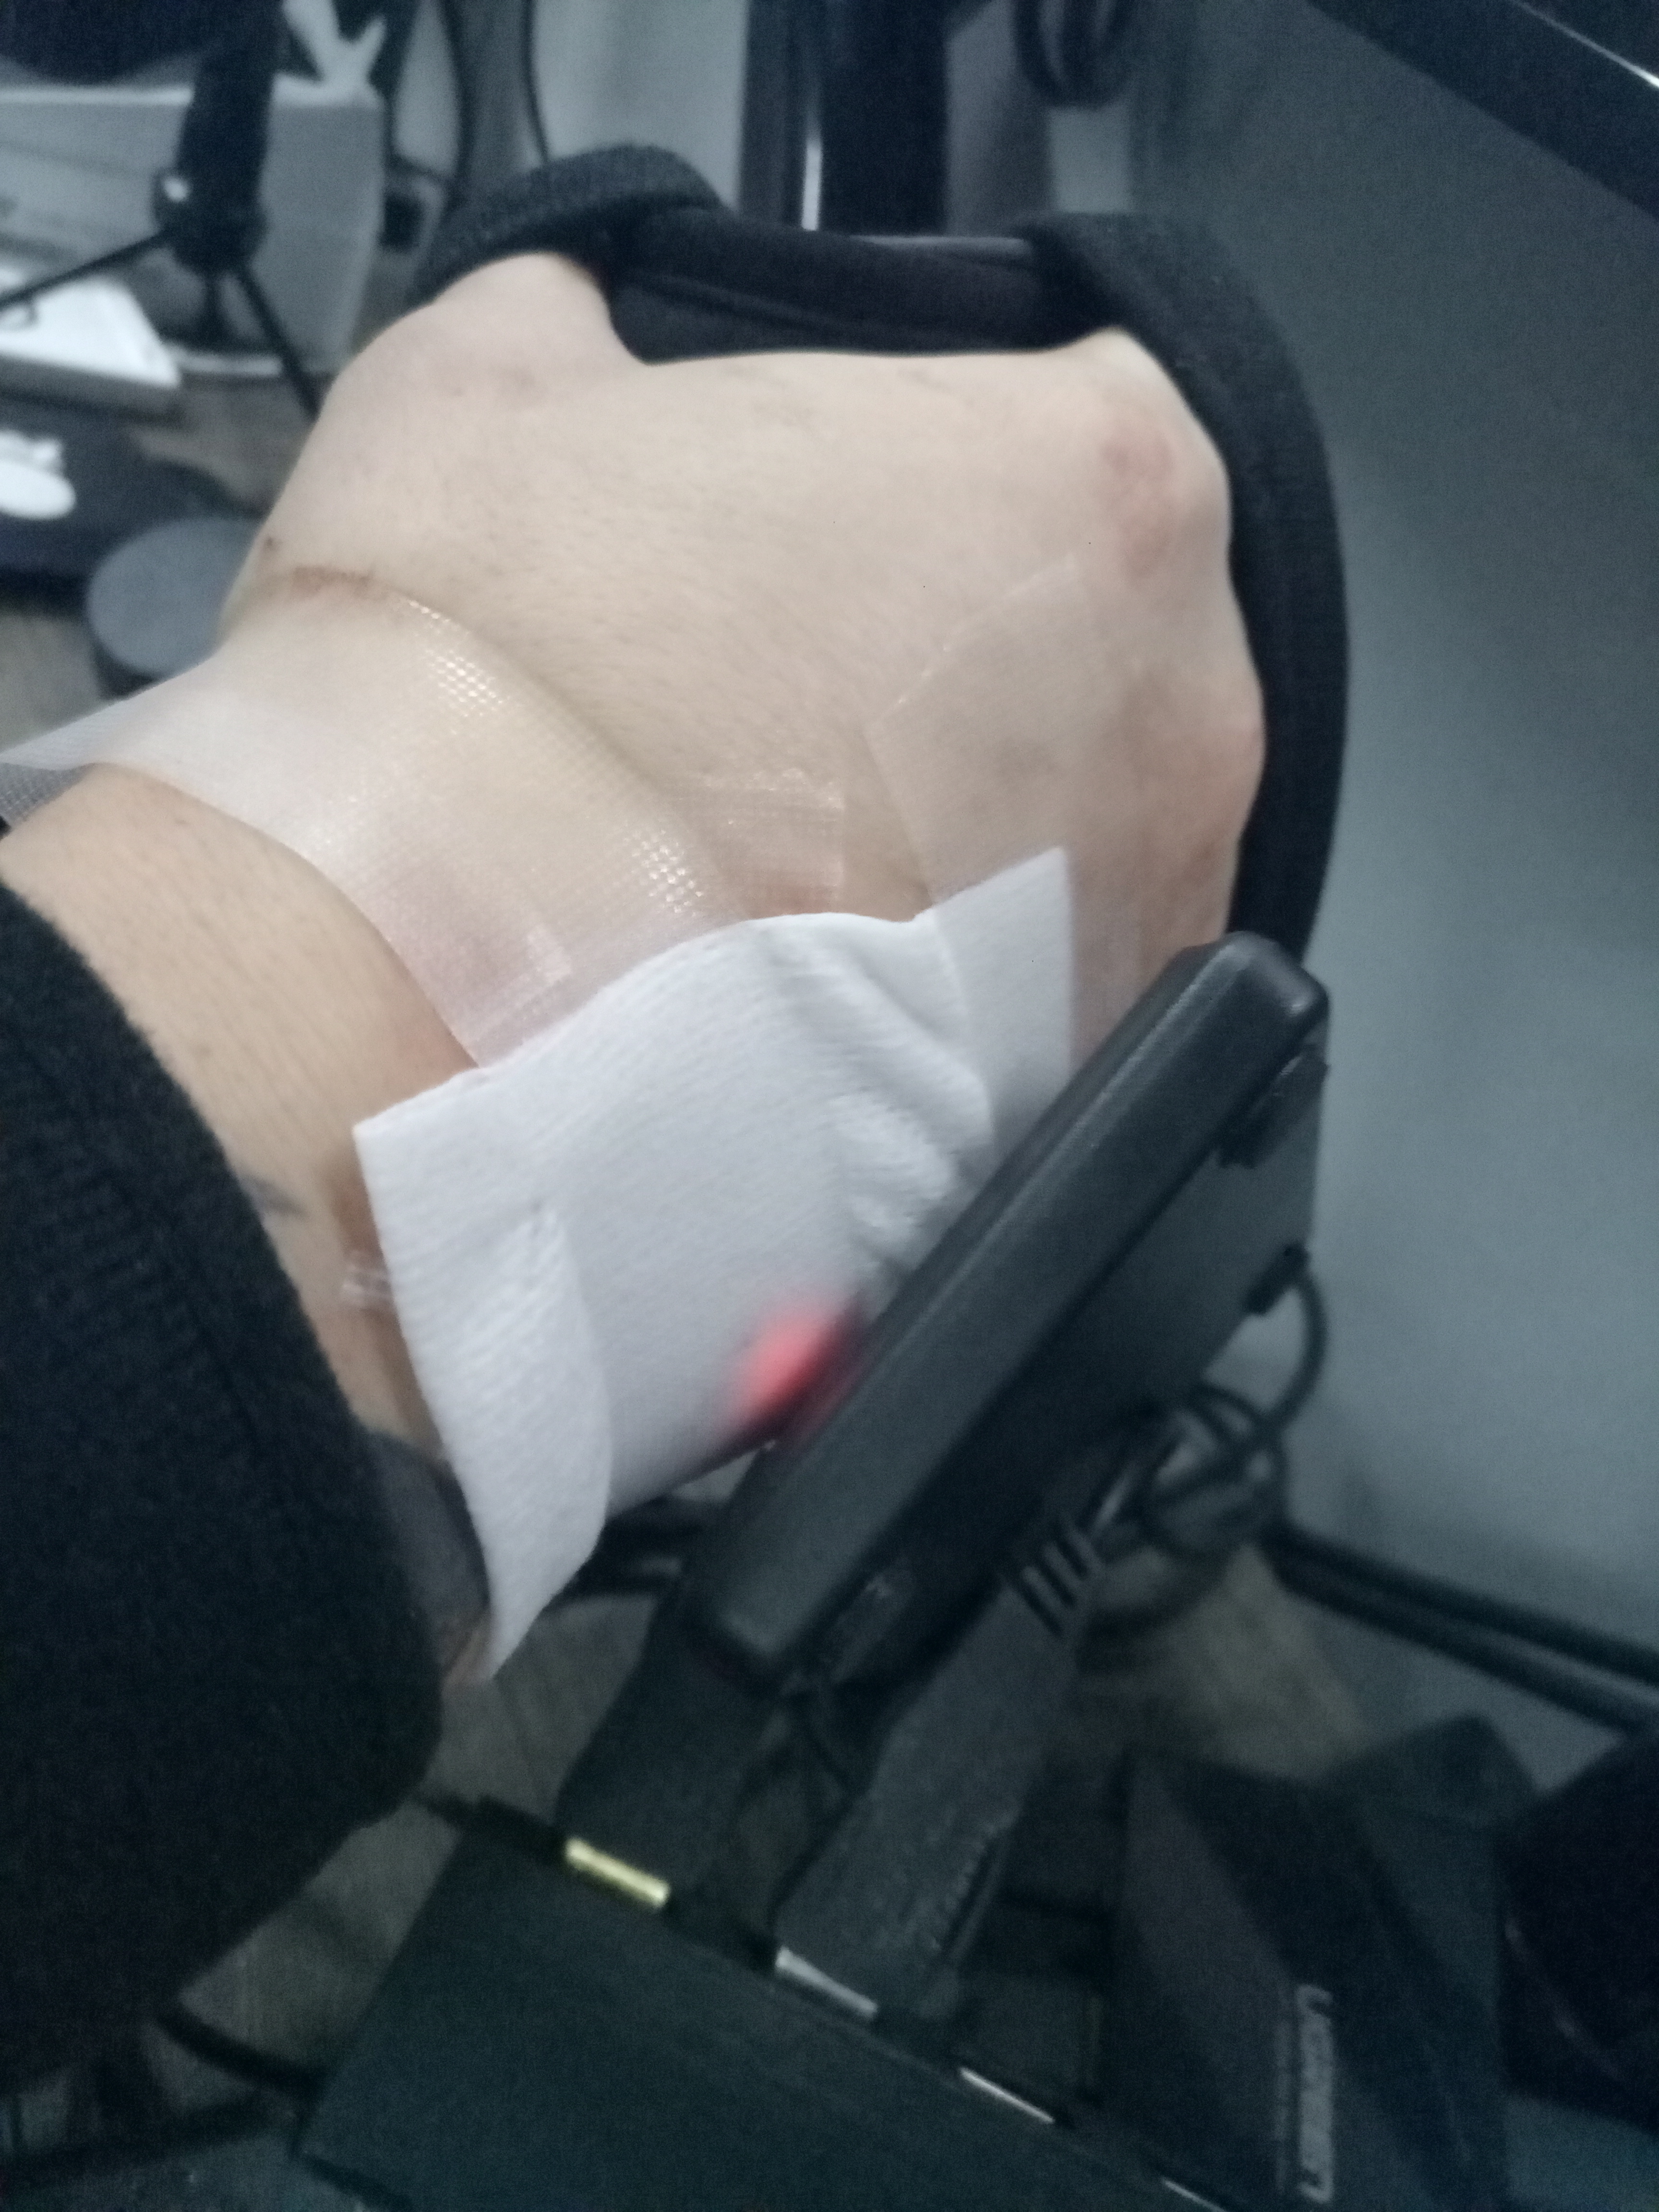
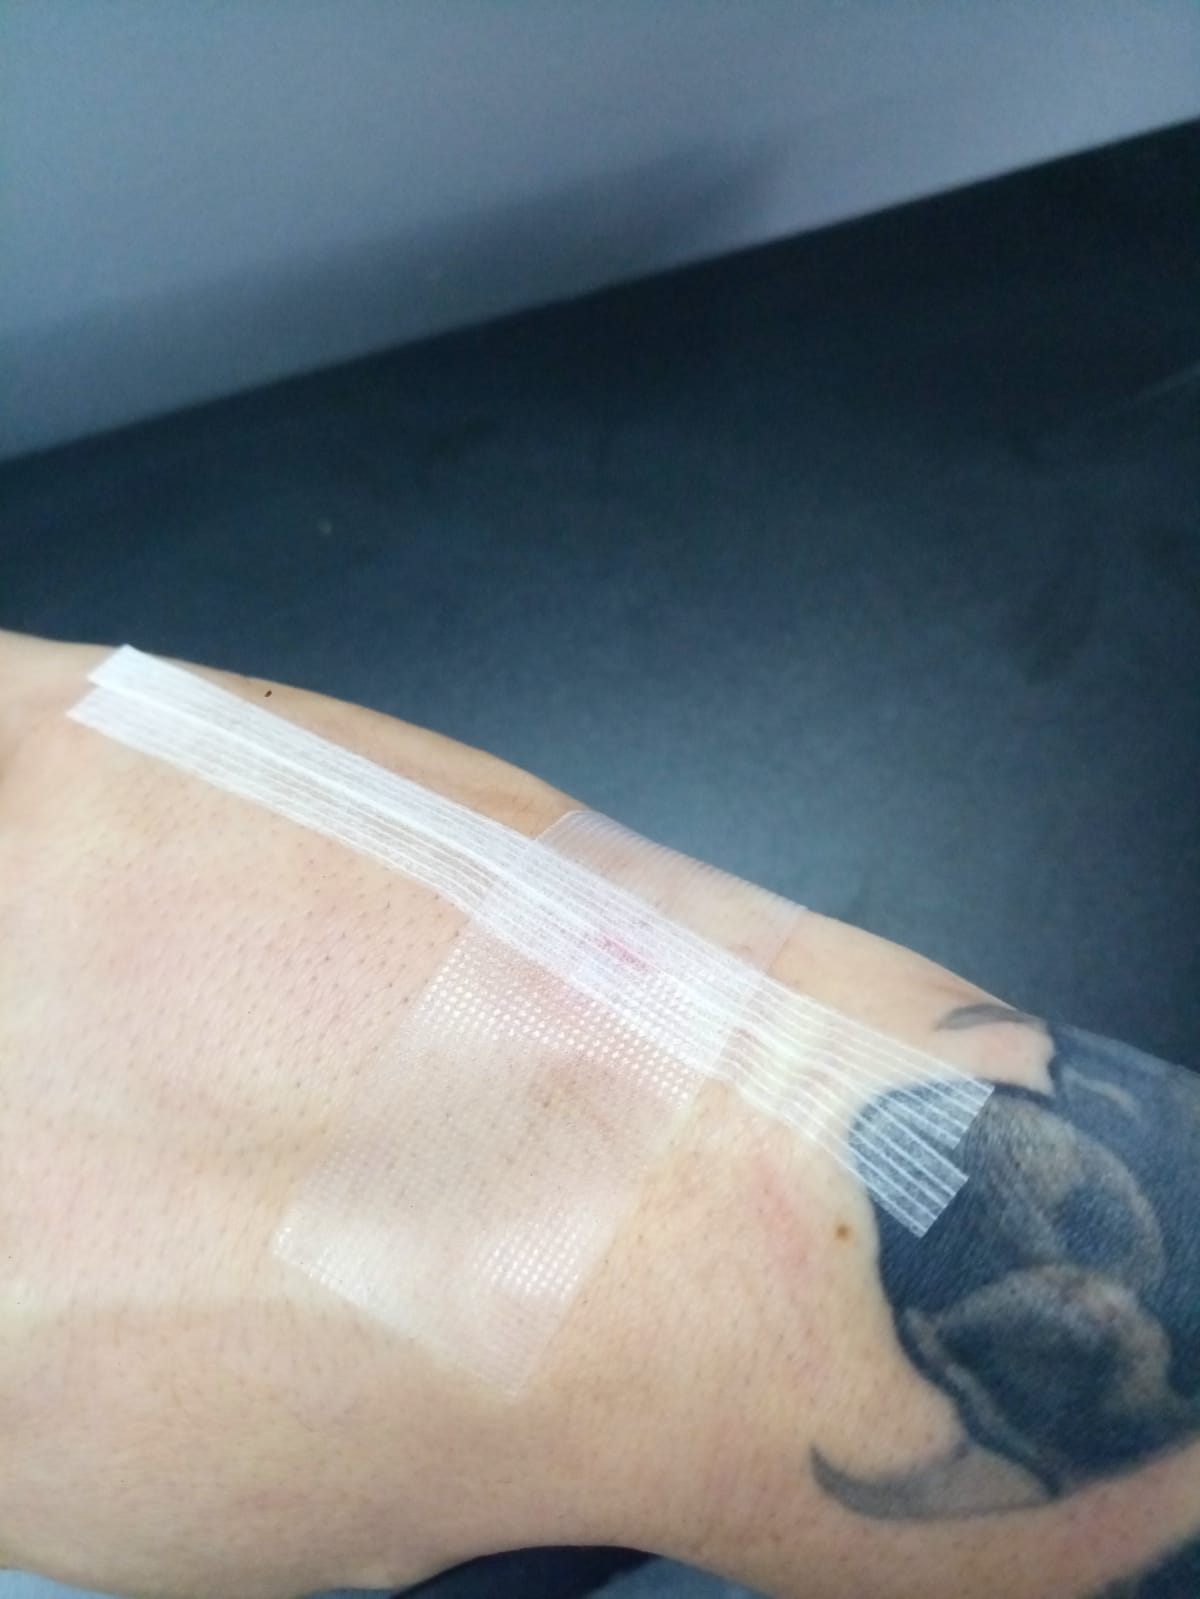
1 Hour later, replacing the bandages
And After Gauzing it up the right way. ![]()
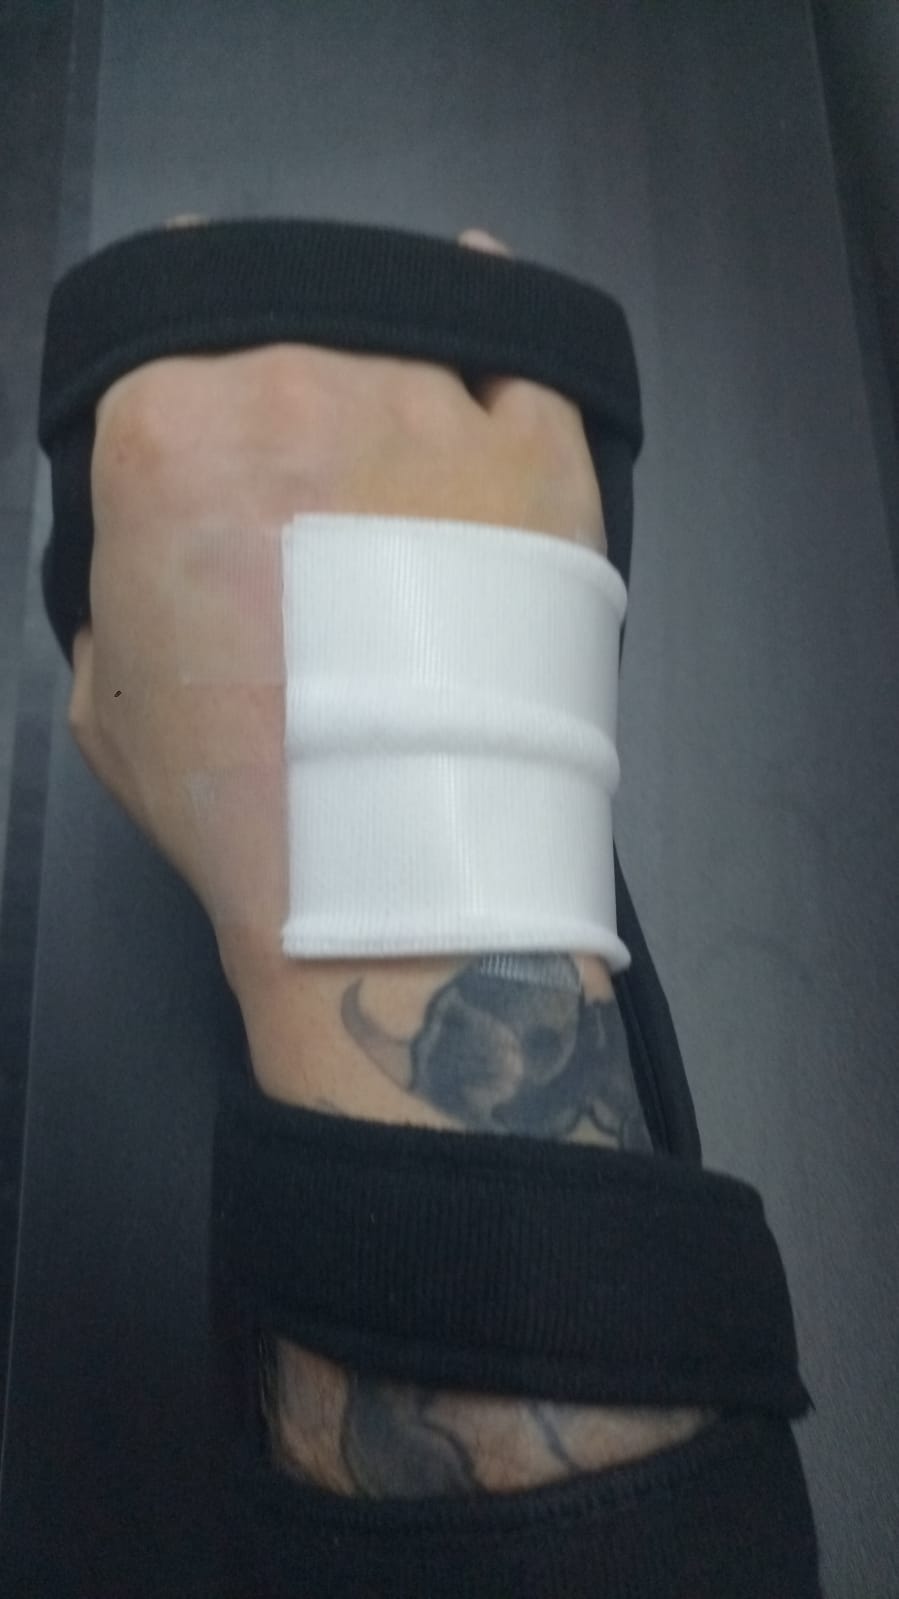
In these you can already see it starting to bloat. Guess I replaced the Gauze at the right time!
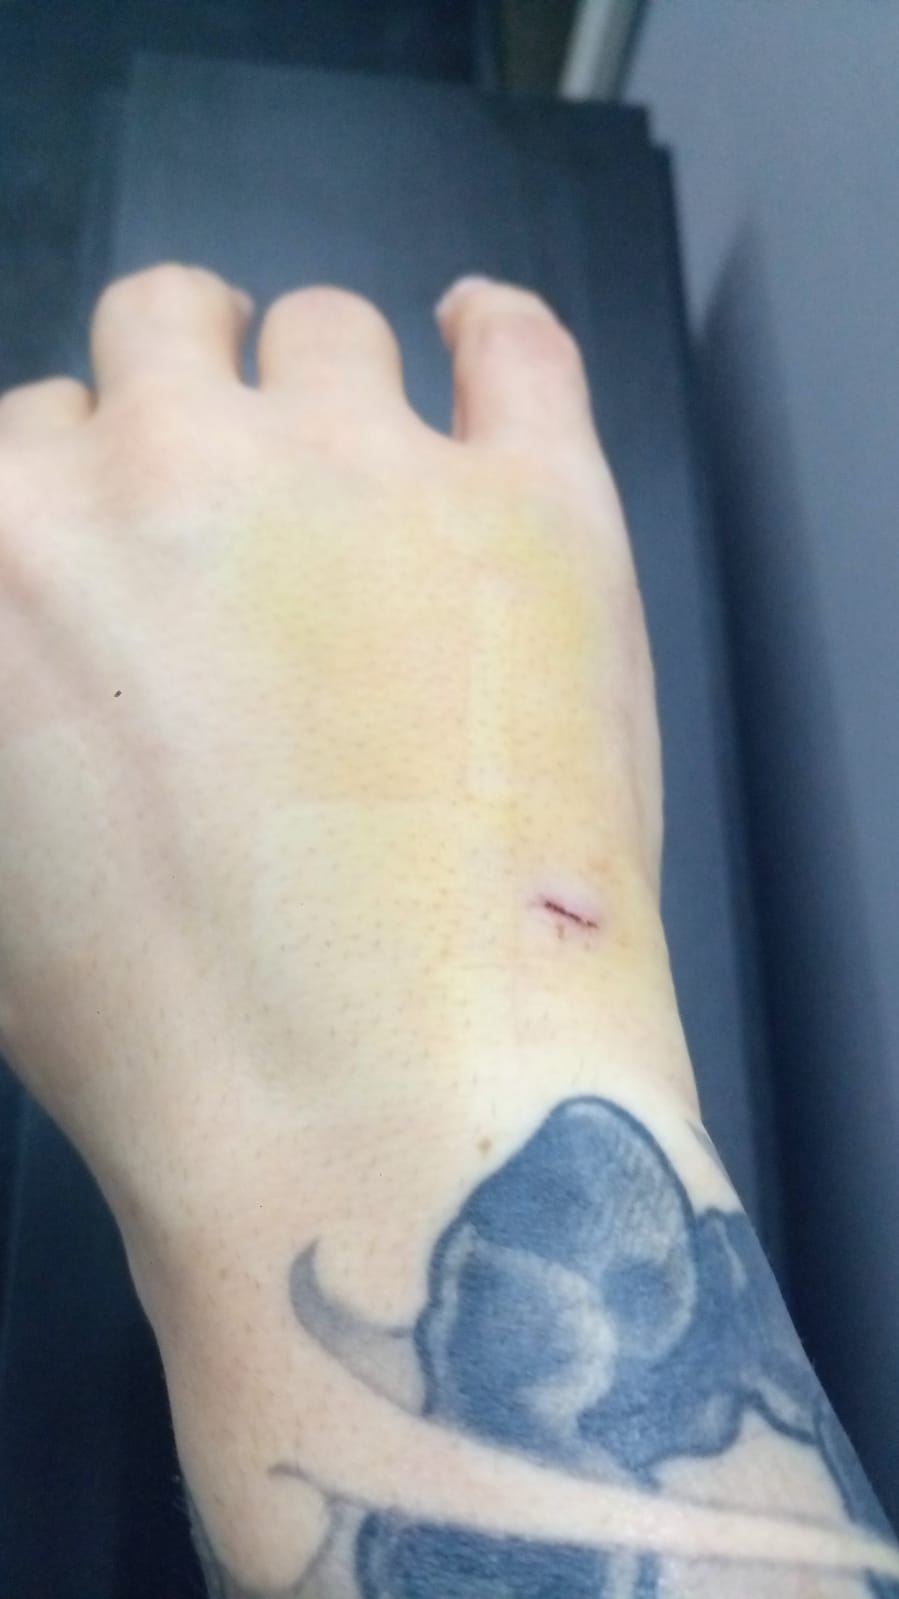
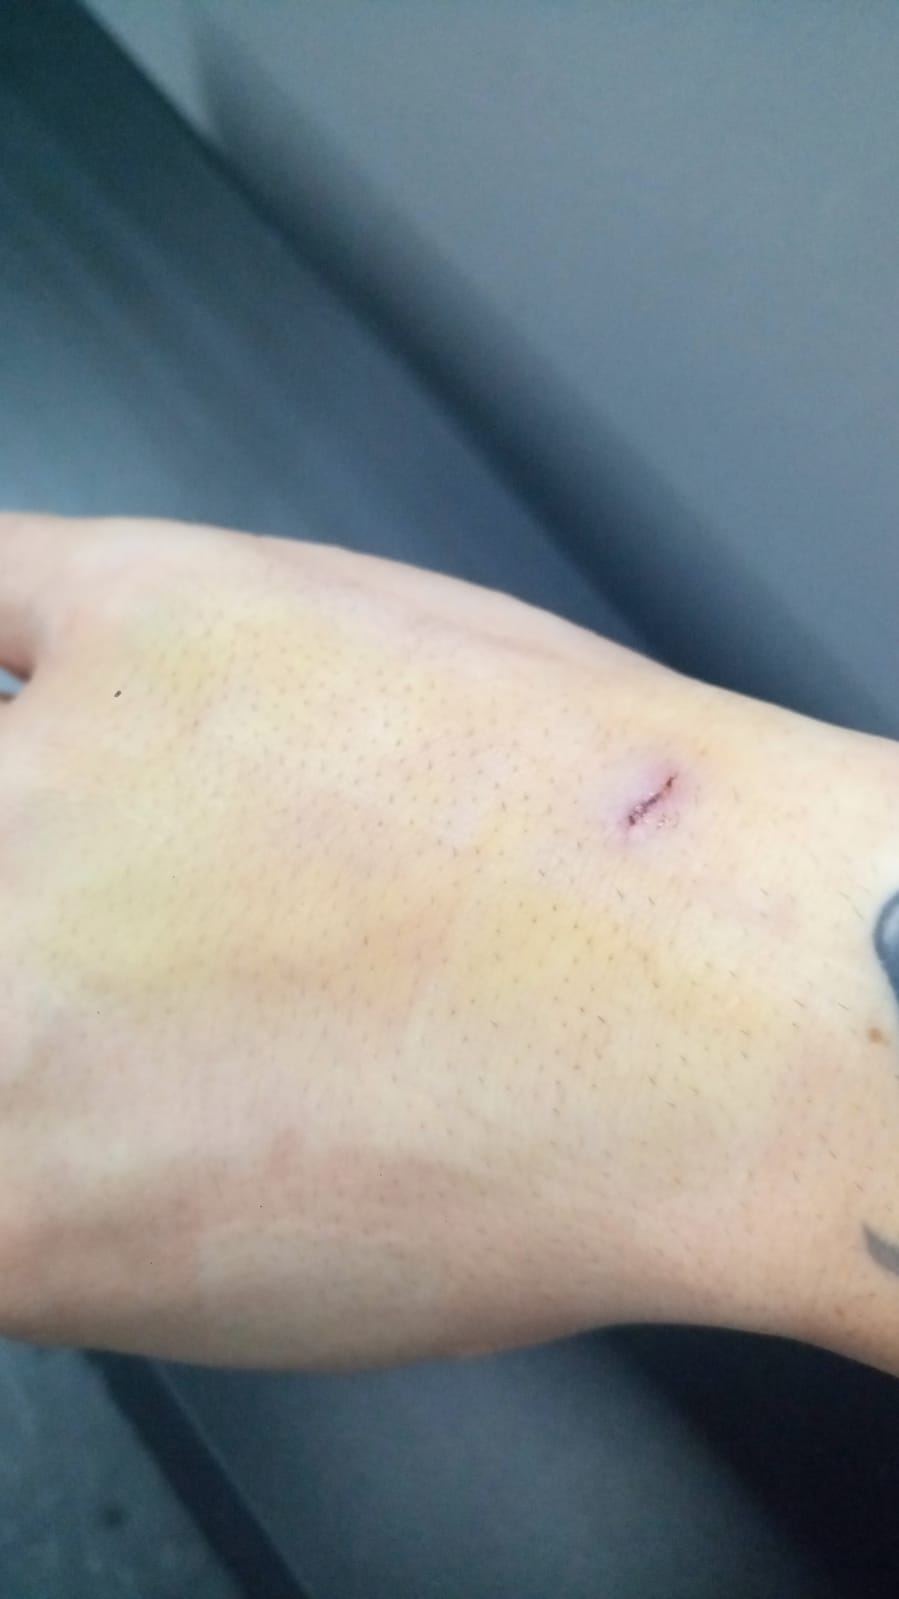
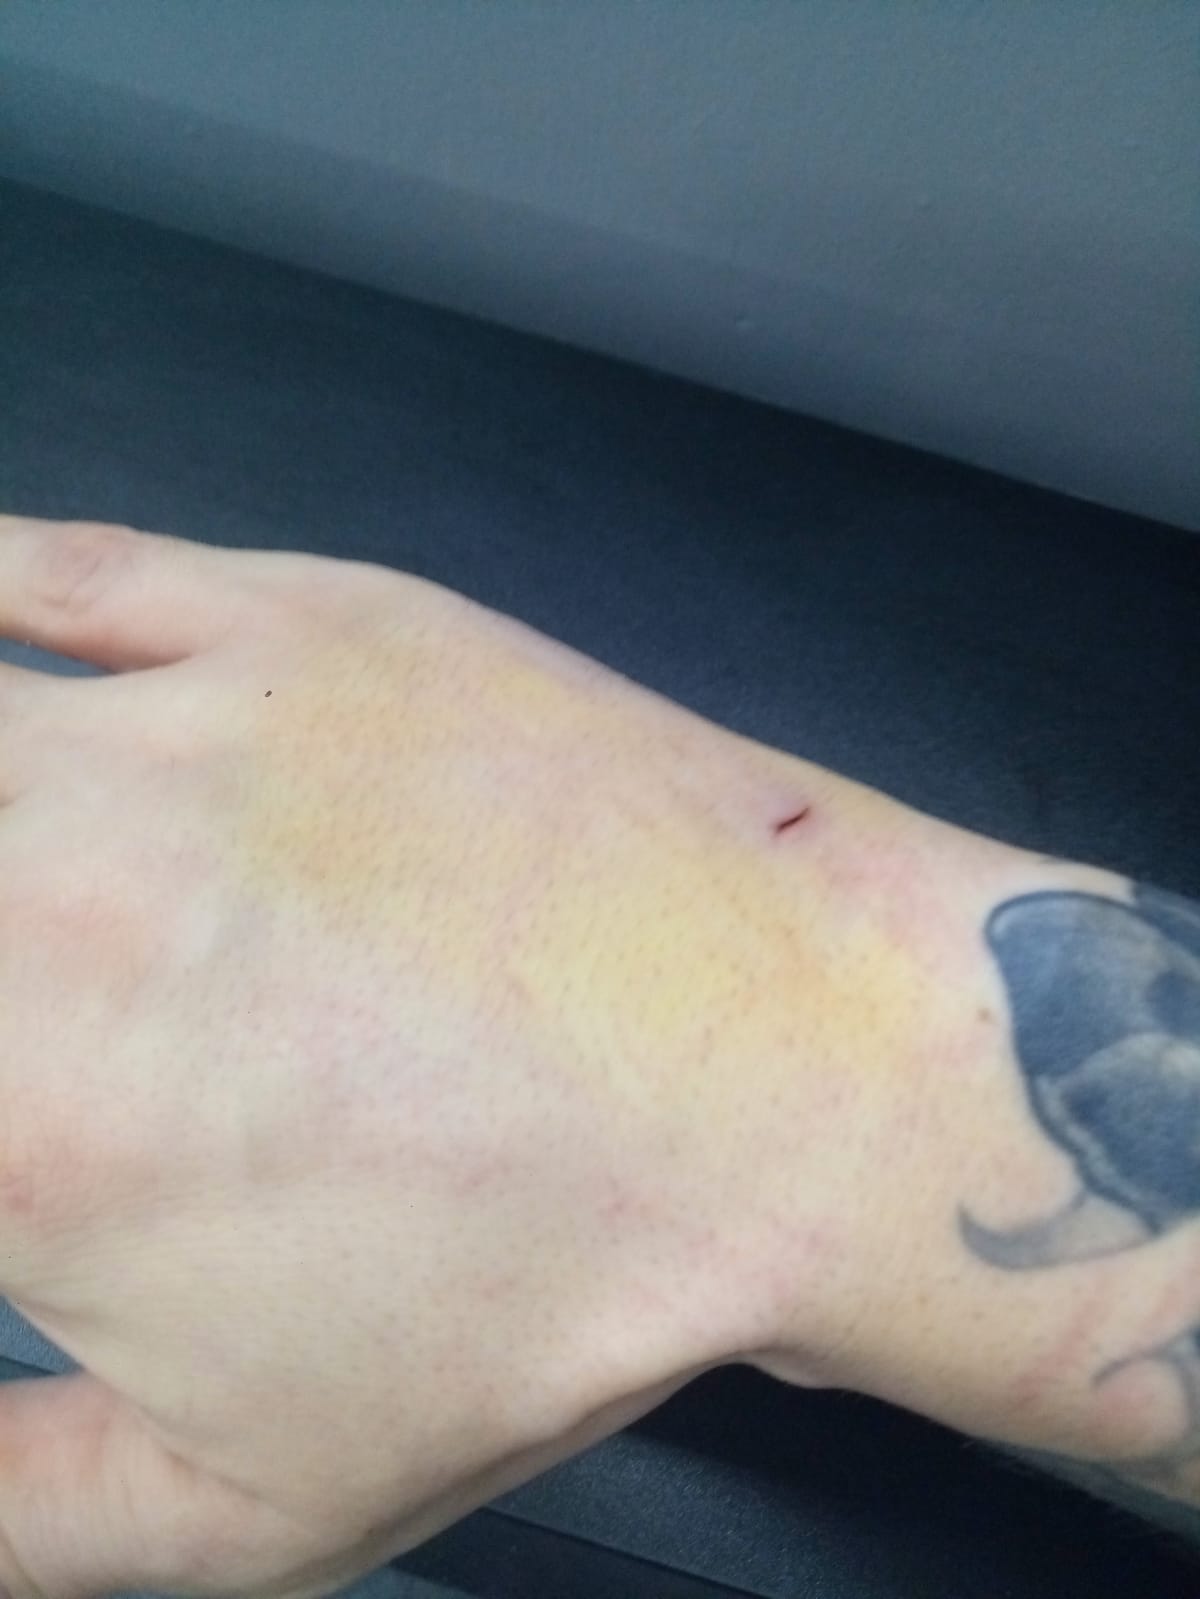
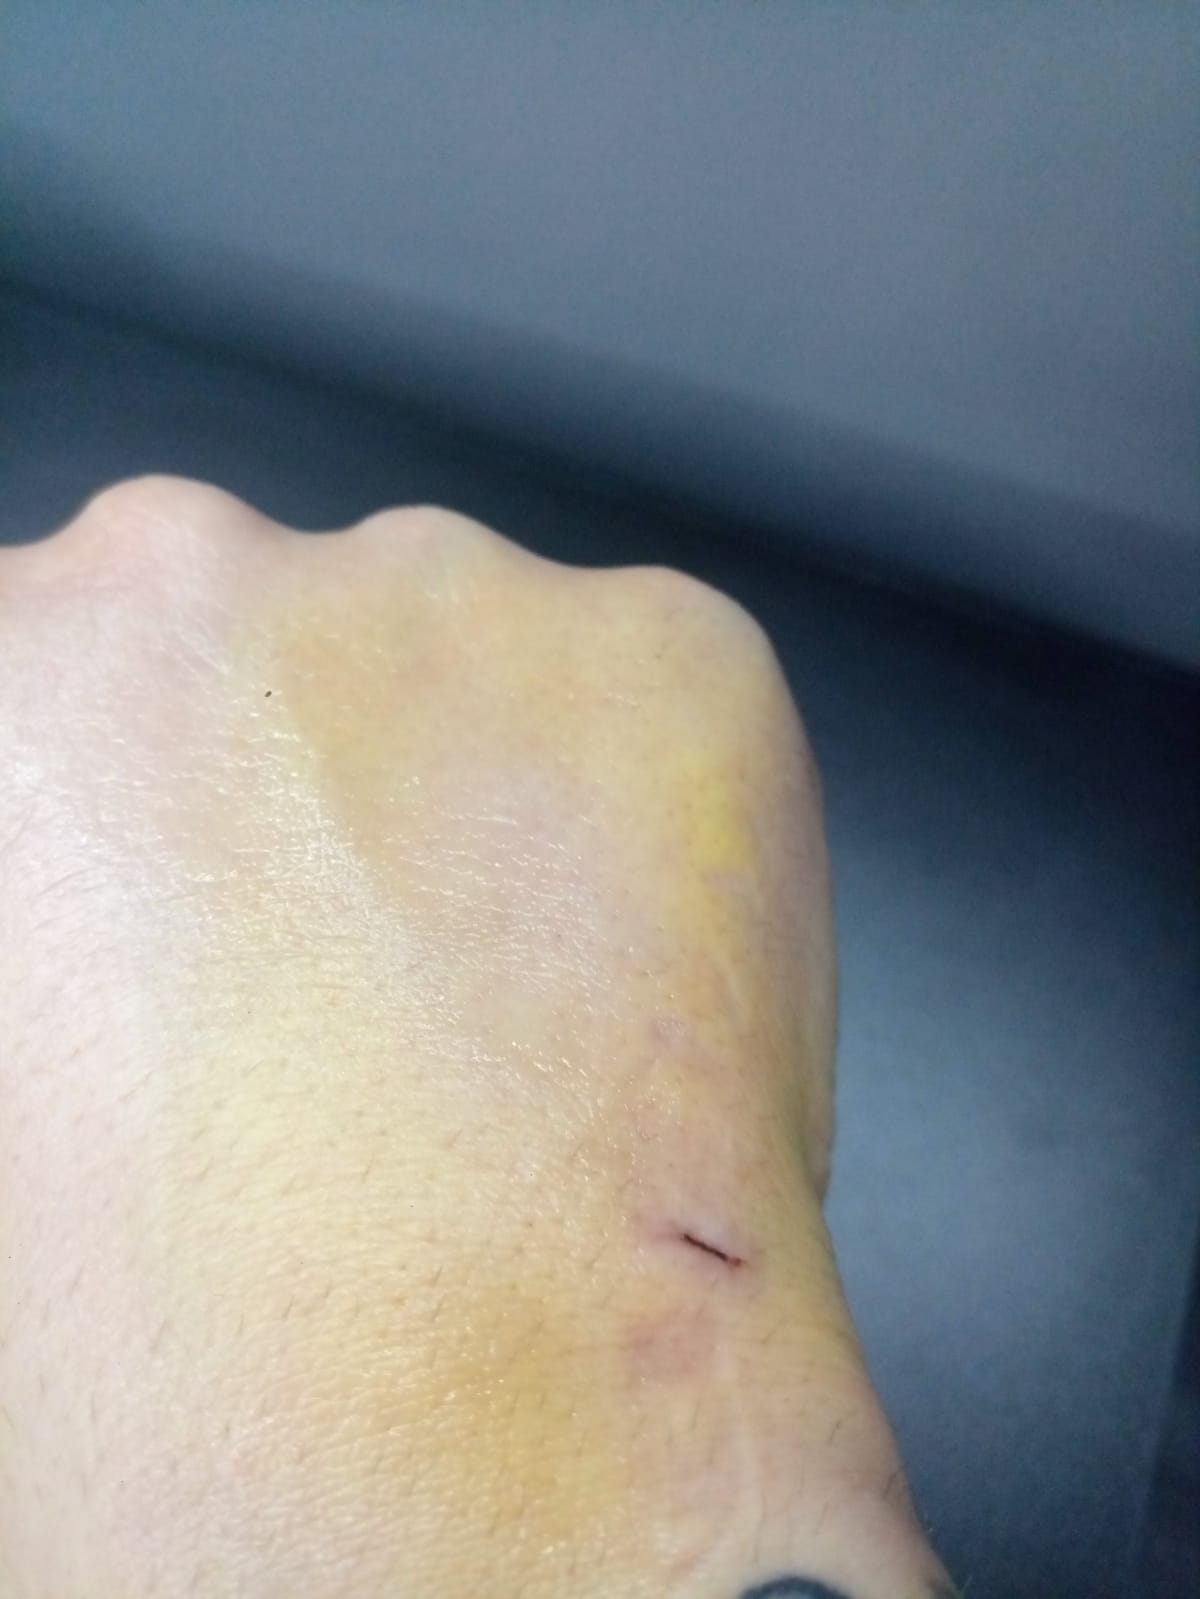
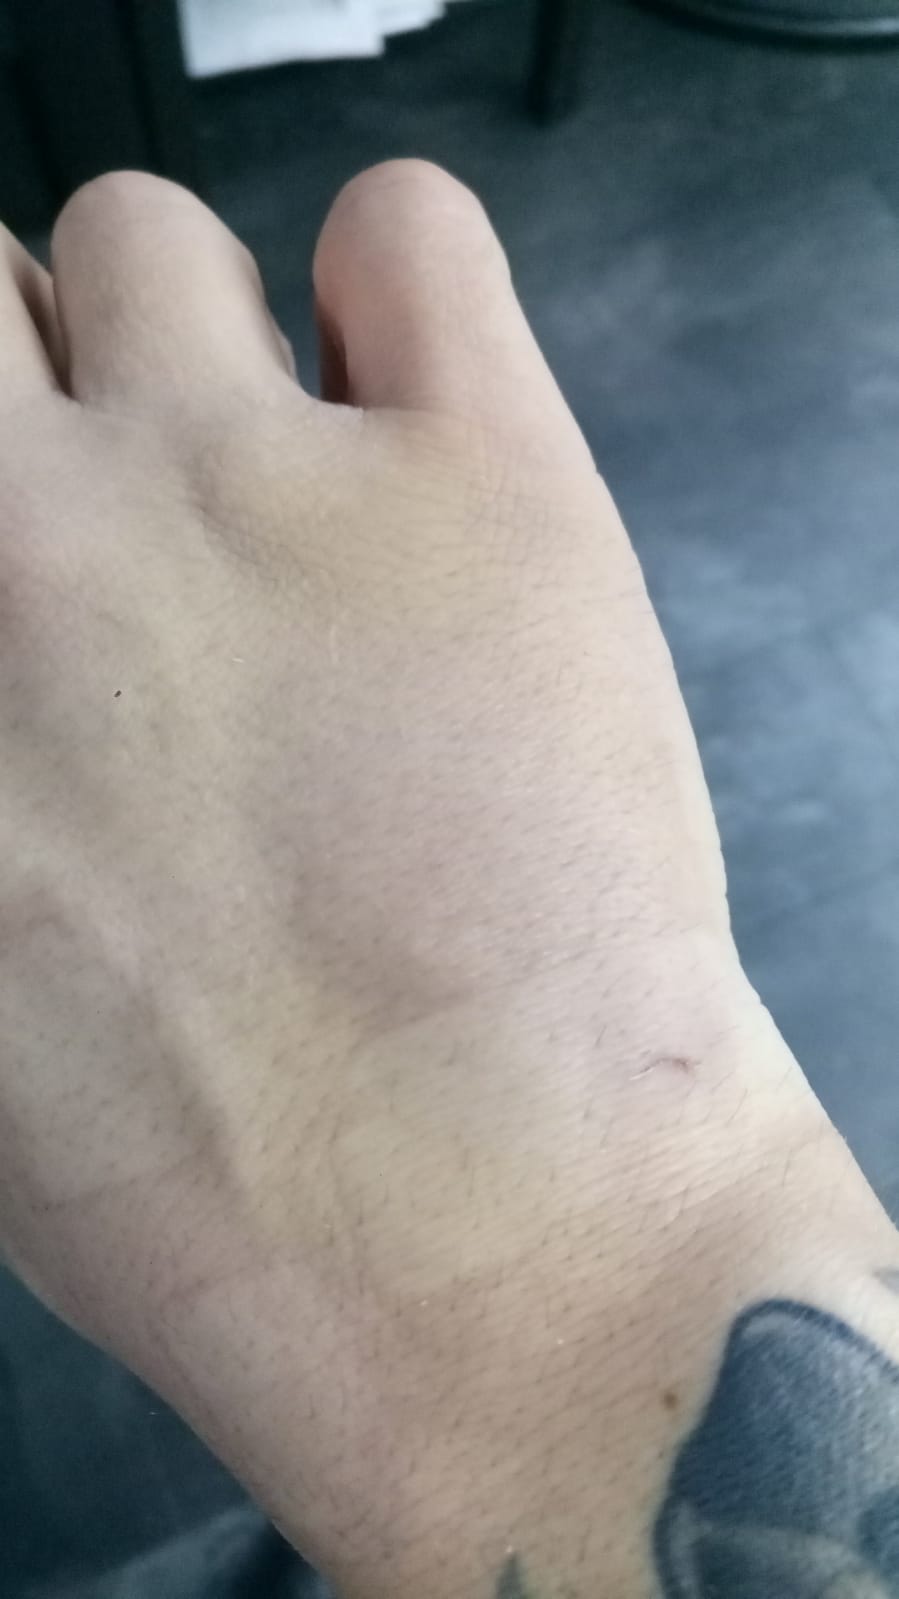
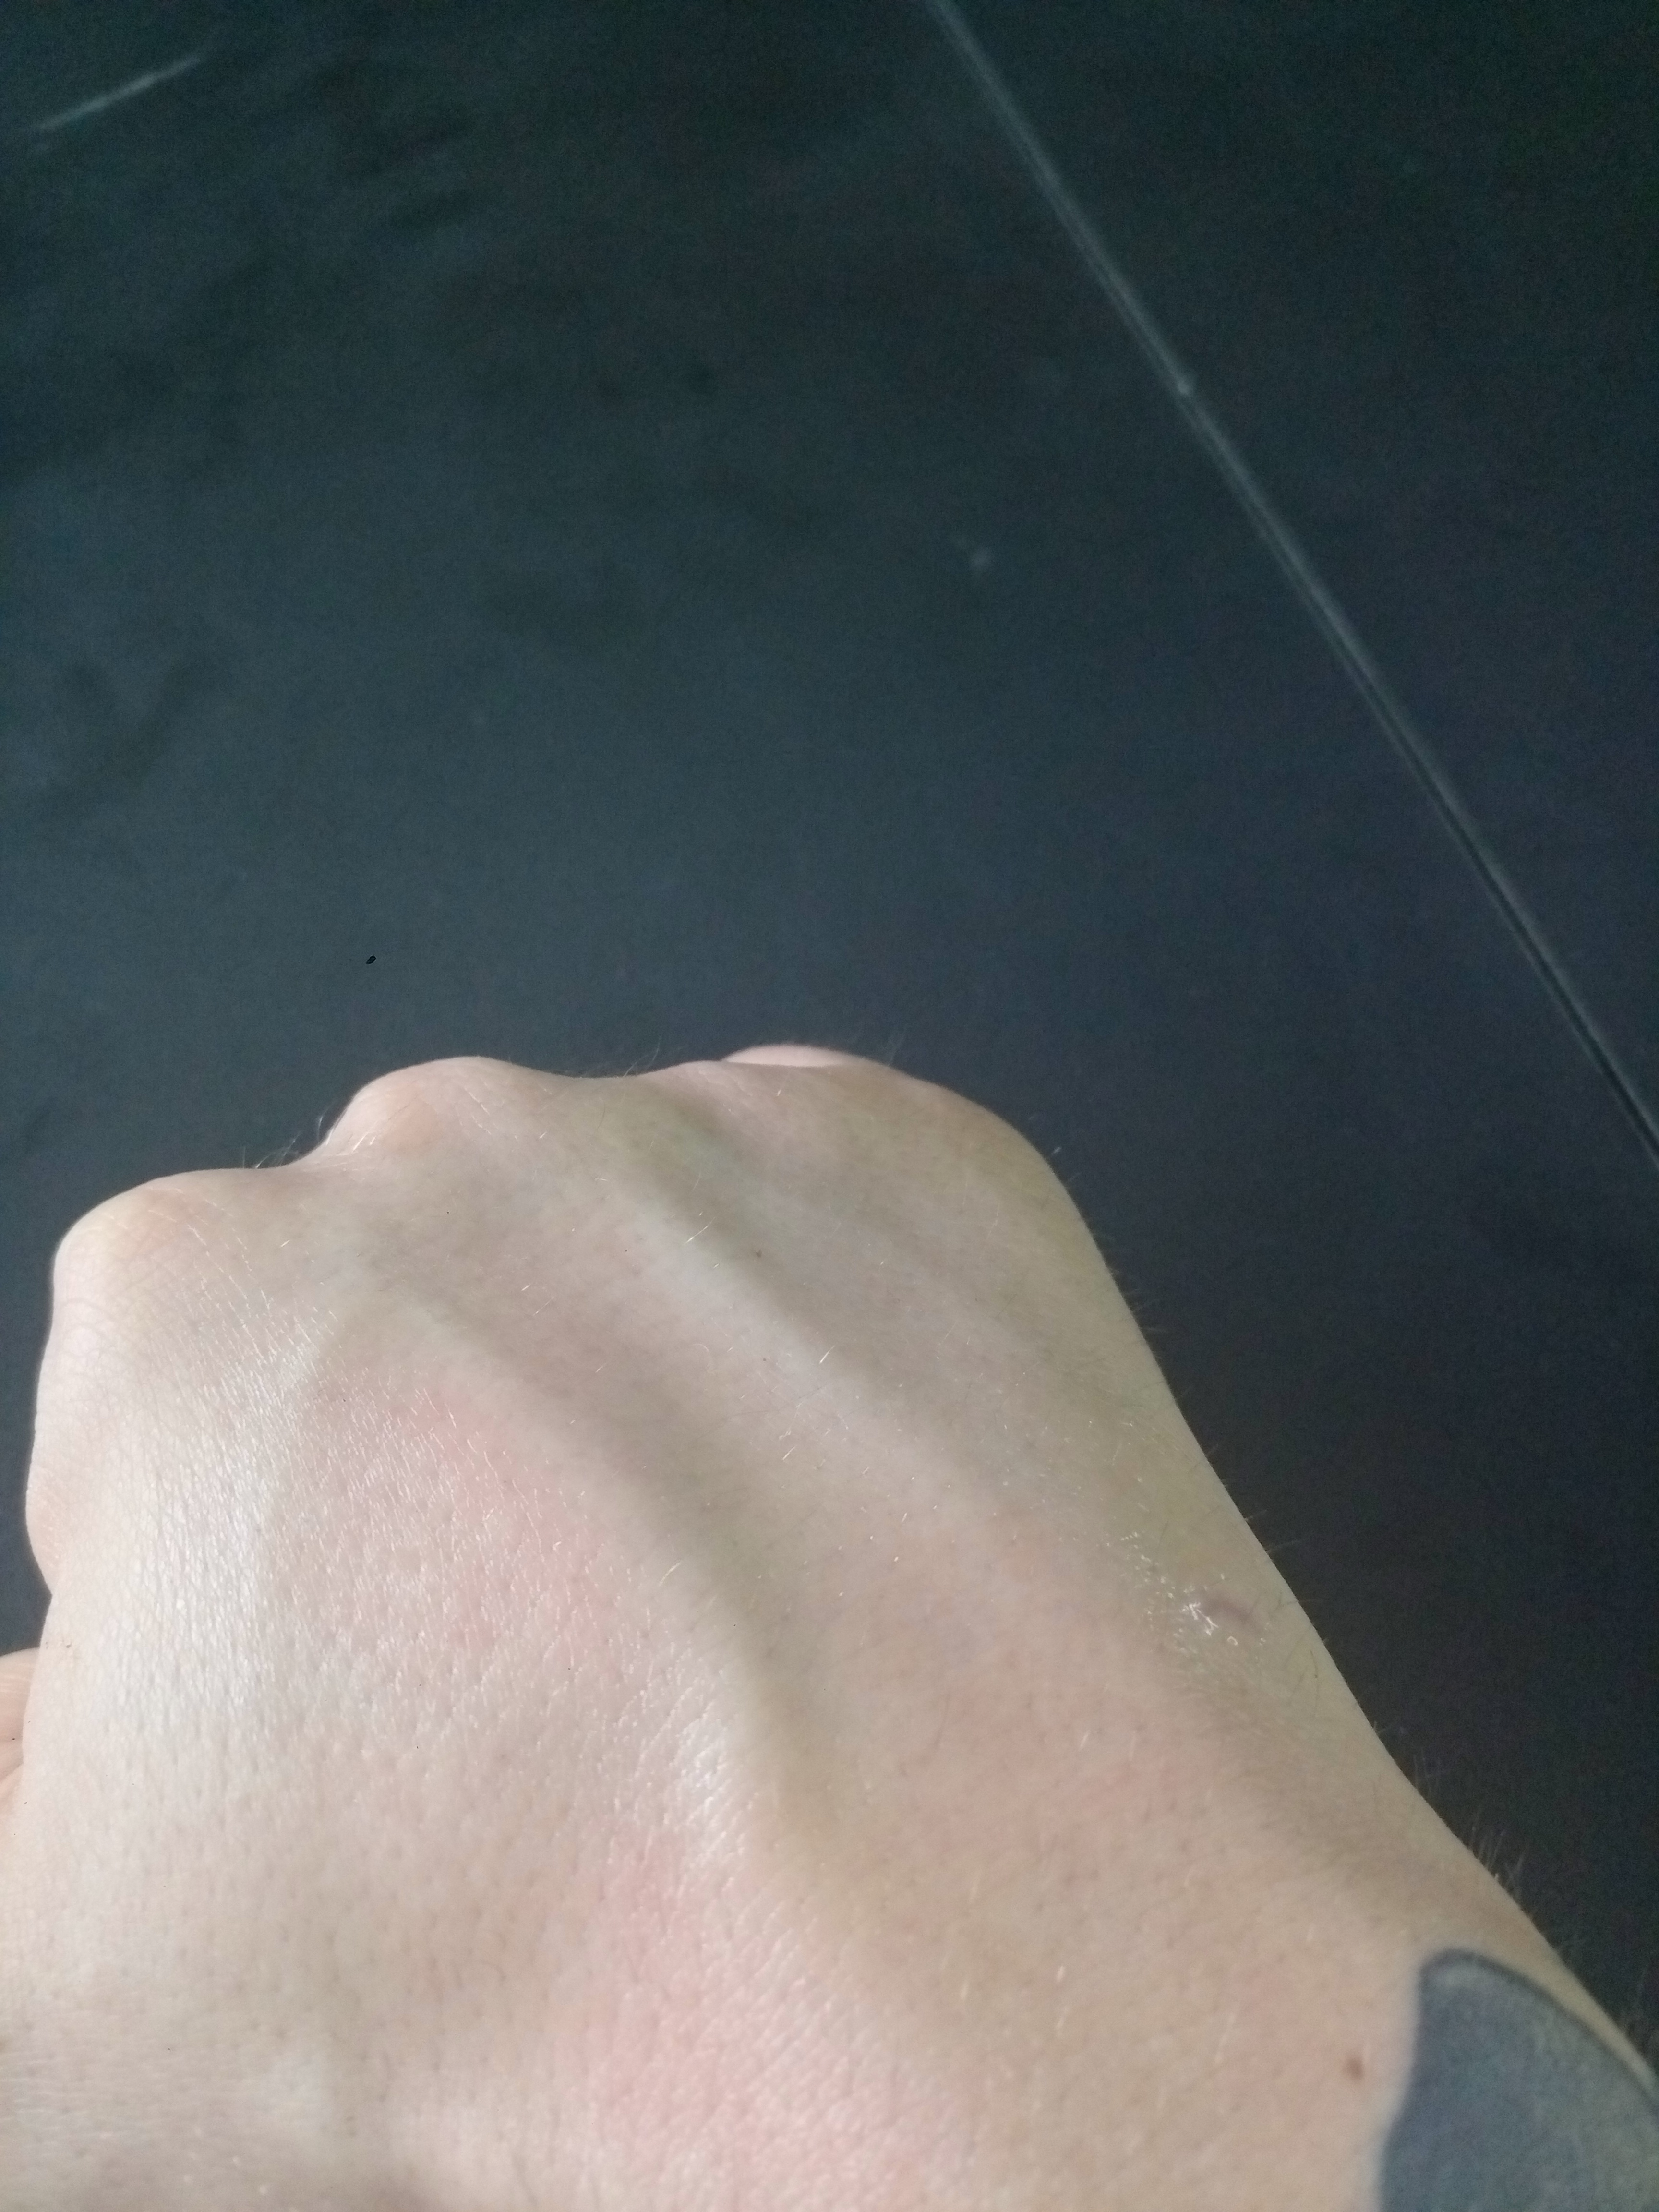
Day 3
Redness jumped straight to Yellow.
For my body this is a good progress.

I’m still keeping my hand in the splint at all times except when addressing the bandages.
Last day of keeping my hand high almost all the time.
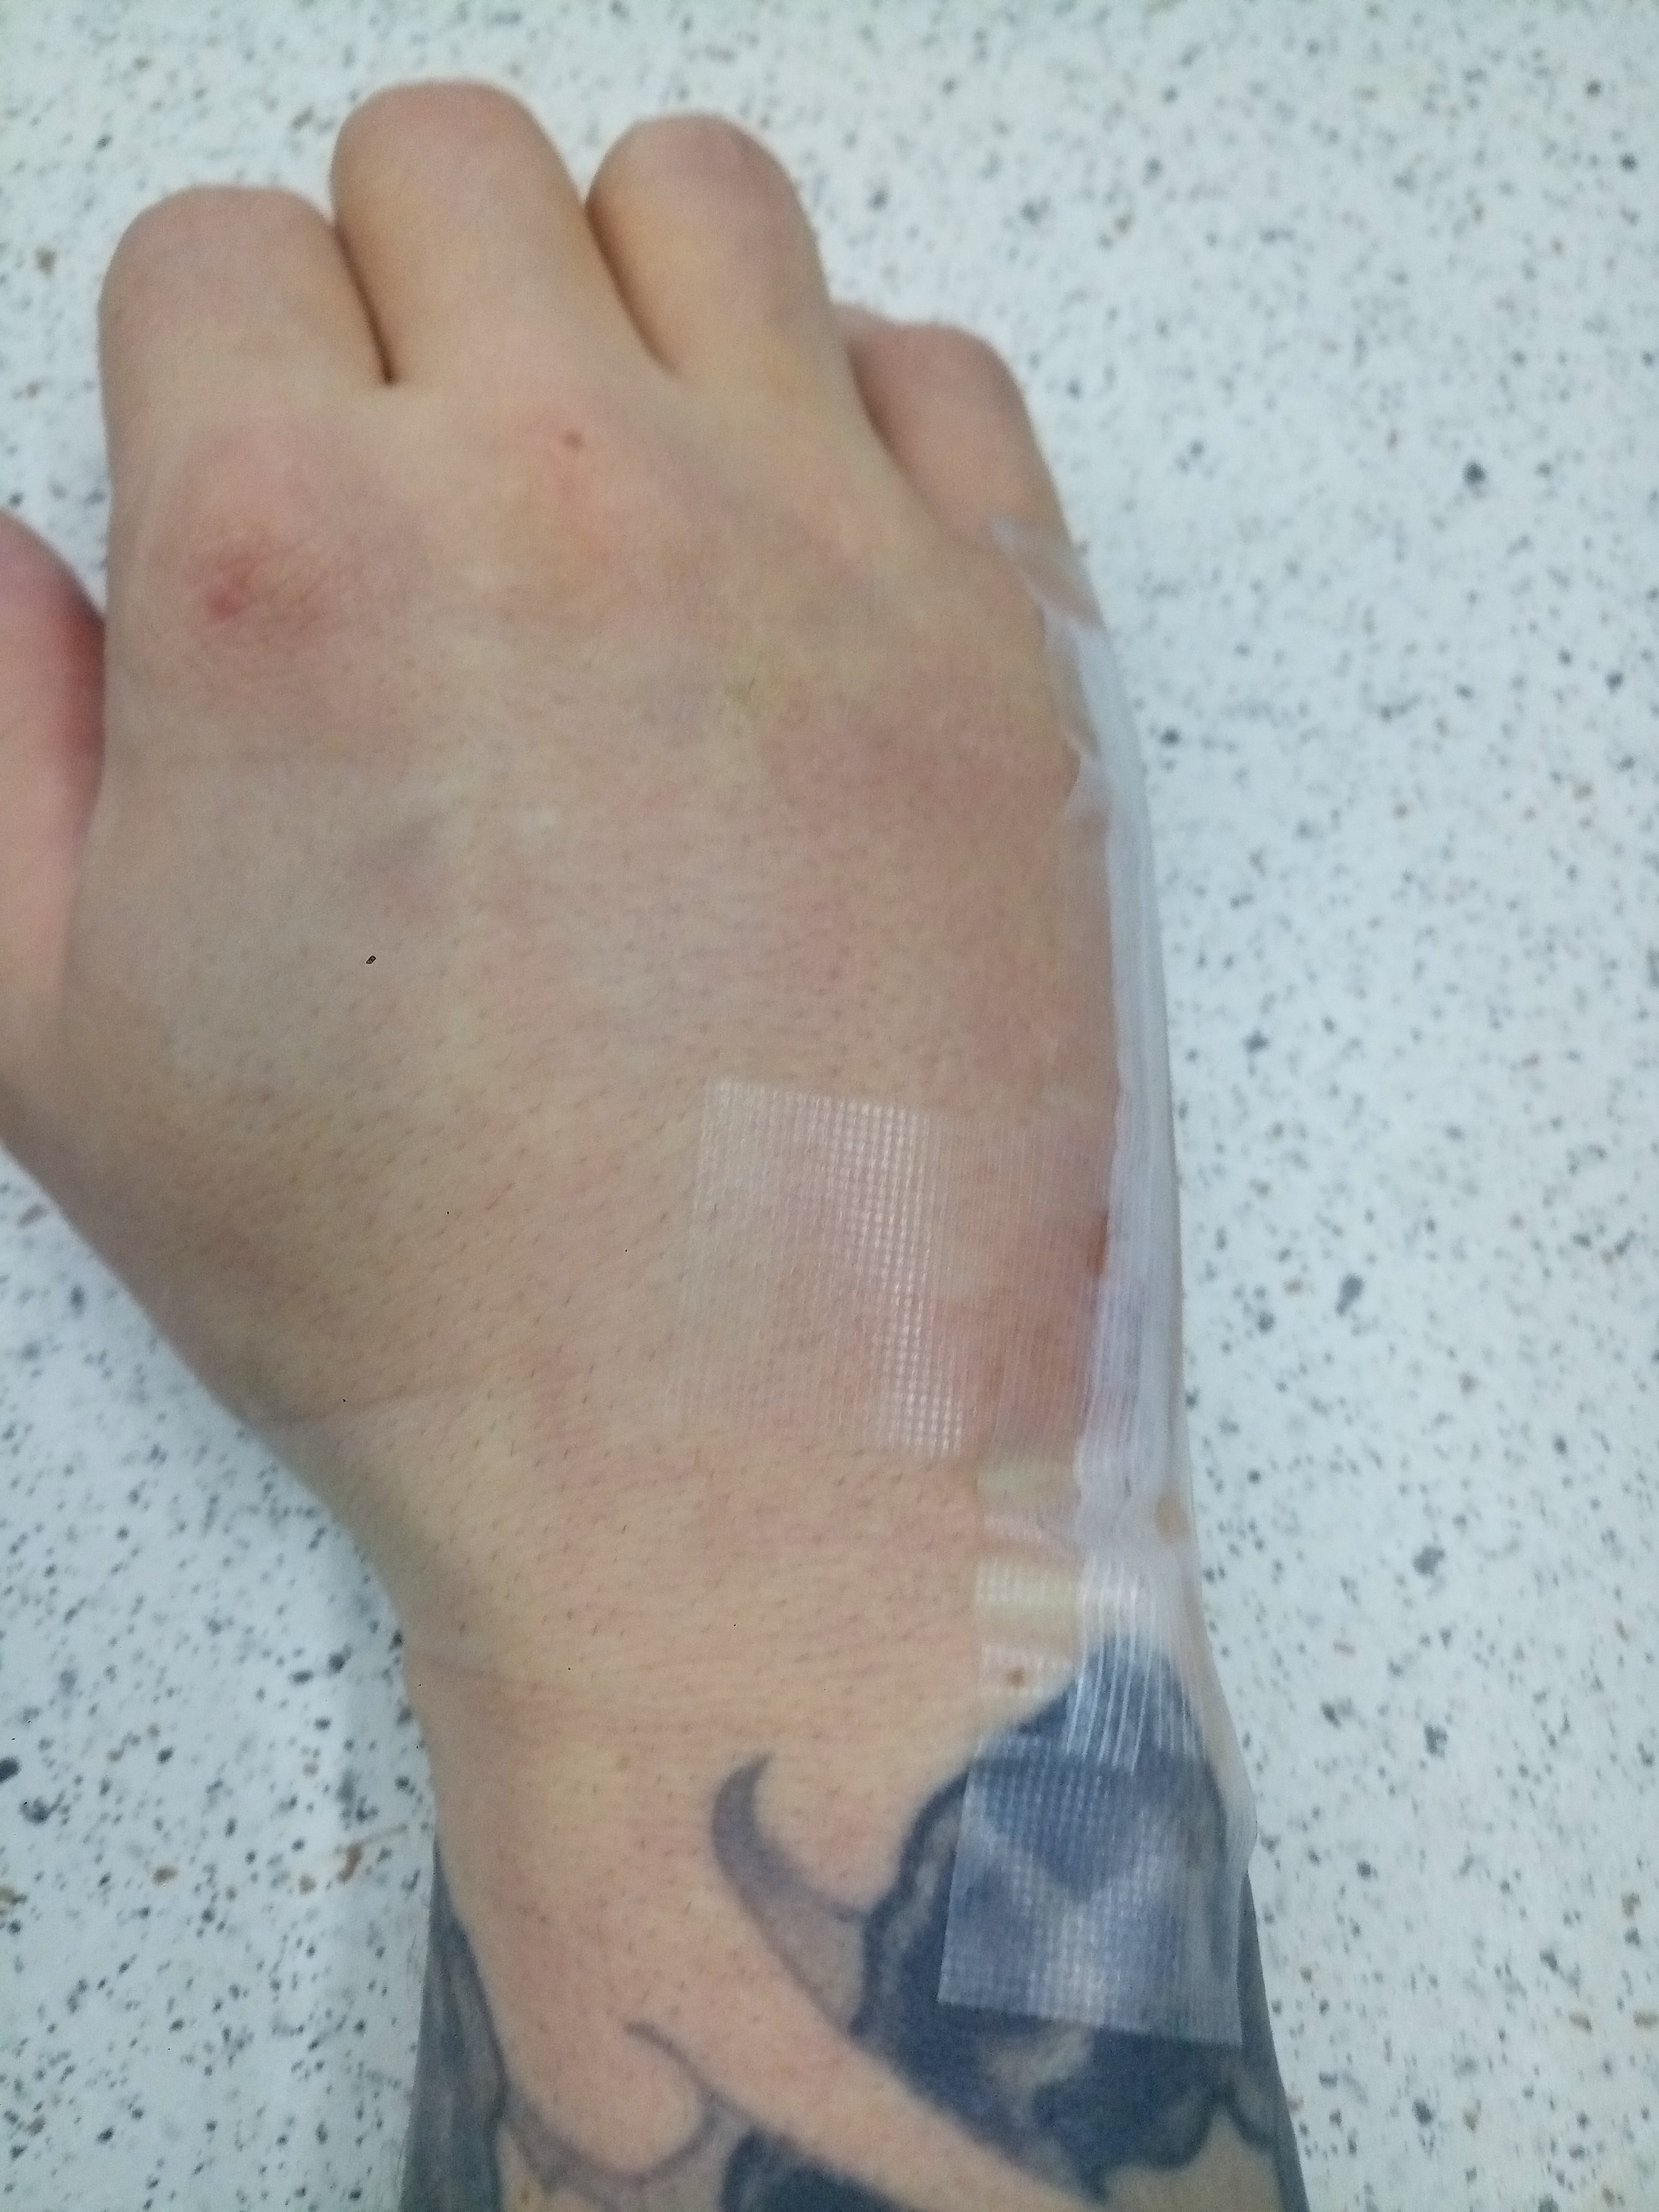
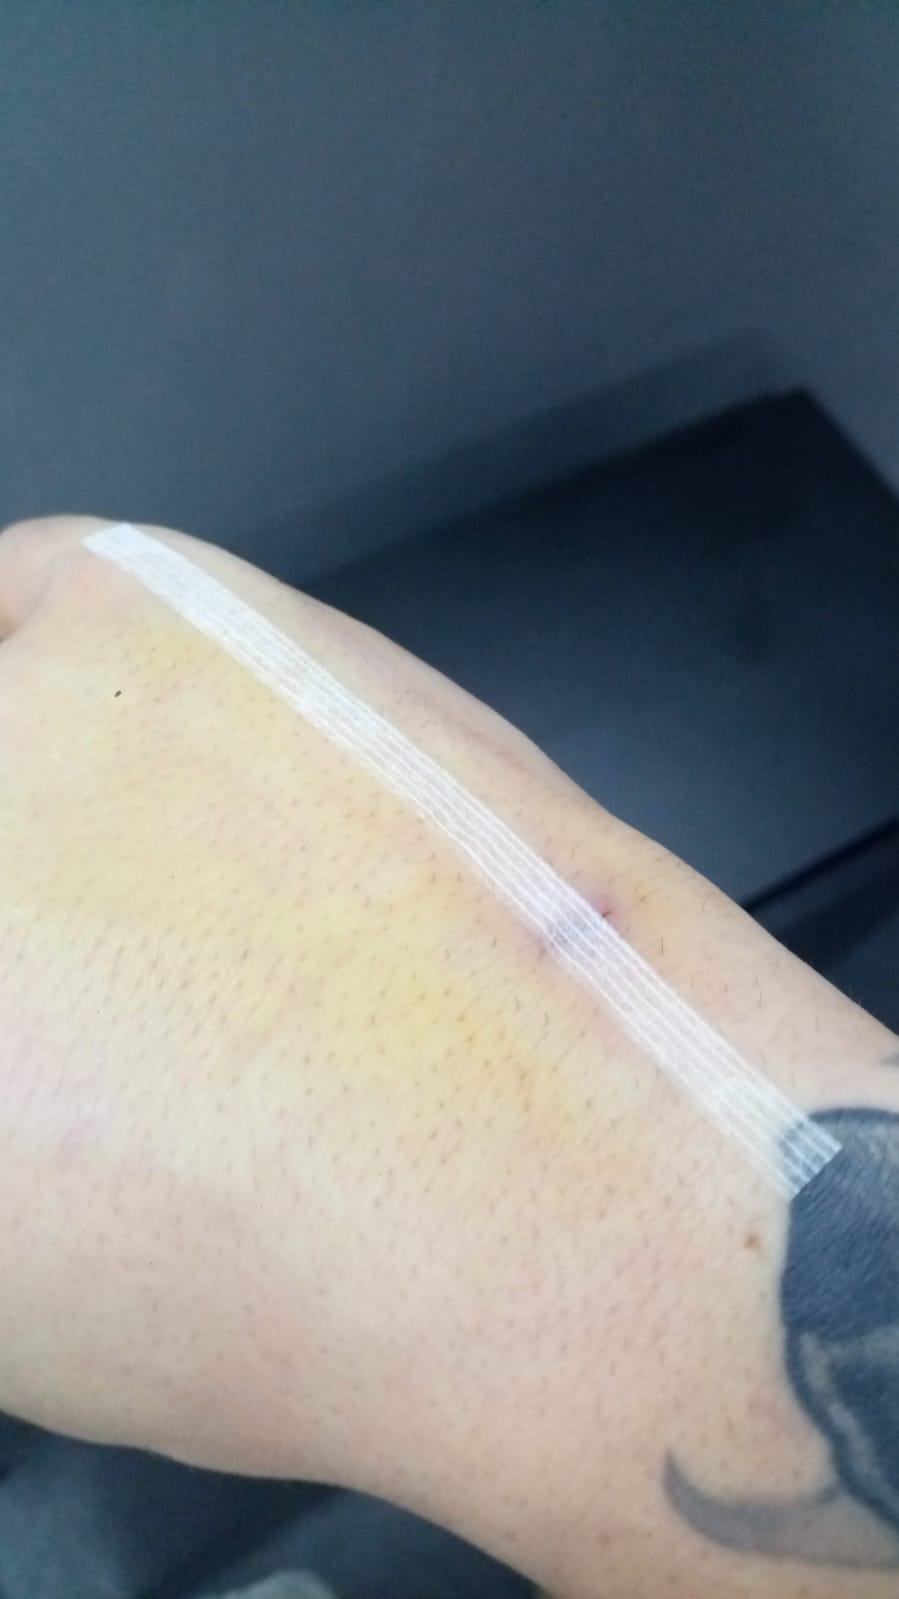
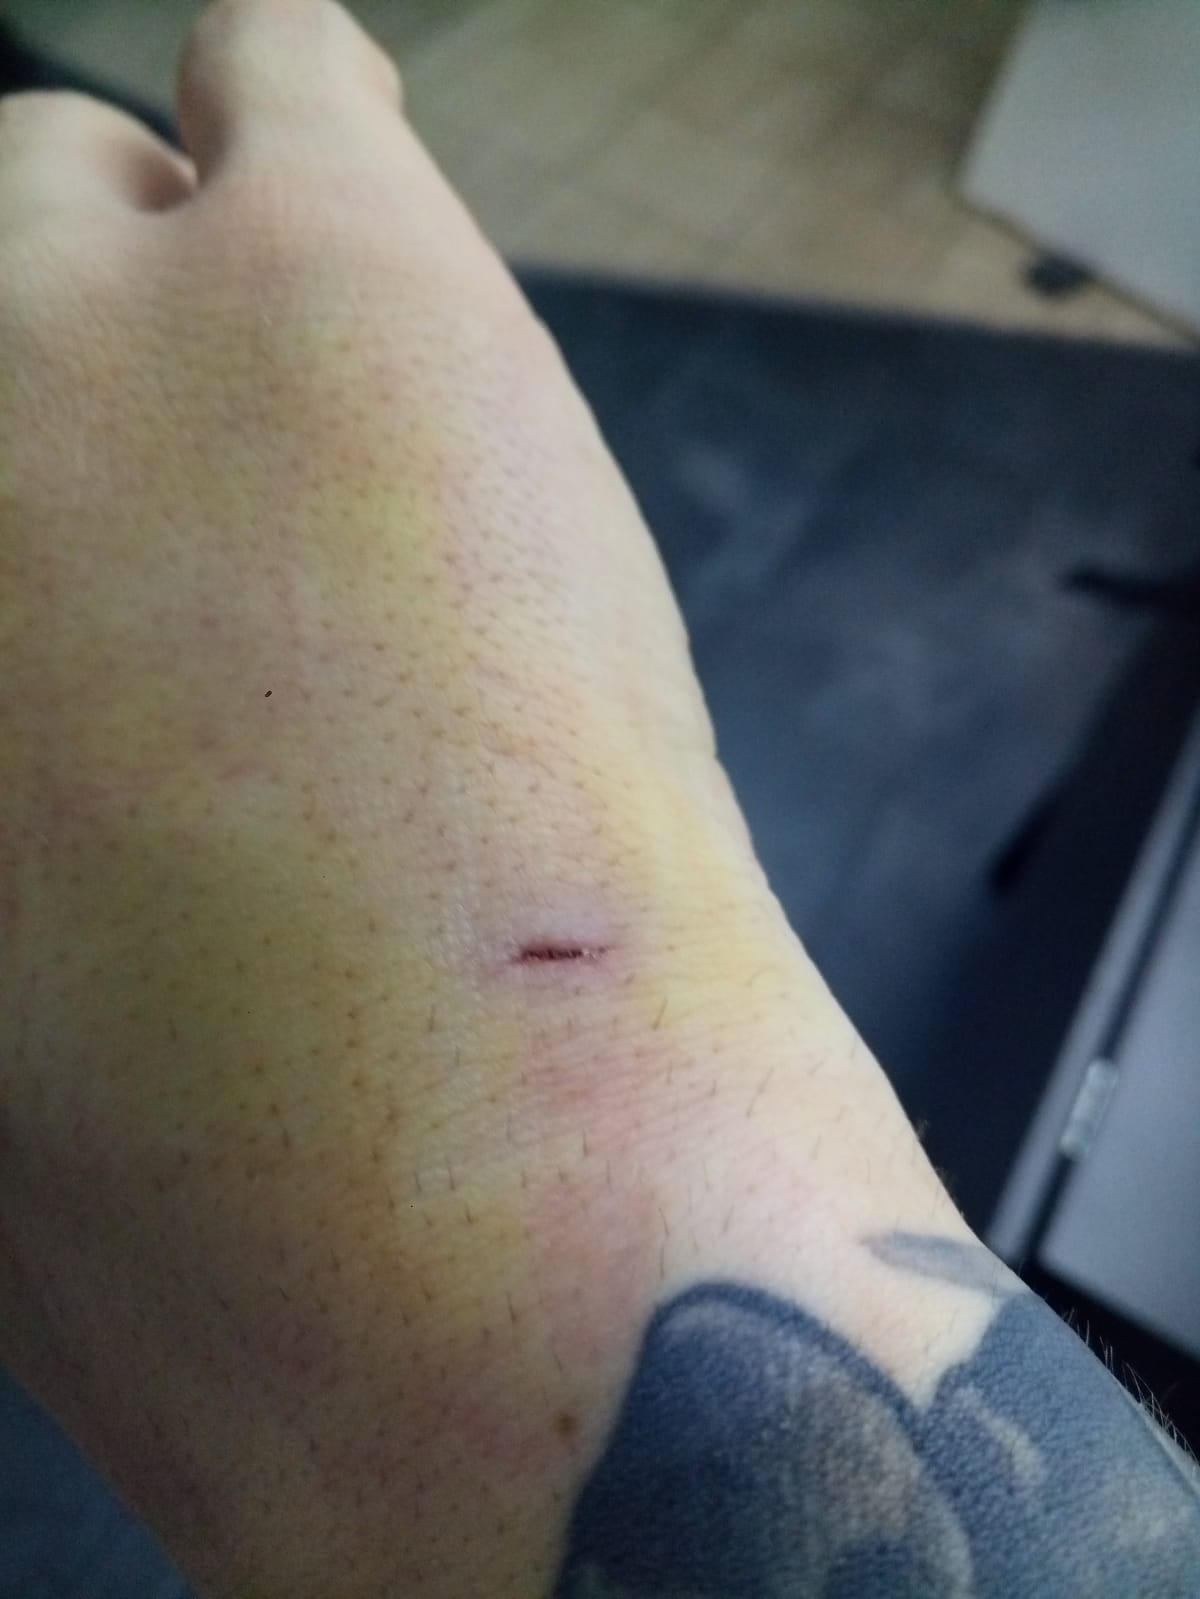
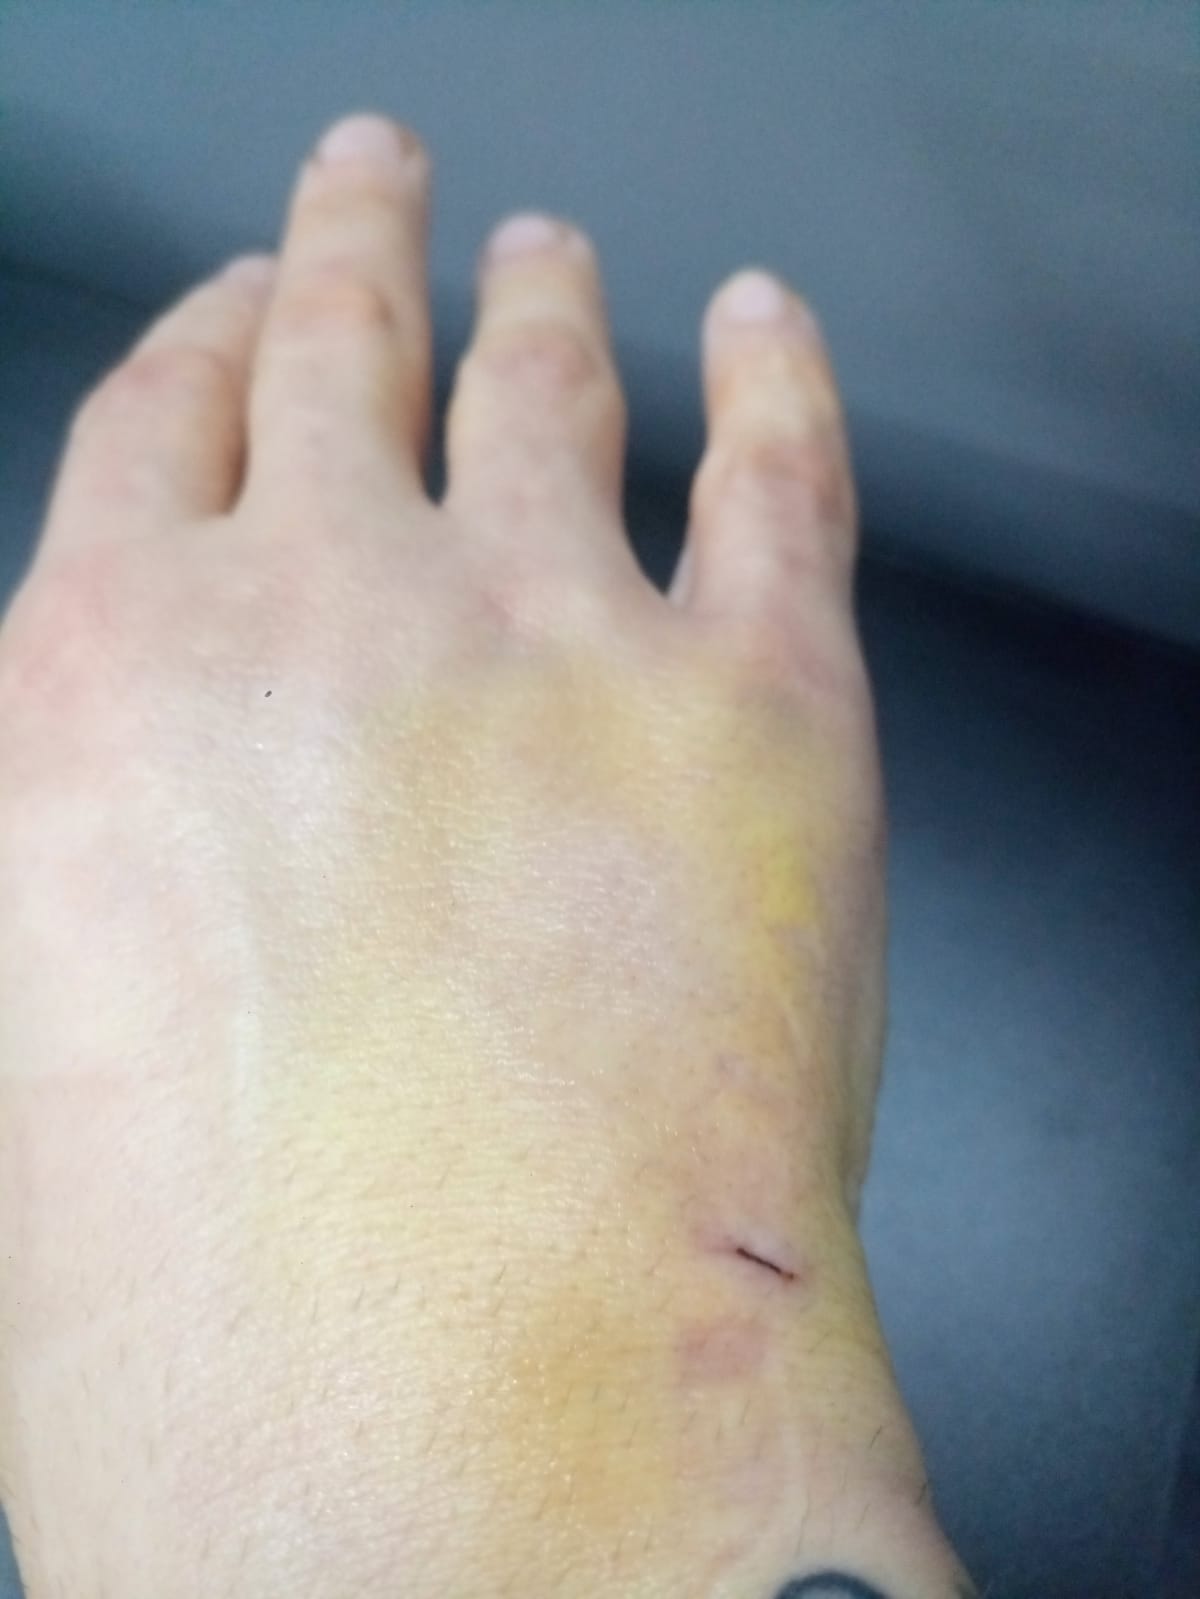
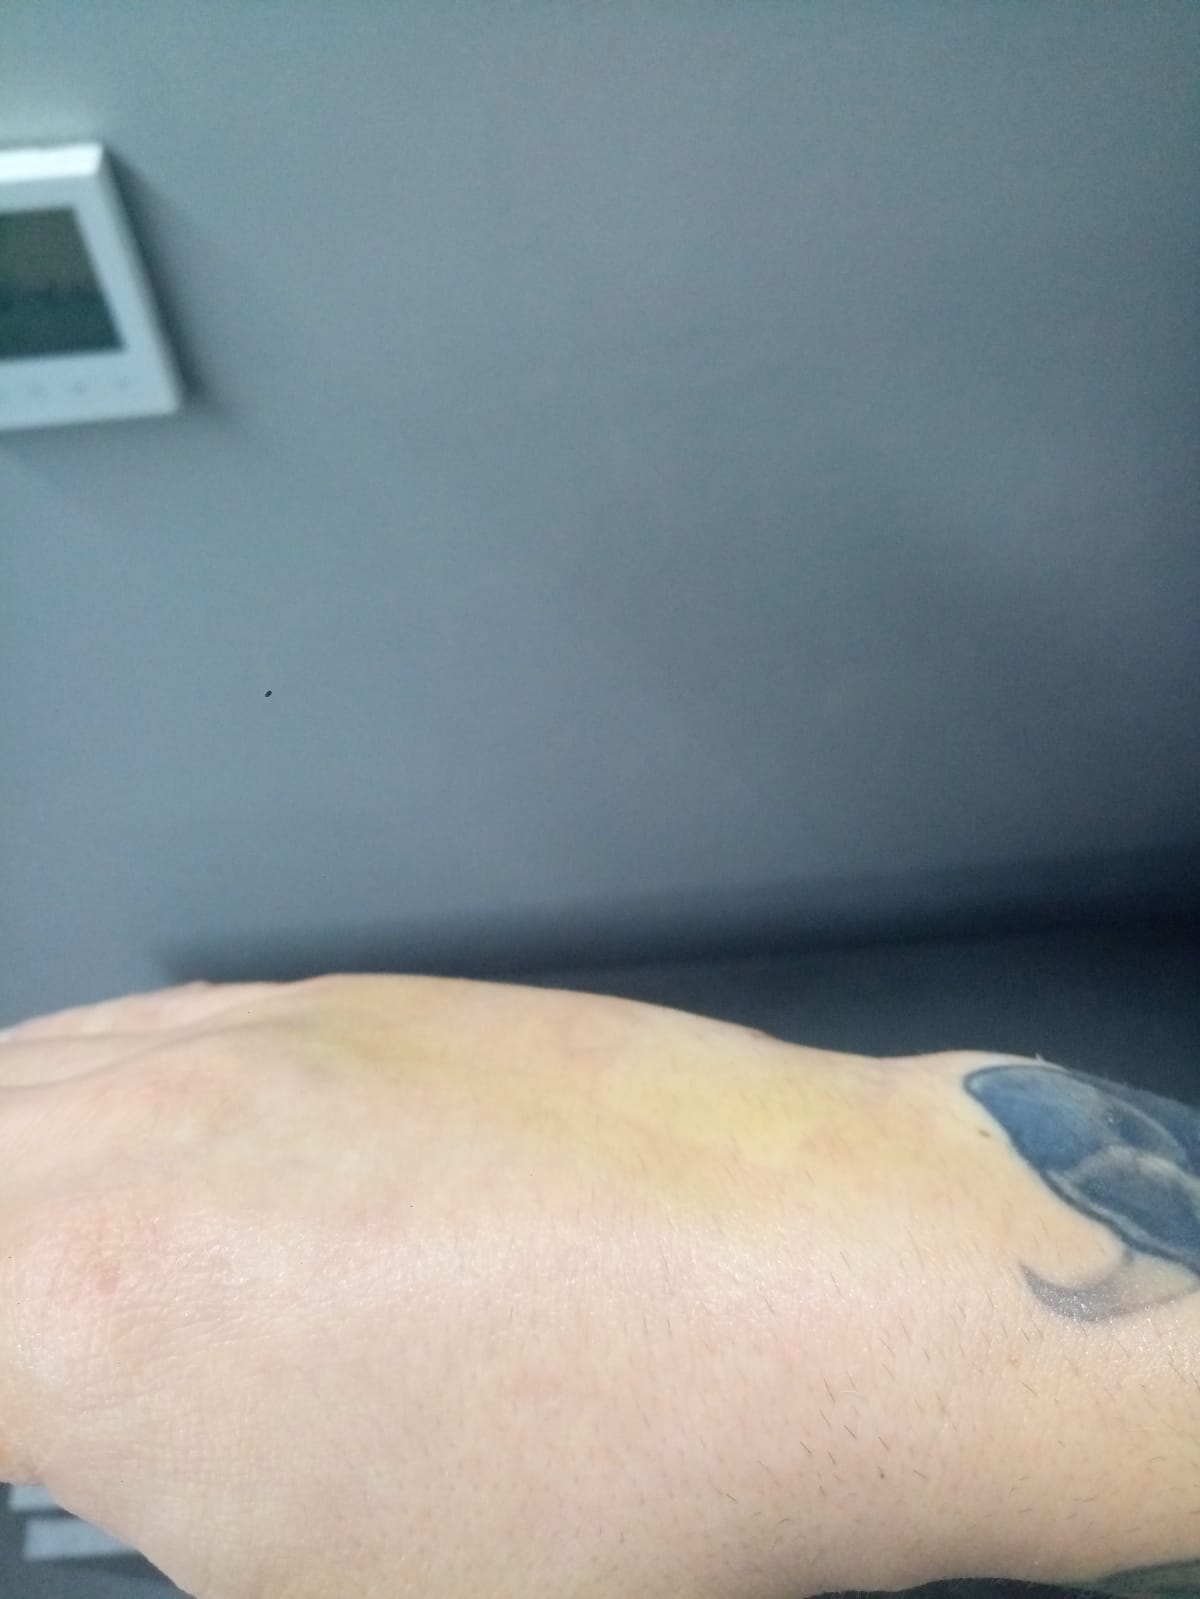
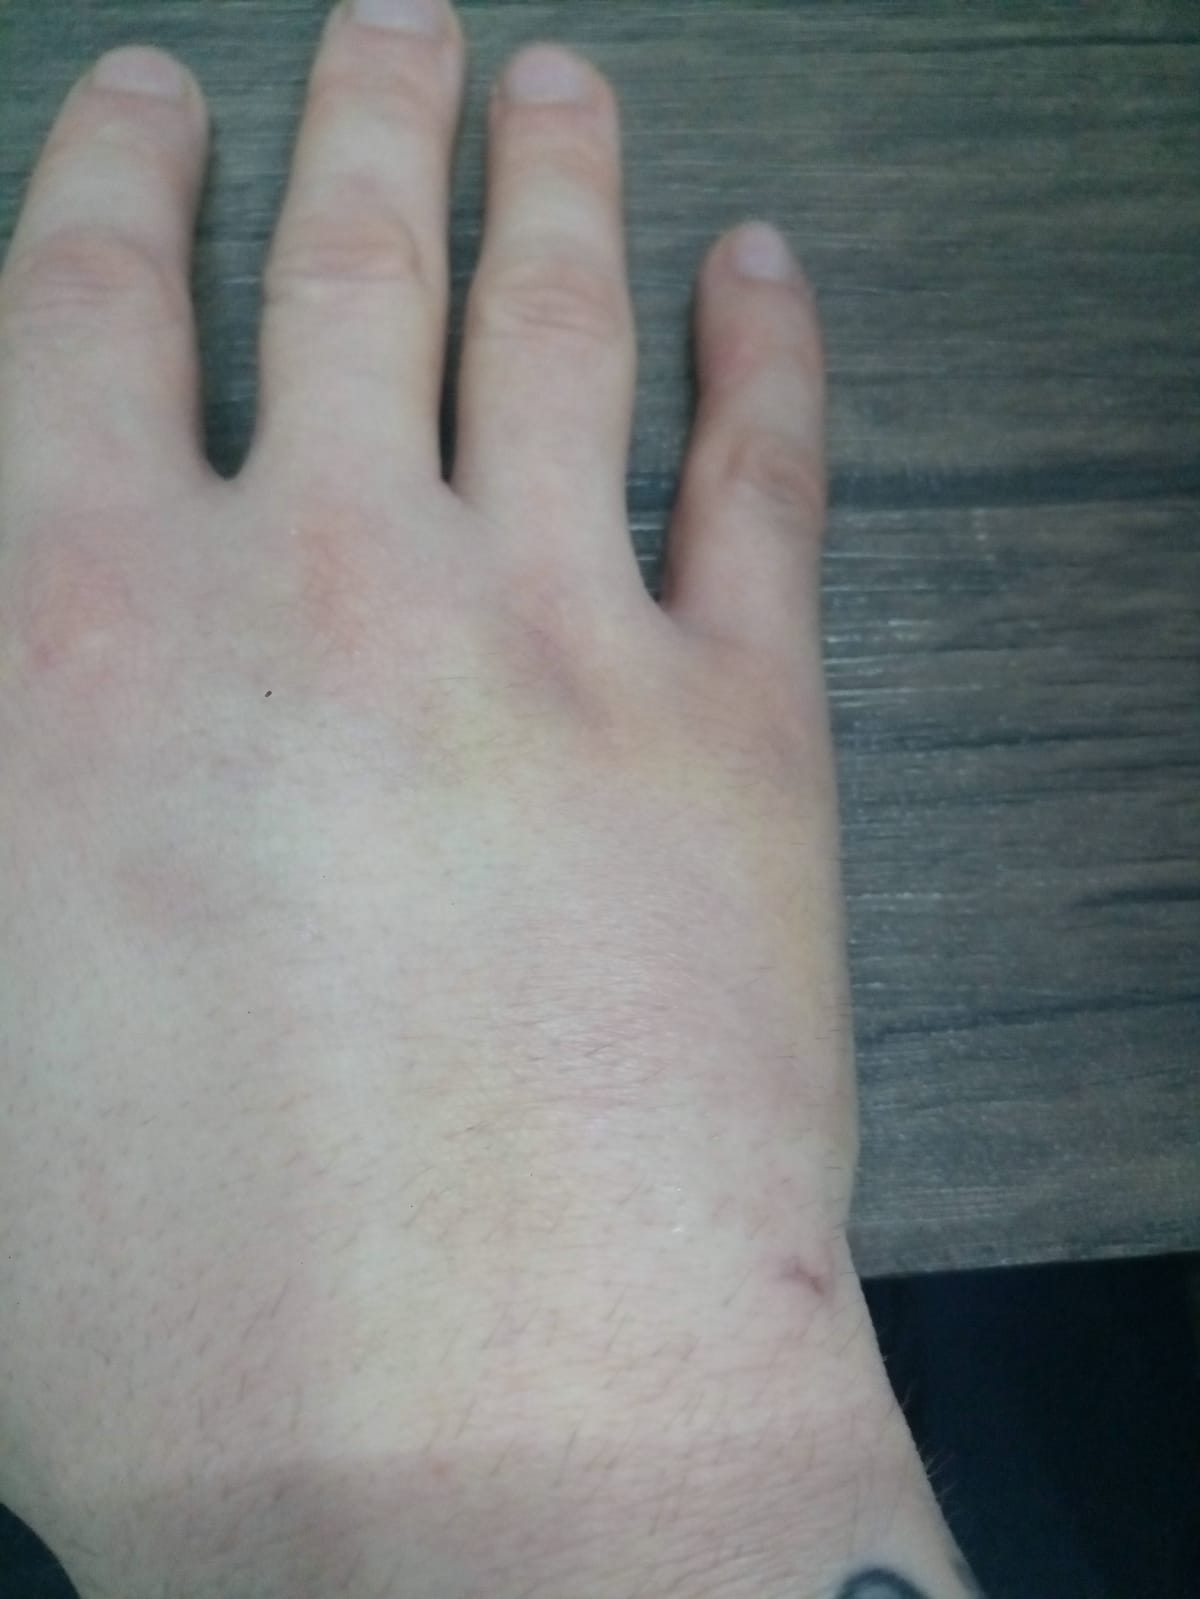
Day 4
Today the wound was sealed enough that I could pause the cleaning procedure long enough for some pics.
Swelling went further down.
I also managed to register a nice little test! ![]()

Even a little vid! ![]()
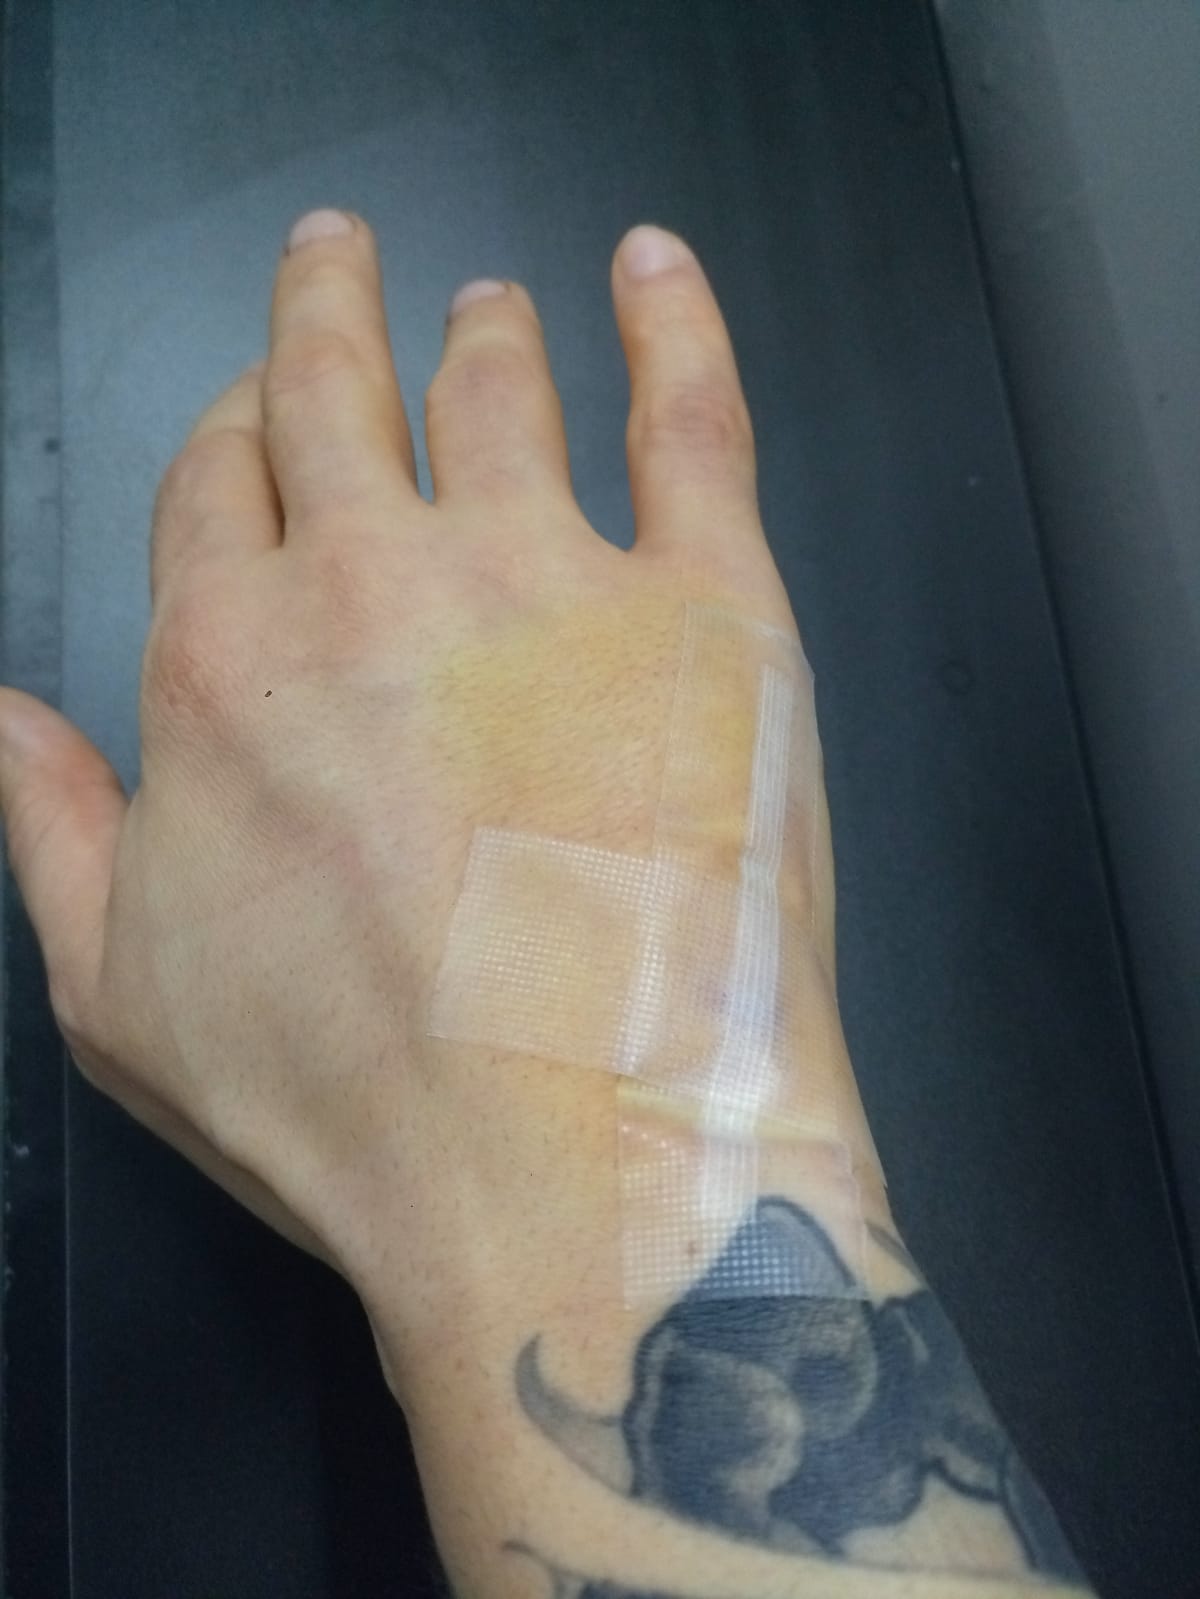
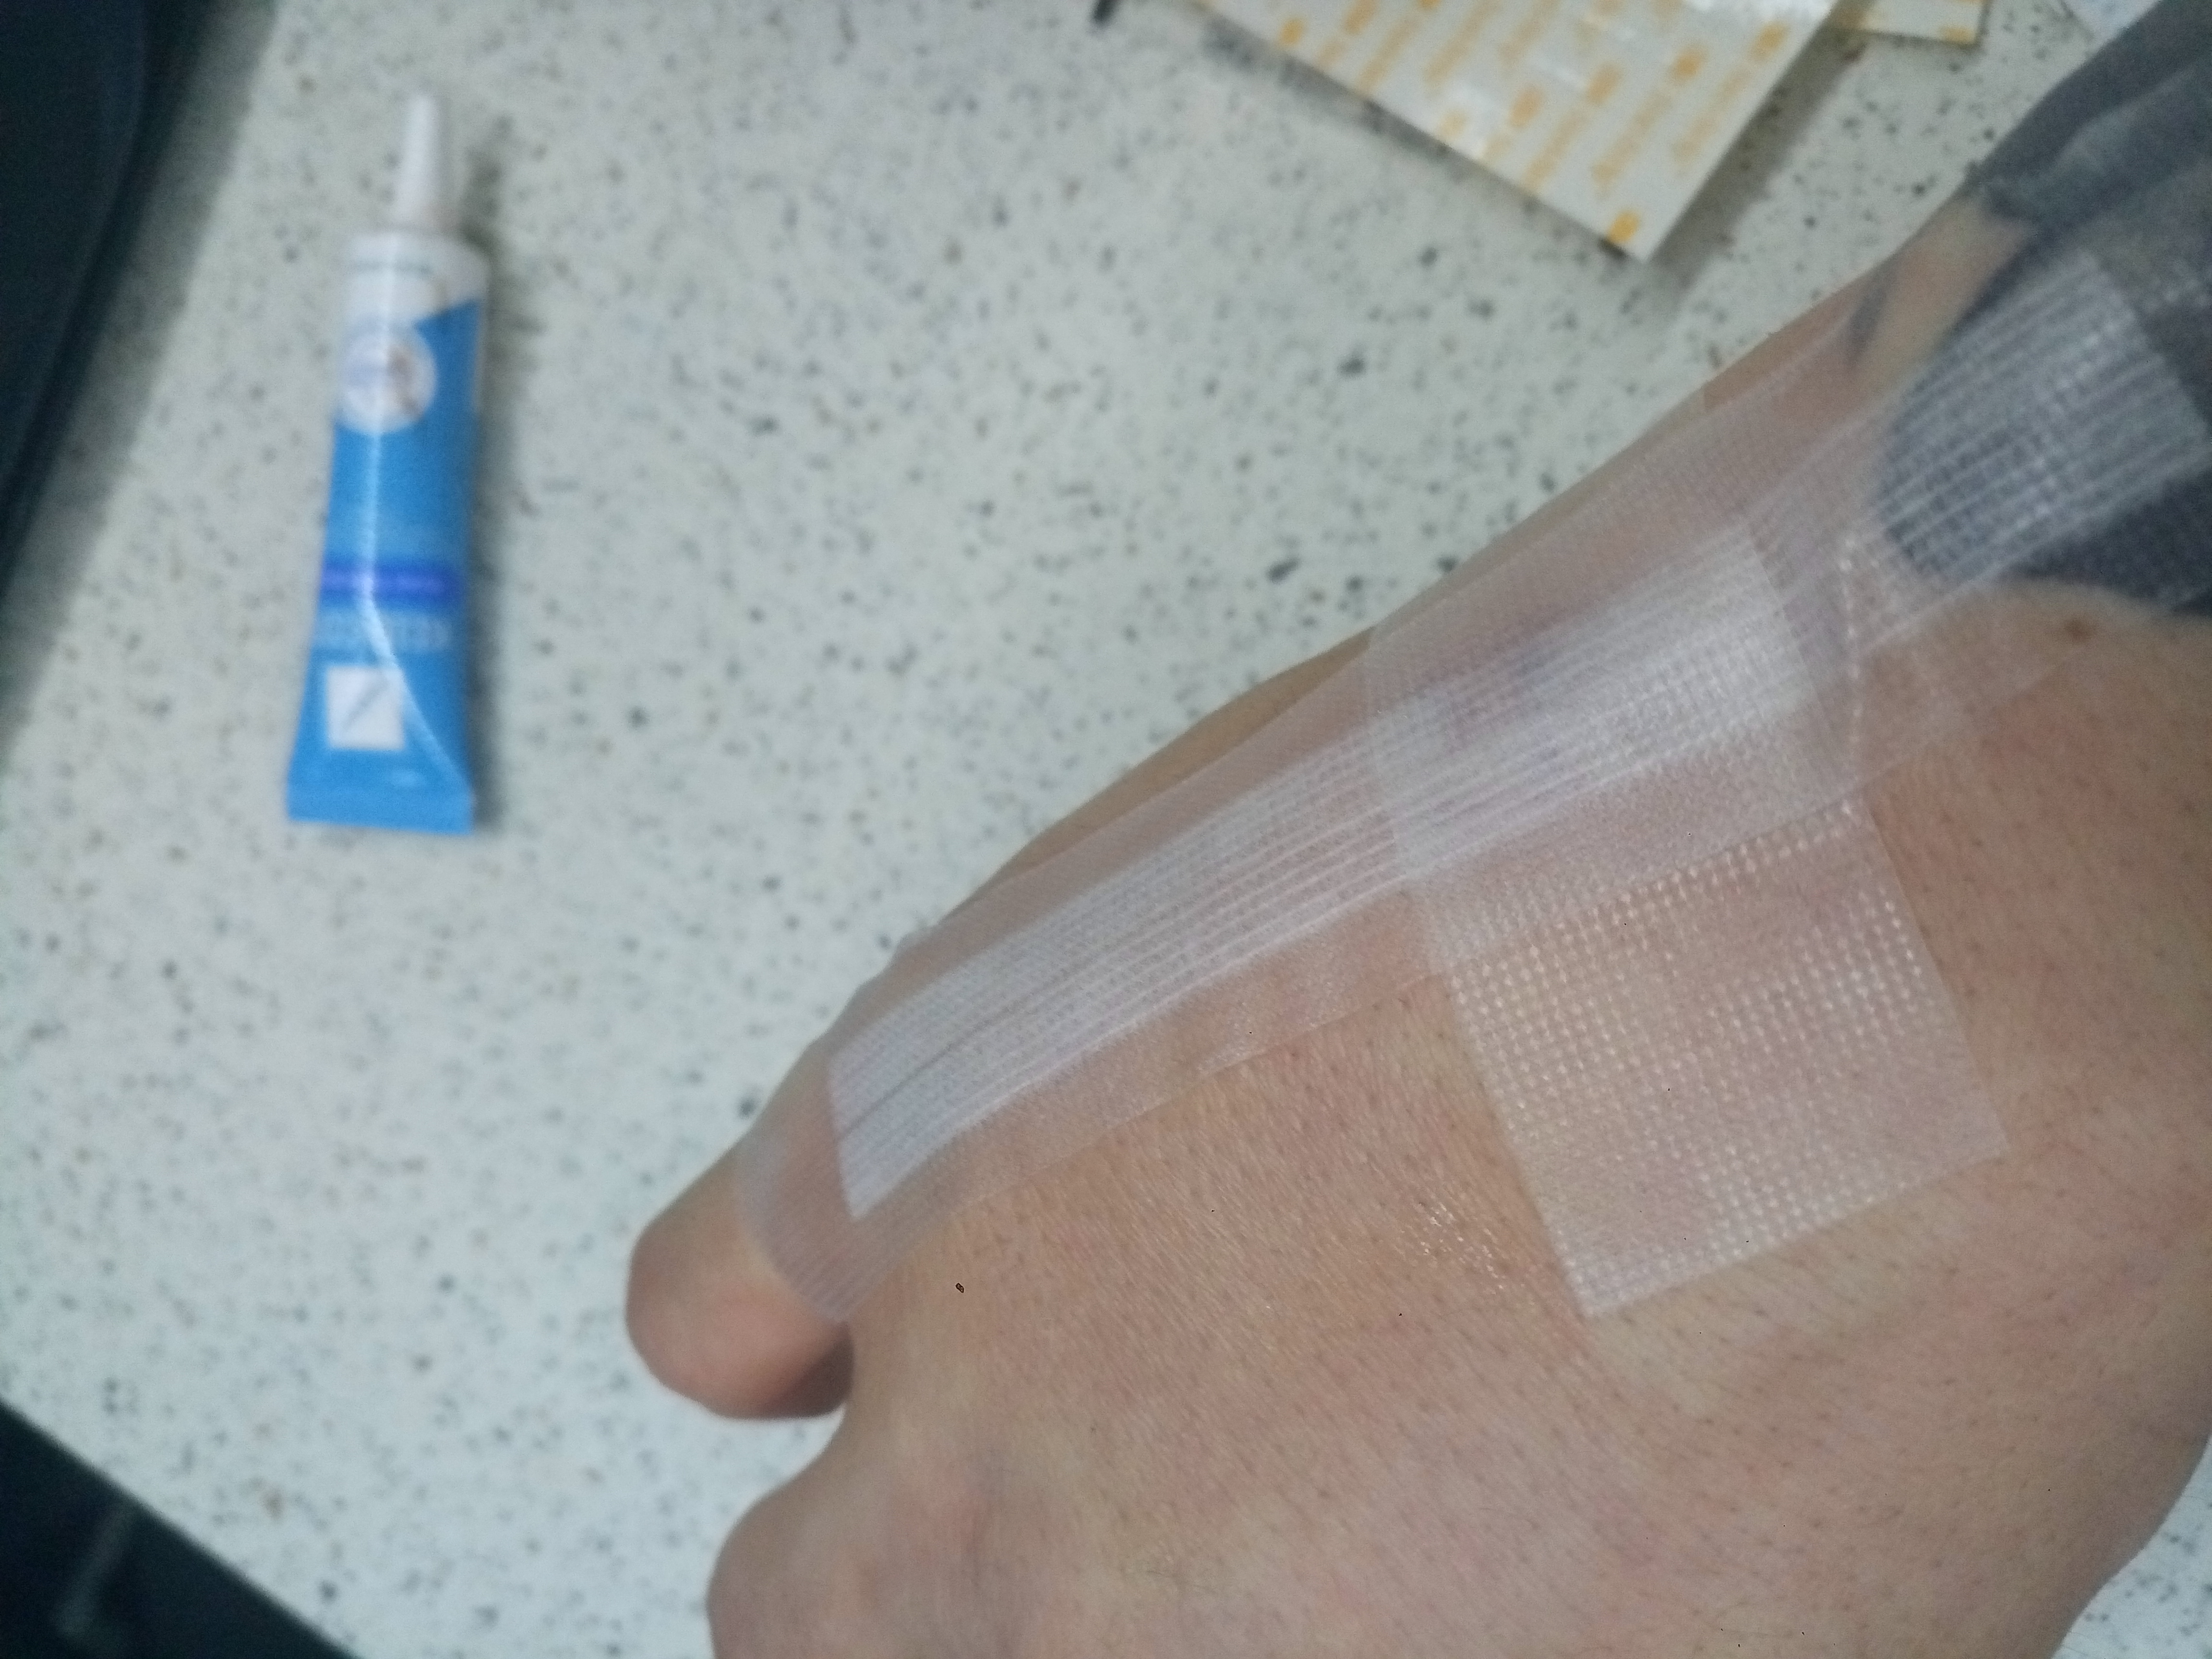
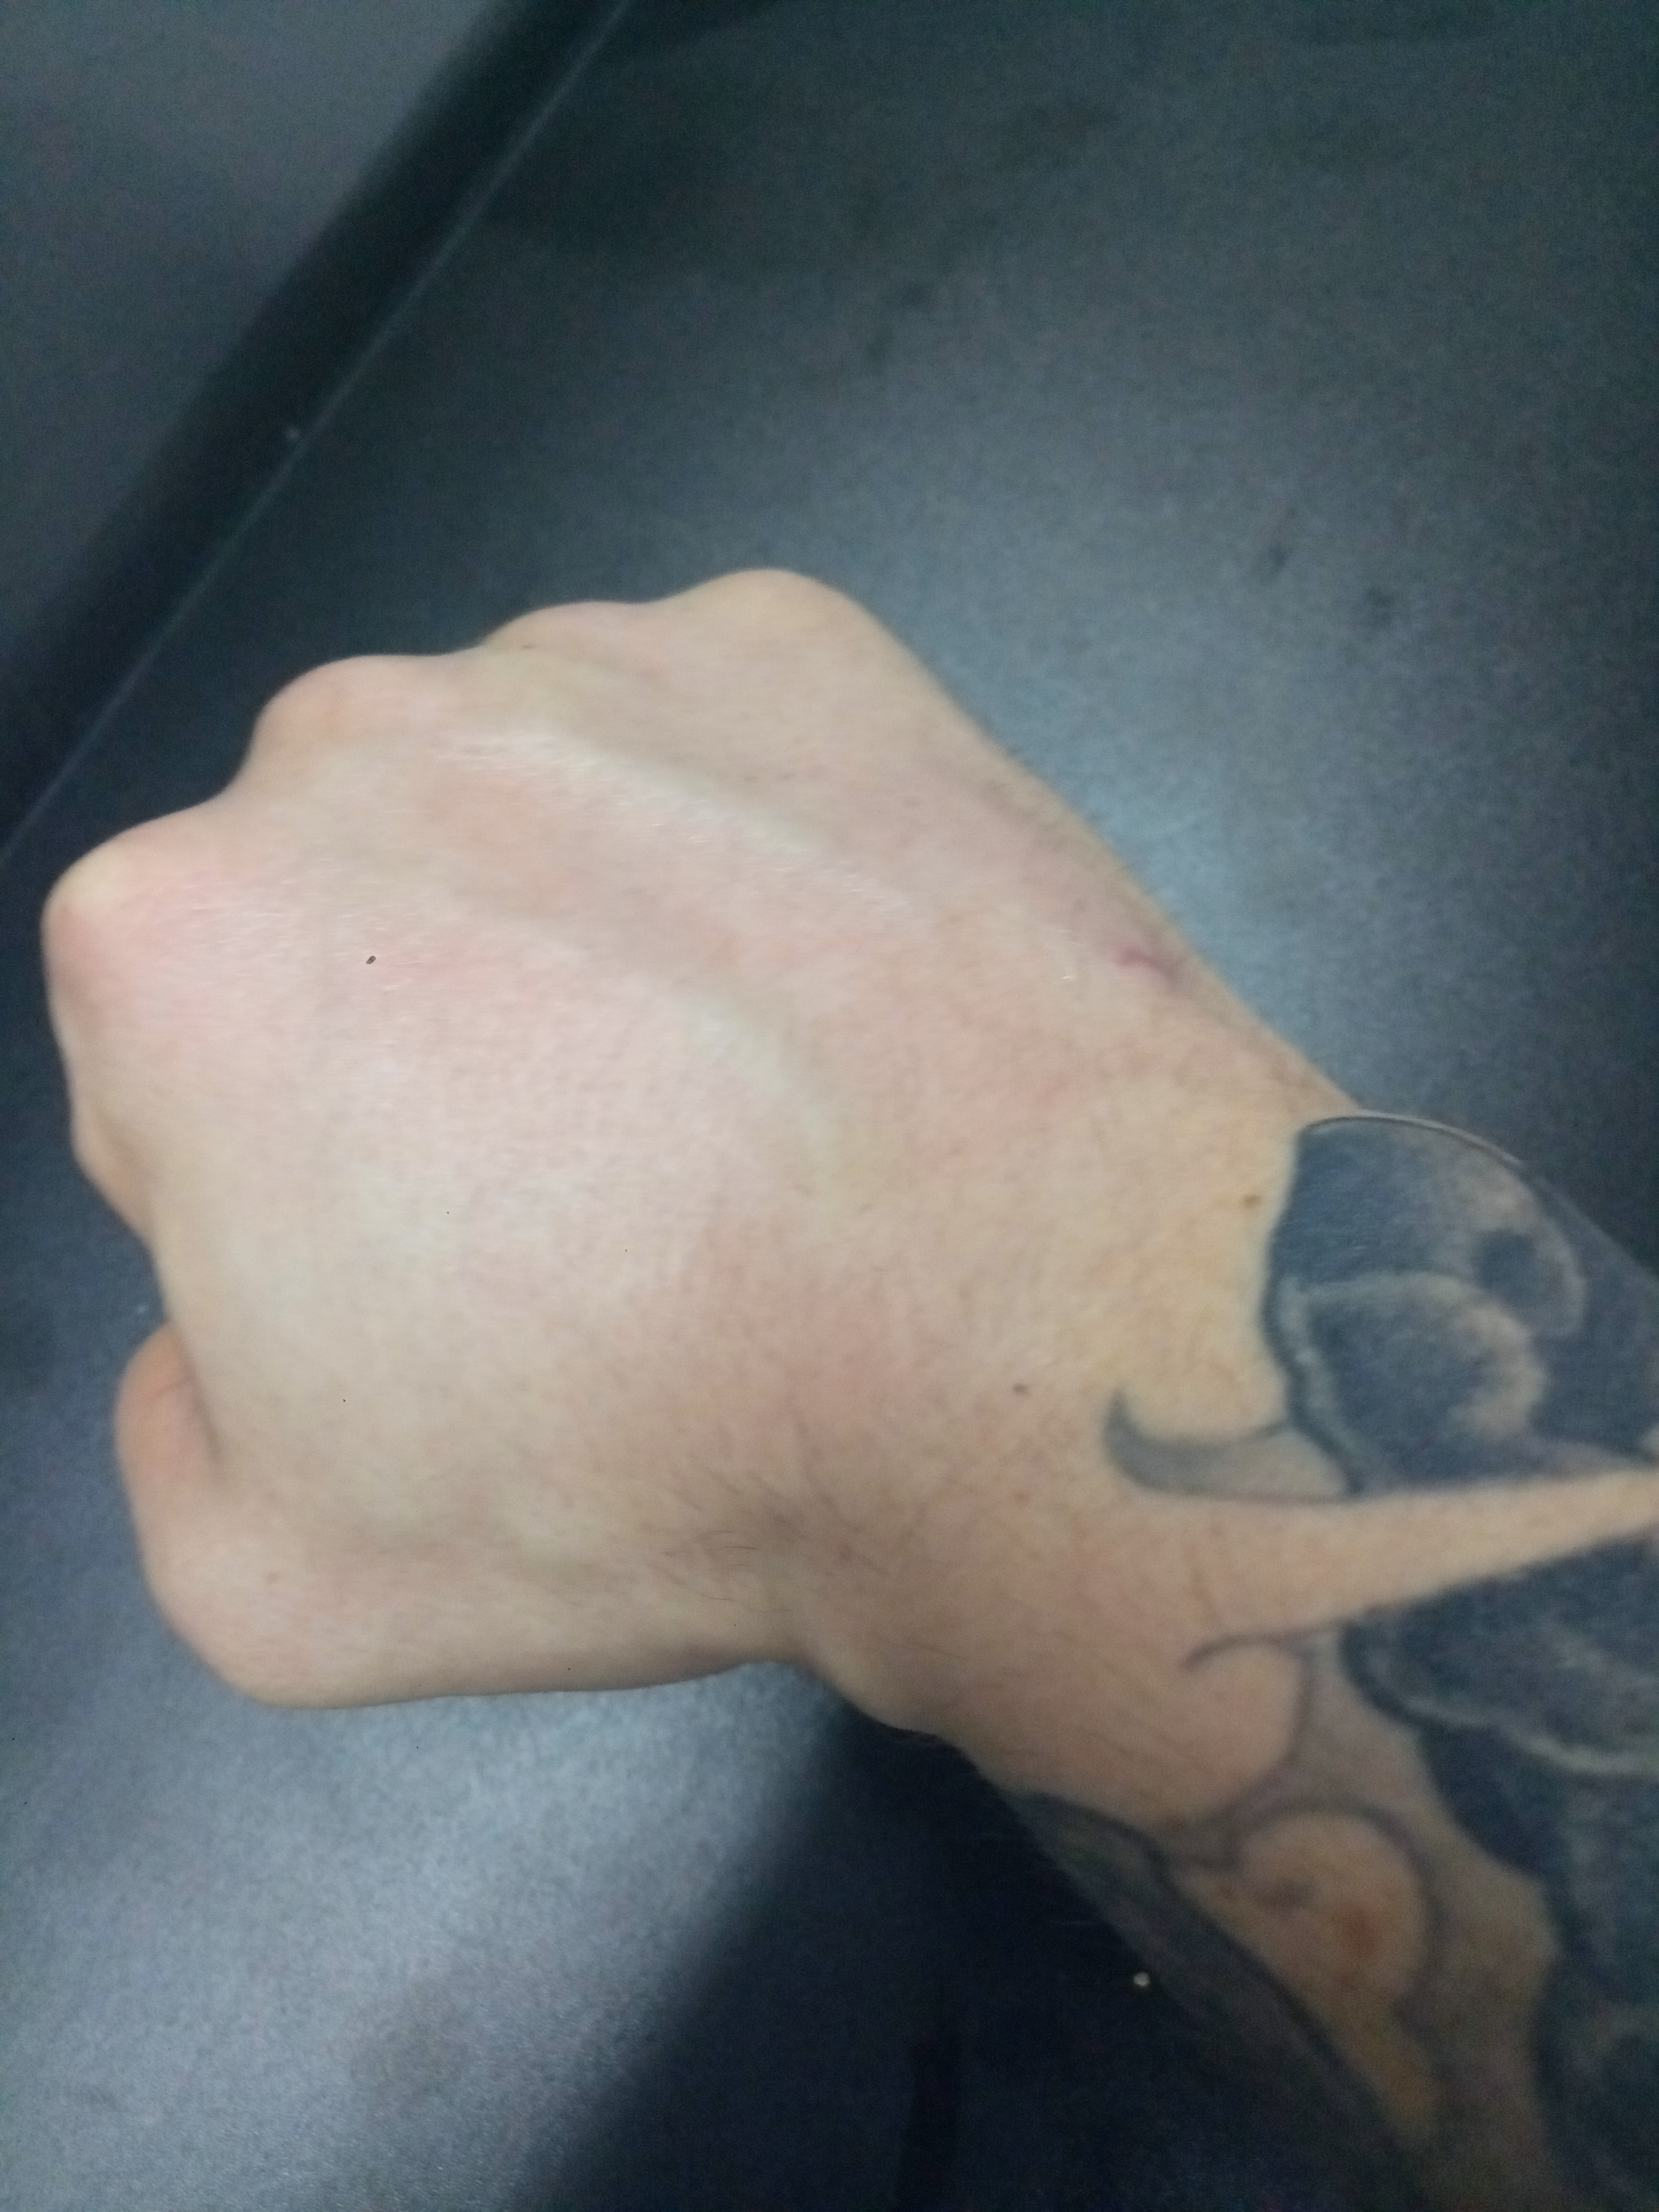
Day 7
Steristrip rejection gotten worse, but I’m not happy to just remove it yet.
Will begin airing it for longer periods, with moisturizer and silicone gel.
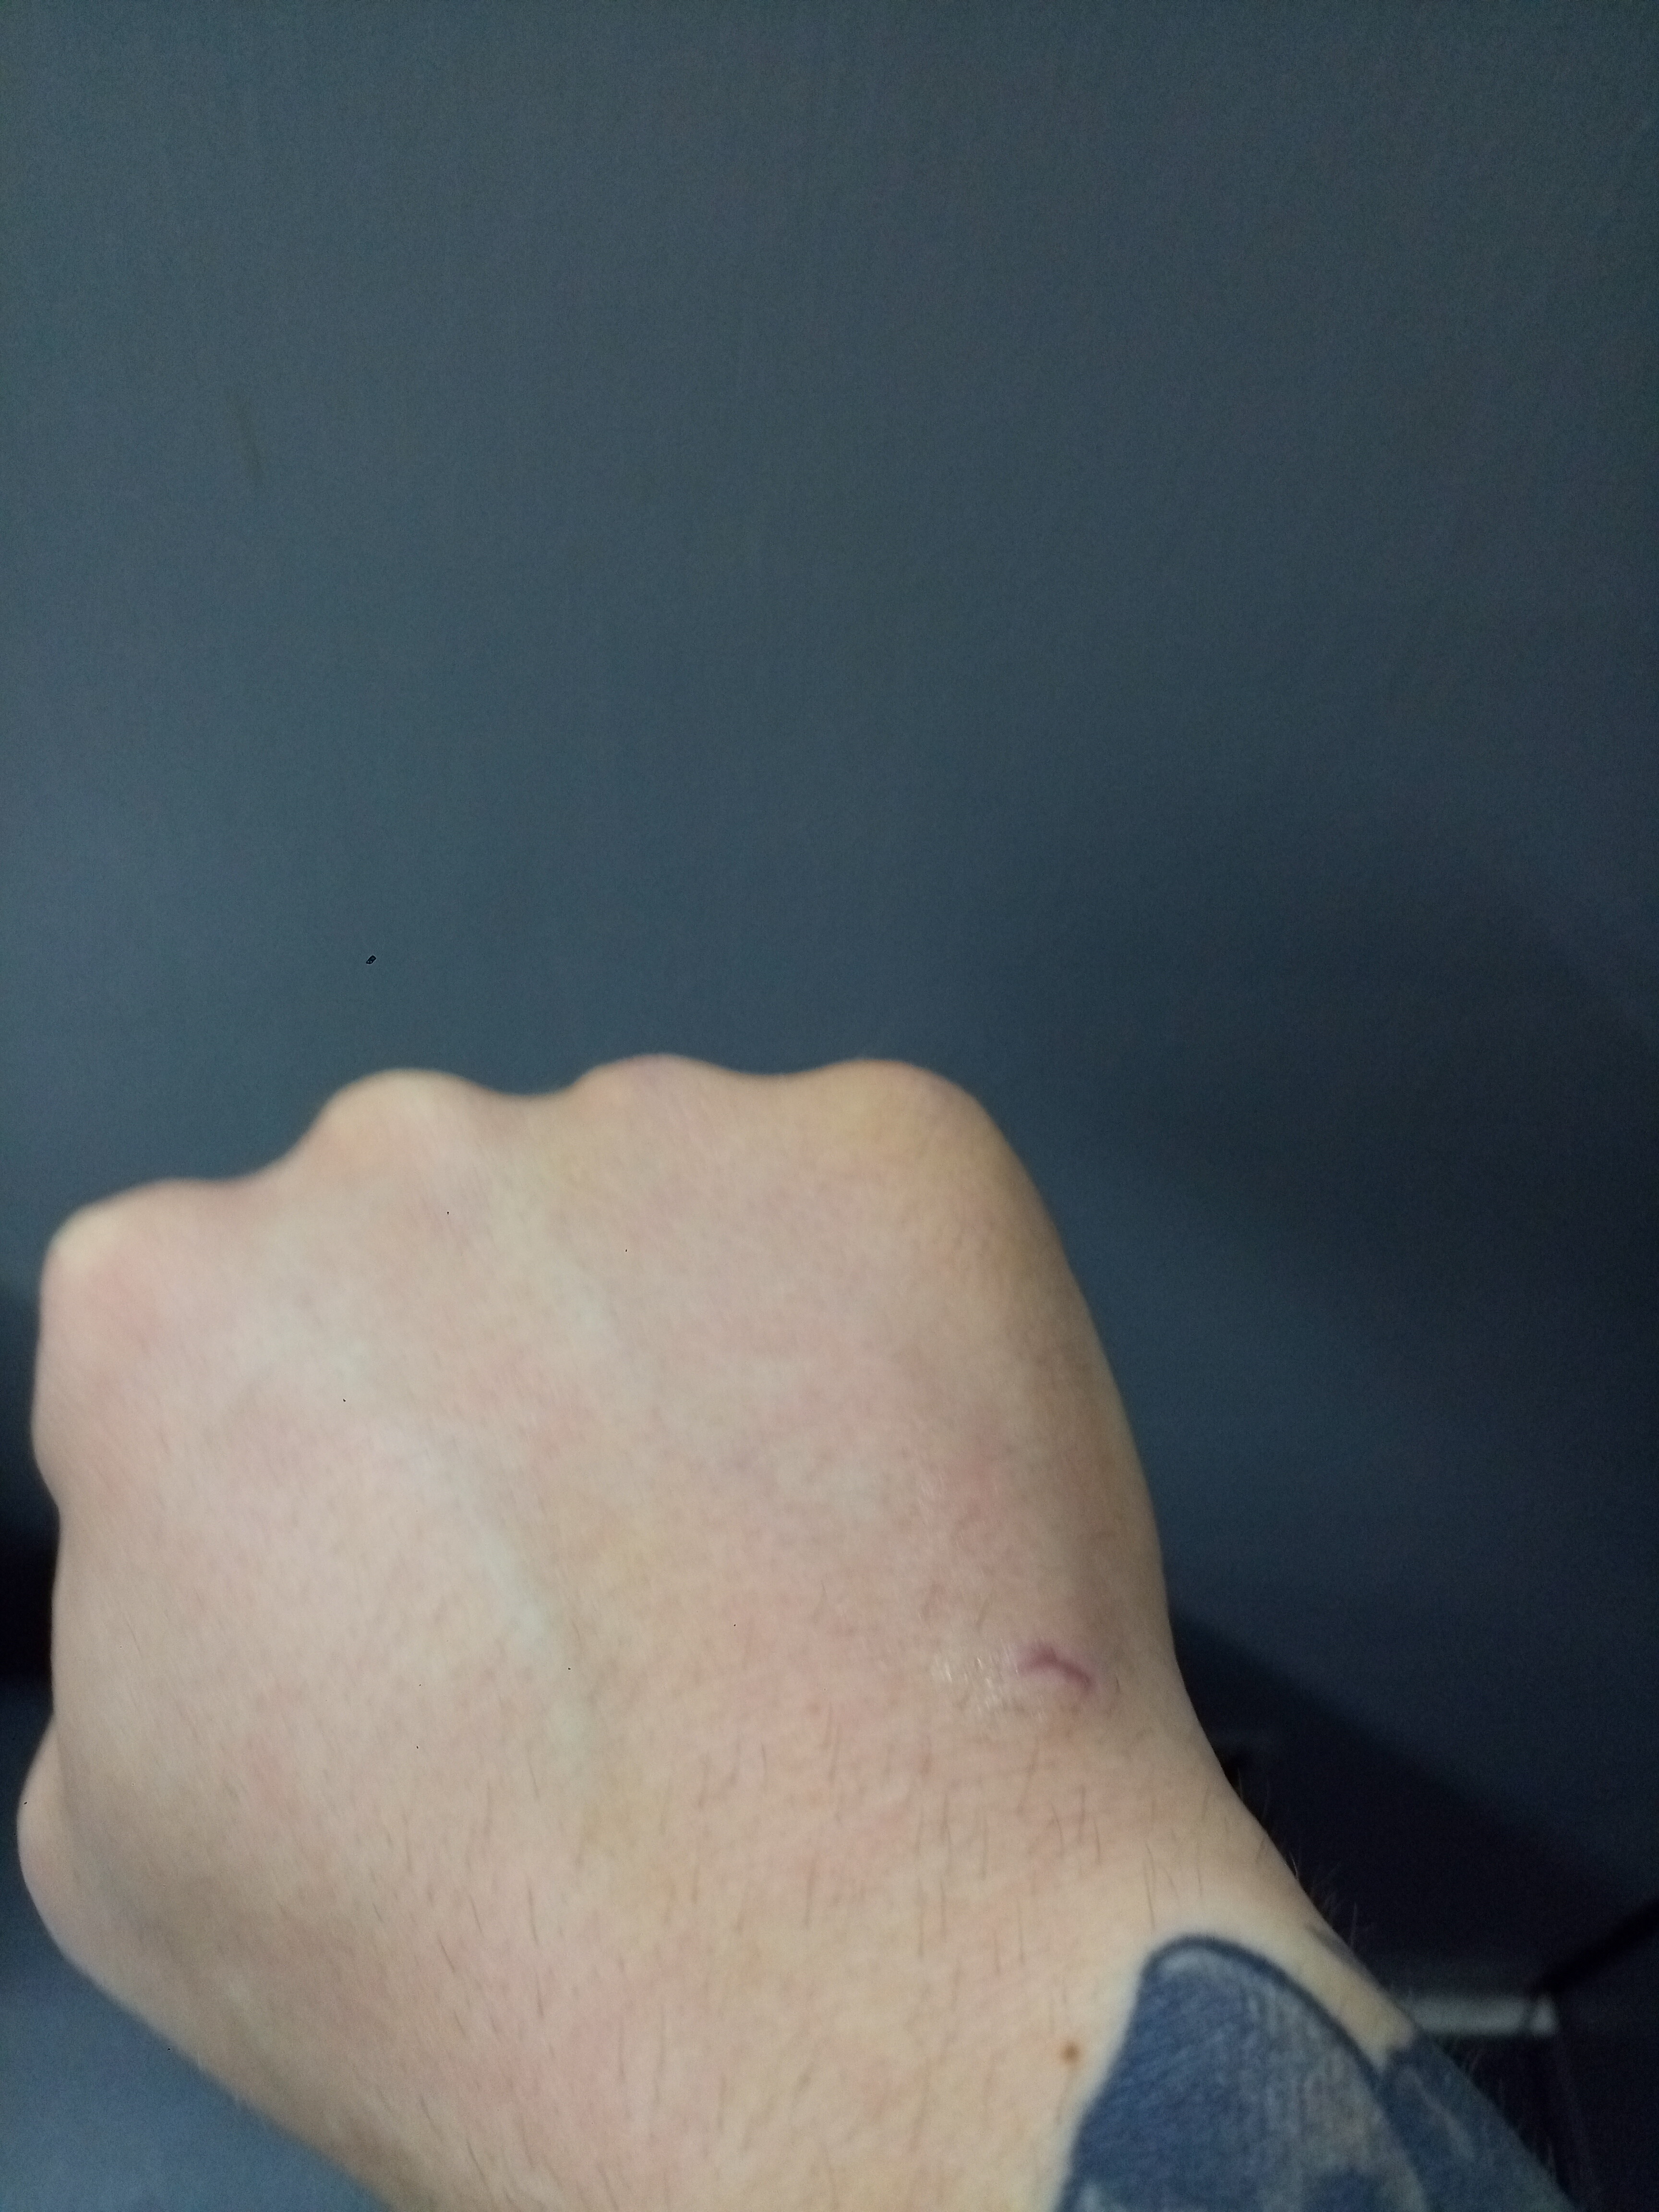
I’m also confident enough to clench the fist properly. Looks promissing.

Day 9
I’ve started ditching the splint for a while.
I still use my hand instinctively, though…
Also, another quick test. ![]()
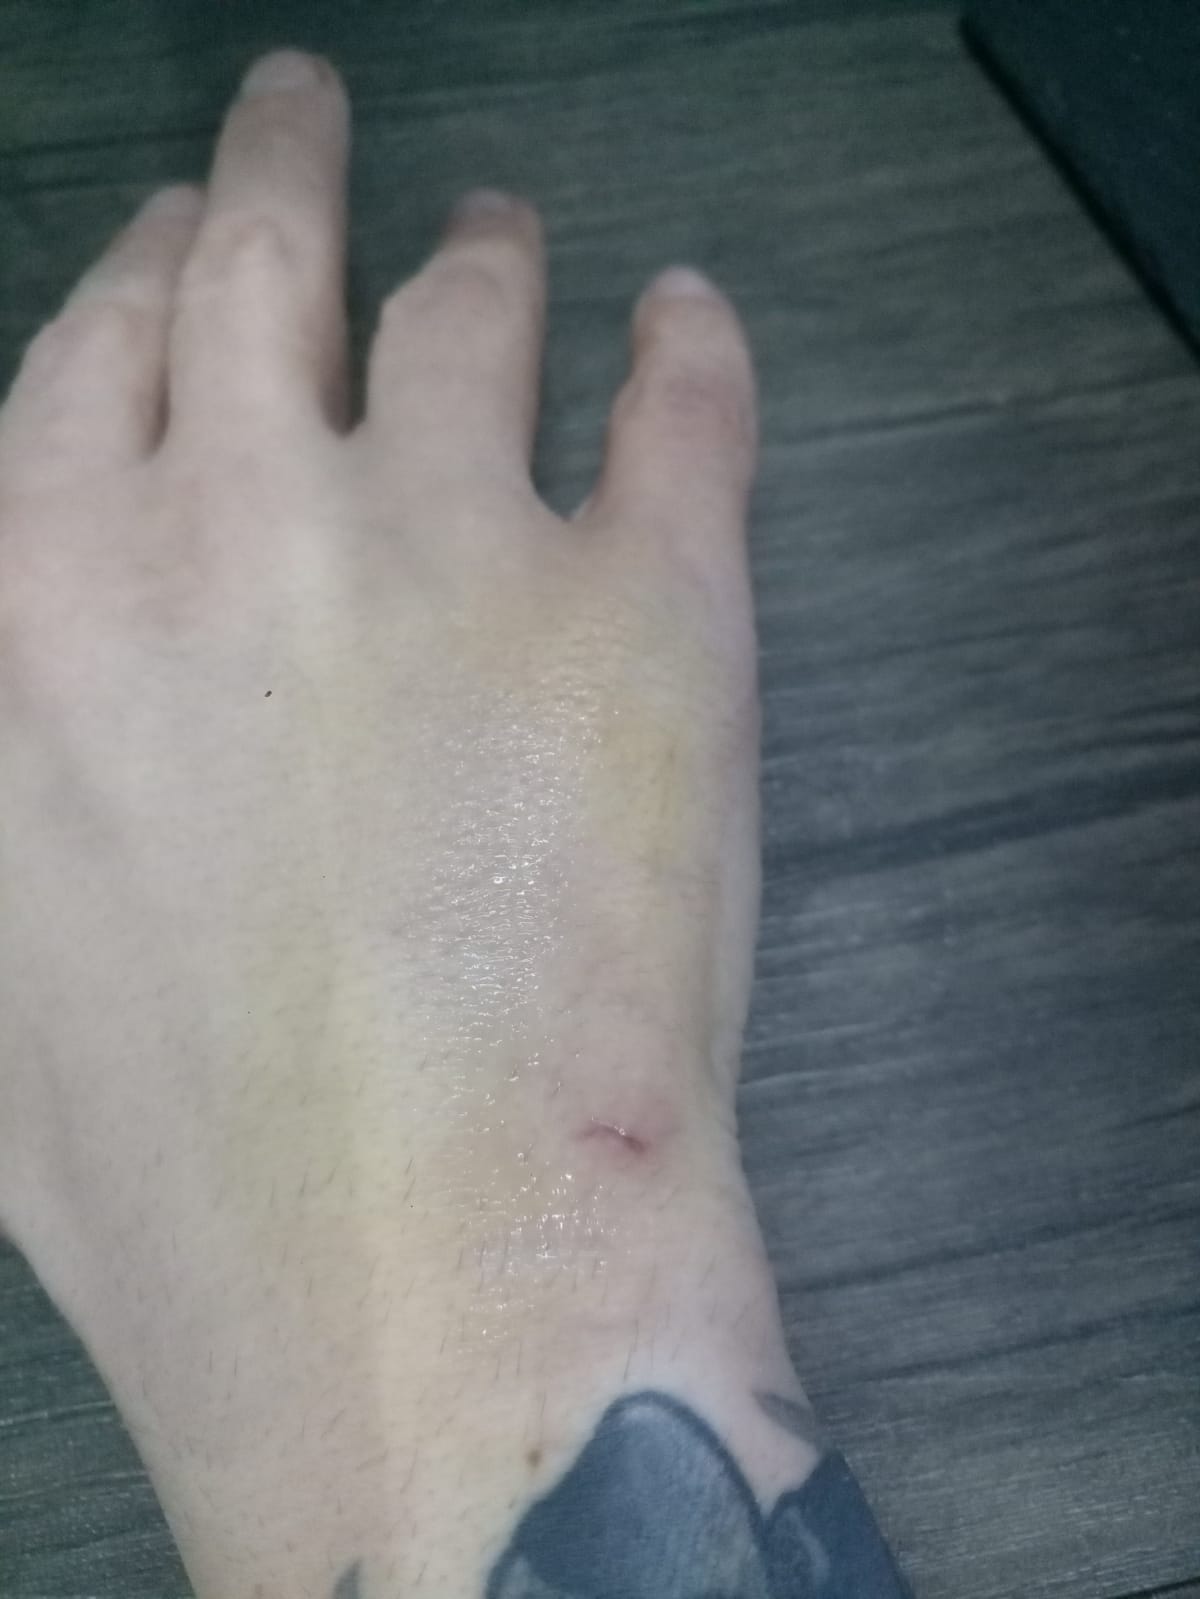
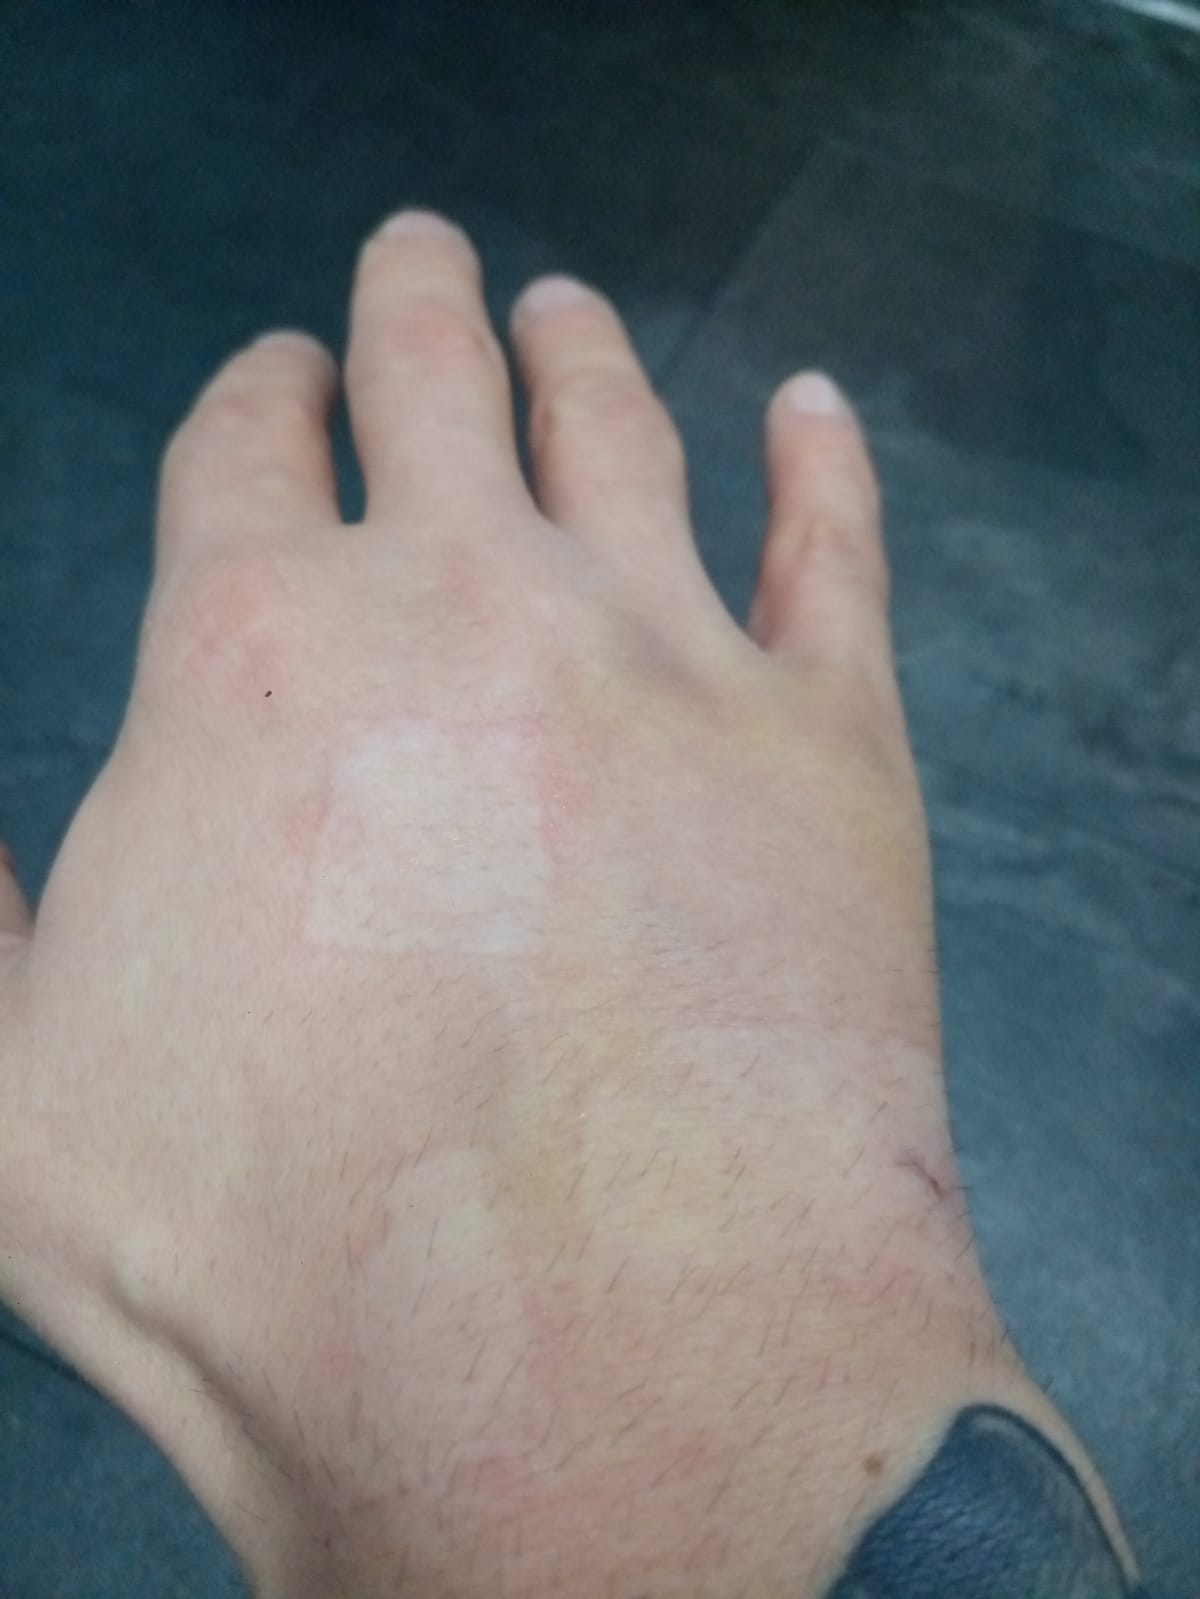
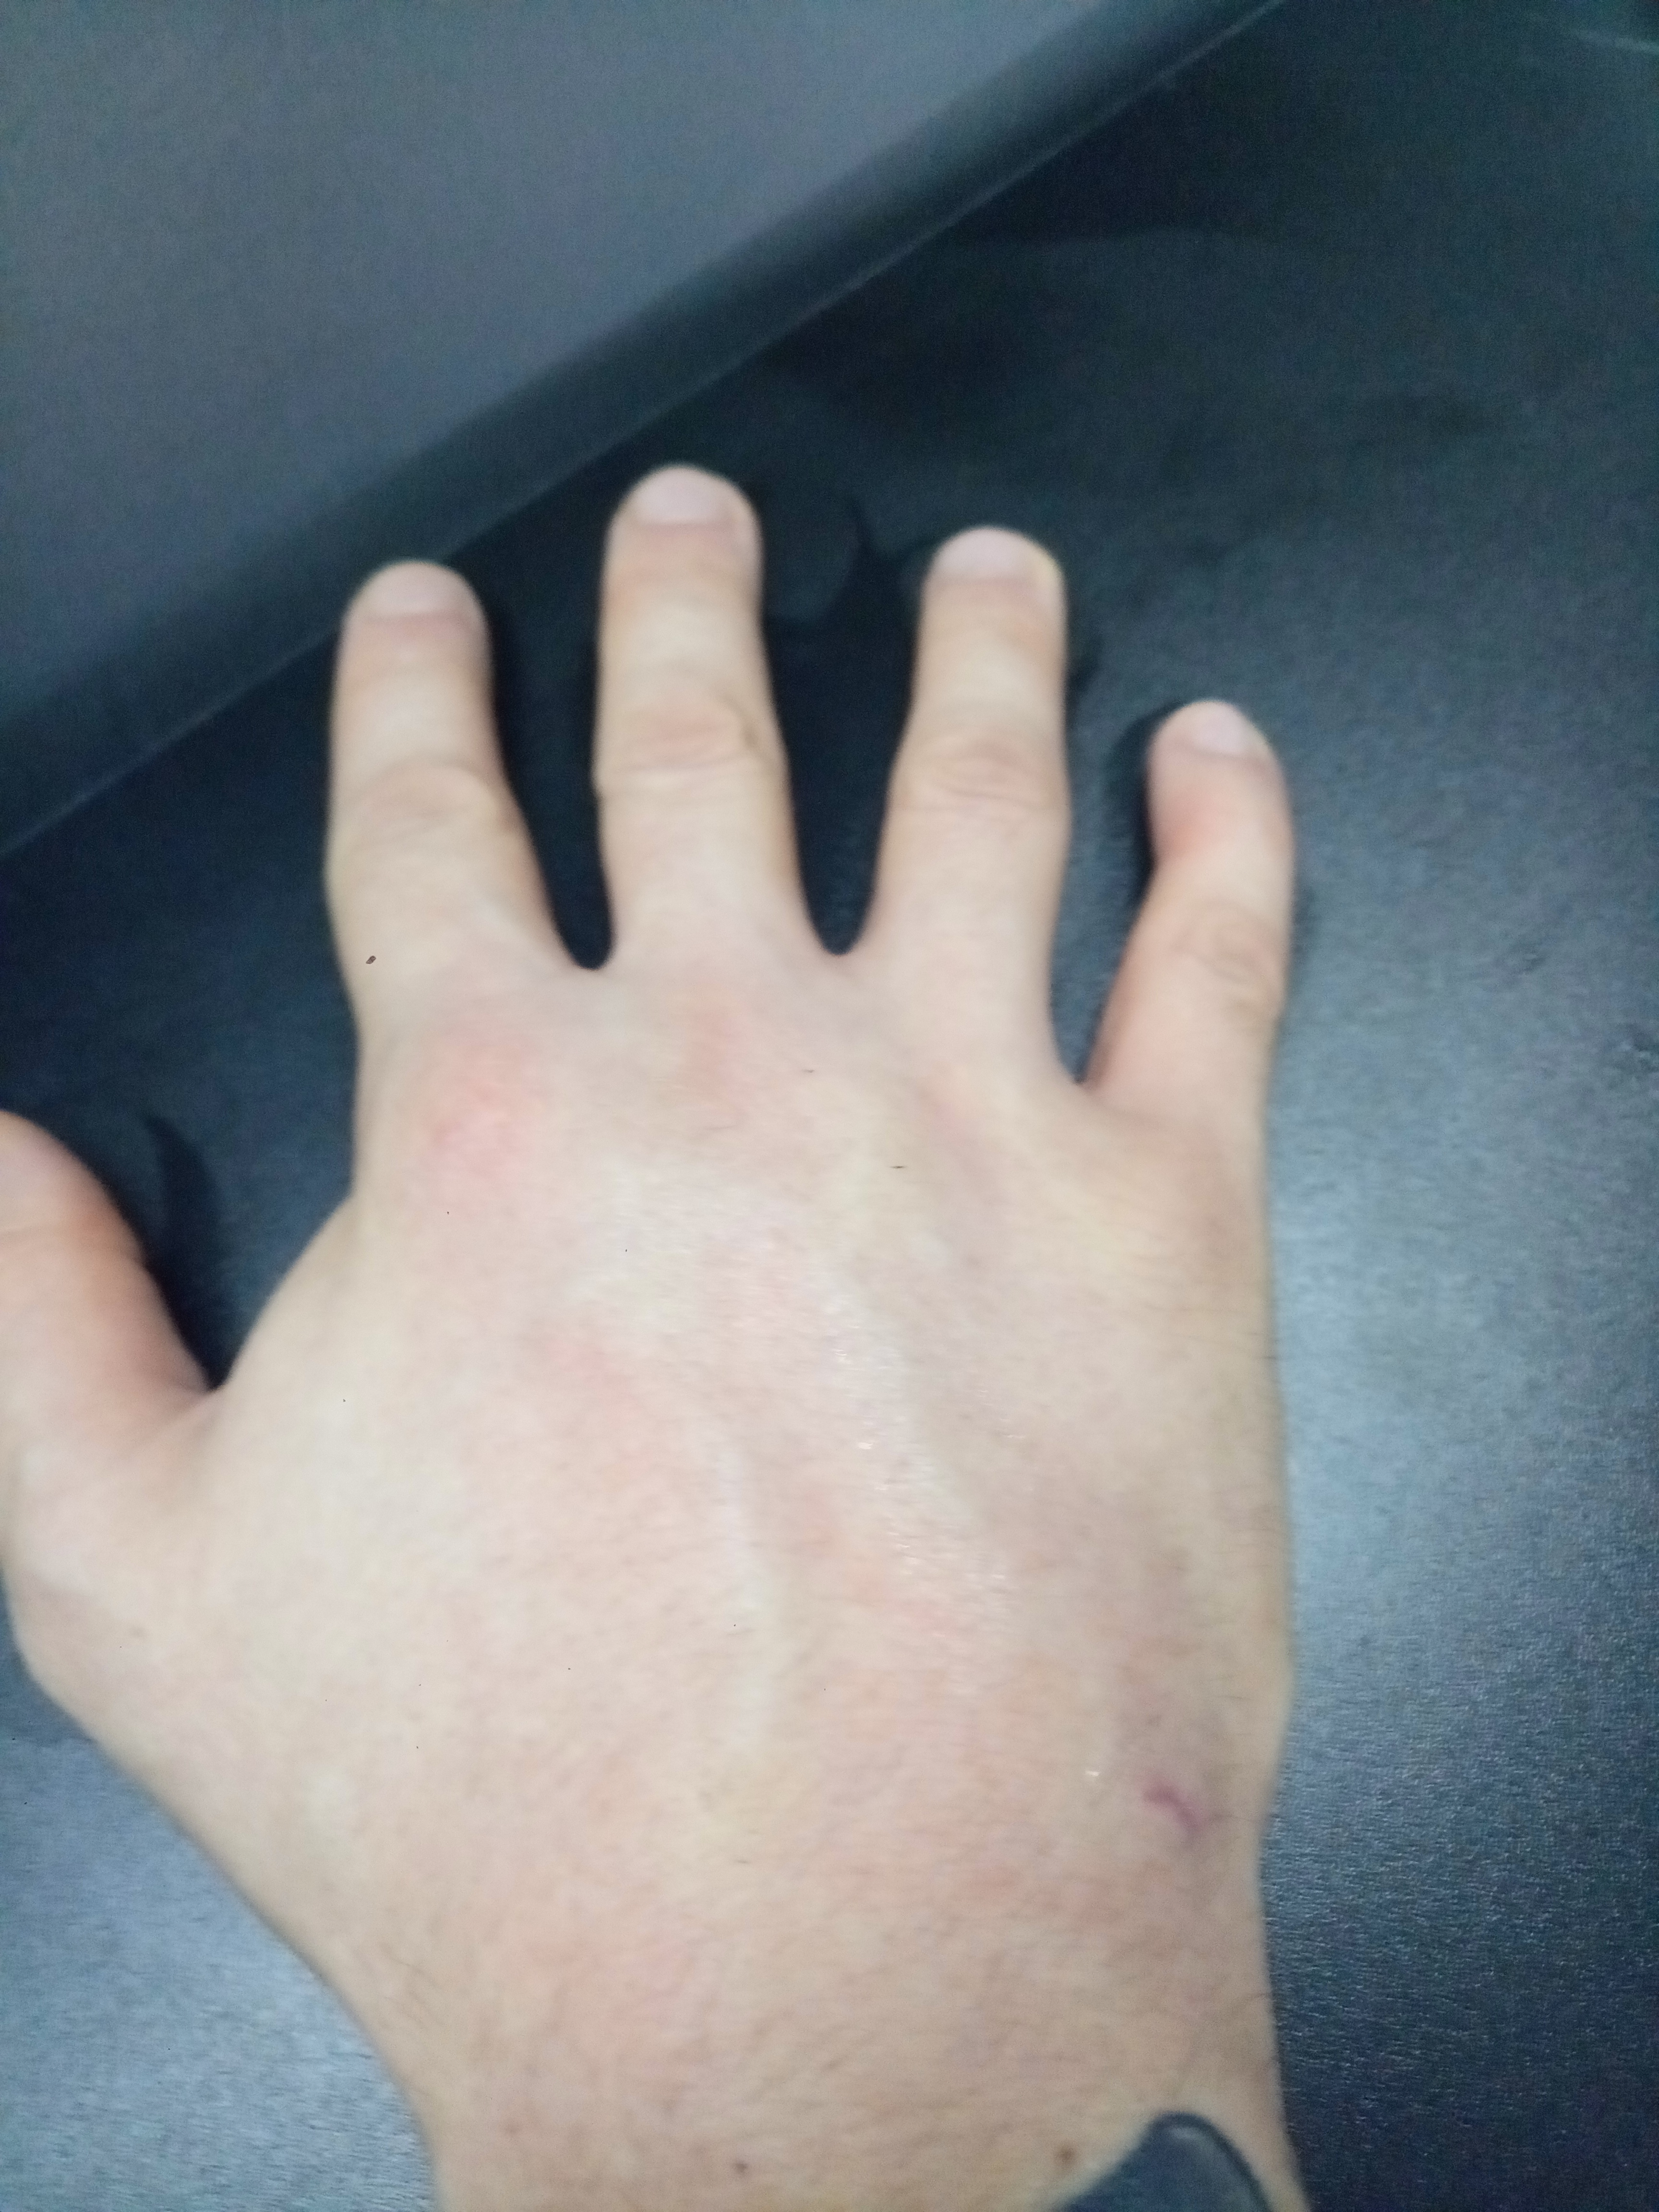
Day 10
Today I started using my hand a bit more. I can see the swell grew a bit because of that. Will keep an eye on that.
Also got rid of the steristrips. It is a bit earlier than I should, but the would is well sealed and the strips were irritating the skin too much.
I’m keeping the wound covered with Micropore and a droplet of Silicone o
il.
Day 11
Today I kept the hand out of the splint the whole day.
Swelling doesn’t look to be worst than yesterday, but also hasn’t come down either. Since it’s still just a little swollen, I’ll switch to only wearing the splint to sleep.
And a little test as well!
I was trying to keep it away from the actual read region, the LED has higher range (before reaching full intensity) than the chip itself, but I accidentally went full in on the beginning! ![]()
Day 12
Using the hand more often now.
Swollen bit remains the same.
Yellowness already over.
Avoiding any kind of tapes over my hand.
Begin letting cold water run over the swollen bit a few times a day.
Day 13
Swollen bits are starting to reduce.
Keeping up with the cold treatment.
Healing is going well.
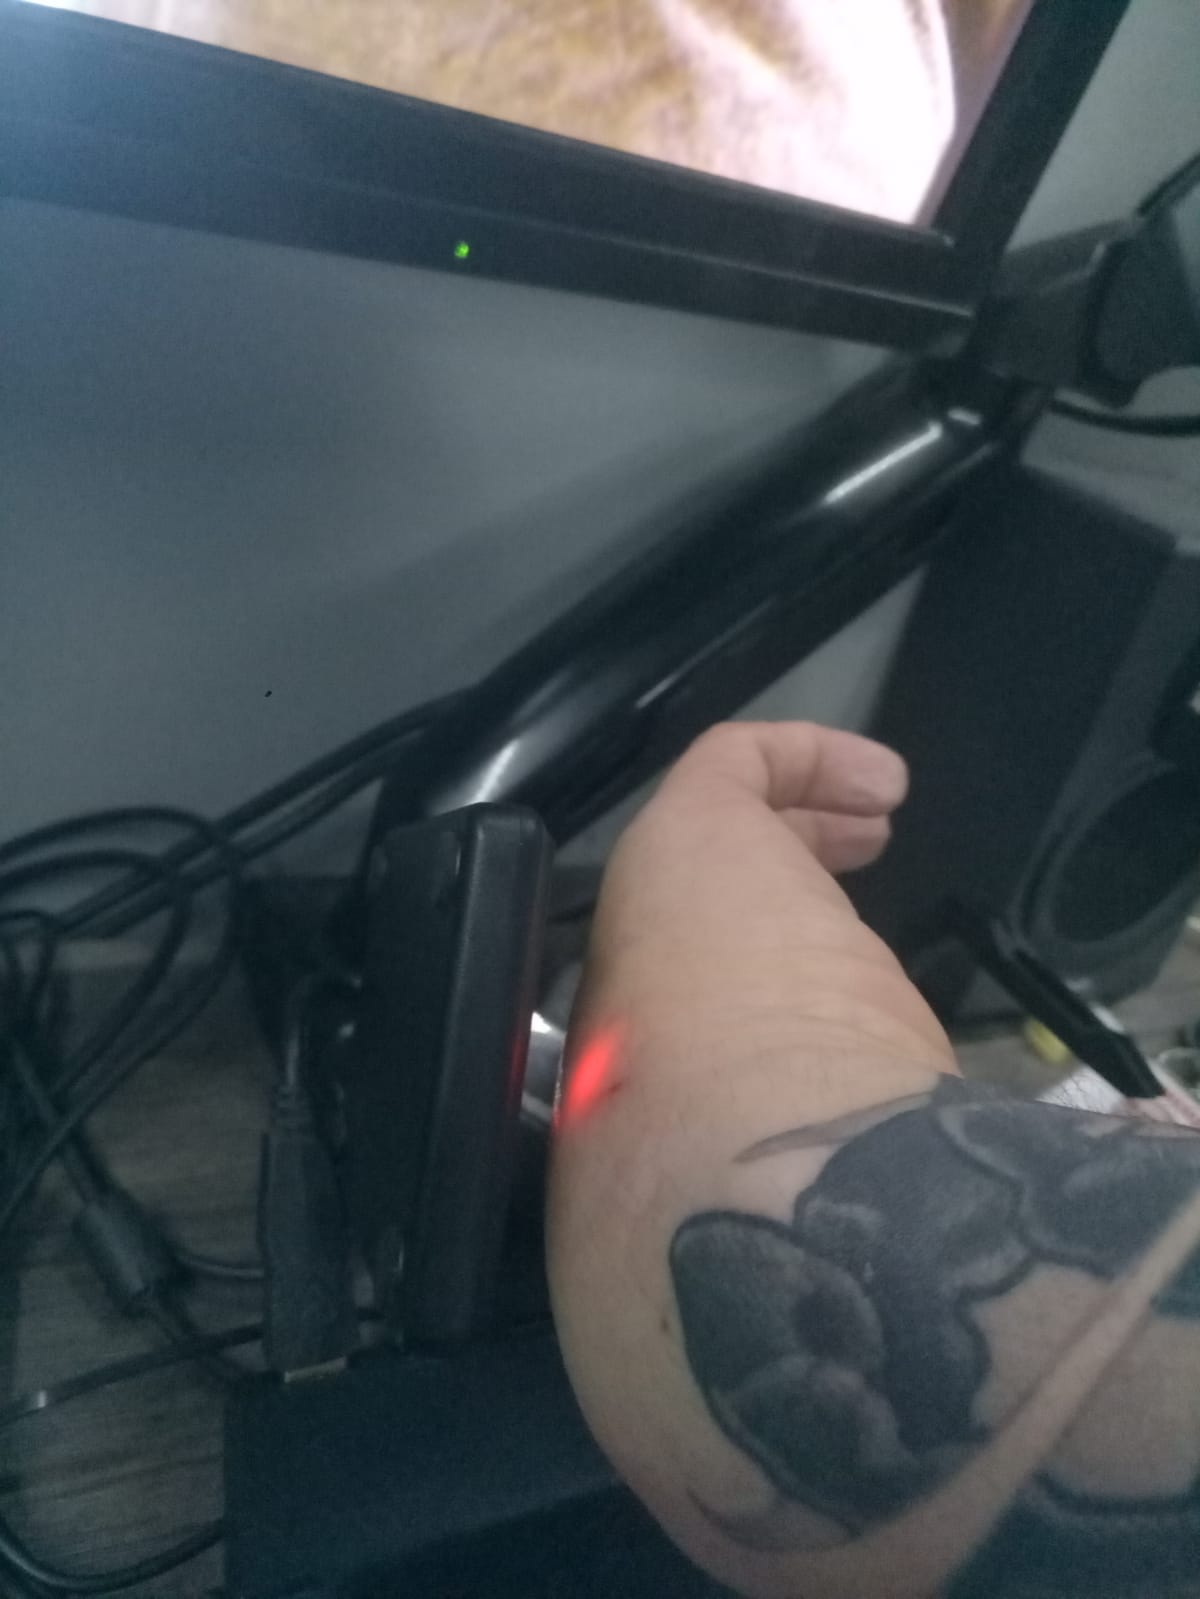
And I got a small test with my screen sleep state!
Still just using a DT reader. Soon I plan on building my own Javacard based authentication protocol.
It also reads pretty well. The angled wrist is just to make the blinkie visible in my (terrible) phone cam.
Also, today I had to cover my hand in gauze and tape to go out…
Skin really not happy with tape at all!!
Day 14
Kept using the hand more and more.
Swelling is not going away but also not increasing. While that is maintained I would rather insist on the movements, to help the flex to find a natural resting place, even if this will cause the swelling to take a bit longer to go away.
To address that, I’m keeping with the cold water therapy (cold running water on top of it every now and then)
No longer adding tape on top of the wound. Just keeping it constantly under a layer of silicon gel.
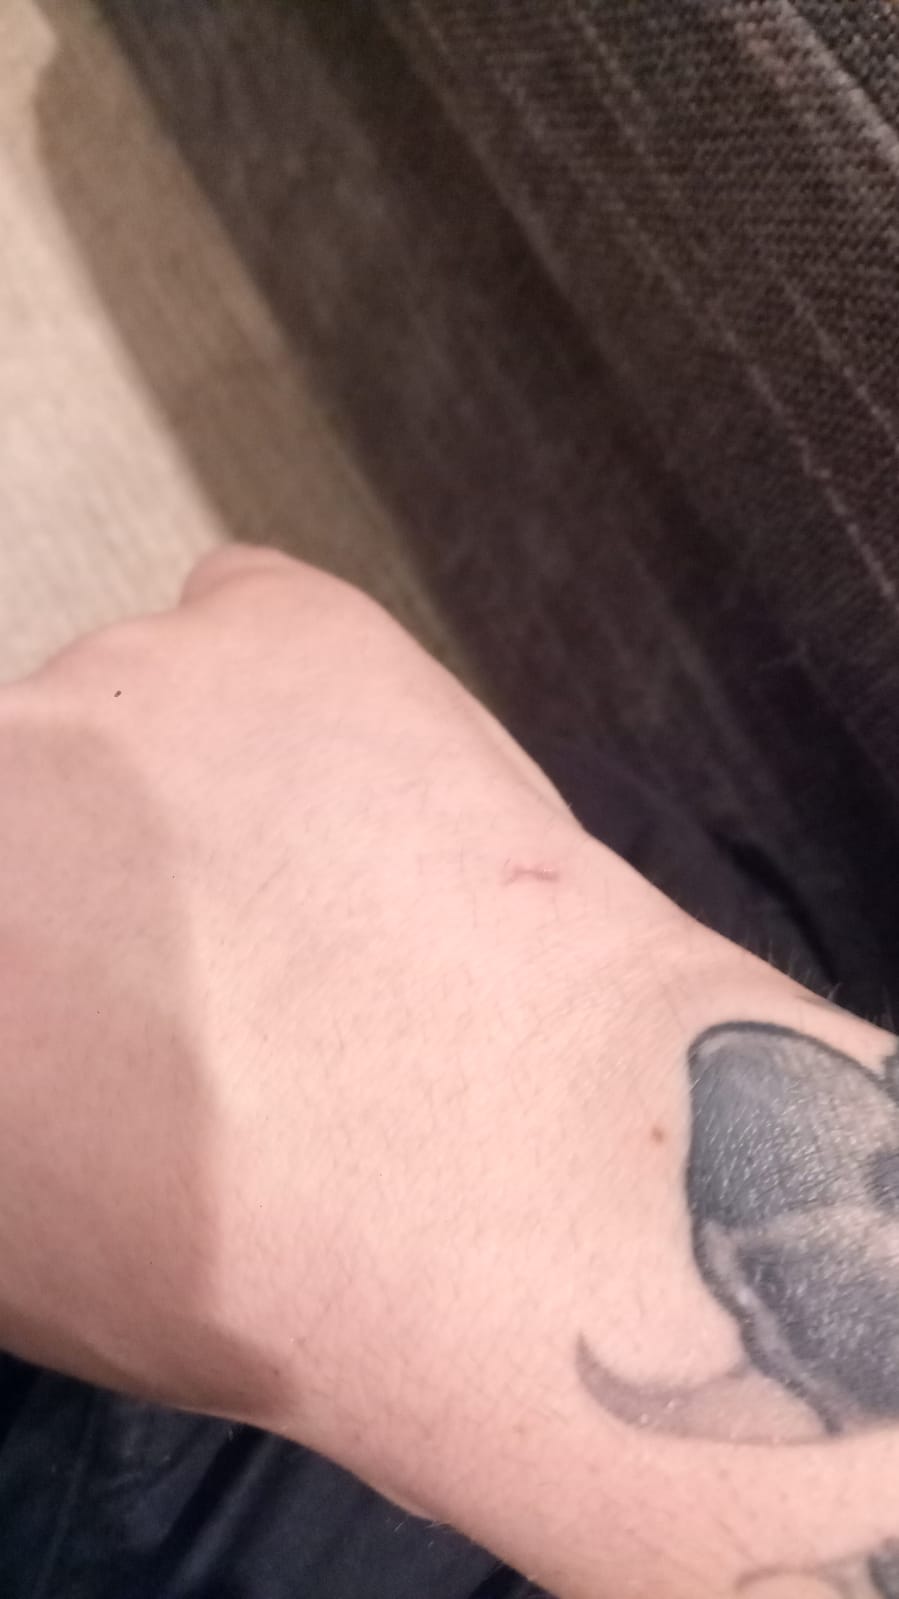
Day 15
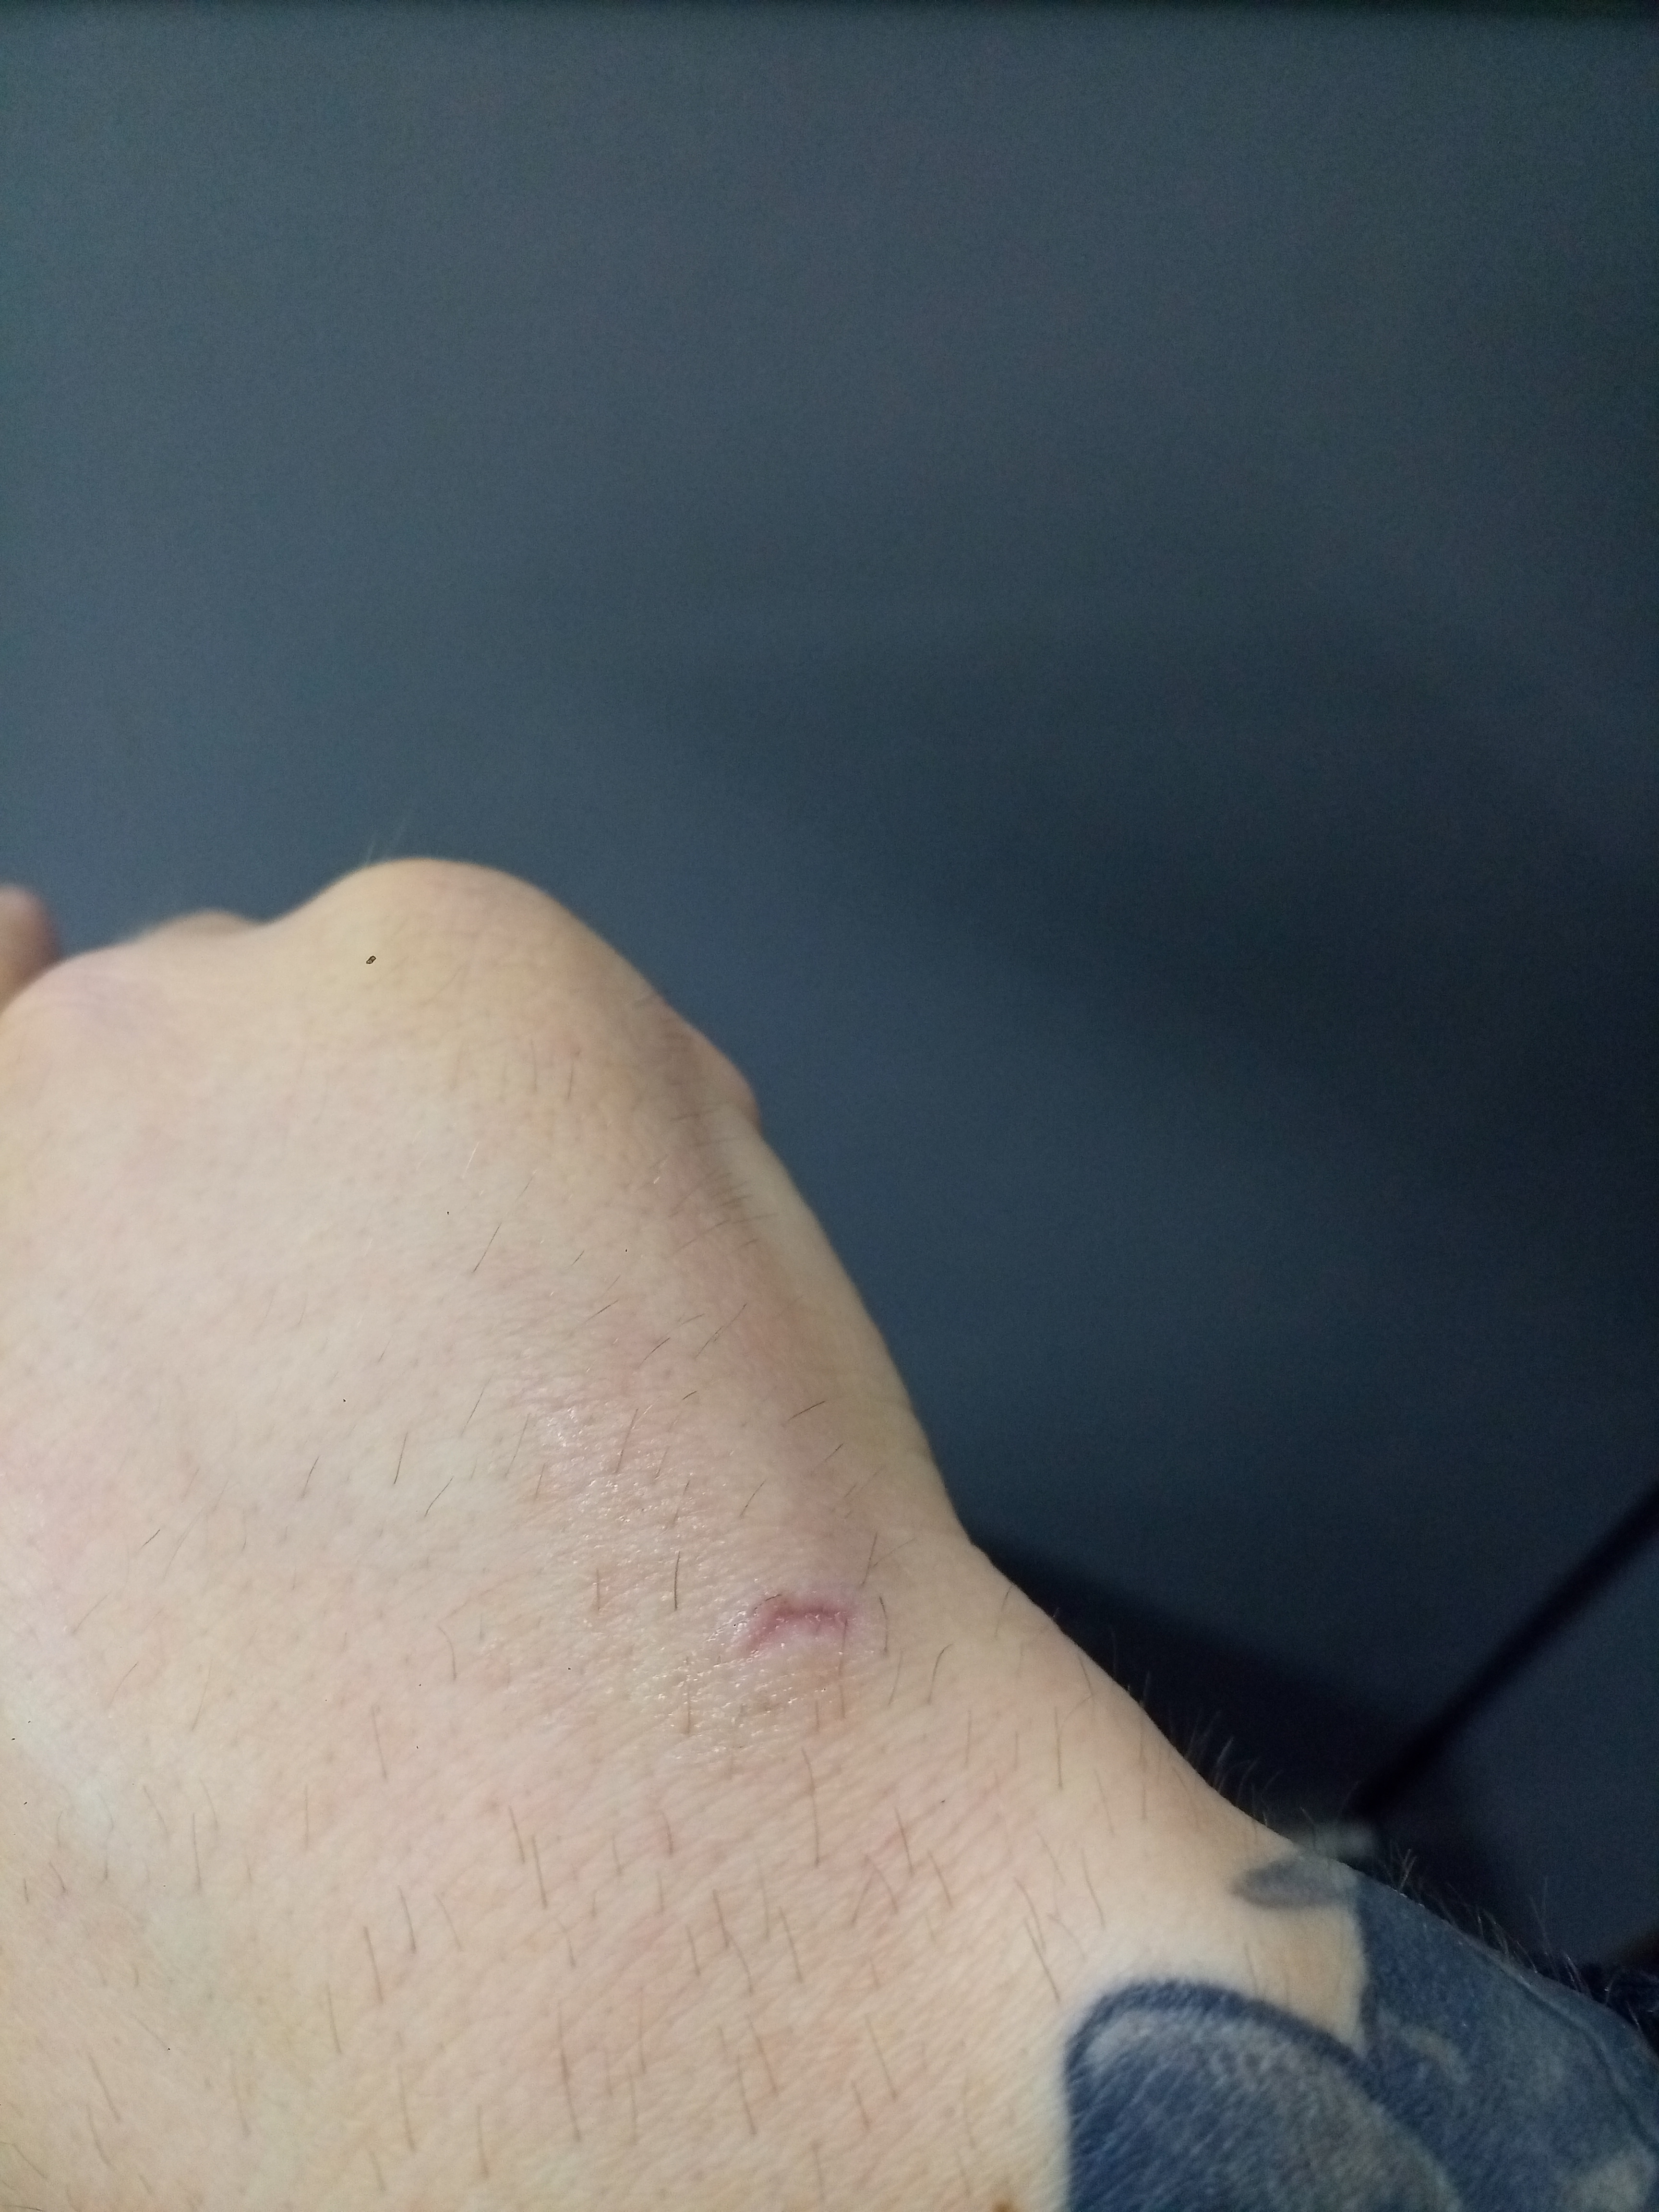
Swelling shows signs that it’s receding. ![]()
“Scar” also visibly closer to skin level and pinker than red. Great sign!
Day 16
Swelling getting smaller and smaller.
Can see some of my surface veins naturally now.
Cold water seems to be working for the swelling.
Skin getting too dry, keeping it under moisturiser as well.
Day 17
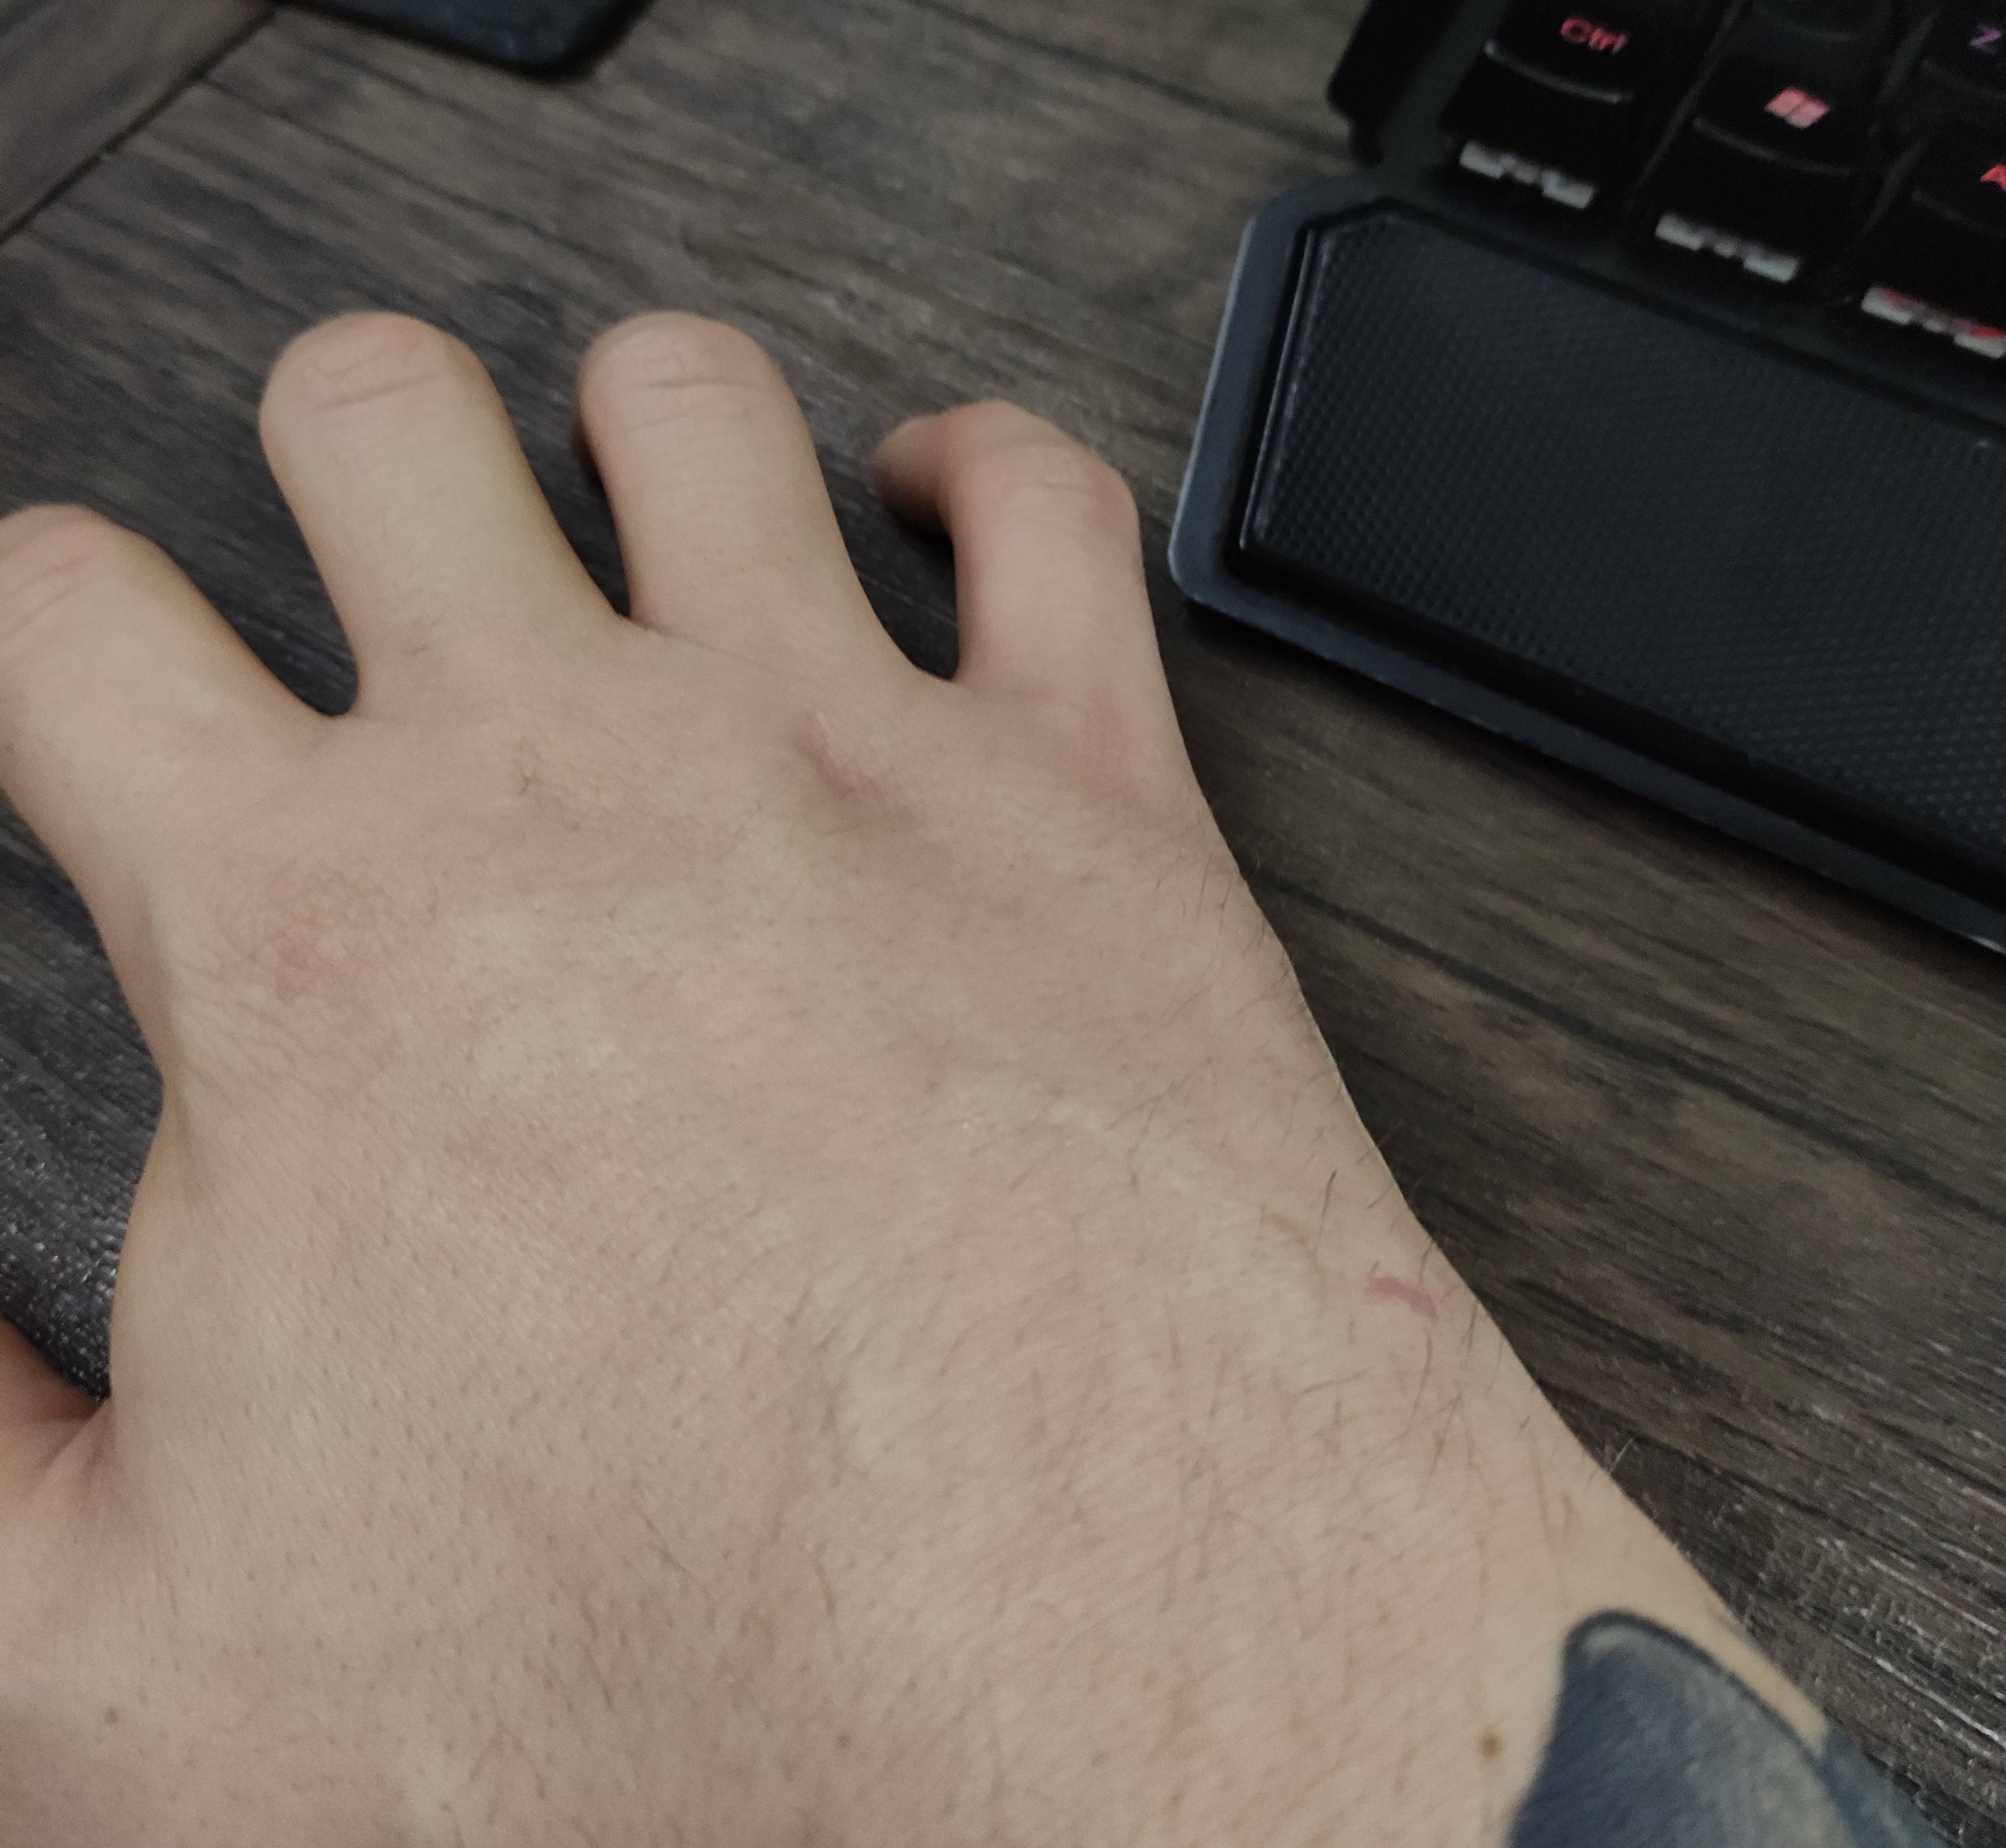
Cold water + moisturiser is working wonders! Can see all my veins as before the procedure.
That means the implant is well placed.
Still a little bit swollen, so too early to state if any bits will be visible.
I could also feel the borders on some parts of the implant while pressing with my left hand’s fingers. Was curious, might have poked a bit too much. ![]()
We’ll know tomorrow! ![]()
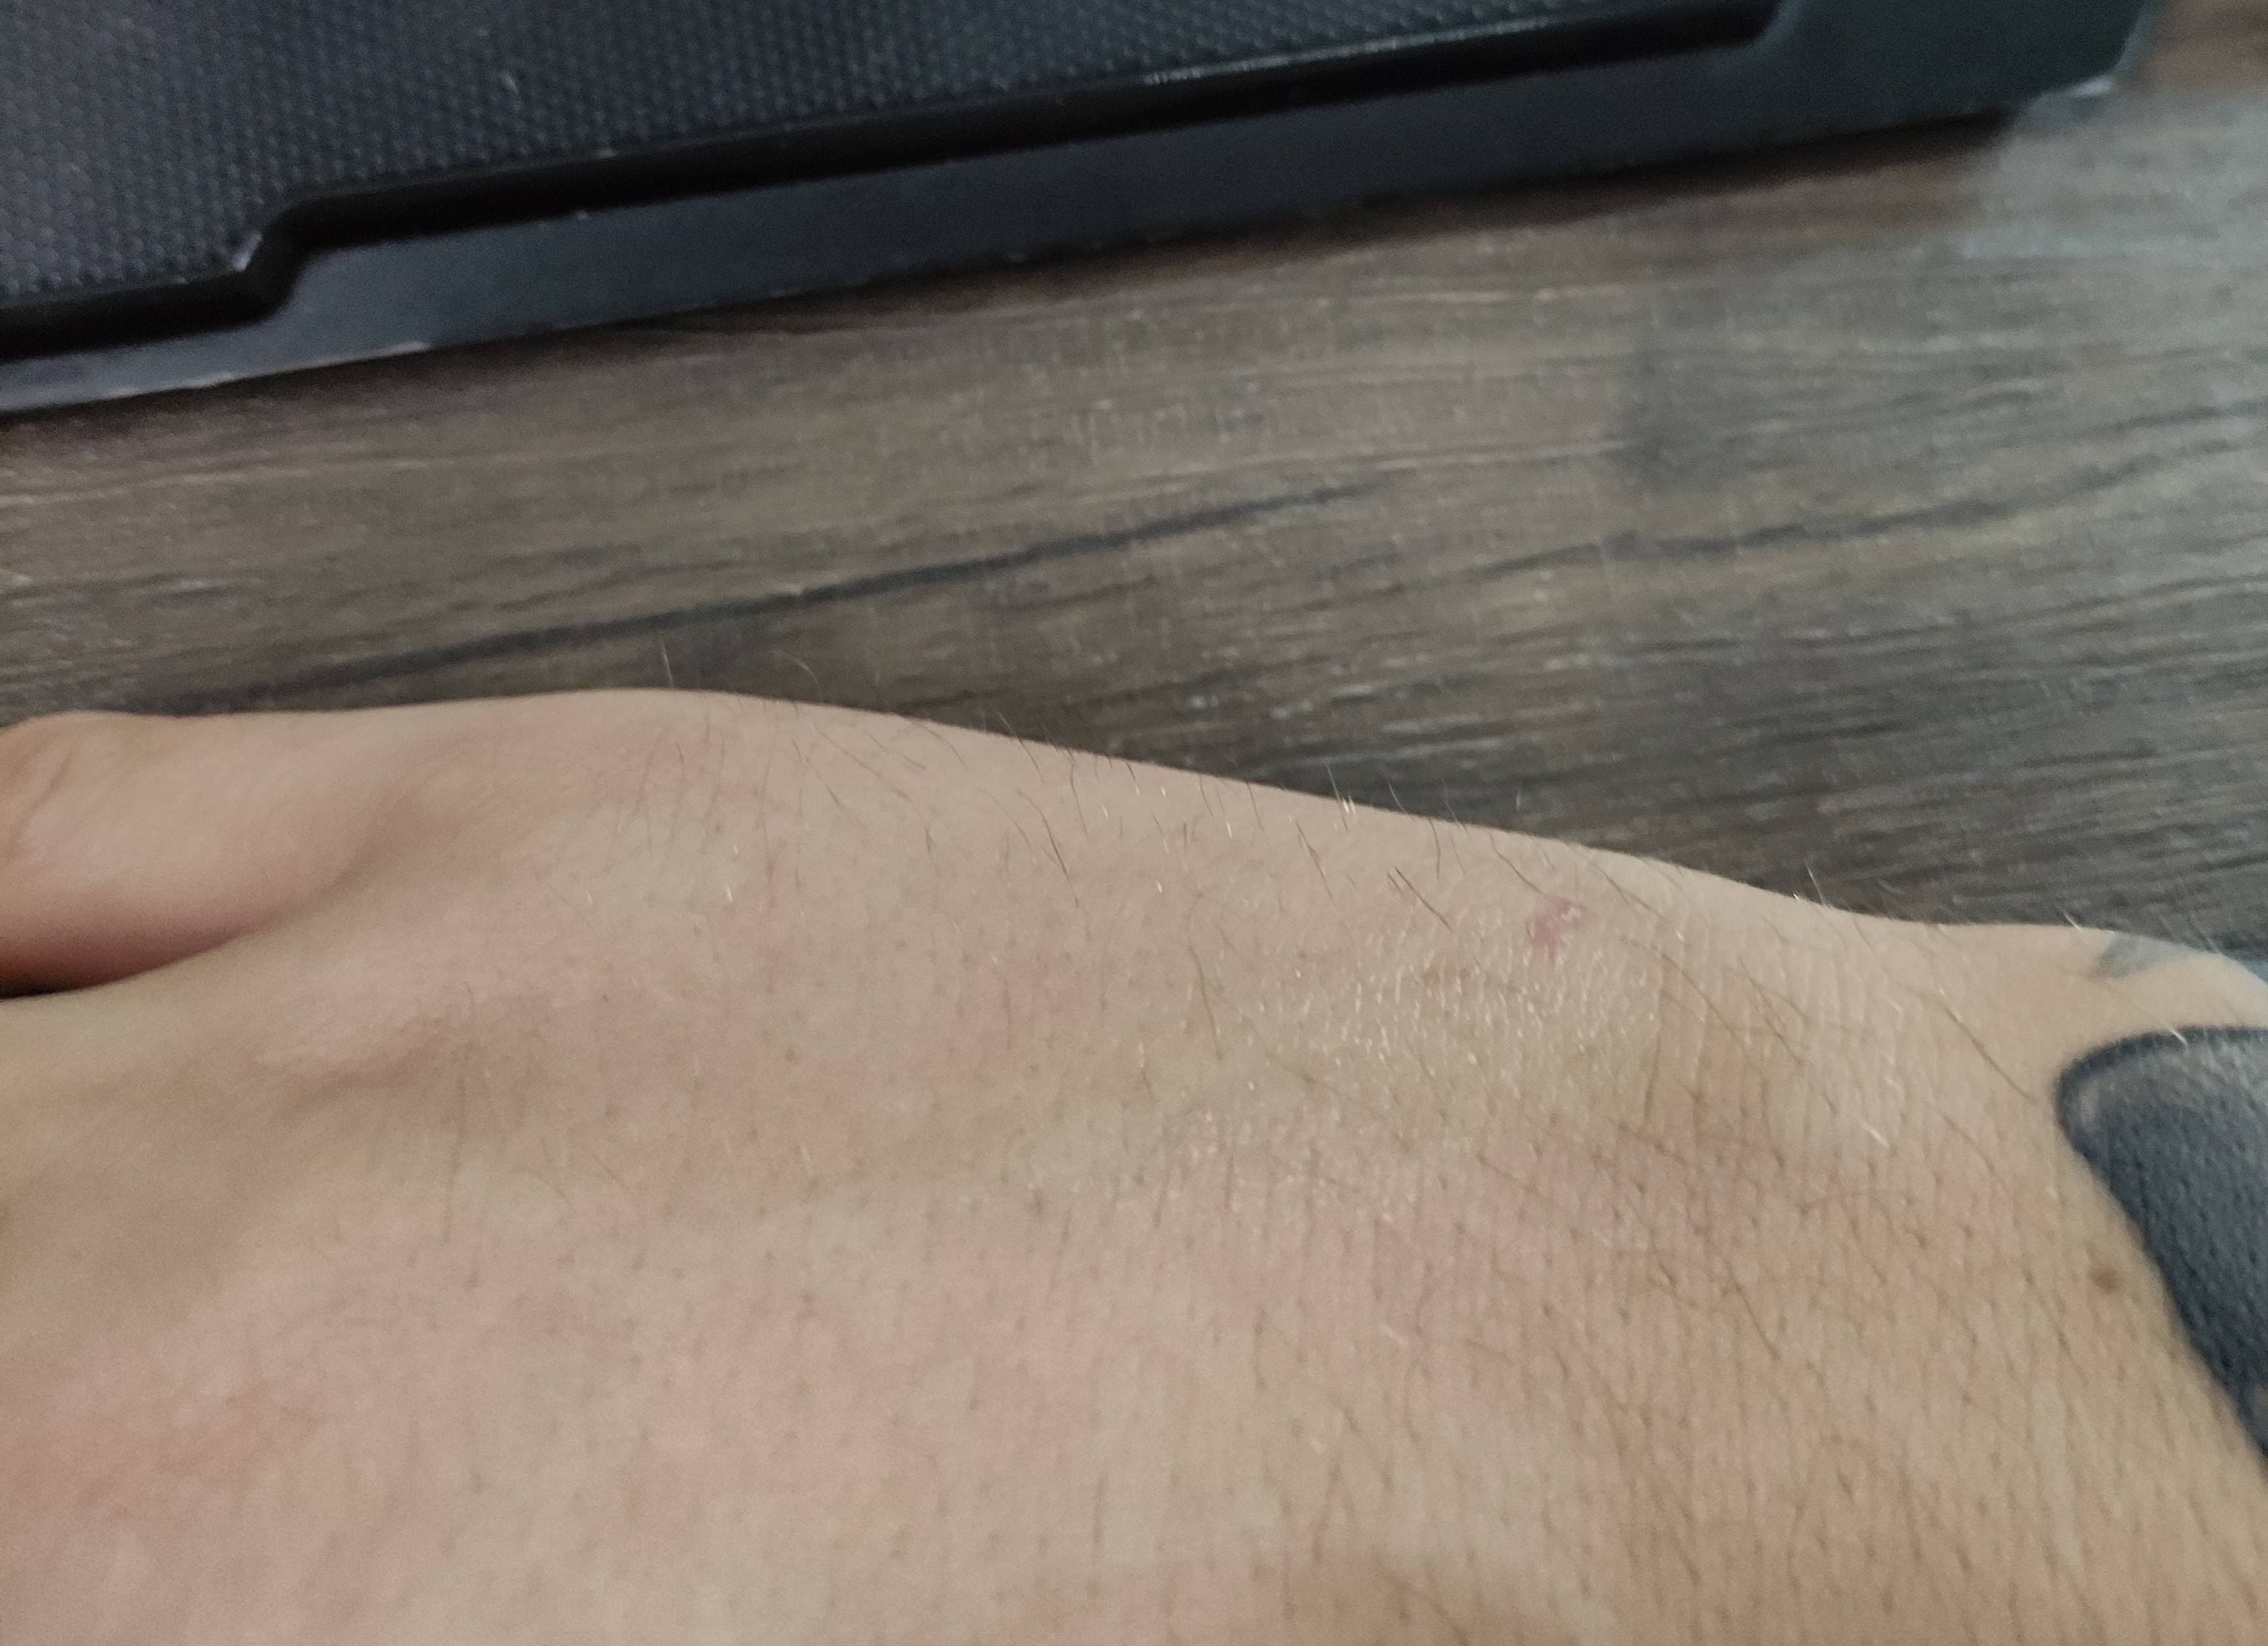
So far looks like the base (with the led) is exactly where I placed it, but the implant pivoted about 20 degrees towards the centre of the hand, as if the tip is resting better between the 4th and 5th metacarpal bones. ![]()
Day 18
Yep… Poking around yesterday does show today! It got a tinsy bit more swollen today. Not as bad as I expected after pressing to feel the implant’s contour yesterday, though.
Day 19
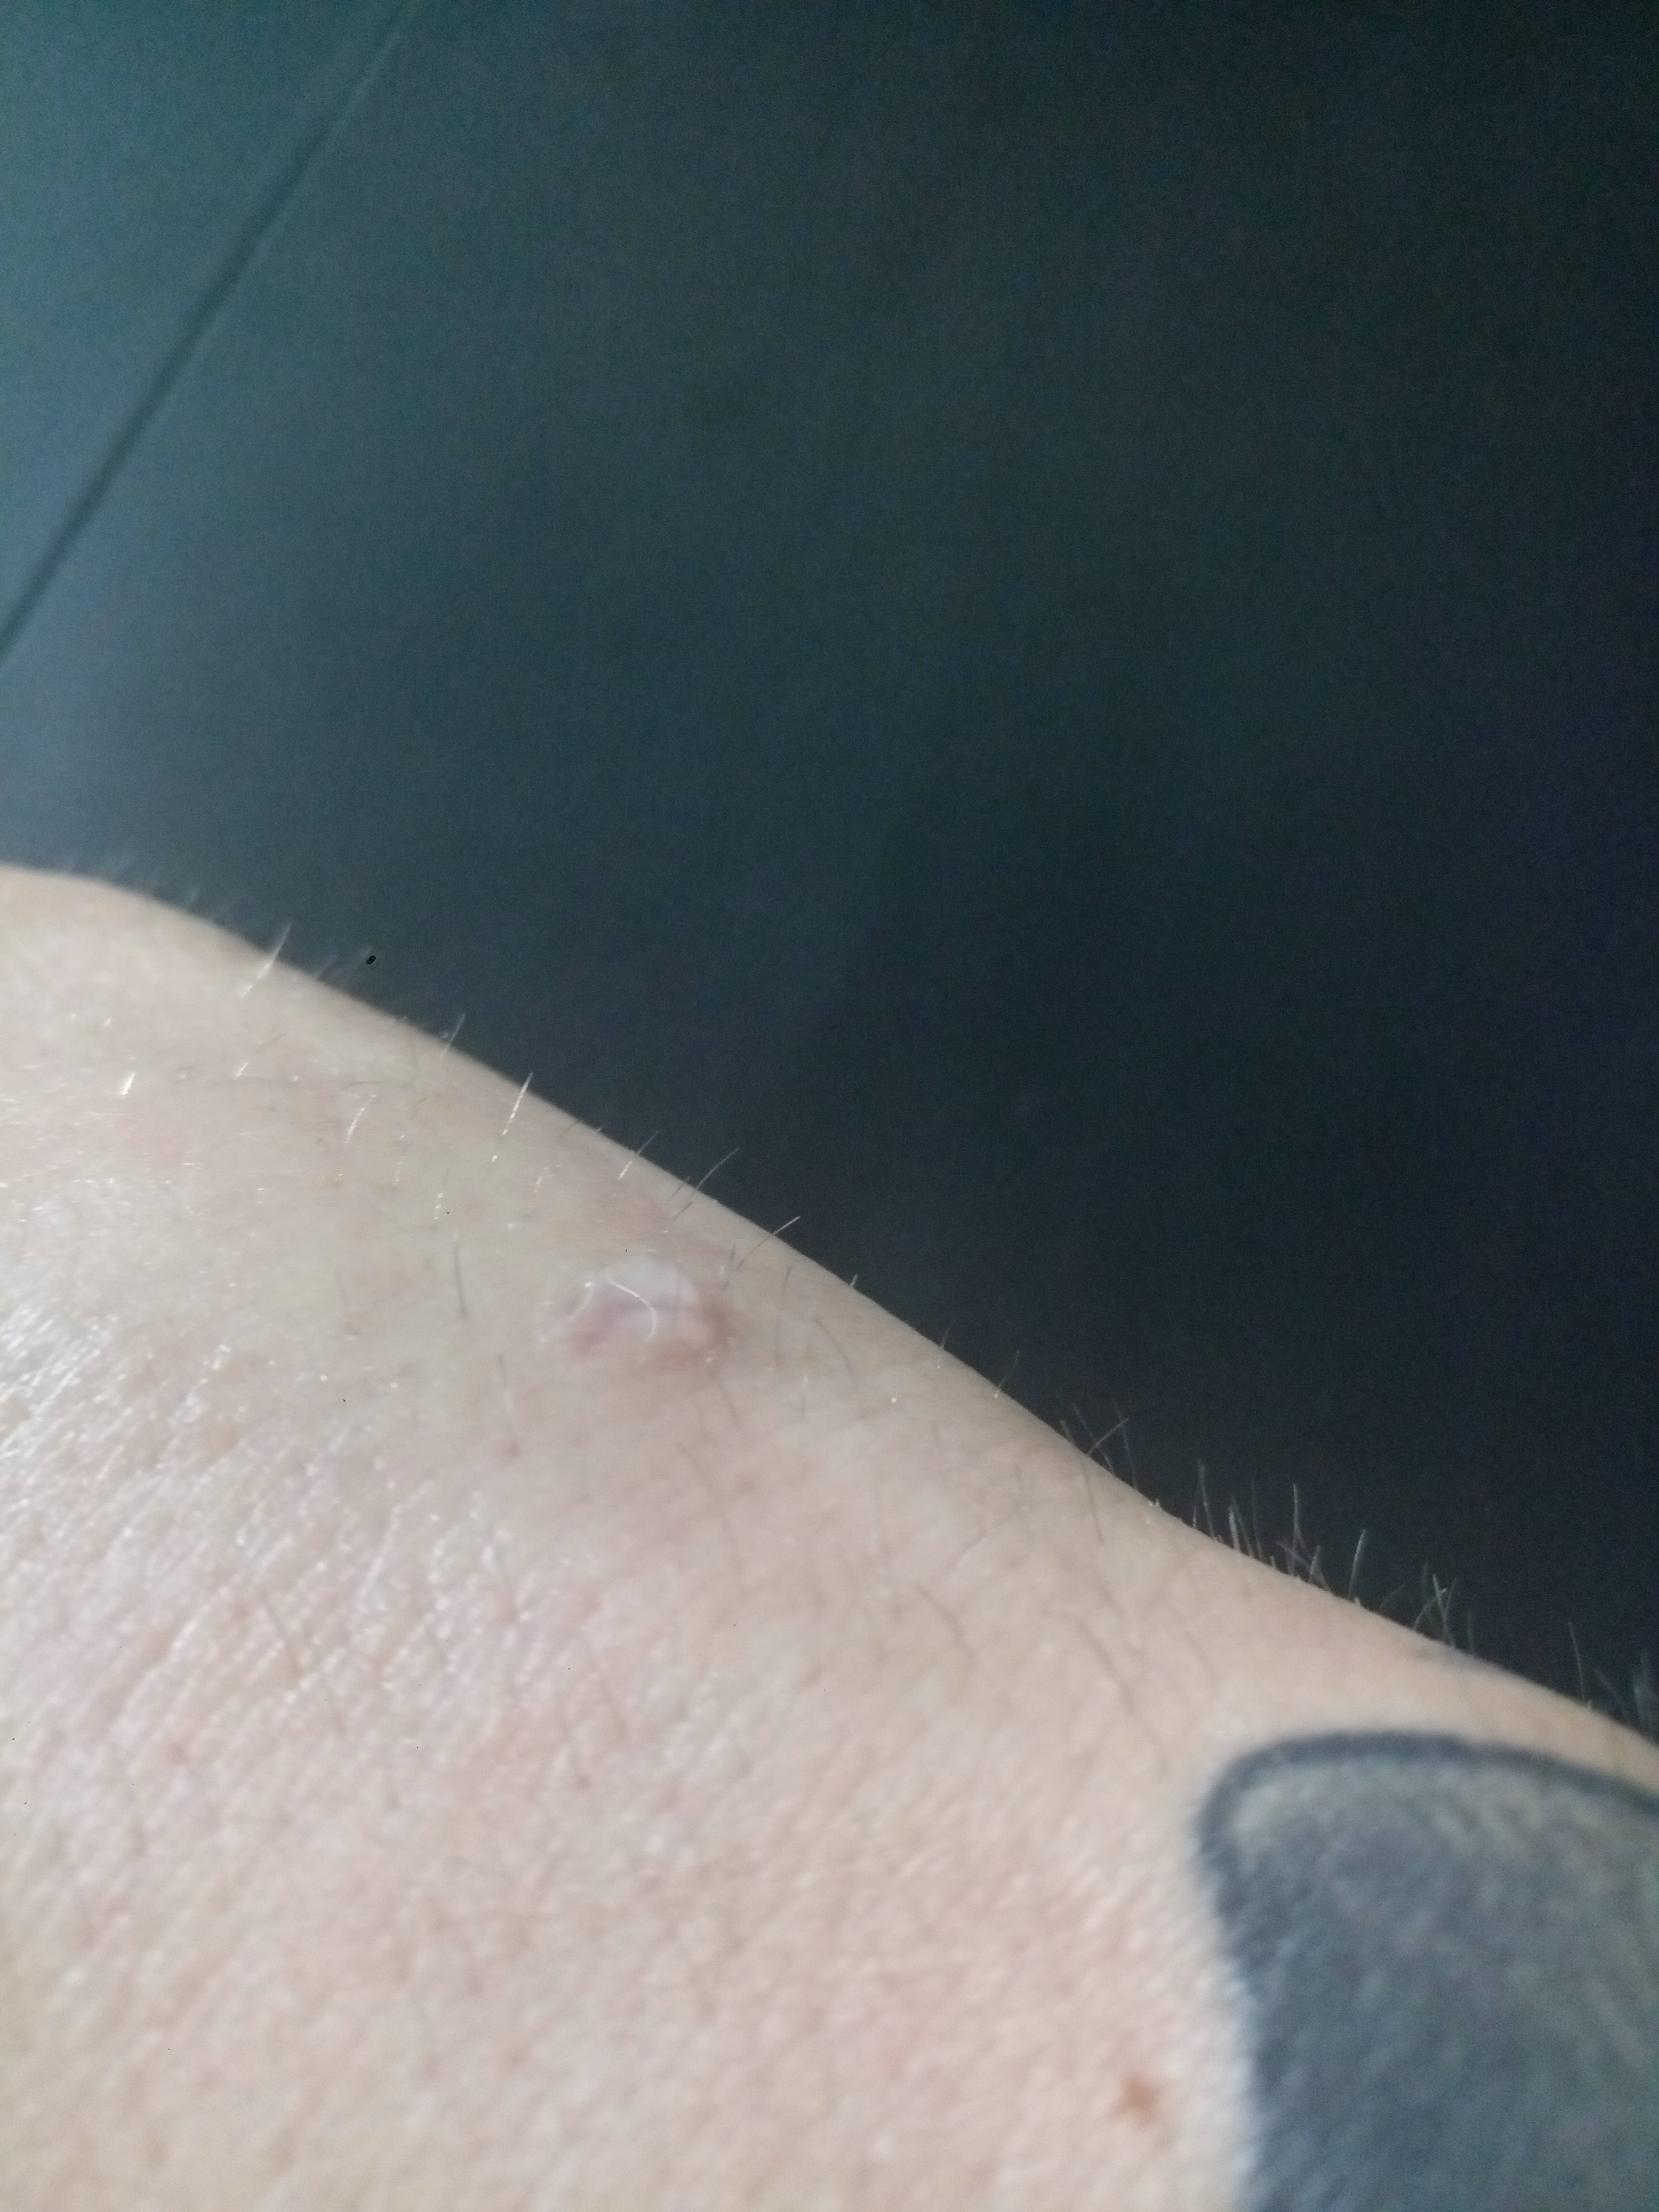
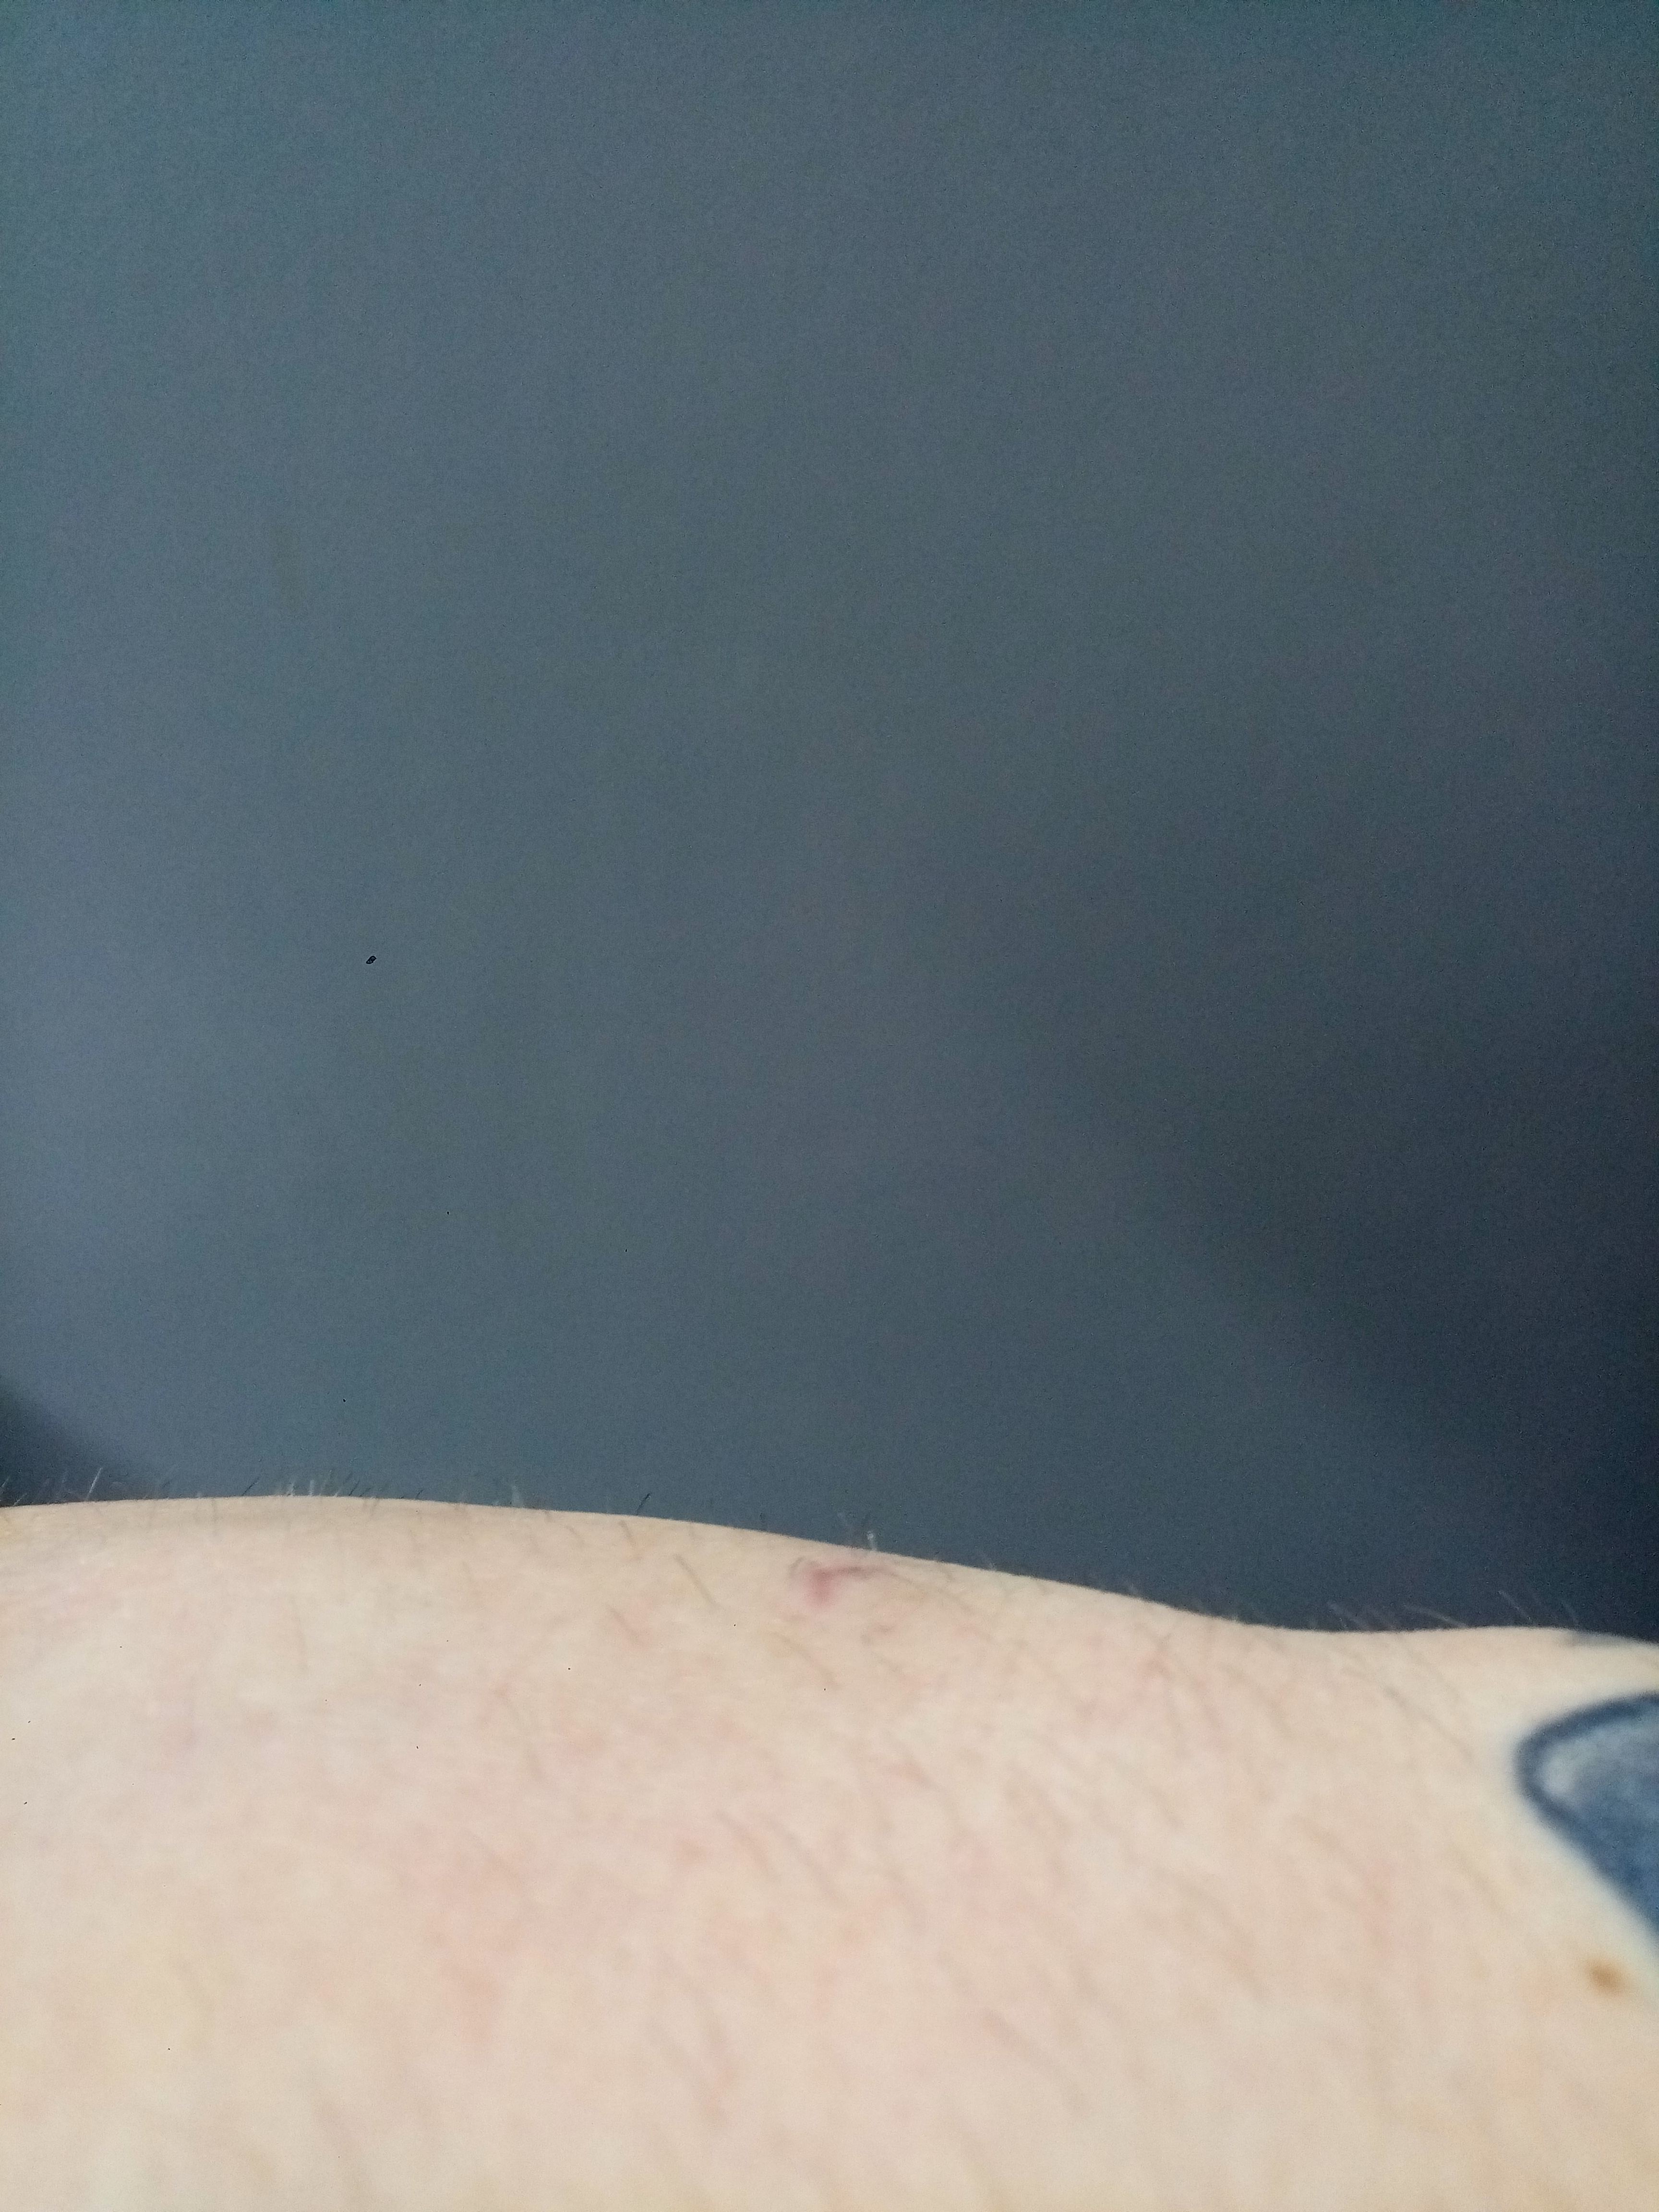
Swelling went almost completely away today.
Scar has risen to the surface, which is a good sign.
Day 20+
From now onwards it’s just a matter of accompaining the scar healing, which might take another full month with barely any changes. So I might just update in bulk instead.
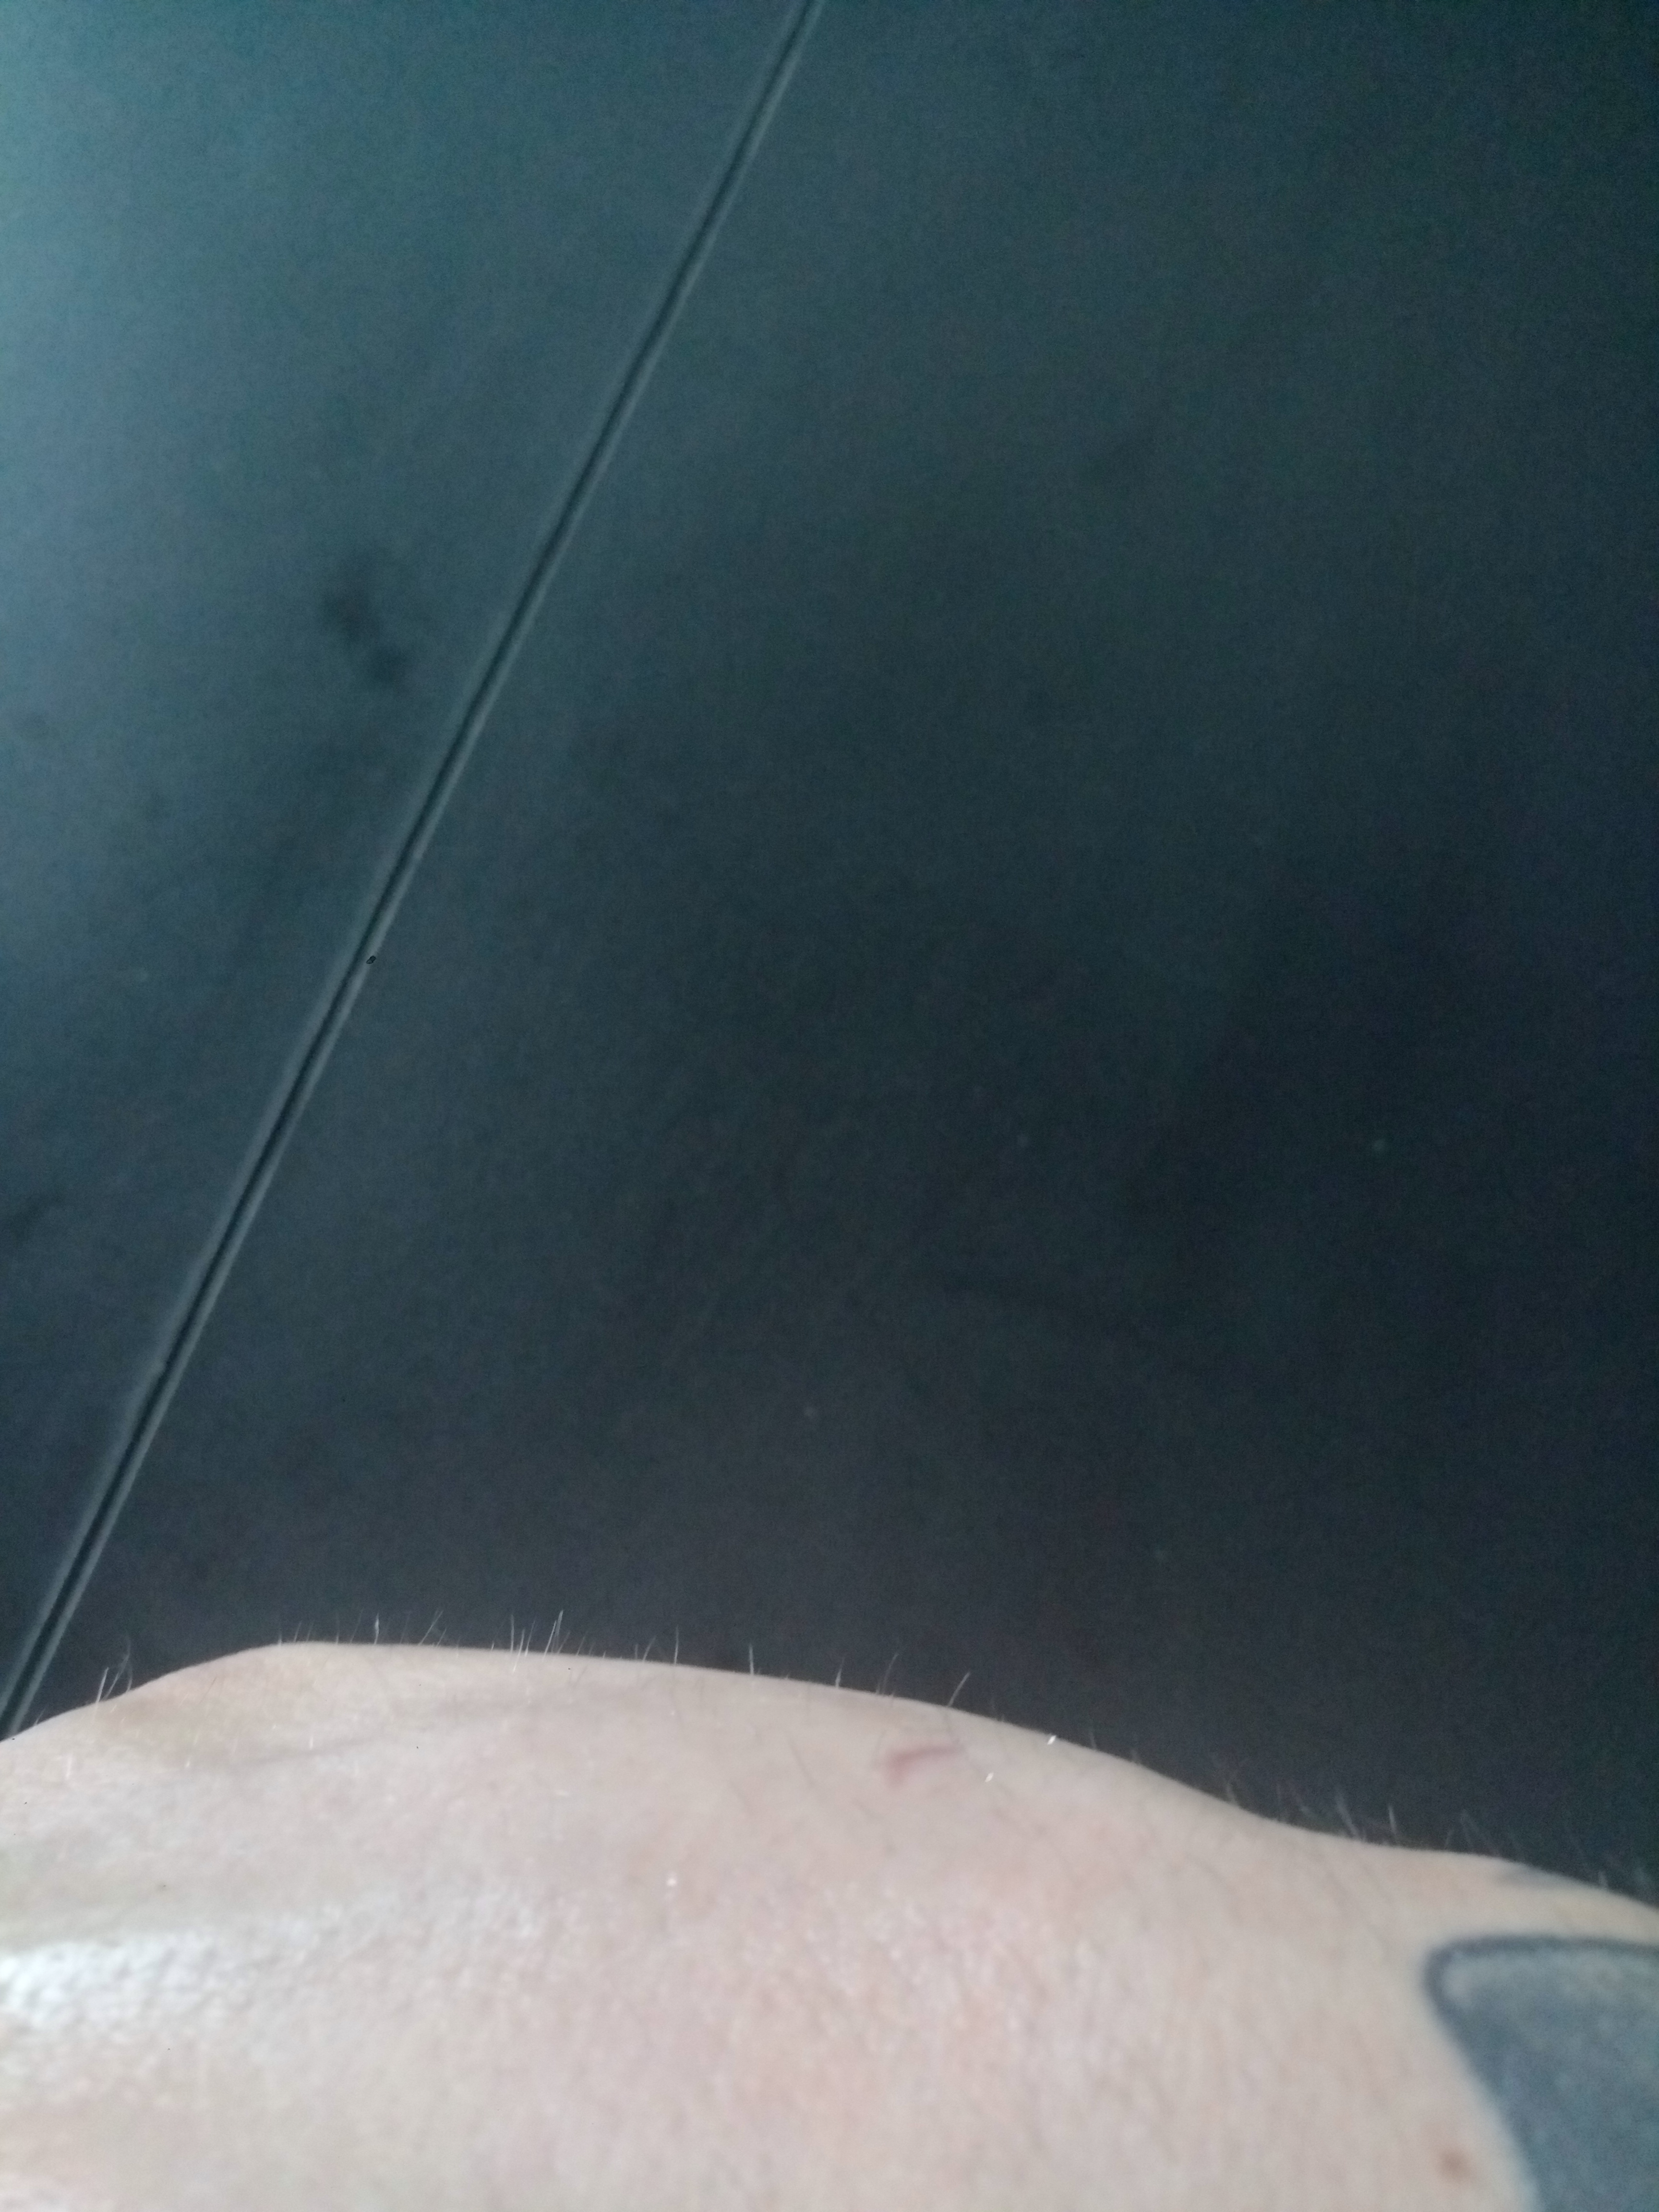
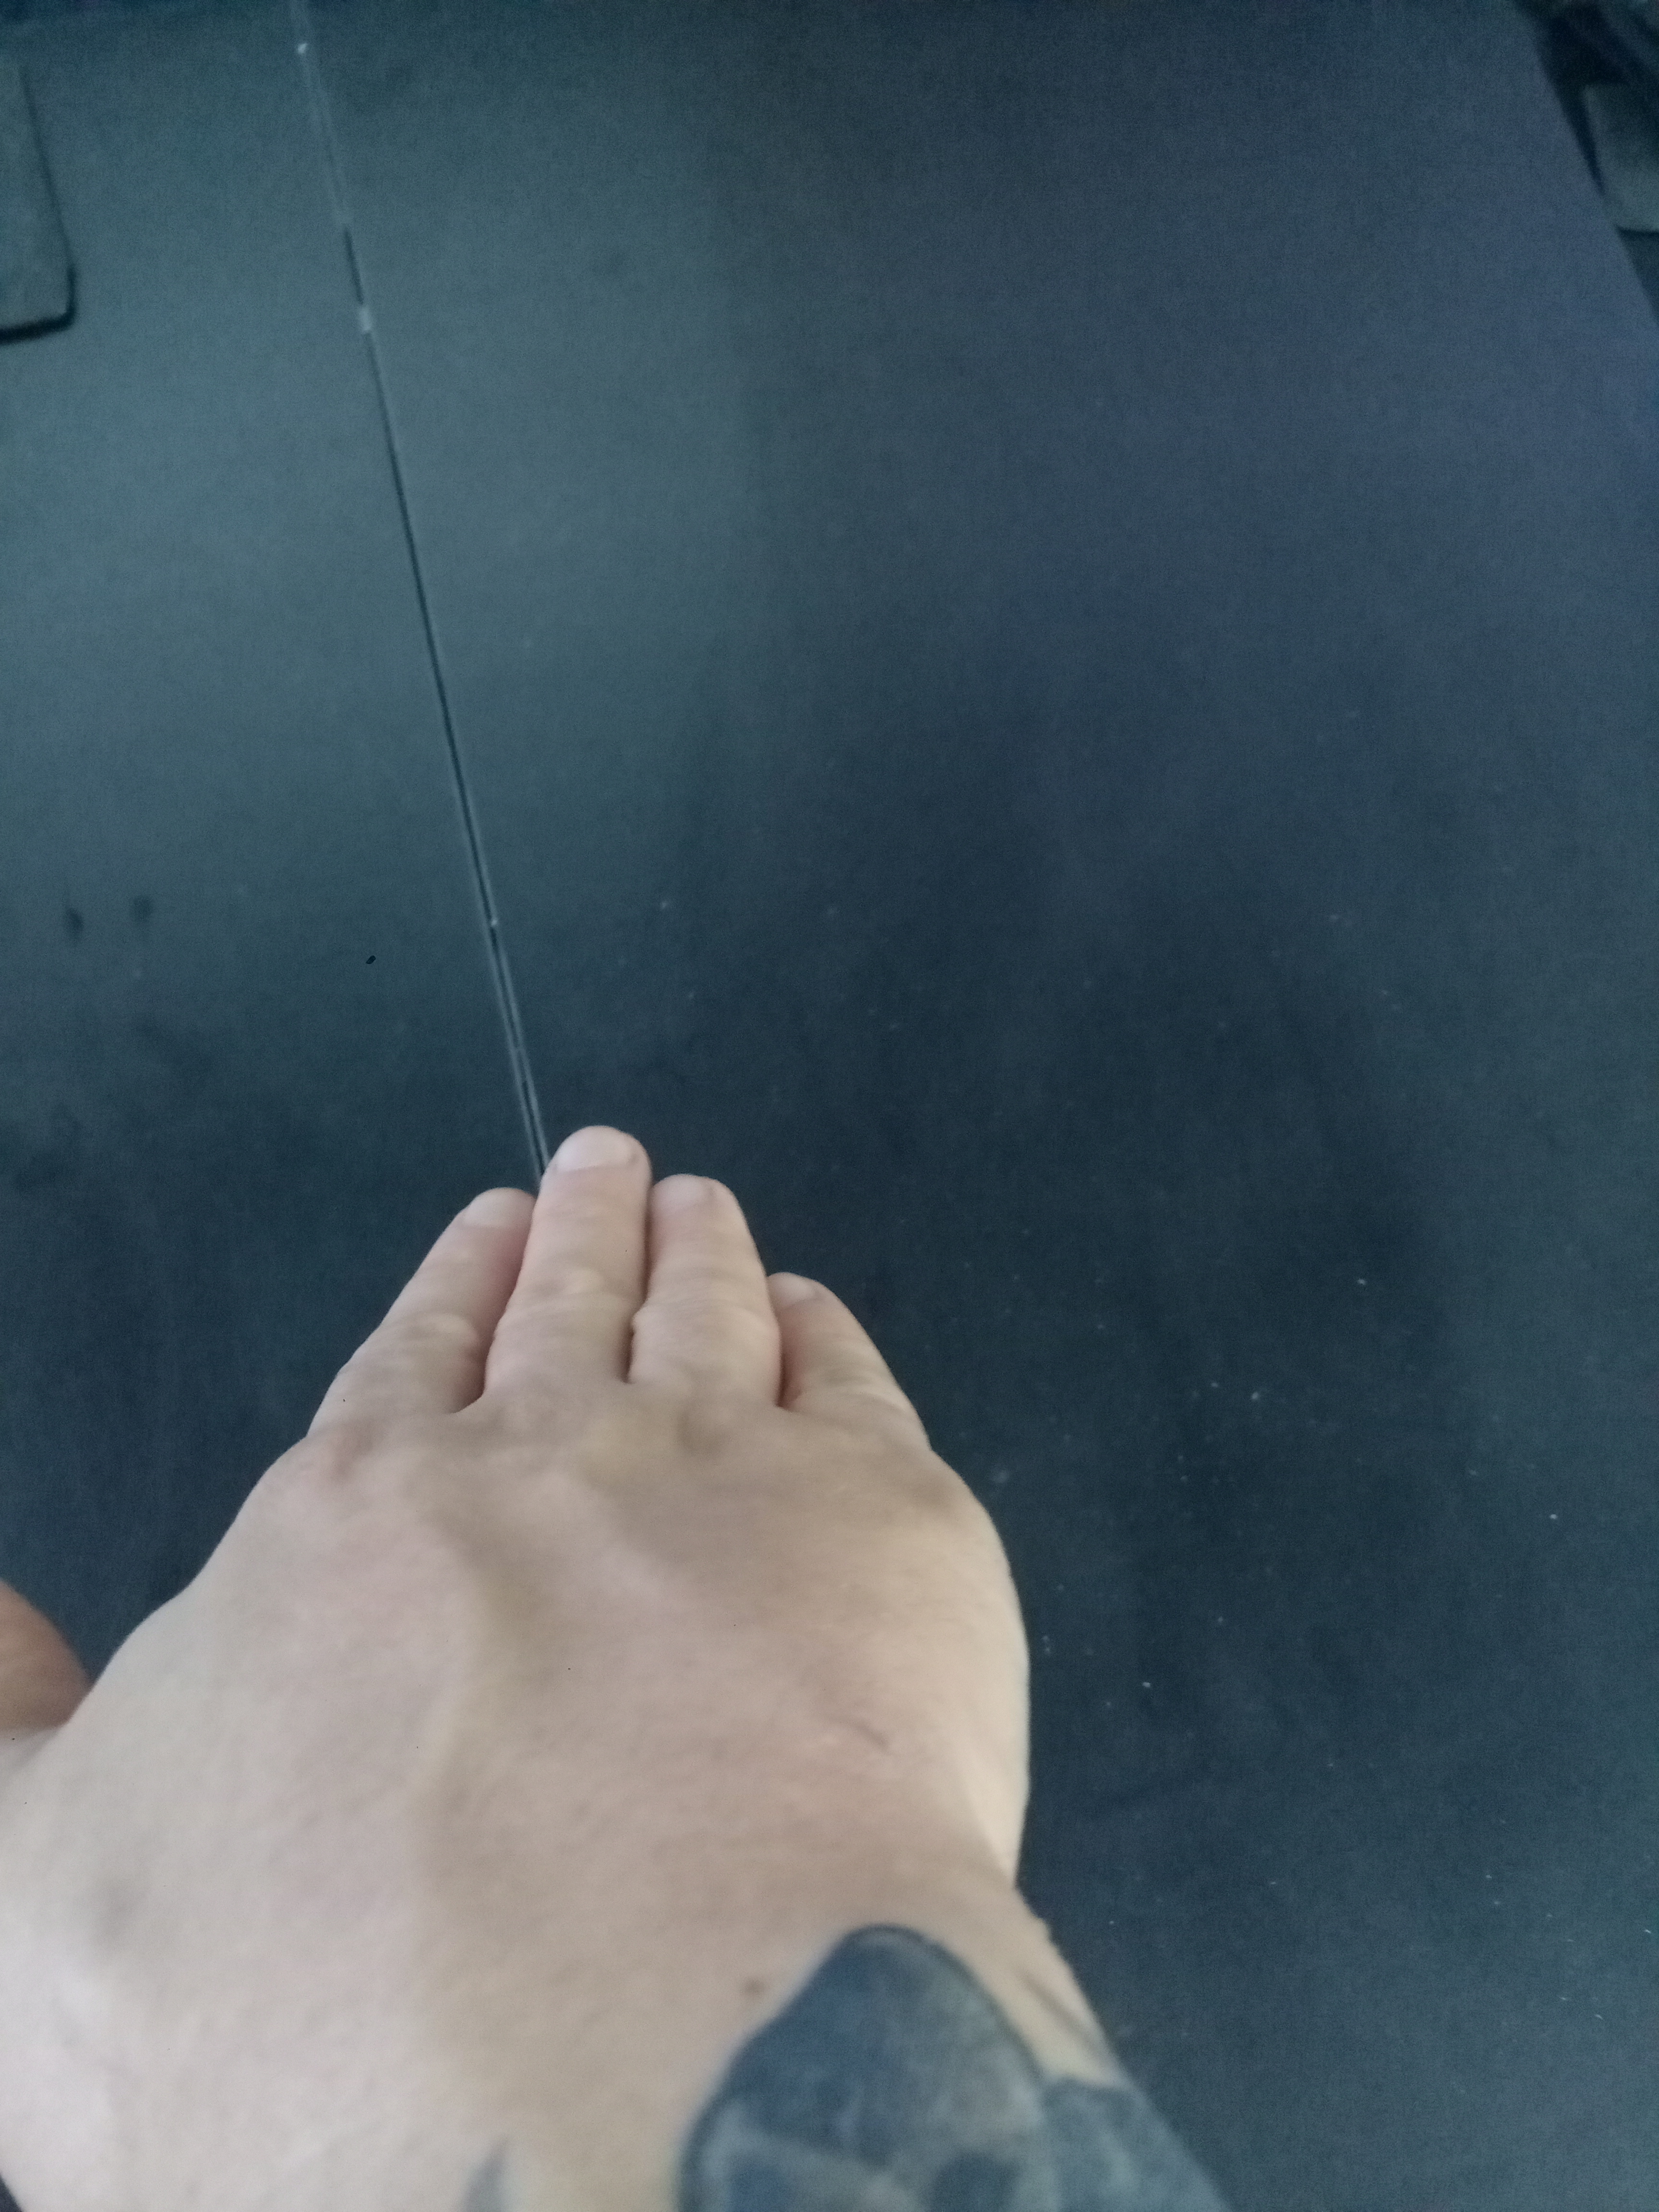
The dermal pocket seems to be almost fully developed by now (tested poking around the implant with my fingers).
It’s not visible at all, but I can feel it if I press against (feel… on the pressing fingers. Nothing on the hand).
Guess this was a nice healing process so far!
Although will still sleep with a splint for another 10 days, and won’t put stress onto it for another 20 days at least!
Dermal pockets should not be considered healed before 2 months at the very least!
Day 20:
Day 21:
Scar Recovery
All I’m doing now (post day 20) for it is keeping silicon gel (Kelo-cote) on top of pretty much constantly.
Worth noting that I tend to only wash my hands with cold water (which sometimes is around 2 degrees here).