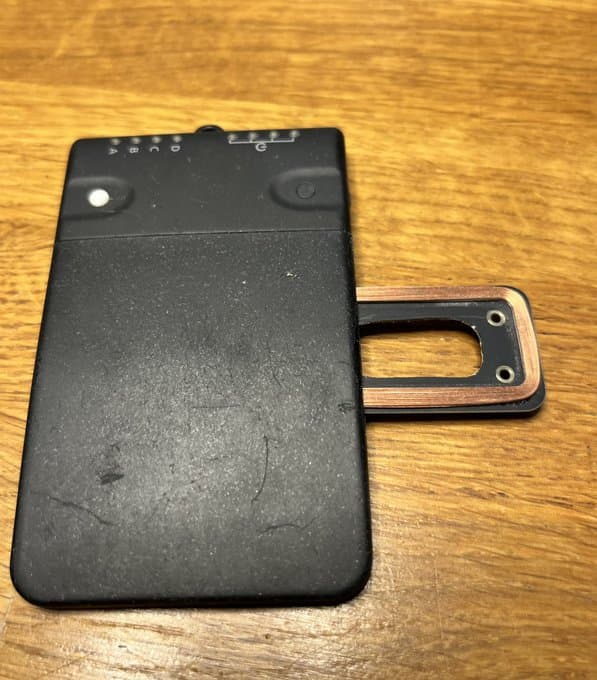
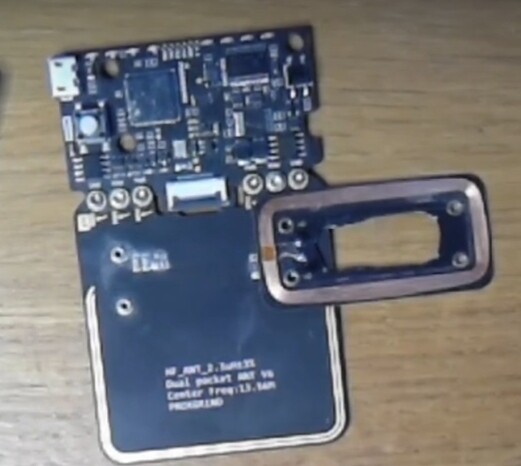
Newer version of Proxmark3 EASY: Standalone mode and what the lights indicate!
- = - = - = - =- = - = - = - =- = - = - = - =- = - = - = - =- = - = - = - =
Hold button 2 seconds – blue/amber/red/green indicator lights flash in sequence and it puts the PM3 EASY into standalone mode; all colored indicator lights go back off. (If you have it connected to the computer, you will be able to follow along on screen.)
#1. Short press – green light stays on, red light blinks. It is looking for an LF HID tag to read into “green” memory slot. When exposed to readable tag, red light goes out and green light flashes, indicating successful read, then both lights go off. If you press the button before a successful read, green light blinks 5 times and PM3 goes into standby mode. Single press here while in standby mode will put it back into #1.
#2. Short press – orange light stays on, indicating simulating previously read HID
#3. Short press – orange and green lights flash one time, then go out, indicating simulating done
#4. Short press – red and green lights blink while cloning previously read HID, then lights go out when done.
#5. Short press – blue light comes on, red light blinks. It is looking for another LF HID tag to put into “blue” memory slot. When exposed to readable tag, red light goes out and blue light flashes, indicating successful read, then all lights go off. If you press the button before a successful read, blue light blinks 5 times and PM3 goes into standby mode. Single press here while in standby mode will put it back into #5.
#6. Short press – orange light stays on, indicating simulating most recently read HID
#7. Short press – orange and blue lights flash one time, then go out, indicating simulating done
#8. Short press – red/green/blue blink while cloning most recently read HID, then lights go out when done.
CYCLE COMPLETE… next short press goes back to #1.


